Most of us use a digital calendar for a large portion of our work life. So just like any other skill, teachers can help students set up and use school and personal calendars, which will benefit them as they enter college and the workforce. Let’s explore strategies to help students optimize their time by setting up and using Google Calendar to the fullest.
Most online productivity platforms include a calendar and have similar features. Since we at TCEA use Google Workspace for Education, I will be using Google Calendar as my reference.
How to Name and Add a Google Calendar
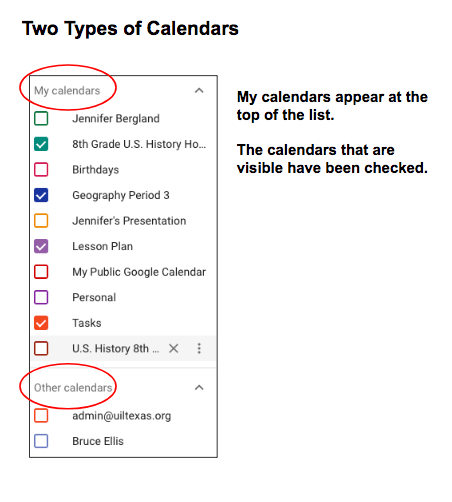
I would start off by having your students use two calendars to organize their life: a personal calendar and a school calendar. You can access calendars and settings by clicking the waffle icon in the top right corner of your Chrome browser.
Personal Calendar
Your default calendar has your name, so I would add the word Personal to this calendar. A student would include all events, appointments, meetings, and tasks that don’t involve or relate to school assignments or events here.
On this calendar, students might include items like:
- Music lessons
- Therapy sessions
- Part-time work
- Concerts
- Medical appointments
- Family obligations
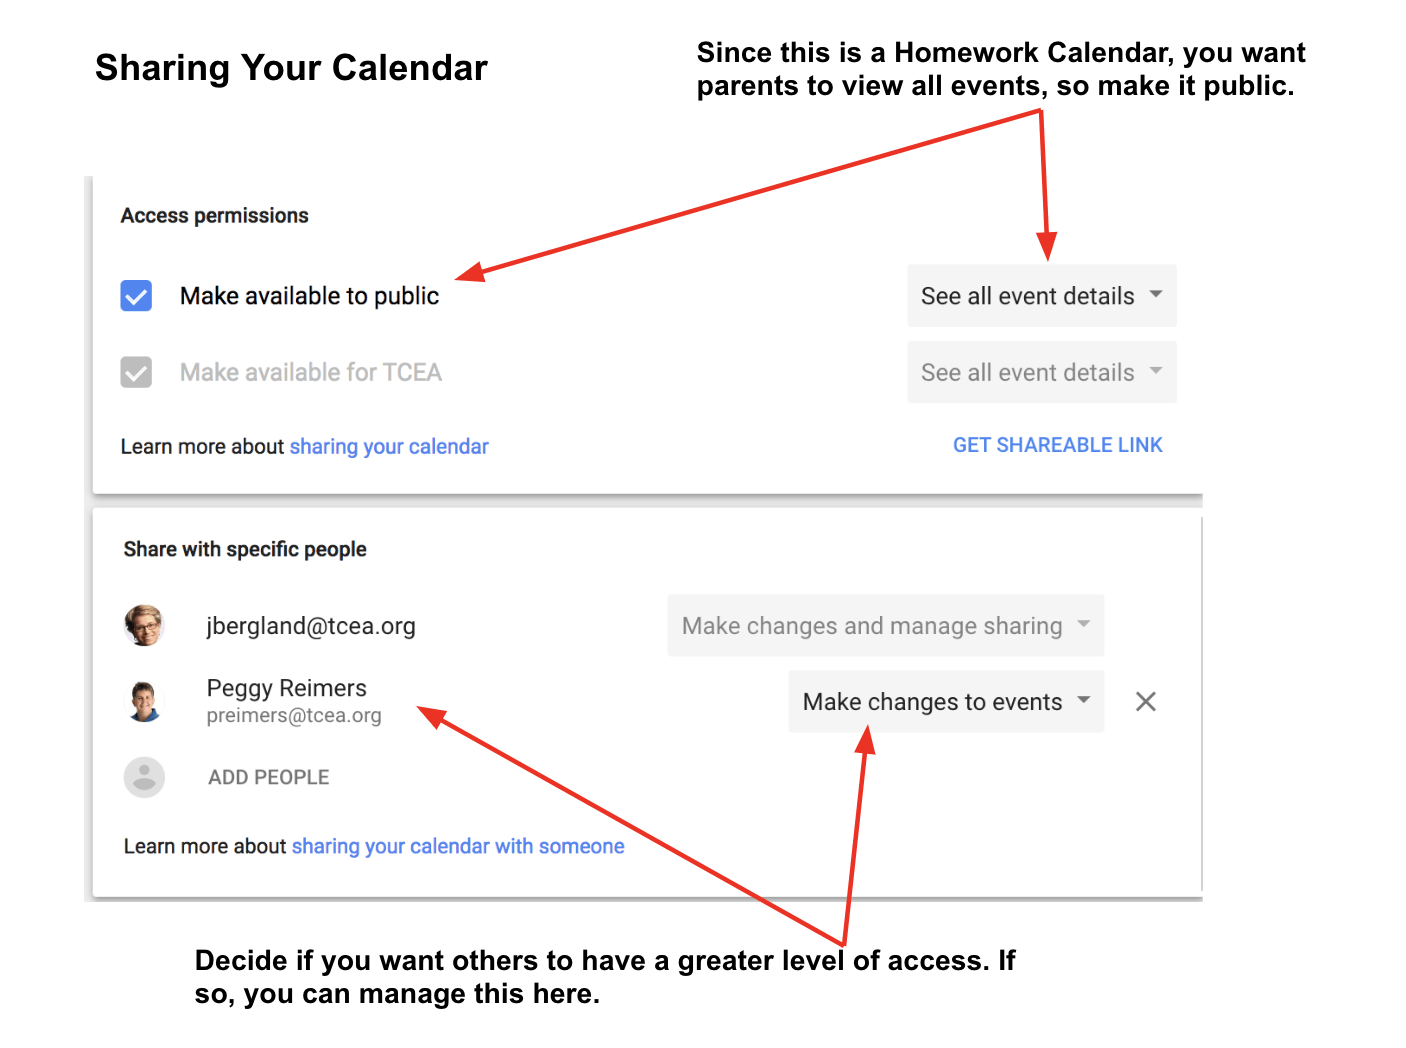
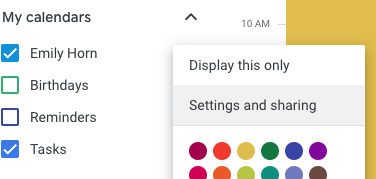
Students can rename their calendars by clicking the three vertical dots to the right of the calendar name and clicking Settings and Sharing.
School Calendar
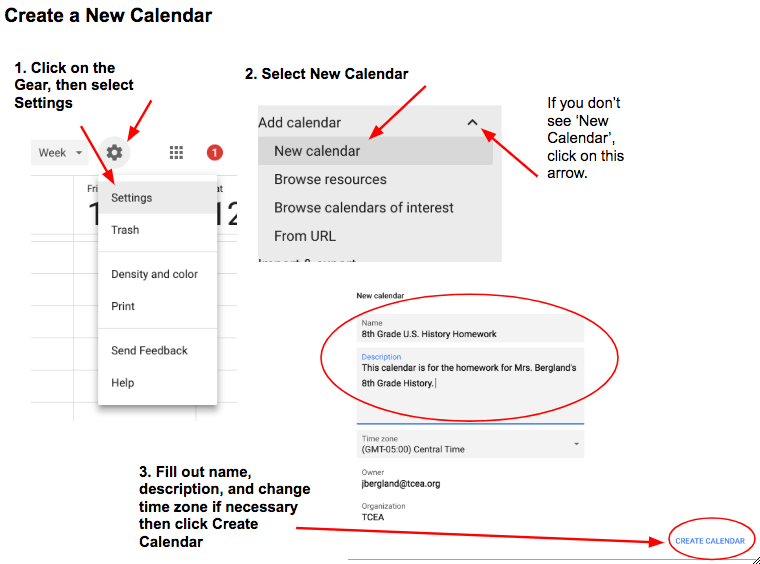
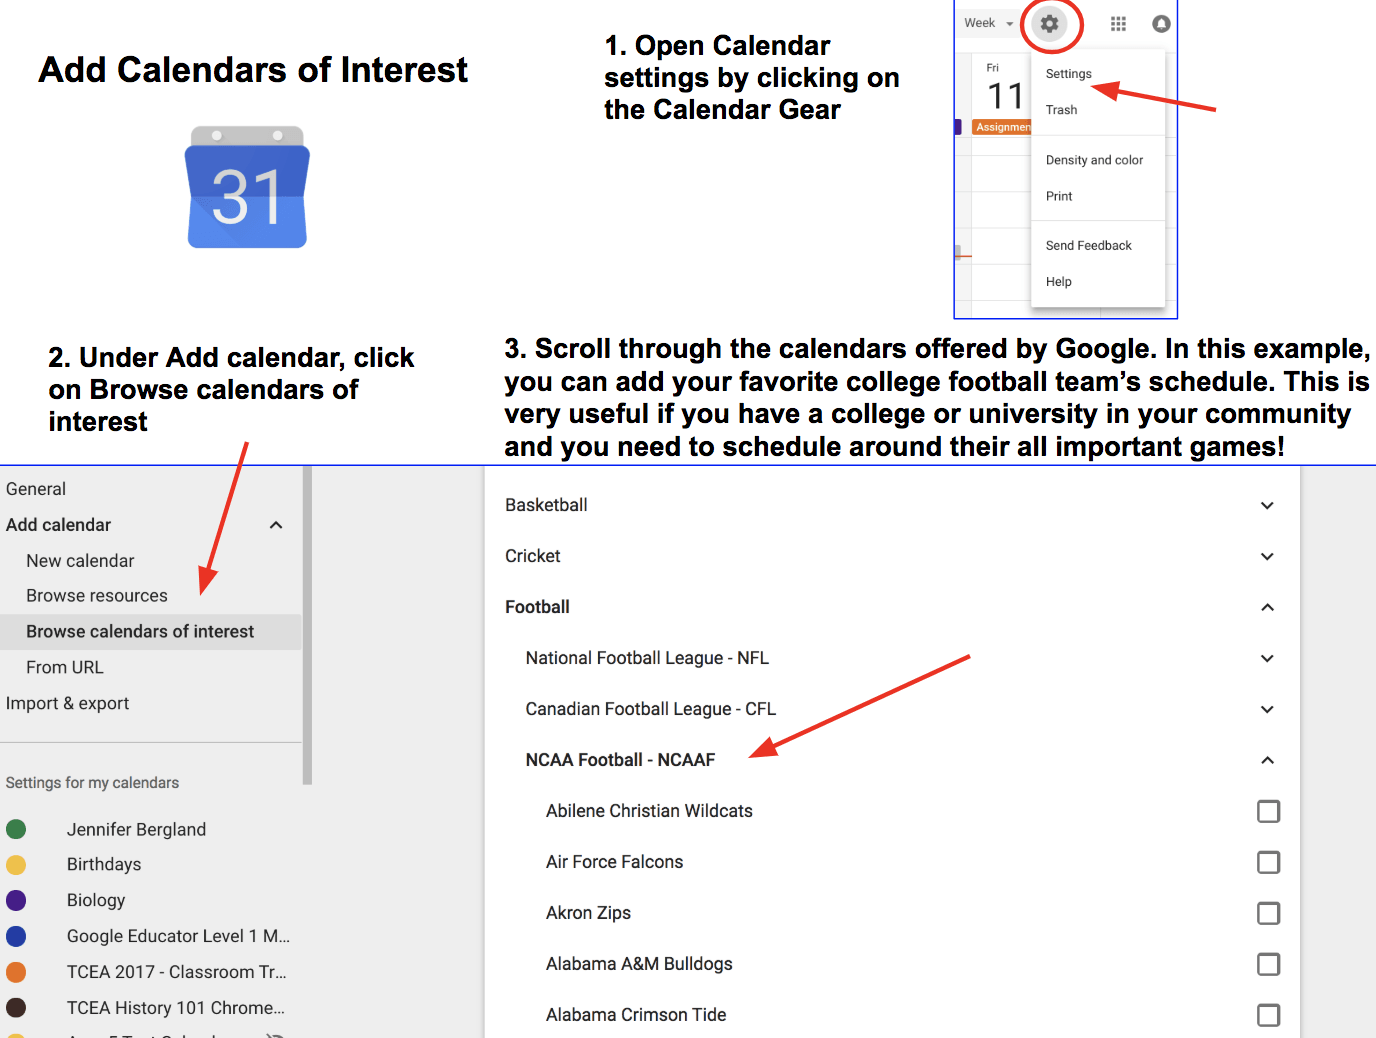
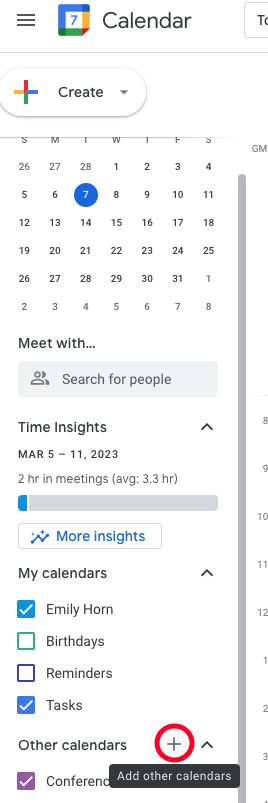
Create a secondary calendar for assignments, tests, project due dates, and extra-curricular school activities. Students can add a new calendar by clicking the plus sign to the right of Other Calendars when viewing their primary calendar.
On this calendar, students might include items like:
- Games and tournaments
- Practice schedules
- Pep rallies
- Club or organization meetings
- Counselor meetings
Depending on the age of your students, you could add or splinter off major commitments into additional calendars:
- Fun events
- Work schedule
- Sports or club activities
- Service-oriented dates
How to Choose and Customize Your Google Calendar View
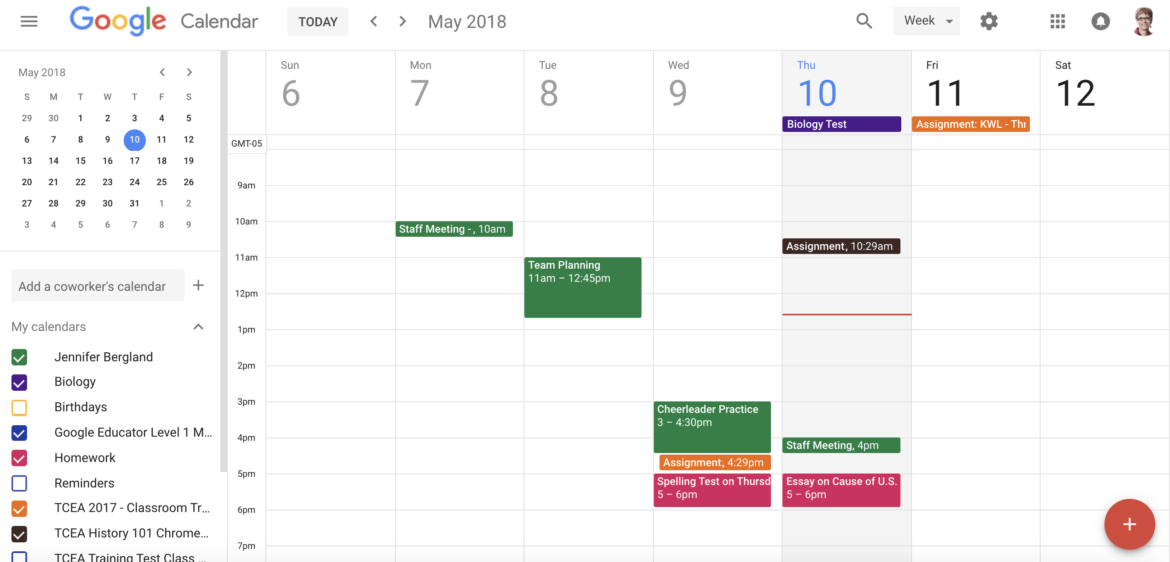
I took a quick poll of the TCEA staff to ask about their preferred calendar view: day, week, or month. I was surprised to find that 60% chose the week view with the day view coming in at 30%.
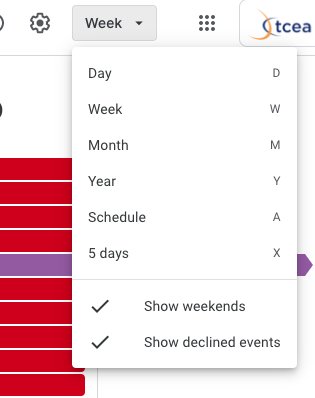
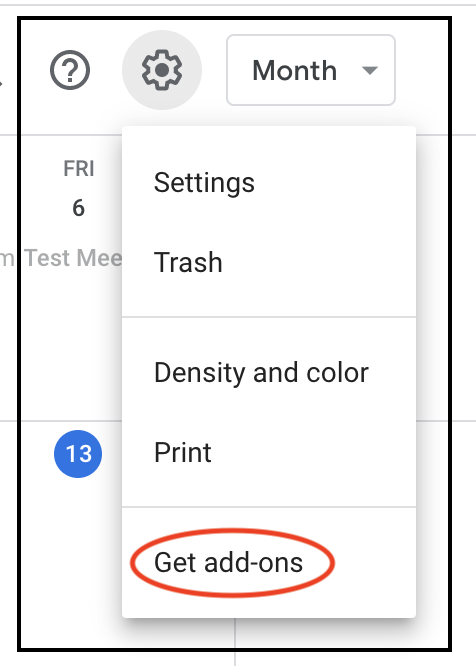
I personally like a custom view of two weeks. This way I can visually see this week’s events and what is on my radar for the following week. Previously, I used the month view, but since TCEA has so many events per day, it was really difficult to see what is going on. Switching to the two-week custom view provides me with a visual where I can actually see the going-ons very easily. Students can customize their view options by clicking on the Settings wheel in the top right corner of the calendar and scrolling down the settings page to the View Options section.
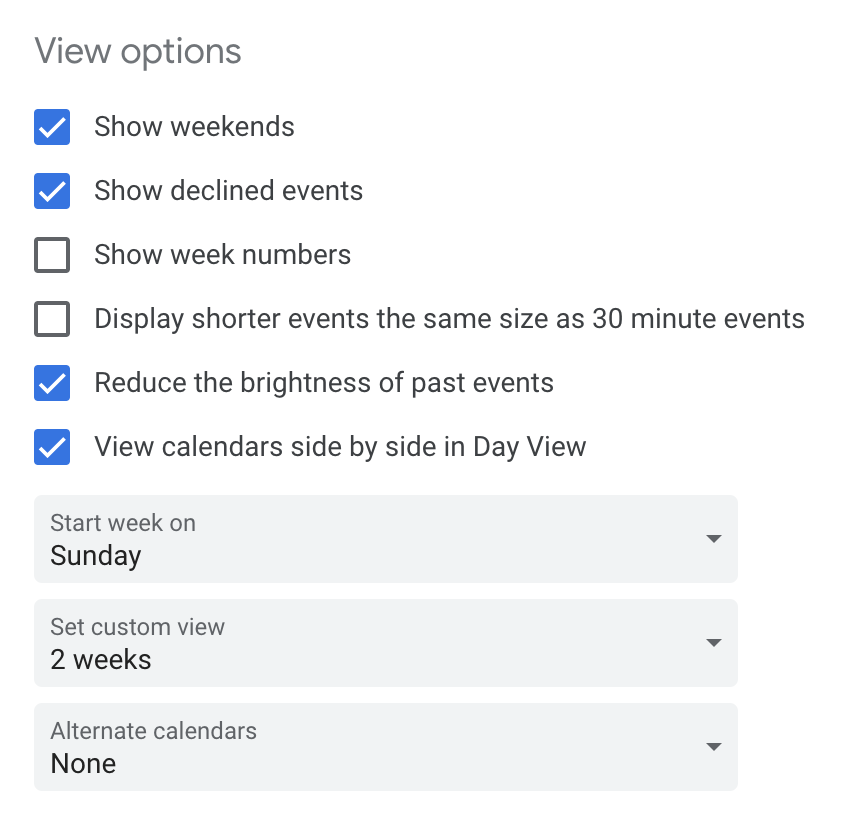
The default custom view is 4 days, but you have options to change this to 2, 3, 4, 5, 6, or 7 days, and 2, 3, or 4 weeks. To change your default custom view, scroll down to View Options and find the second grey box labeled, “Set custom view.”
Google gives one several options. As a teacher, I would share what option works for you and give reasons. I would leave it open for students to choose their own view based on what works best for them. Have them try one option out for a couple of weeks. If the first option doesn’t work for them, they can try another one.
How to Change Calendar Views with Keyboard Shortcuts
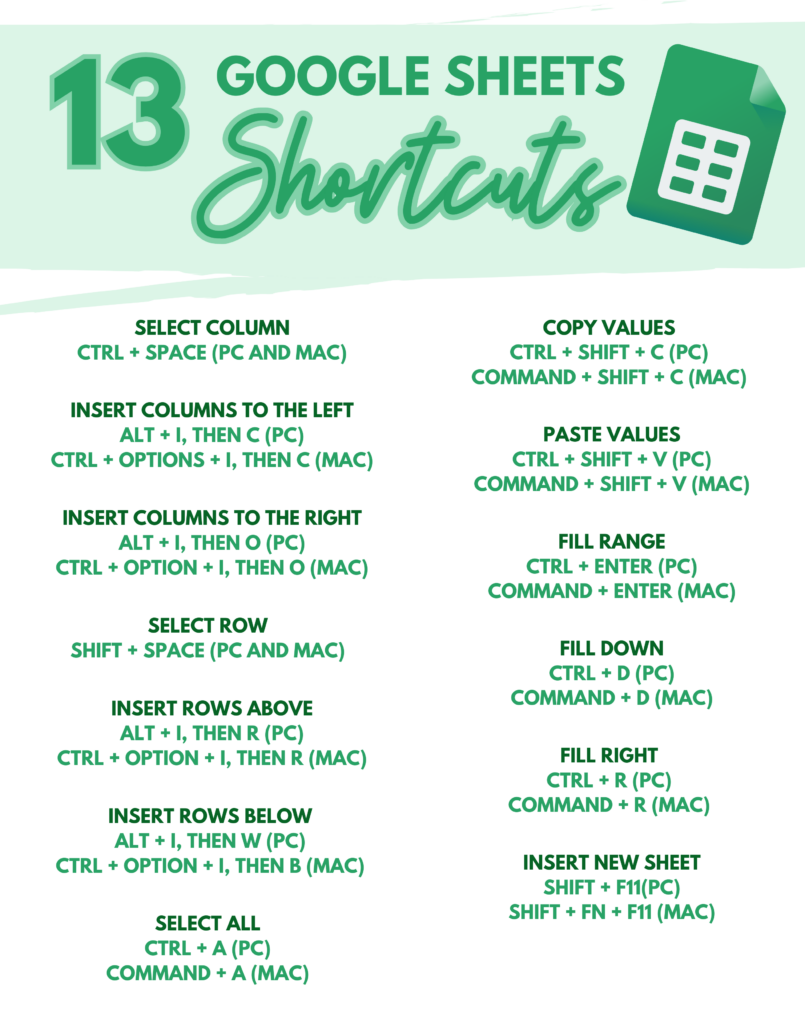
The Google Calendar makes it super easy to toggle between calendar views. Just press the following keys (they not case-sensitive) to toggle between the different views. If your shortcut keys do not work, make sure you go up to the sprocket gear and select settings. Scroll down and make sure you checkmark enable keyboard shortcuts.
- day D
- week W
- month M
- agenda A
- 2 weeks X
I have read that it is beneficial for ADHD students to view the month in order to see the big picture. Then, they can use shortcuts D or A to see details. Toggling between two views is easy peasy with just two presses on the keyboard, once you have enabled the shortcuts.
How to Color Code in Google Calendar
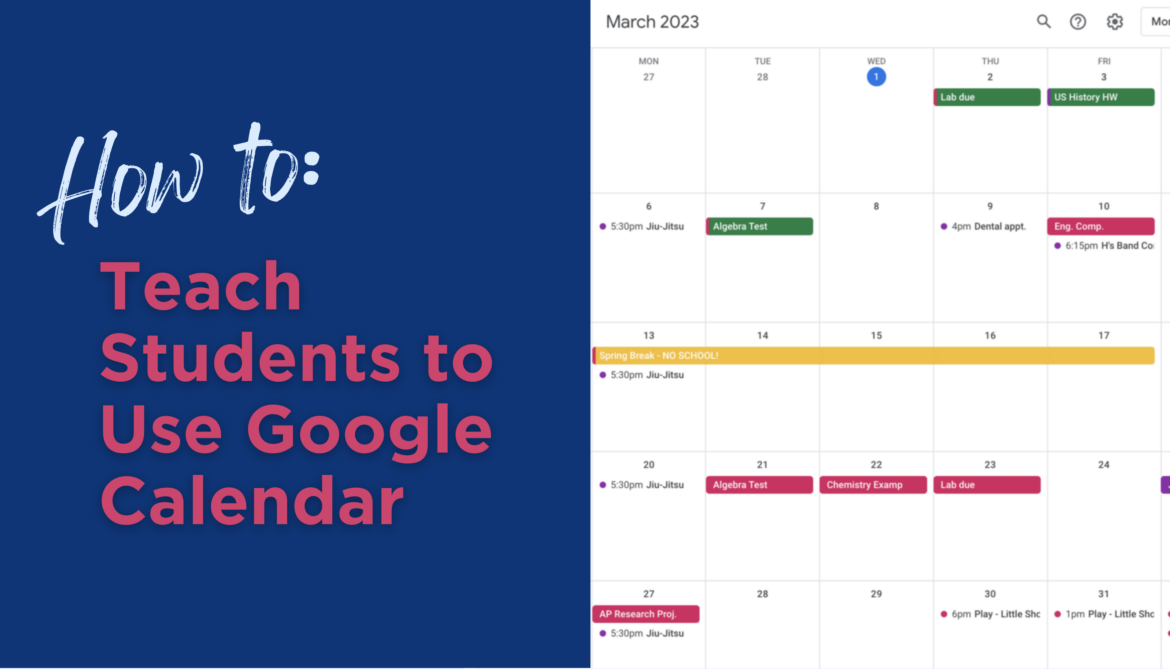
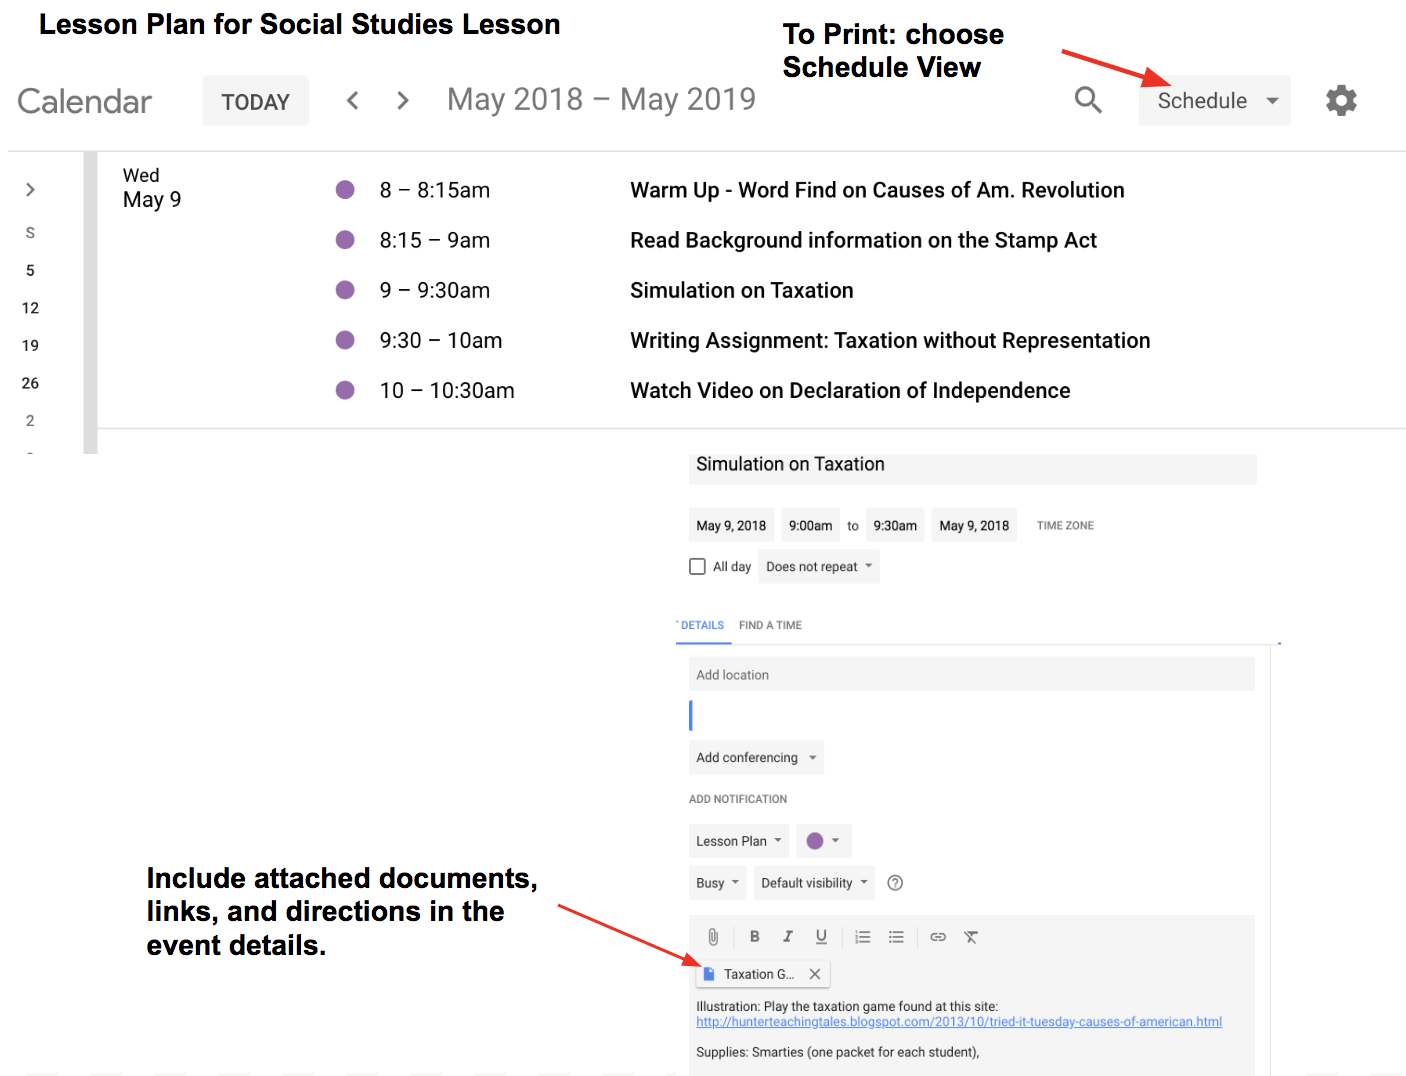
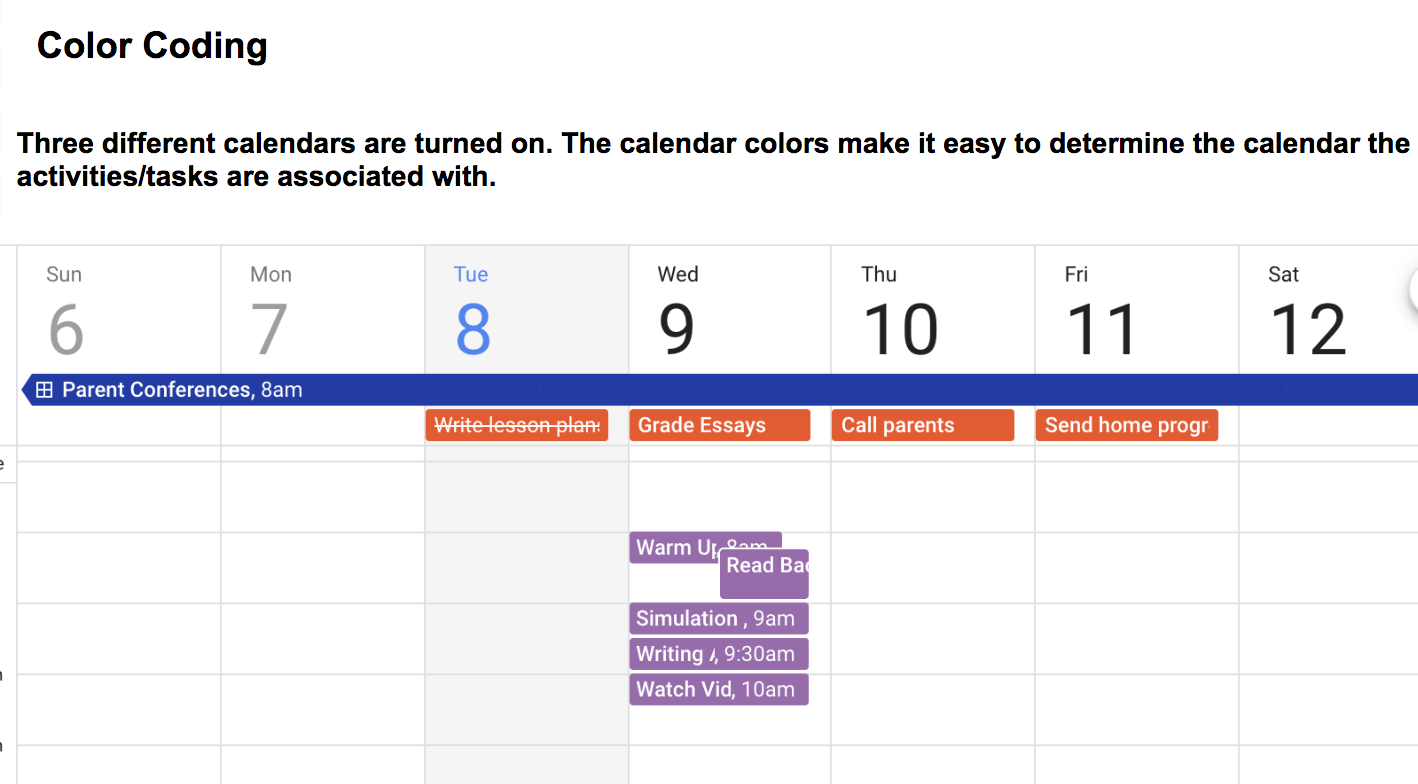
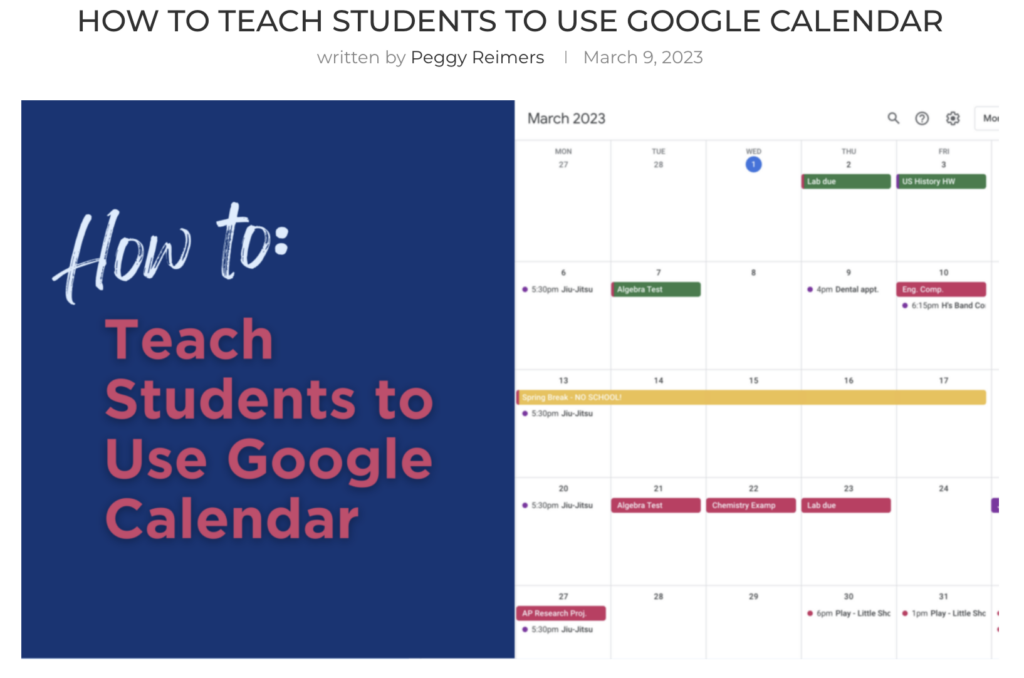
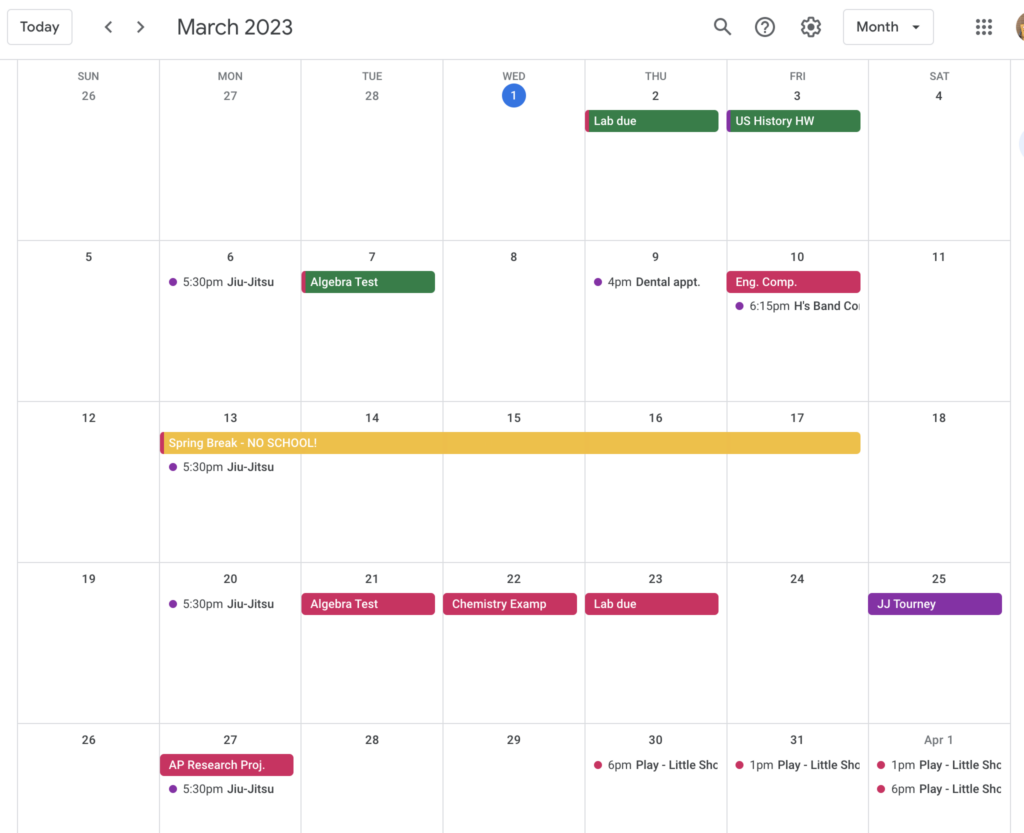
For school assignments, projects, and test entries, you can have students select All Day instead of selecting specific times.
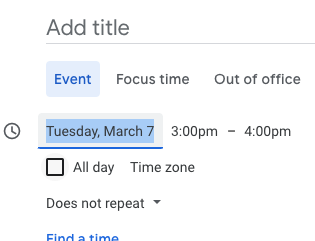
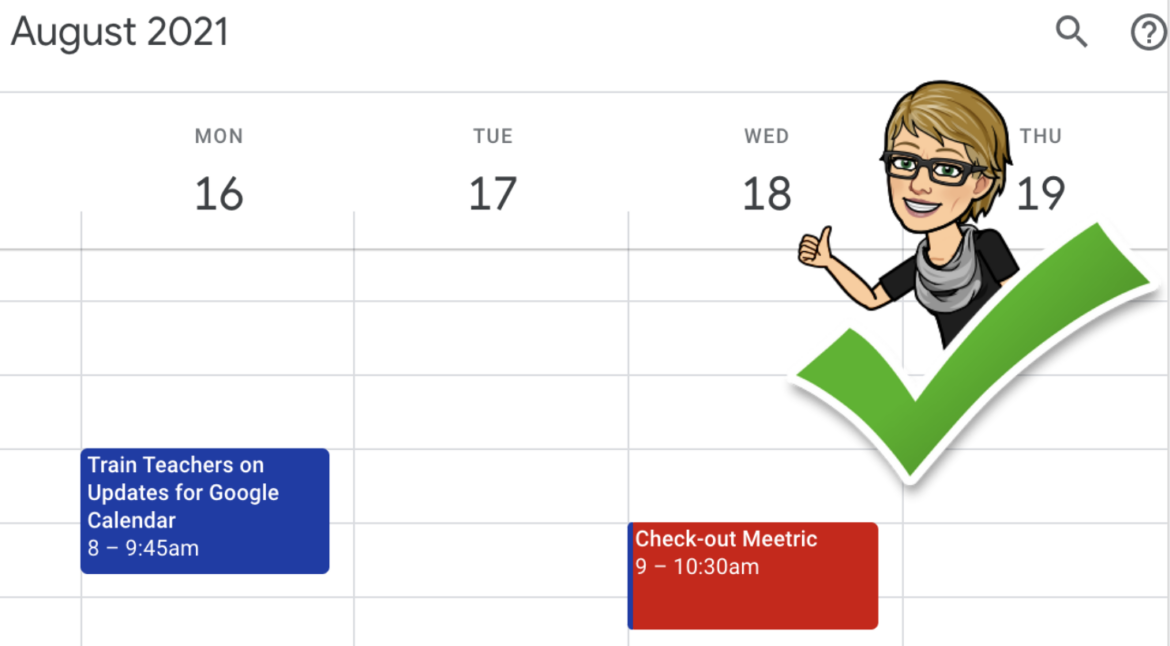
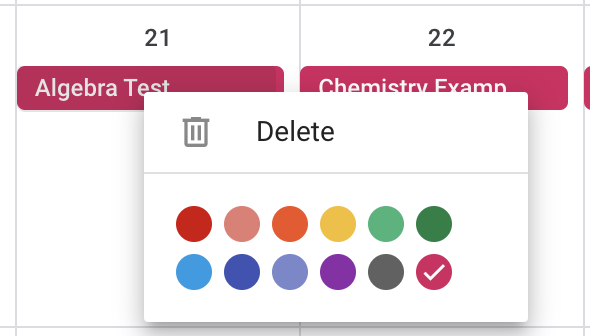
The event box on the calendar view will be larger, and they will be able to see 24 characters of the event name. Set the color of the school calendar to red. As the student turns in work, they can change the color of the event to green to note the assignment was turned in. It is a great visual indicator to keep track of their schoolwork.
Bonus tip: A quick way to change the color of the event is right click on the event and a color palette will pop up. Viola, the assignment status from red to turn green is a done deal.
I am sure there are more tips to set up best practices for a digital calendar. Please feel free to post your tips and tricks in the comments. Other teachers and I would appreciate it!

