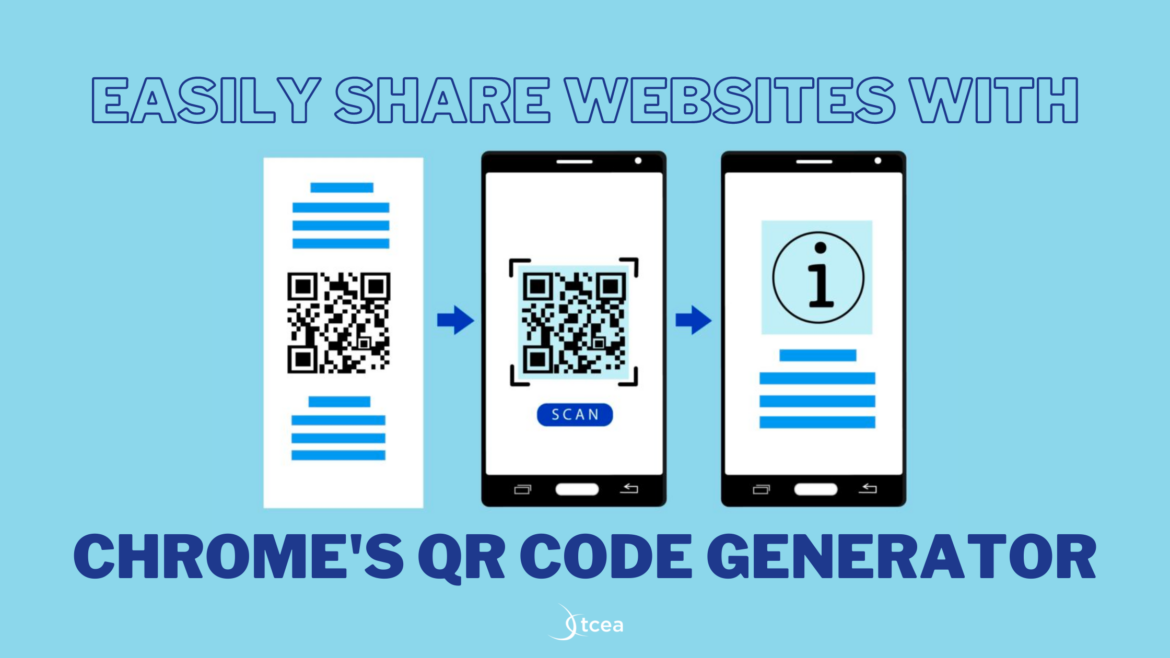
With Google Chrome’s built-in QR code generator, you can make QR codes for any site and web page you visit in the browser. It’s so easy that you can make one with just a few clicks.
How to Make a QR Code in Chrome
Since Chrome has a built-in QR code generator, you don’t have to install any third-party Chrome extensions to create a QR code. This feature works on Windows, Mac, and Linux devices. Here’s how it’s done in Chrome.
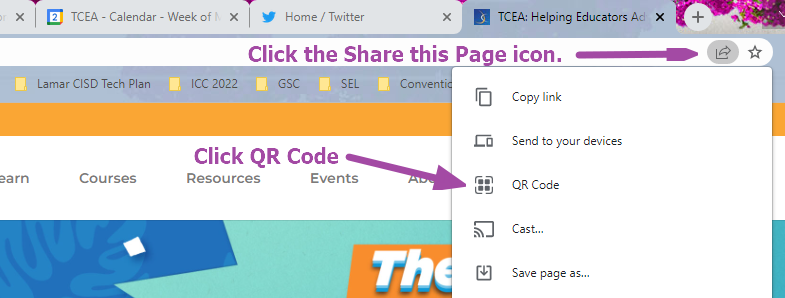
1. To start, launch the Chrome browser and go to the site you want to share.
2. To the far right of the address bar (omnibox), click the Share this page icon.
3. Then, select QR Code from the menu. Instantly, Chrome will open a “Scan QR Code” pop-up with your generated QR code in it. You’ll see that there is a little dinosaur mascot that appears in the middle of the QR code.
4. The QR code is generated and ready for scanning!
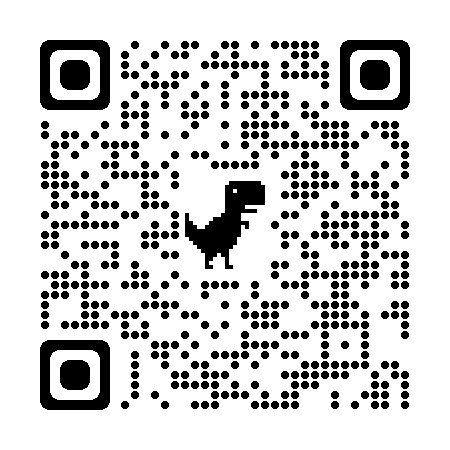
5. To save this QR code to your computer as an image, click Download at the bottom-right corner of the “Scan QR Code” pop-up.

6. You’ll see your computer’s standard Save As window appear. Select a folder, type a name for the image, and click “Save.”
Alternatively, if you don’t want to go through the steps above, you can also right-click anywhere on the web page you are on. Then select the “Create QR code for this page” option.
The Benefits of Making QR Codes in Chrome
One of the main benefits of making QR codes in Chrome is that you can quickly share a website. All you have to do is point your phone’s camera to the QR code and the site will open on your phone. In addition, you can save the QR code as an image and add it anywhere you want. I like to add QR codes to my presentations and this process allows me to do it quickly and easily.
For more tips and tricks to help you work faster in Chrome, check out the list I’ve compiled. If you have any other Chrome tips or tricks, feel free to drop them in the comments. In addition, don’t forget about our Google Summer Camp taking place on June 21-23. Register today.

