Explore effective teaching strategies, tools, and resources. Discover ideas to enhance classroom practices and inspire student success.

The annual Free Museum Admission Day falls on Saturday, September 17, 2022. You can take advantage of visiting museums for free on this day, and if you can’t make it in person, you can always visit one (or more!) virtually.
How to Get Tickets
Museum Day is a one-day, annual event that brings together museums, zoos, and cultural centers from all over to offer free admission for the day. According to the Smithsonian, Museum Day shines a spotlight on incredible arts, culture, sciences, innovation, and history exhibits across the country.
To get started, go here and click on Get a Ticket. Next, select the museum you want to attend for free and submit your name and email address. You’ll then be able to download your ticket, and they’ll also email you a copy. If you don’t see one in your area on the list, you might want to give them a call.
Virtual Visits and Online Resources
Museum Day goes beyond walking through museum doors because you can now make virtual visits. In fact, many museums offer educational resources that accompany the virtual visit. Below are a few you’ll want to check out.
The American Museum of Natural History
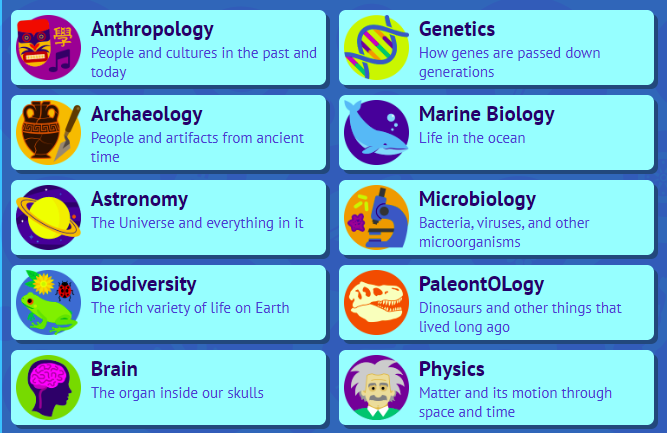
The American Museum of Natural History is located in New York. It offers professional development seminars on topics such as “Using Picture Books in Science Classrooms.” Additional resources include a complete curriculum, virtual field trips, and a lot of articles, videos, and other classroom materials. The museum also offers OLogy, a science website for students that includes games, videos, and hands-on activities.
The Smithsonian
The Smithsonian is located in Washington, D.C. Within the Smithsonian are various museums such as the National Air and Space Museum and the National Museum of African American History and Culture. The Smithsonian even has a zoo. The Smithsonian offers so many educator resources.
Here are a few educational resources to check out:
- The Smithsonian Learning Lab is a free platform that showcases the Smithsonian’s digitally archived content such as videos, texts, and historical artifacts.
- Free, Virtual field trips for grades 4–12.
- Professional development workshops that introduce educators to extensive resources.
- A Game Center that offers free STEM games and simulations for grades K–8.
The Metropolitan Museum of Art
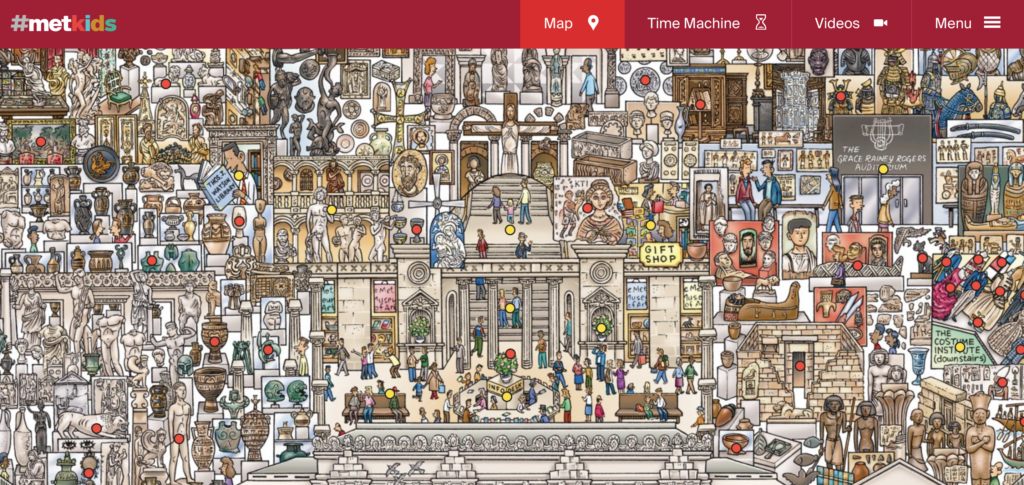
The Met offers a variety of programs designed for K–12 educators that explore objects in The Met collection, curriculum integration, and methods for teaching with objects. There are many lesson plans, videos, and curriculum resources that you can use to introduce your students to the selected collections of the museum. In addition, MetKids is a free kid-centered resource for grades 2–8.
Don’t forget that you can also explore the Louvre’s entire collection as well. Let us know in the comments if you made a virtual or in-person visit on Museum Day!