Explore resources, tools, and strategies for teaching science. Discover activities to spark curiosity and enhance hands-on learning in the classroom.
AndroidChromebooksCoding/Computer ScienceEducational ResearchiOS Tips and TricksScienceSocial StudiesSTEM/STEAM
Build Coding Self-Efficacy with CoSpaces EDU
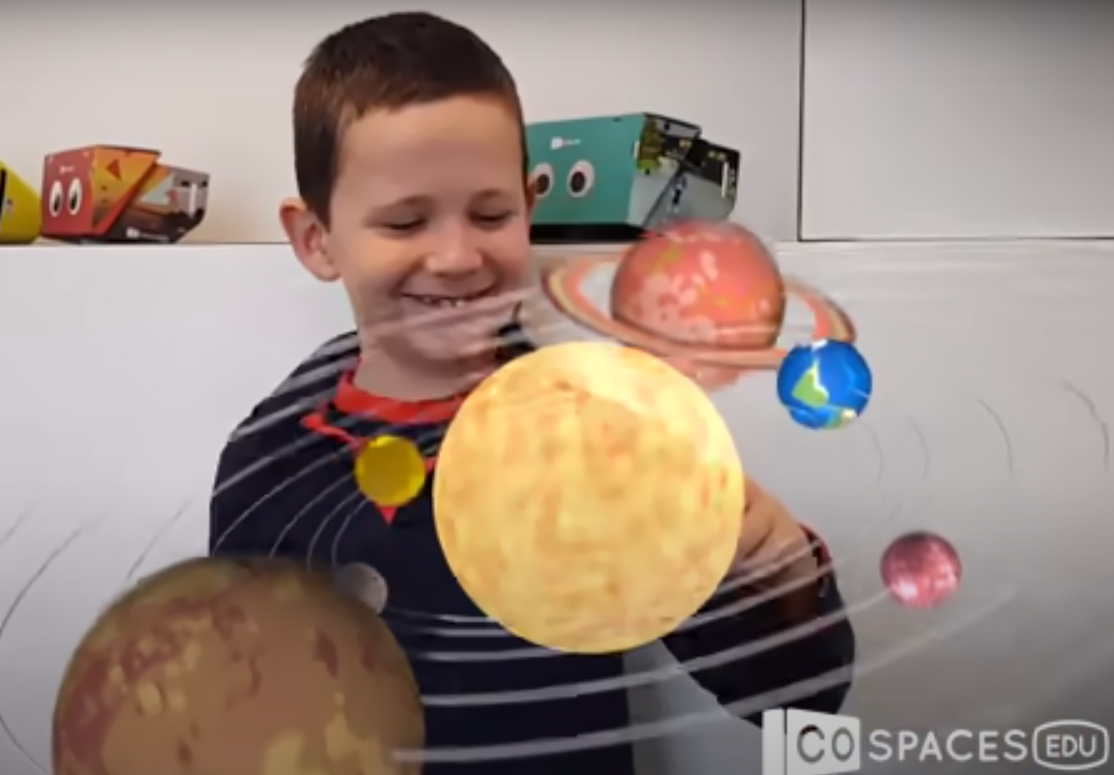
There are many benefits to encouraging students to build and create in 3D and craft code or script. But with so many options available, what is one solution you can focus your students on? Luckily there are augmented reality and virtual reality (AR/VR) tools available to encourage 3D, coding, and collaboration. Before exploring some AR/VR tools, let’s look at some benefits.
What Are the Benefits of AR/VR, and Coding?
In the workforce, there are several uses of AR/VR apps:
- Providing information in real time
- Facilitating training and mirroring real-life experiences
- Enhance creativity in design and development
In addition to benefits for the workforce, some researchers suggest that AR/VR apps can assist with the following in the classroom:
- Reduce cognitive overload
- Assist students in developing higher-order thinking capabilities (source)
- Potential to help autistic children in navigating academic and social situations (source)
- Positively impact self-efficacy
There are several more applications but these reflect educational goals, don’t you agree?
Self-Efficacy and Coding
According to the Visible Learning MetaX database, self-efficacy is:
A sense of confidence or the set of self-perceptions that influence thought, actions, and emotional arousal. It accomplishes this since it enables people to make decisions. The decisions they make are about what course of action they intend to pursue.
Self-efficacy enjoys an effect size of d=0.65. Since the hinge point for one year’s academic growth is d=0.40, this makes self-efficacy worthy of consideration. This 2020 study connecting self-efficacy and coding found:
The results of the analysis of quantitative data indicated that the model developed for coding education had a positive effect on students’ programming self-efficacy and attitudes towards technology. Students expressed positive opinions about coding education.
Their positive opinions included students thinking that:
- Coding education facilitates the teaching of many different subjects such as mathematics and science.
- Reflected their self-perception that they can do many activities
Those activities include code and program writing, designing games and robots, and solving problems with their coding education. With these benefits in mind, it’s important to ask, “What digital tools might work well in K-12 education?”
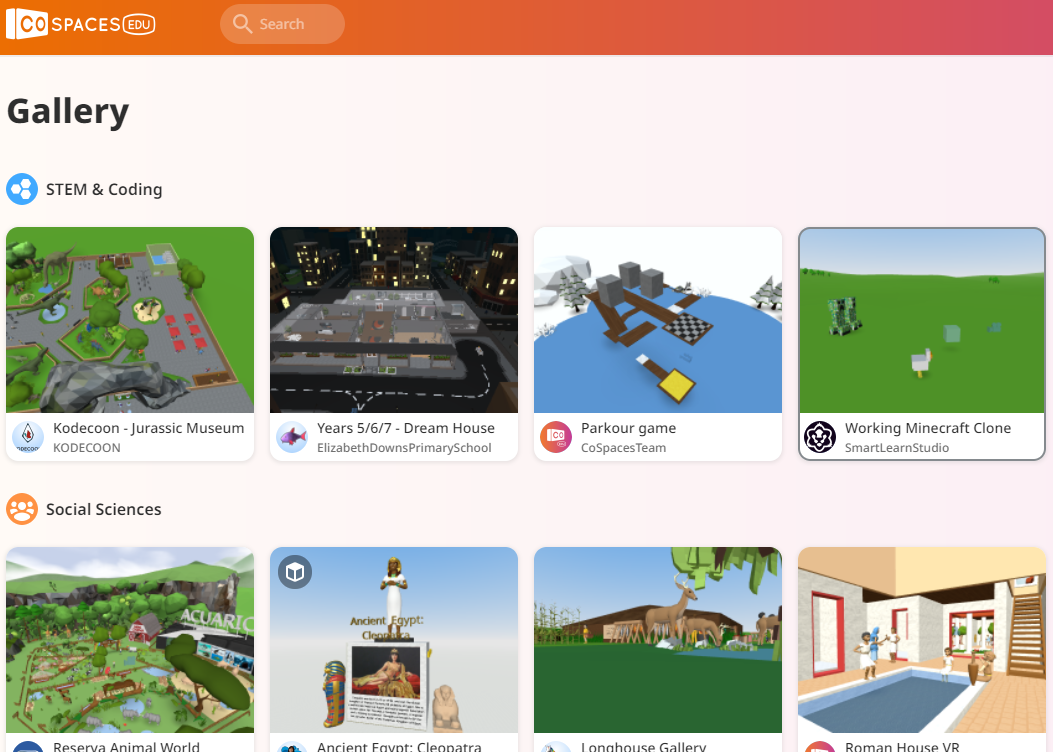
Digital Tool: CoSpaces EDU
As you might imagine, there are a great variety of digital tools that are the answer to that question. The tools for AR/VR and coding vary from year to year, as the technology improves. One tool that you might consider boasts the following features.
3D Modeling
- 3D avatar and model creation
- The ability construct 3D models that improve on solutions like Minecraft and others
- Adding images, videos, sounds (including background music) to 3D models
- Cross-platform capability (smartphone, tablet, desktop, Chromebook)
AR/VR Support
- Move 3D creations into VR
- Supports use of a VR headset
- Allows for collaboration among students
- Hologram interaction
- Focus on creation, not consumption
Coding and Scripting
- Block-based coding or programming like Scratch
- Support for scripting languages that add interactions, events, and allow for game creation
- Create simulations of physical phenomena that allow for visualization of abstract scientific concepts
CoSpaces EDU offers a few other features including MERGE Cube mode. You can also manage your class roster in it. Student management can interface with Clever, as well as Apple, Google, and Microsoft.
CoSpaces EDU Pricing
While CoSpaces EDU sounds great, how much does it cost? It enjoys a free tier with basic features, but the PRO Plan with five seats costs $74.99 per year. Each Pro Plan offers all features for a number of seats. You will have to decide if this best meets the needs of you and your students. Limited Pro Plans are also available for your consideration.
The CoSpaces EDU has an ambassador program, and you can see “getting started” resources. Also, explore their YouTube Channel. Give it a whirl!
Feature Image Source
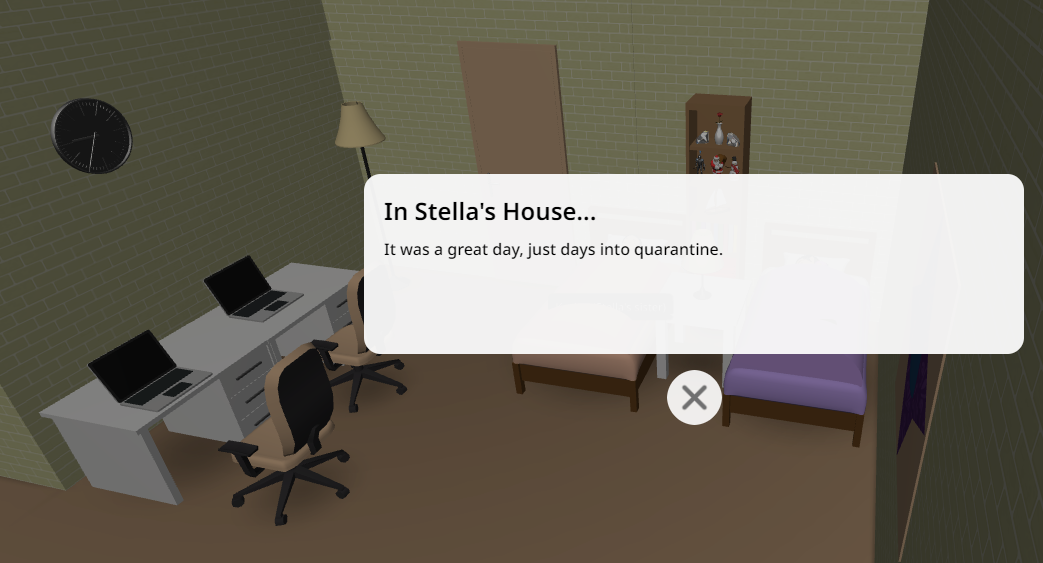
Screenshot by author, Cospaces
 Demo #1: Water Temperature and Effect


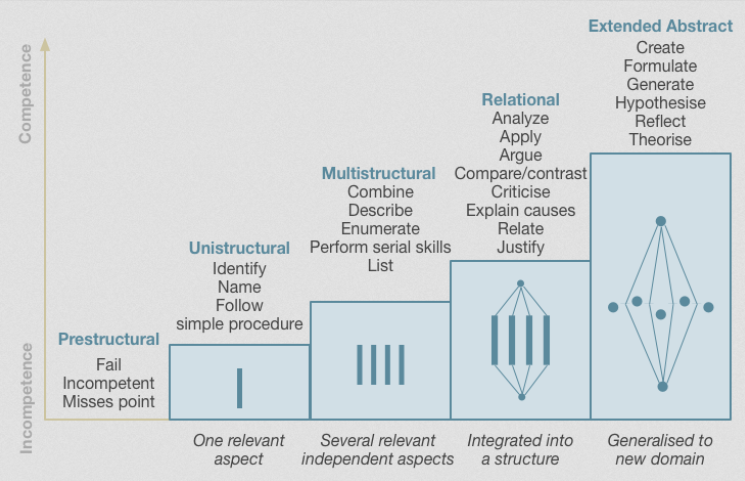
 “We come to know ideas, and then we can be asked to relate and extend them. This leads to conceptual understanding, which can in turn become a new idea. These conceptual understandings form the ‘coat hangers’ on which we interpret and assimilate new ideas, and relate and extend them” says
 What Is Flip?
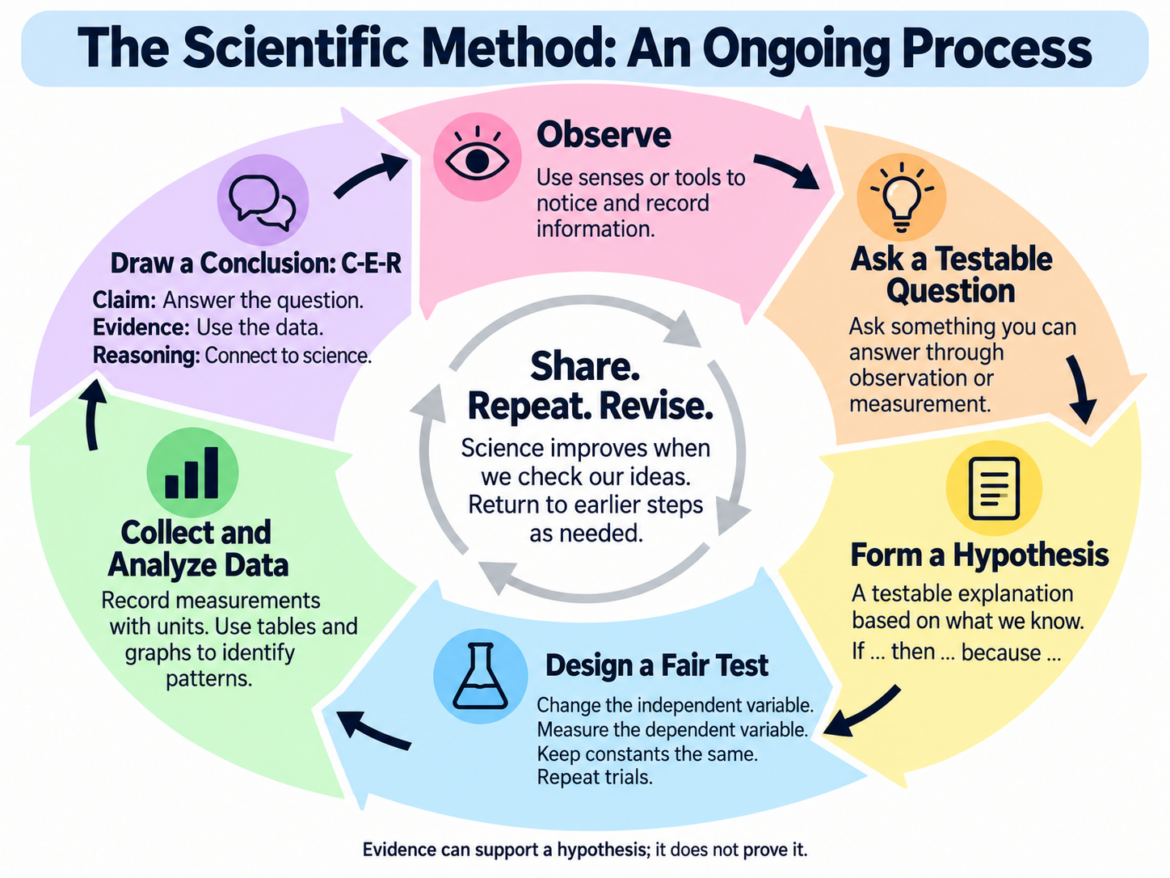
 Students begin learning observational skills in science starting in kindergarten. Though the skill is not as robust or refined as what a high school student may demonstrate, there is still great value in having them engage in observing the world around them to start taking notice of how things work. Observation is a foundational science skill that leads to communication, classification, measurement, inferencing, and predictions.
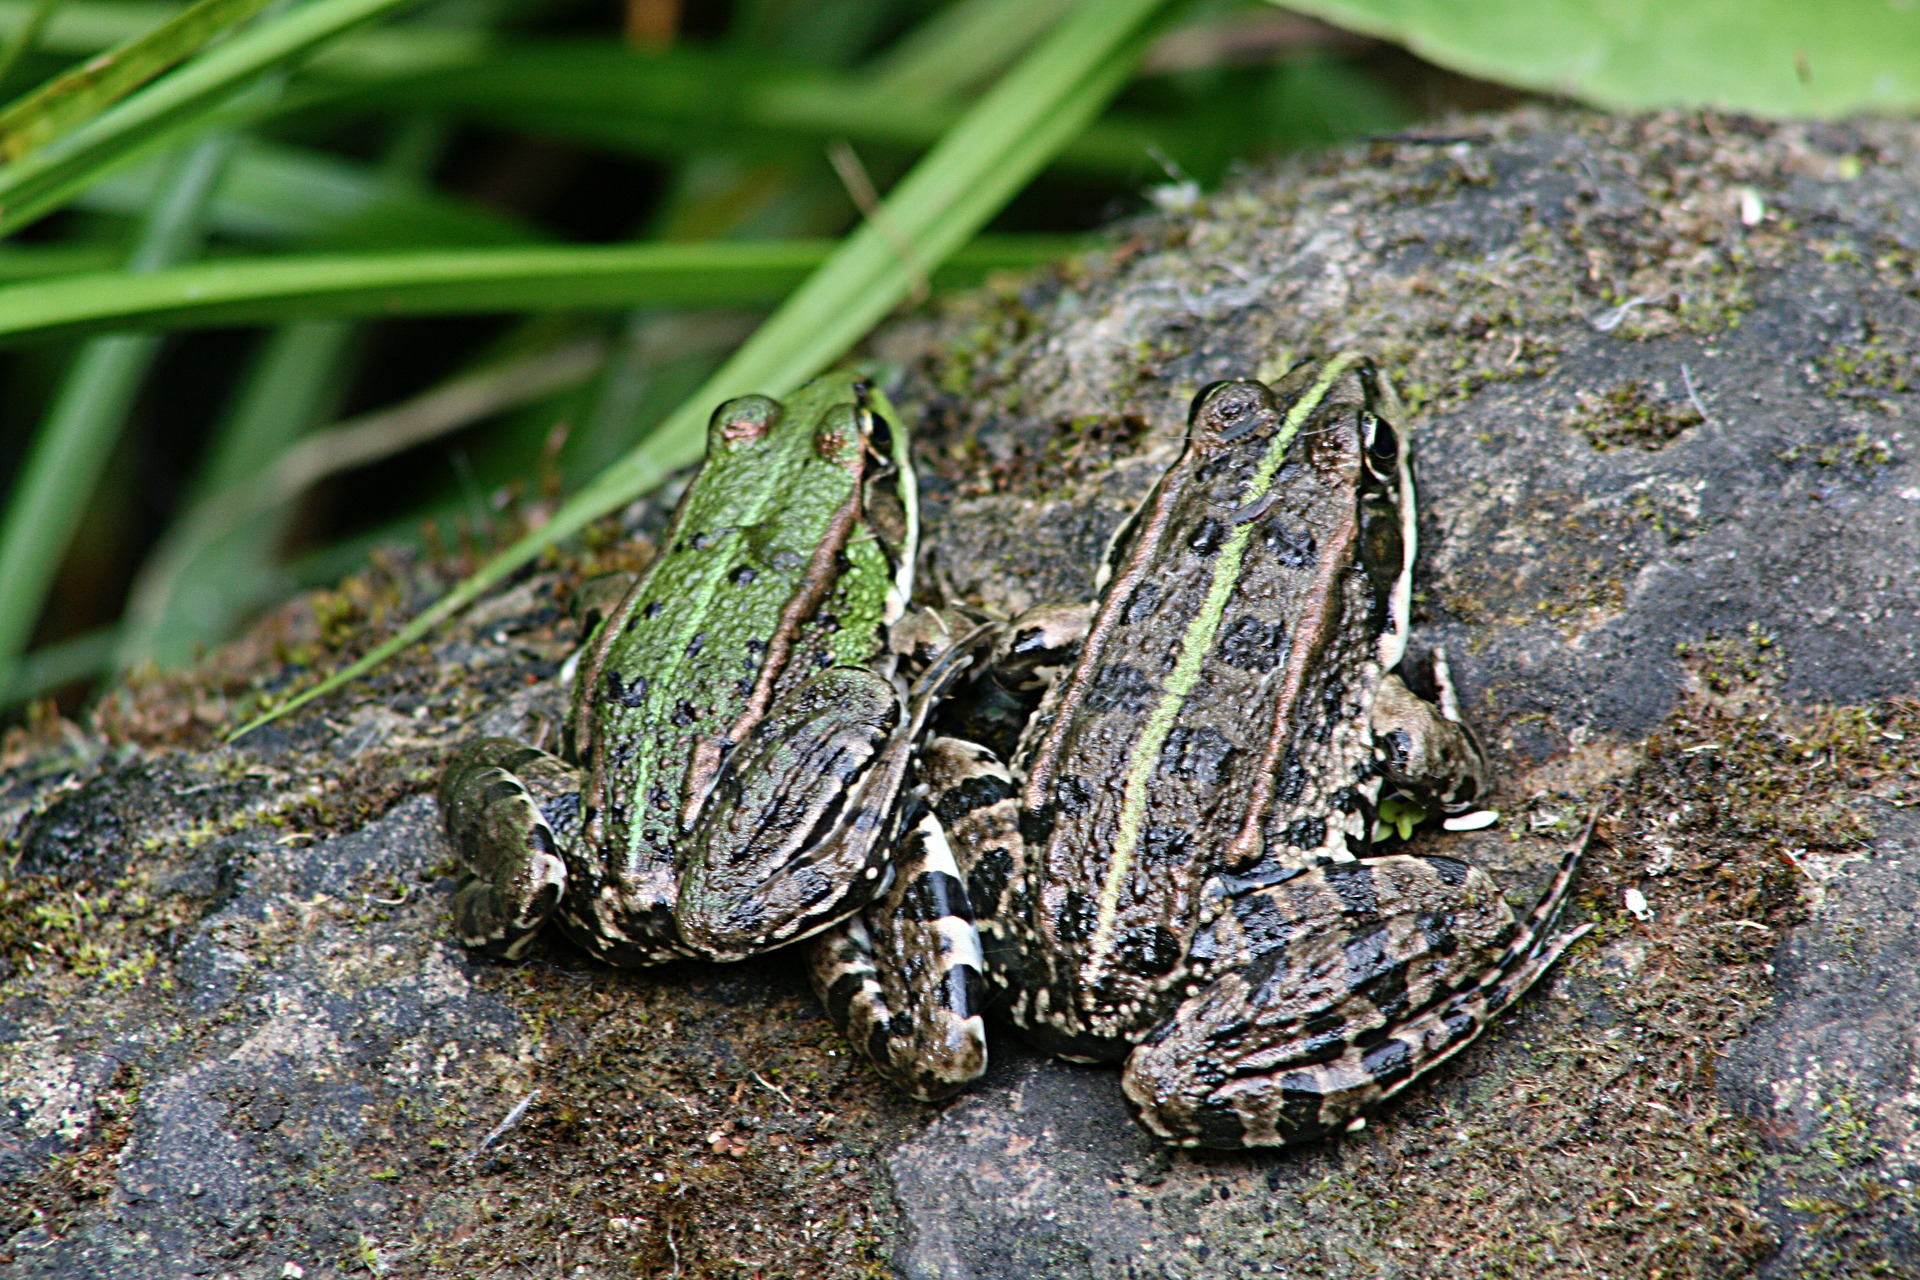
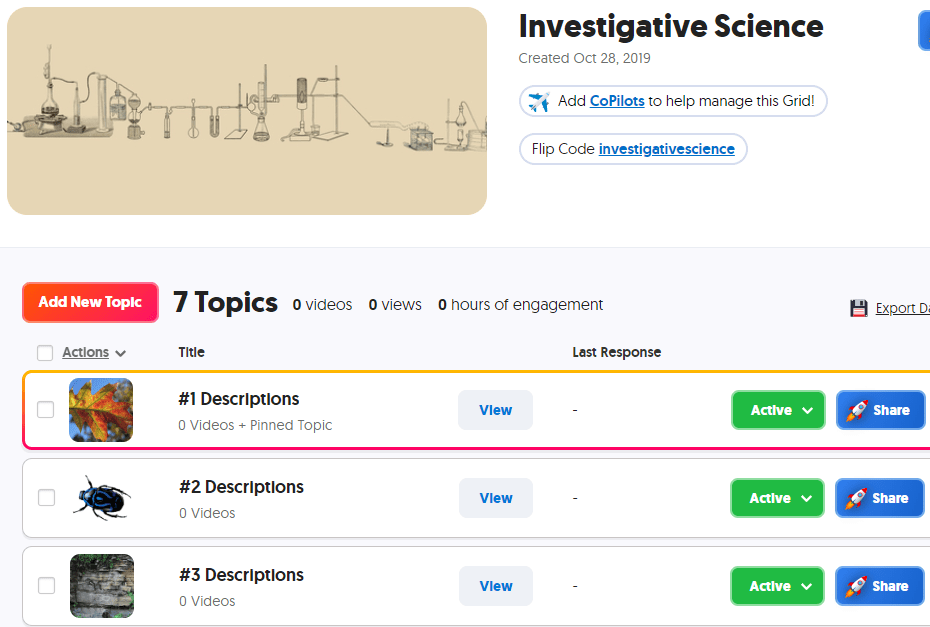 In Flip, create a grid for observations. Each topic in this grid will show a photo or video that the student is to observe and describe. Depending on the level of skill, you can require students to use previously learned vocabulary in their responses. If you want students to use words from a given word bank that you have developed for them, create the document and add it as a topic attachment to the topic. You can reference this word bank in multiple topics by adding the link to each topic. If you have a rubric to guide the students in their work, add the rubric as another topic attachment; for younger students, you may need to record a video showing the rubric while you are reading it aloud.
 Go to
Go to 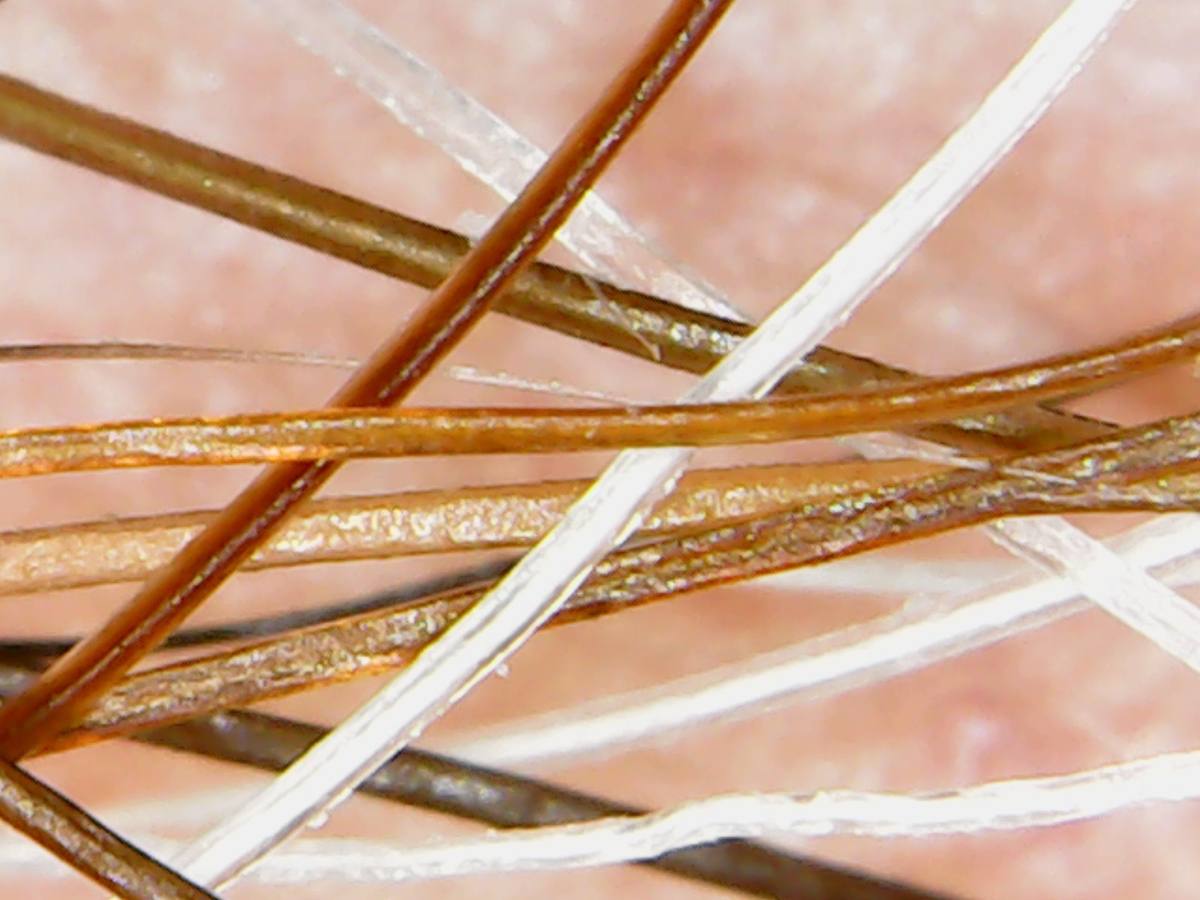 Begin by creating a grid to hold your inferencing topics. As done above, create a standard set of instructions for your students. You can go to ,
 Pixabay -(
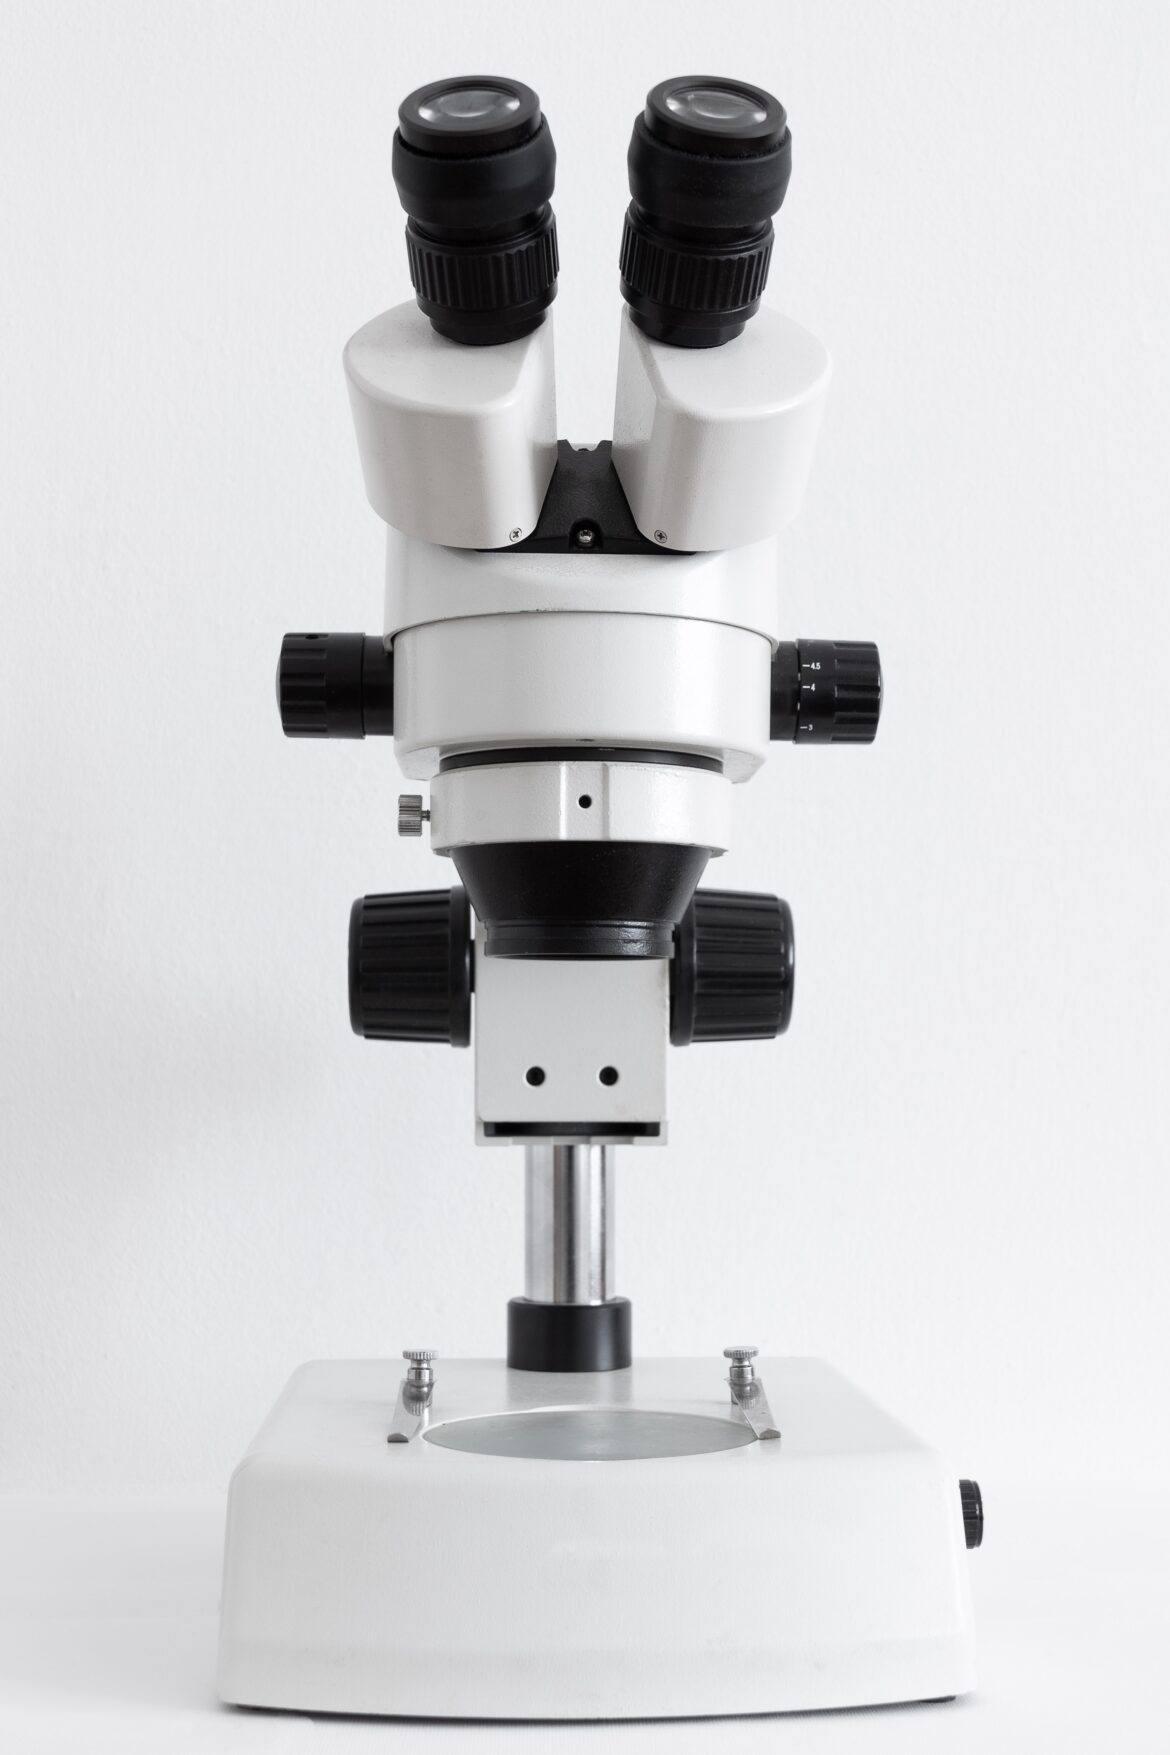
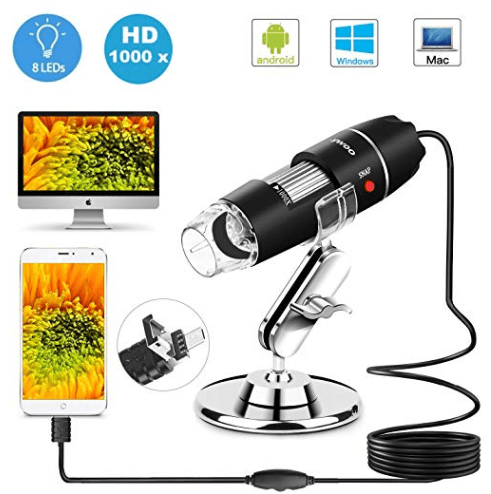 USB Microscope – Consider purchasing a USB microscope that you can connect to your device in order to take photos and videos of actual materials in your classroom…or on fieldtrips! Read the details carefully as some microscopes will work with some devices but not all…such as Android phones/tables, PC computers, and Mac computers but not iPhones or iPads. If you need a microscope that connects with your iPhone or iPad, be sure that it explicitly states that it connects. Likewise if you are wanting to connect the microscope to a Chromebook. If it is not clearly stated, look for a link in which you can ask the seller or locate that microscope on another seller’s website to see what information they provide.