Want to improve your child or student’s reading ability? Google has created a new reading app to make that easier to achieve. You may recall Google’s previous entry into reading apps, Rivet. We wrote about it in Reciprocal Teaching with Google’s Rivet App. Today, we’ll review some important research on reading and then jump into the new Read Along app.
Note: Trying to open the link to the Rivet or Read Along app? Read Along is now in public beta for the web and works in popular browsers. Read Along includes brand new stories from two YouTube content creators. Those include ChuChu TV and USP Studios. Use Read Along as a reading practice tool in schools and at home. For each, use Google Workspace for Education account or personal Google Accounts with Family Link at home, respectively.
The Power of Reading
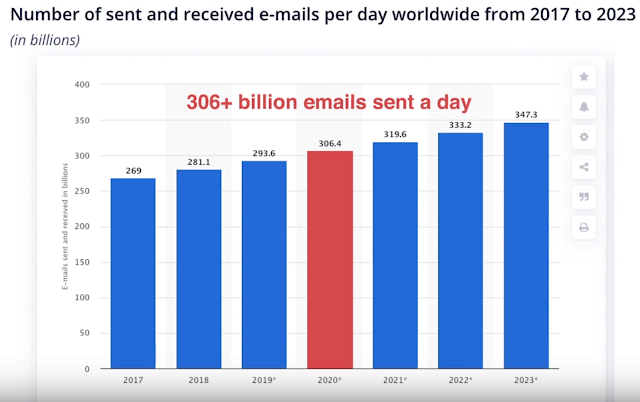
“On average, Americans aged 20 to 34 spend a 0.11 hours reading daily, which amounts to less than seven minutes per day.” (Source: Statista). Is that trend reflective of what happens in schools?
This can have a profound impact on student learning over the long run. Jennifer Gonzalez (Cult of Pedagogy) highlights these points from Schmoker’s book, Focus:
- In the early years, students need time to read, not to do skills drills or reading “activities.” Students should “never, ever engage in cut, color, or paste activities.” Those occupy more than 100 instructional hours per year, asserts Schmoker.
- Students should read fiction and nonfiction. He says, “We learn to read well by reading a lot for meaning,” when we read to do the following:
- Analyze or support arguments,
- Arrive at our own opinions as we make inferences or attempt to solve problems.
- Students should engage in discussions at least three times per week. These discussion should have established criteria to guide them.
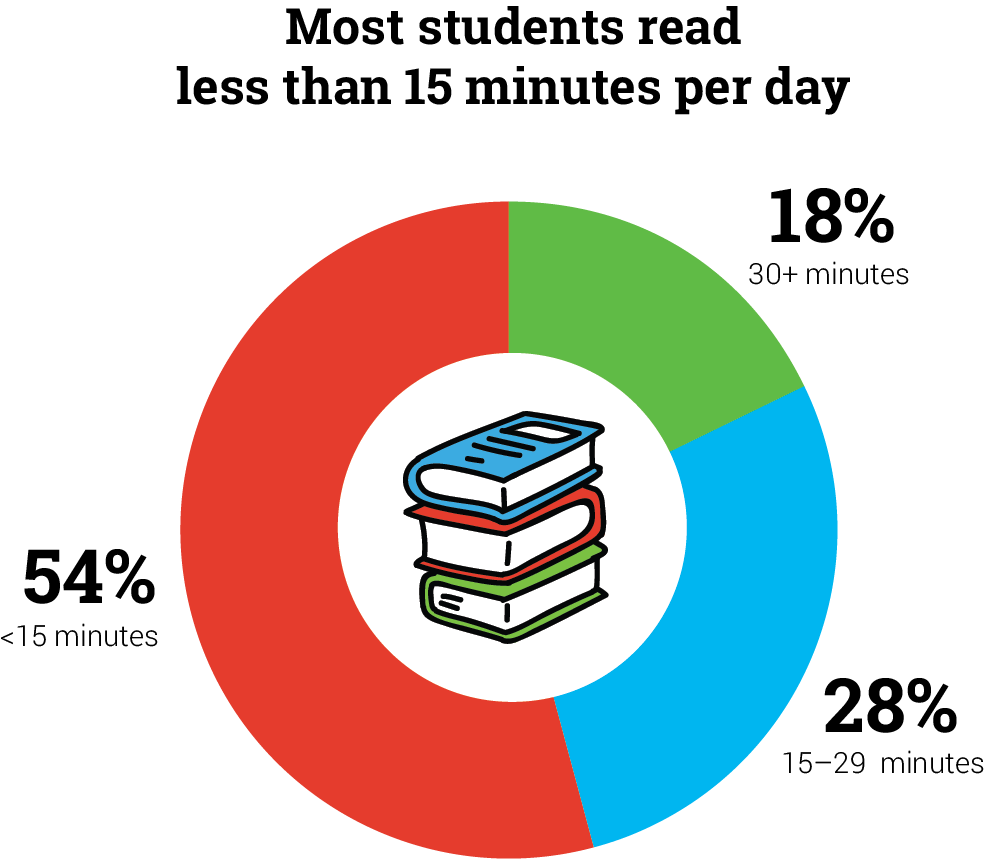
His assertions underscore the importance of reading. You can use Reciprocal Teaching and TRTW. As you can see from the chart below, getting children to read early on has a direct connection to whether students graduate.
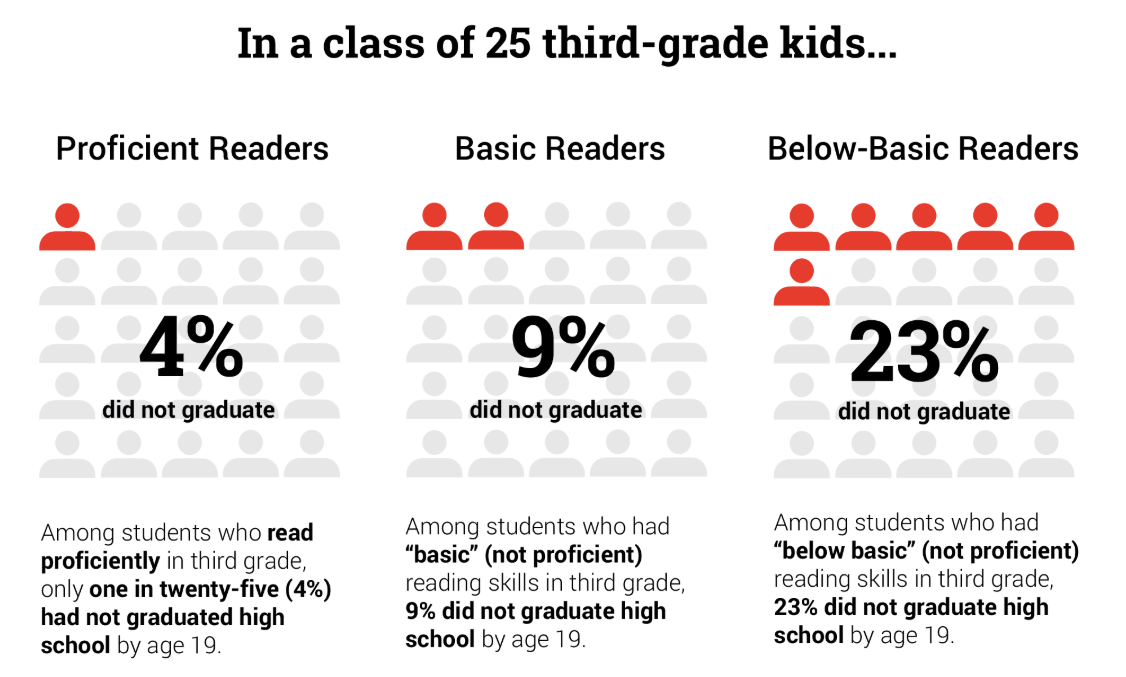
With those statistics and information in mind, we must do more than encourage reading. We have a mandate about what it can do in the lives of our children.

The App
In the free Android Read Along app, young readers have a digital tutor that assists them in reading text on screen. If you ever read Living Books’ Arthur’s Teacher Troubles, then you have an inkling of how things work.
The app has a reading buddy who listens to your young learner read aloud and offers help when they struggle. Rewards are given in the form of stars. It works best for children who already have some basic knowledge of the alphabet.
Watch this video of it in action:
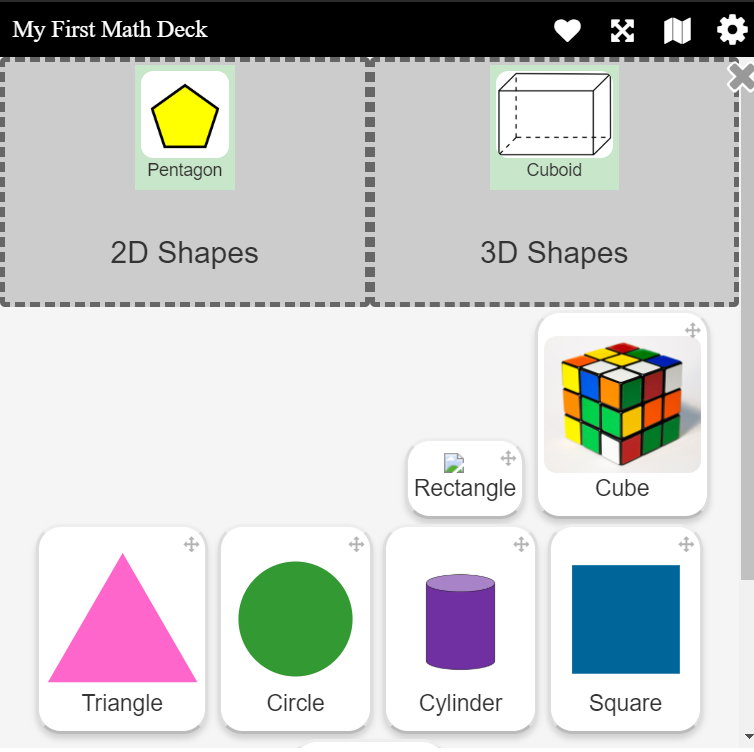
The app combines games and stories, as shown below:
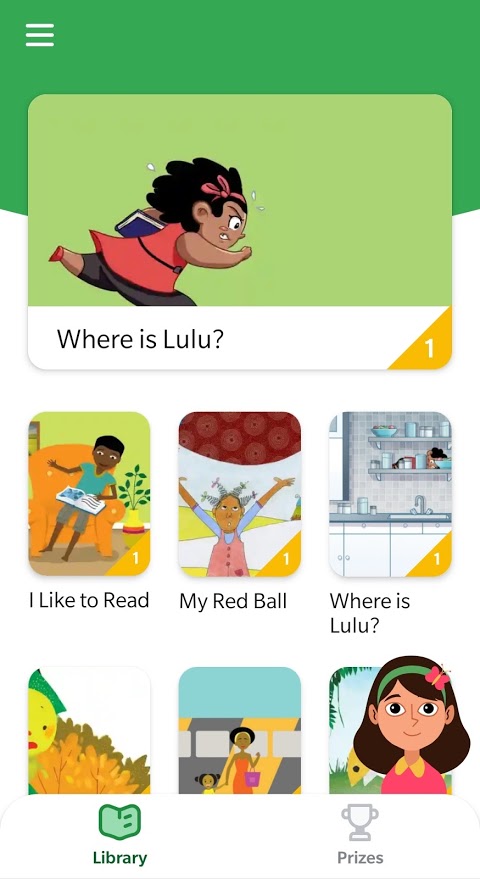
The app shows pictures and text on screen and listens to the child read a story. It encourages students to read for ten minutes a day. It will also keep track of how much they’ve read and offer prizes. It has a fun option of playing music in the background that may become annoying.
You can also switch to a variety of languages, such as Spanish. See how books appear in Spanish when you switch languages.
Don’t be afraid to give this app a try with your young reader. It may be the type of engagement your child needs. Read along with your child to improve engagement.


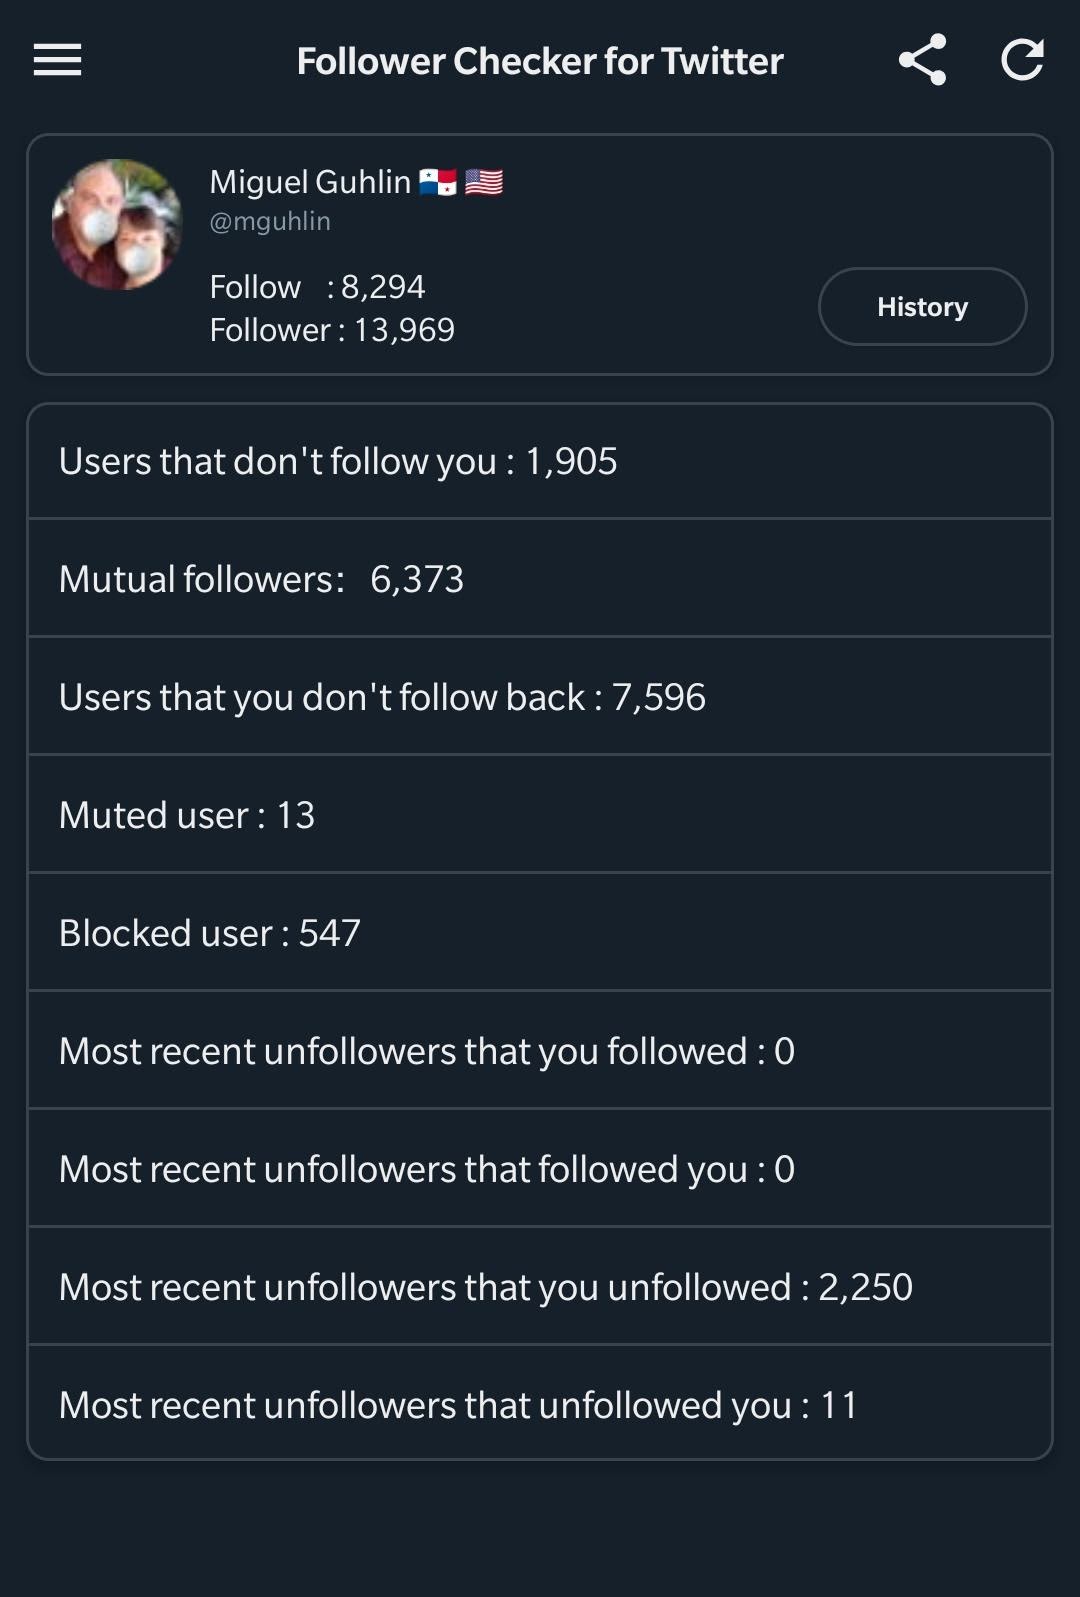
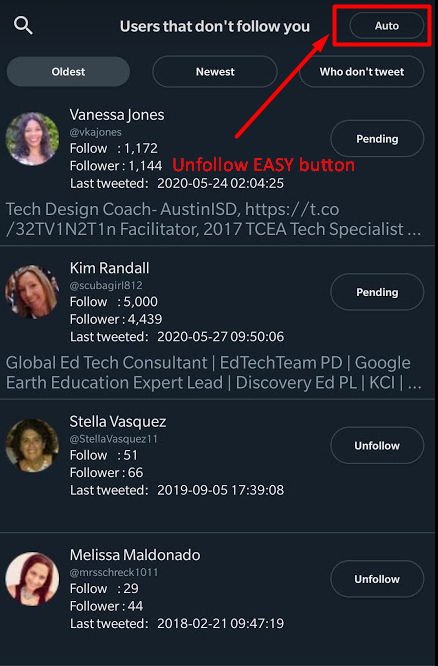
 Follow Back is another tool that does the exact same thing as Follow Checker. The interface is a bit different and you have to suffer through boring ads (which you can turn off after three seconds). Aside from that, the app works in a similar manner. In spite of the ads, I found Follow Back to be a bit more endearing. One of its distinguishing characteristics is the timer.
 Earlier, I mentioned that there are people you want to follow who will NEVER follow you back. Those could be news organizations, magazines, non-profit organizations, and others. Instead of following them, add them to a Twitter List. Here’s

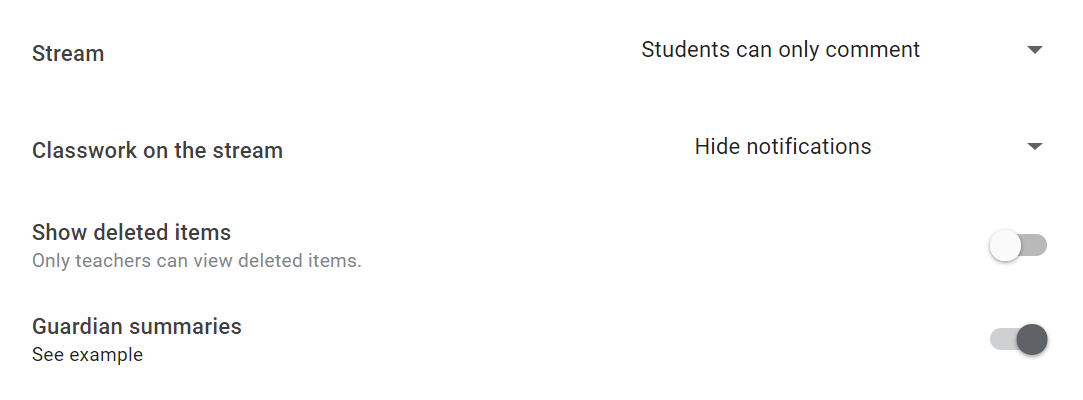
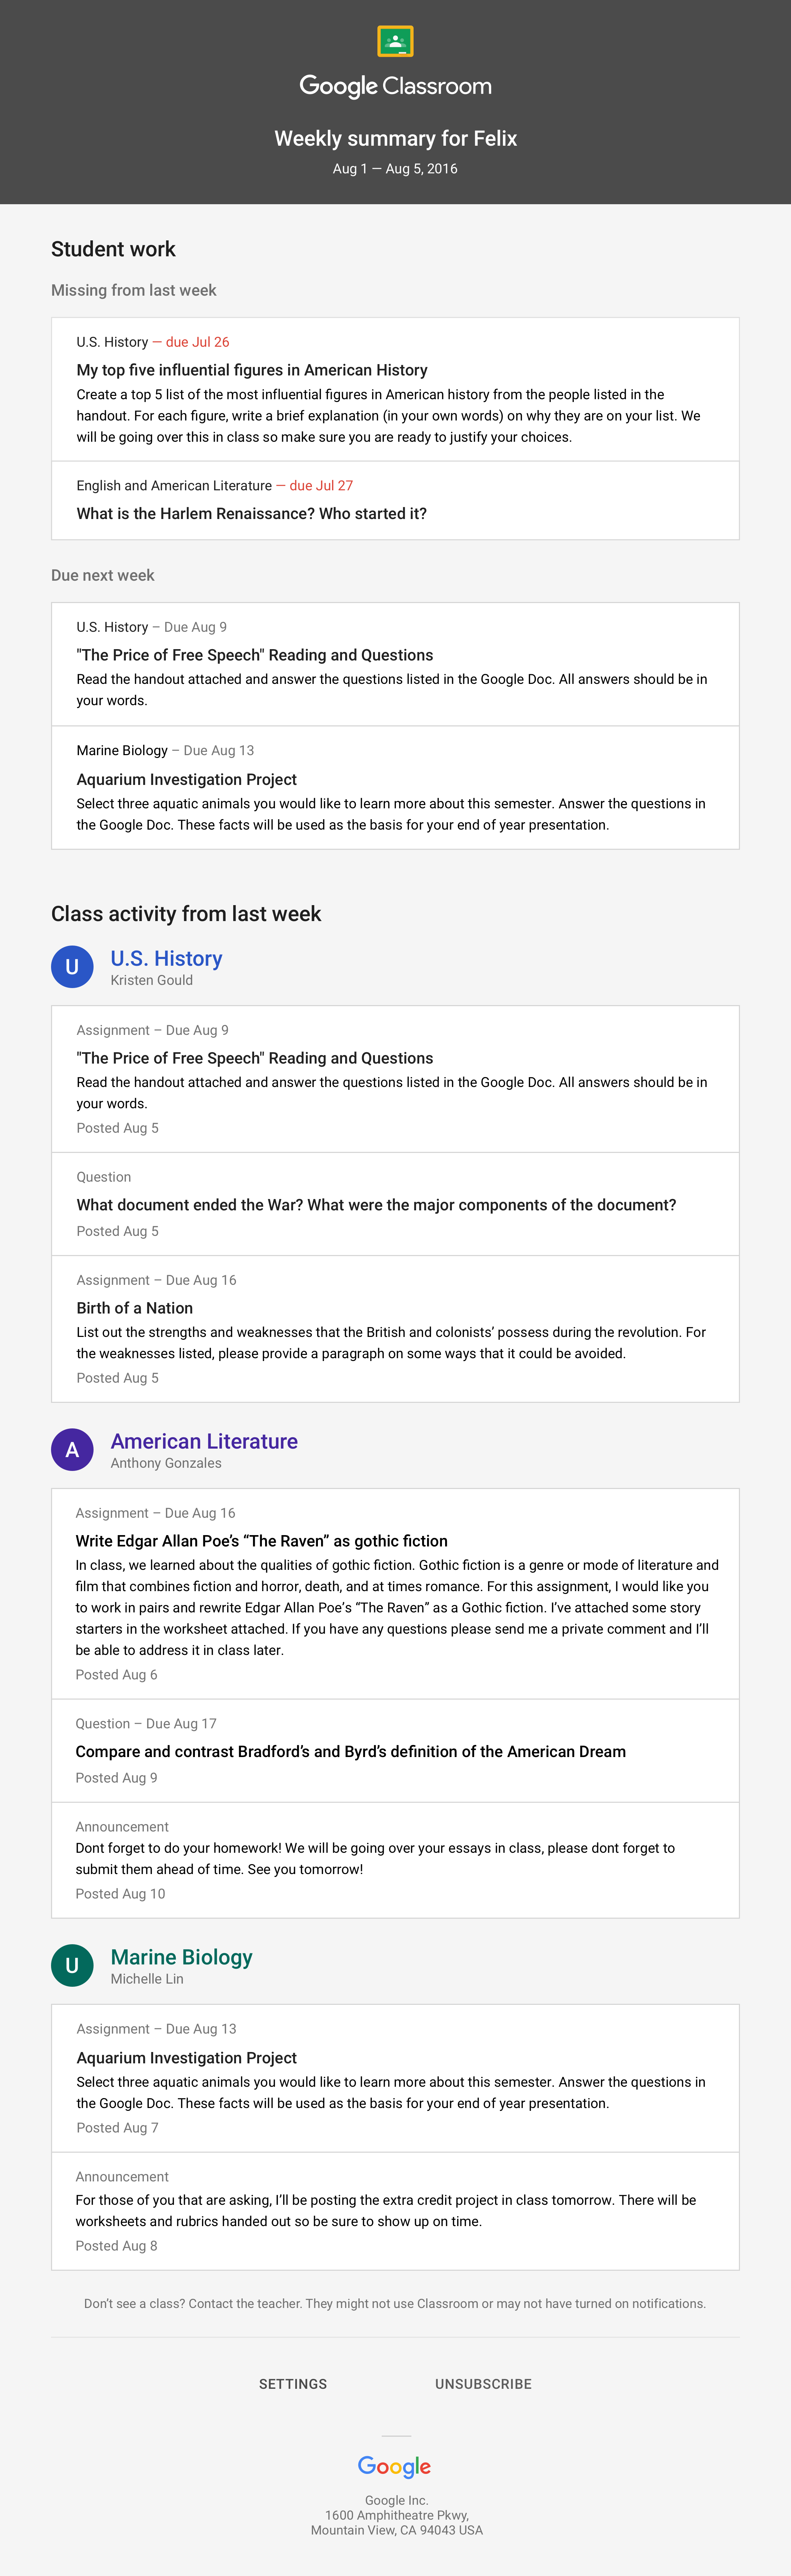 When guardians join Classroom, they receive regular, automatic email summaries. They get these for each of their children. Guardians choose the frequency of the emails (daily or weekly). They can unsubscribe at any time.


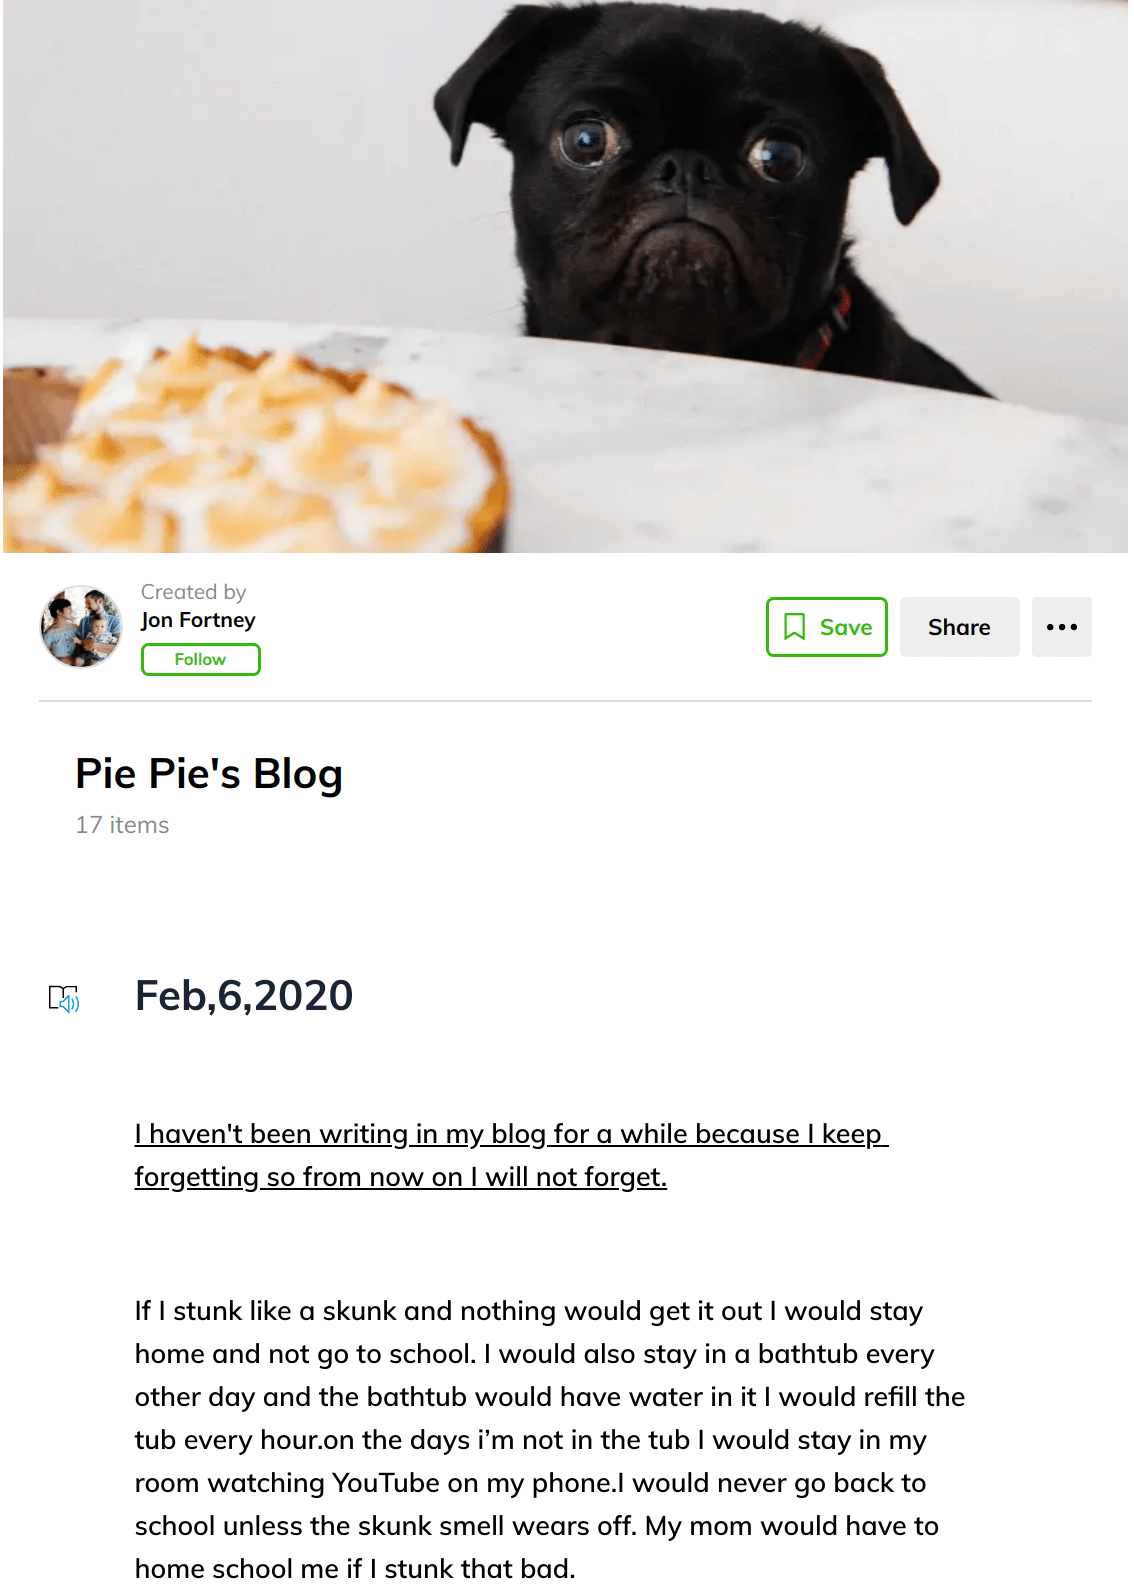 One of the first steps you need to take is to select a blogging platform. This is an online space to share content. Avoid getting caught up in the strict definition of a blog (e.g. RSS feed or an online space with content you can subscribe to). Another point you need to consider is that you need something you can control as the teacher. Students are often blocked from using tools like Blogger because they are for students older than thirteen years old. As a teacher, you need an online platform that makes it easy for you to manage content online and student posting.
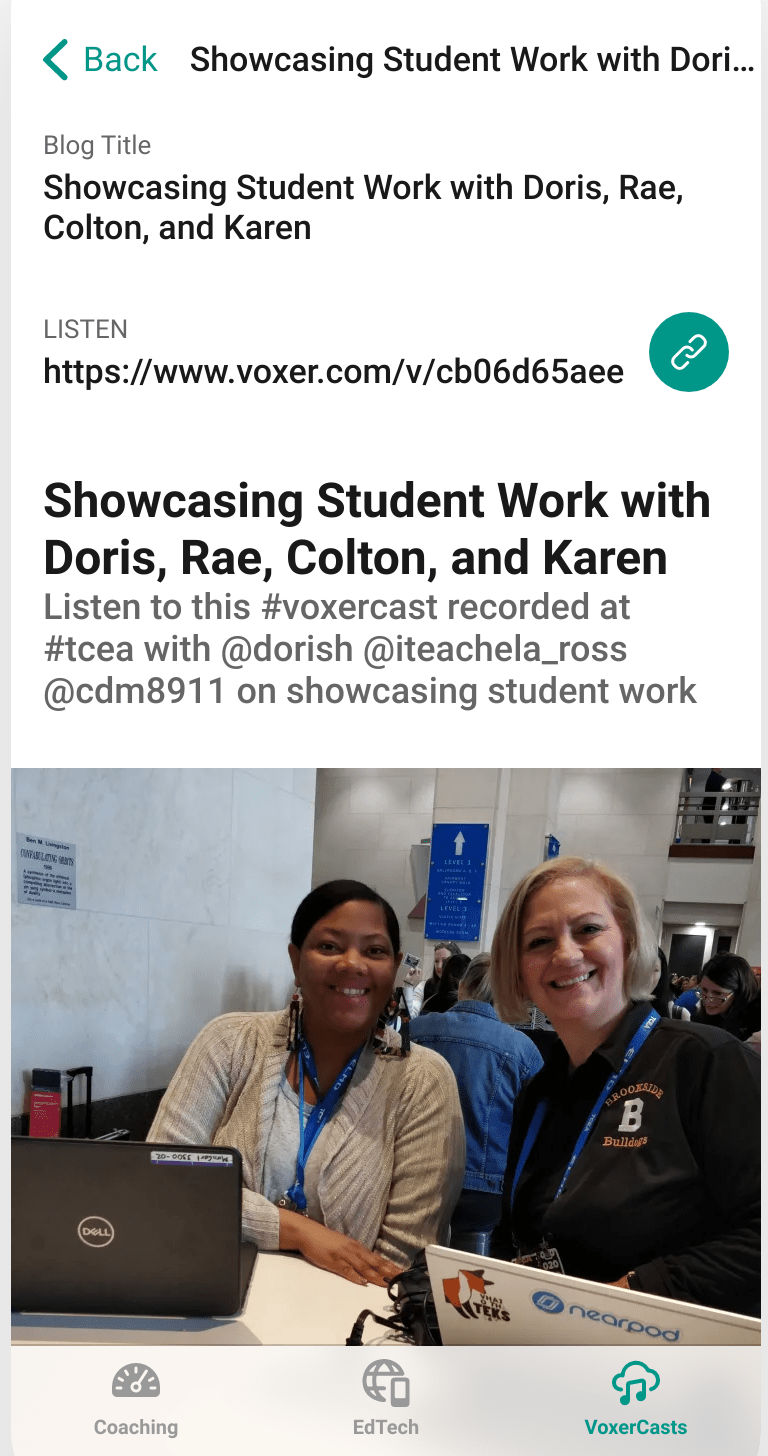 Unless you’re engaging in full-blown podcasting which involves scripts and audio editing, use Voxer to record interviews of less than 15 minutes and then post to social media (e.g. Instagram, Twitter). Be sure to combine your media shares online via Instagram, Twitter, Facebook and Tumblr. In the meantime, here are some suggested tools for working with podcasts: