

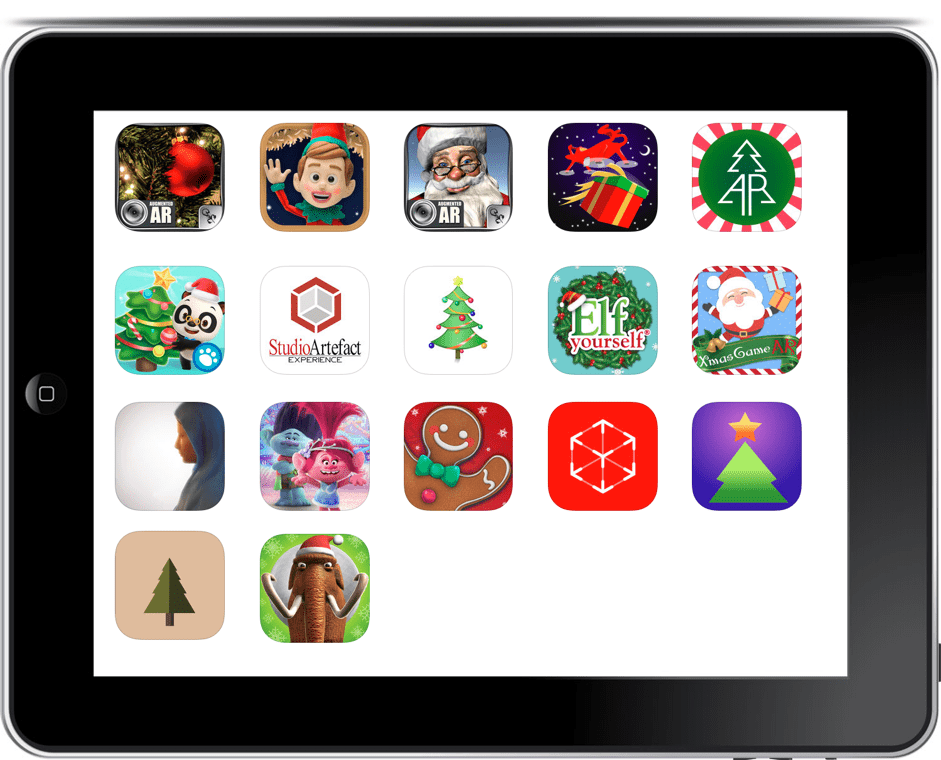
Many of us are getting in the holiday spirit right now, and what could create even more fun but to add some augmented reality to our gathering times? We’ve curated a list of iOS apps that you might enjoy. If you want to be even more nerdy as a gift giver, you can download the templates by Top Advertising and print/send augmented cards that will delight the receiver. But be sure they know how to download the ePrism app (iOS or Android) so they can enjoy your card to the fullest.
As you take a look at the apps below, consider how you can use them to make memories with your students and friends. And, as always, be sure to preview the app prior to sharing with your students/parents.



Dr. Panda AR Christmas Tree
Free
ElfYourself by Office Depot
Free
Be sure to share which app you used to add fun and merriment as you are with your group. If you tweet out a photo, be sure to tag #TCEA so we can enjoy it, too. And, if you happen to find other augmented reality apps that are holiday-focused, don’t forget to share them in the comments below!
This blog has only scratched the surface of great tools that can enhance your classroom, school, and district using iPads. If you would like more assistance, contact me at bellis@tcea.org to discuss scheduling TCEA to come to your site to provide either a half-day, full-day, or two days of training. You’ll find our training is very customized, research-based, definitely hands-on, and reasonably priced.




 Join us on October 26 and 27 at the TCEA Headquarters in Austin for sessions on hot topics such BYOD management, end-user technical support, security, Chromebooks, emerging technologies, network/wireless management, and more. Check out the
 If you like listening to audiobooks, you’ll enjoy using OverDrive. If your district doesn’t subscribe to it, check and see if your local public library does. If so, you can check out audiobooks from them, as well as through their network of other contributing libraries!
 While grandparents love this app for making collages of their grandkids, students of all ages will find this app easy to use when they have an assignment where they can create collages, annotate over photos, etc.
 Though many of us remember copying down notes in class to study for tests, current students seem to prefer to take photos of the board to capture their notes. This app is so handy for that. Point and aim it at the board, projector, paper, etc.. Once it detects the area, you just snap the photo; it will crop it so only the board is in the photo and deskew the image so it looks like you had prime seating in front of the board when you took the picture. Save as an image on your device or as a PDF or Office format if you have an Office 365 account.
 Sometimes you want your students to record a video to capture their learning. But many devices have a default video recording app that is bare bones. You’ll find Adobe Express to be an easy go-to tool that will help students make great videos without getting bogged down in the technical aspects of videography. Though it is only for iOS currently, it is worth the wait for other operating systems.
 Pushbullet is great if your students find that they need to “push” files or photos from their phone or tablet to their laptop/computer (and vice versa). Pushbullet makes it easy without having to move your file/photo to Google Drive, Microsoft OneDrive, or DropBox first. And, since it is in the cloud, you can access your account from any device to retrieve previously pushed files. This is great if you have students taking photos or videos on their phones, but then need to add them to documents that they are editing on a computer.
 If you want an easy app that allows all of your students to share, then this has to be the best app for that. It’s perfect for having students summarize their content or reflect on their learning. If they are using a phone or tablet, they’ll need to download the app; otherwise, they can use the webcam on their laptop to participate. Though I don’t recommend the paid version of many apps (I remember what it was like when my teacher budget was whatever I had in my pocket), this is definitely one app that is worth the price; consider getting others to join with you and you all can enjoy a discounted price. Even without the additional features in the paid version, this is a super app!
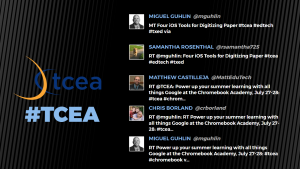 This has to be the easiest Twitter wall to set up. You have multiple themes available, can upload your logo, and identify one Twitter keyword, username, or Instagram keyword on the free version. There are four layouts (text, text and images, images, and instructions) which you can use in any combination or use all four (my preference) set on timers.
 Though not quite as extensive as The Wallrus, Activity Walls does do a nice job of showing the most recent tweets. Just identify your hashtag, set the colors (which can be a little quirky, depending on what browser you are using), and your wall is instantly created. Using Chrome, I can quickly jump to full screen for a nice projected view; using Internet Explorer, I can customize the accent, background, and text colors.
 Tweet Monsters is simple and focused. The free account is for personal use; you’ll need to contact them for pricing on corporate and other uses. Begin by identifying your hashtag. Customize text and background colors as well as the font, transition type, and transition speed. If needed, you can use the custom word filter to identify words to be filtered out and to either not show the tweet or substitute the bad word with an *. The downside of Tweet Monsters is that you only see one tweet at a time.
 This Twitter wall has the most options available without a cost. You can add lists, searches, tweets by geolocation, exclude specific hashtags or words, and color code your timeline, mentions, and direct messages if needed. You do have a variety of setting to change regarding the speed, fall size, language, font size, and whether or not to show retweets. When finished tweaking your wall, you will want to click on the Presentation Mode link for easier viewing for your attendees. Though not the most professional looking wall, it does give the most flexibility. And, when I’m in a Twitter chat, I use this wall to follow the exchange and participate.
 Now that you have a few Twitter walls to choose from and some tips to get you started, we’d love to see what you do with them. Share the link to your Twitter wall in the comments below.

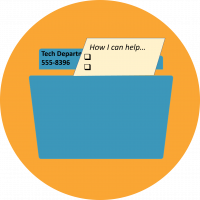 Begin by setting up a brief meeting to introduce yourself. For this meeting, I recommend creating a brief, bulleted list of services and supports you have to offer, along with various ways to contact you and/or your office. Though the administrator should be able to get all of that information from your department website, it is nice to have a hard copy of that information that can be filed away for easy access (the old-school way). Put your information in a
  To go the extra, extra mile, give a copy of the labeled folder and document to their secretary. Recognizing the value of their role in getting things done on the campus can go a long way. While many administrators have good intentions to remember all the details, they typically know they can rely on their secretaries to keep things organized so that that information can be easily accessed when needed.

 It’s actually pretty simple. Schedule something after work hours that requires you to leave at your scheduled time. It’s funny that anytime my kids have an activity that I have to be at after work or I have an appointment with someone right after the end of the day, I manage to be more productive. Knowing that I cannot stay late or have “extra time” to get things done forces me to push through distractions and be more focused on the tasks I have in front of me. Even if you don’t have a legitimate appointment to put on your calendar, still “schedule” something so that when you look at it, you are reinforcing the expectation that you cannot stay late. This could be something as simple as watching Wheel of Fortune that comes on an hour after the time you should be leaving work. You could also schedule time to get caught up on some enjoyable reading, a date night with your spouse, or taking a walk around the neighborhood to get some exercise in.
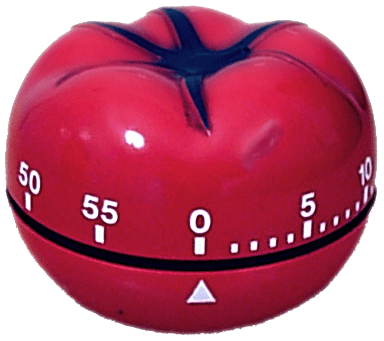 If you find you need a little bit more structure so that you can end your day without staying late, consider using the