There are plenty of desktop, browser-based video recorders available to us today. So why would you need one more? What if, instead of a video recorder, you also had a browser-based video editor? And what if I told you it’s easy to add images and audio to it and overlay text on that video? Most people would say, “That’s WeVideo or Screencastify.” But those solutions come with a price. In this blog entry, we’ll explore a new, free screen recording and editing tool.
Introducing RecordCast
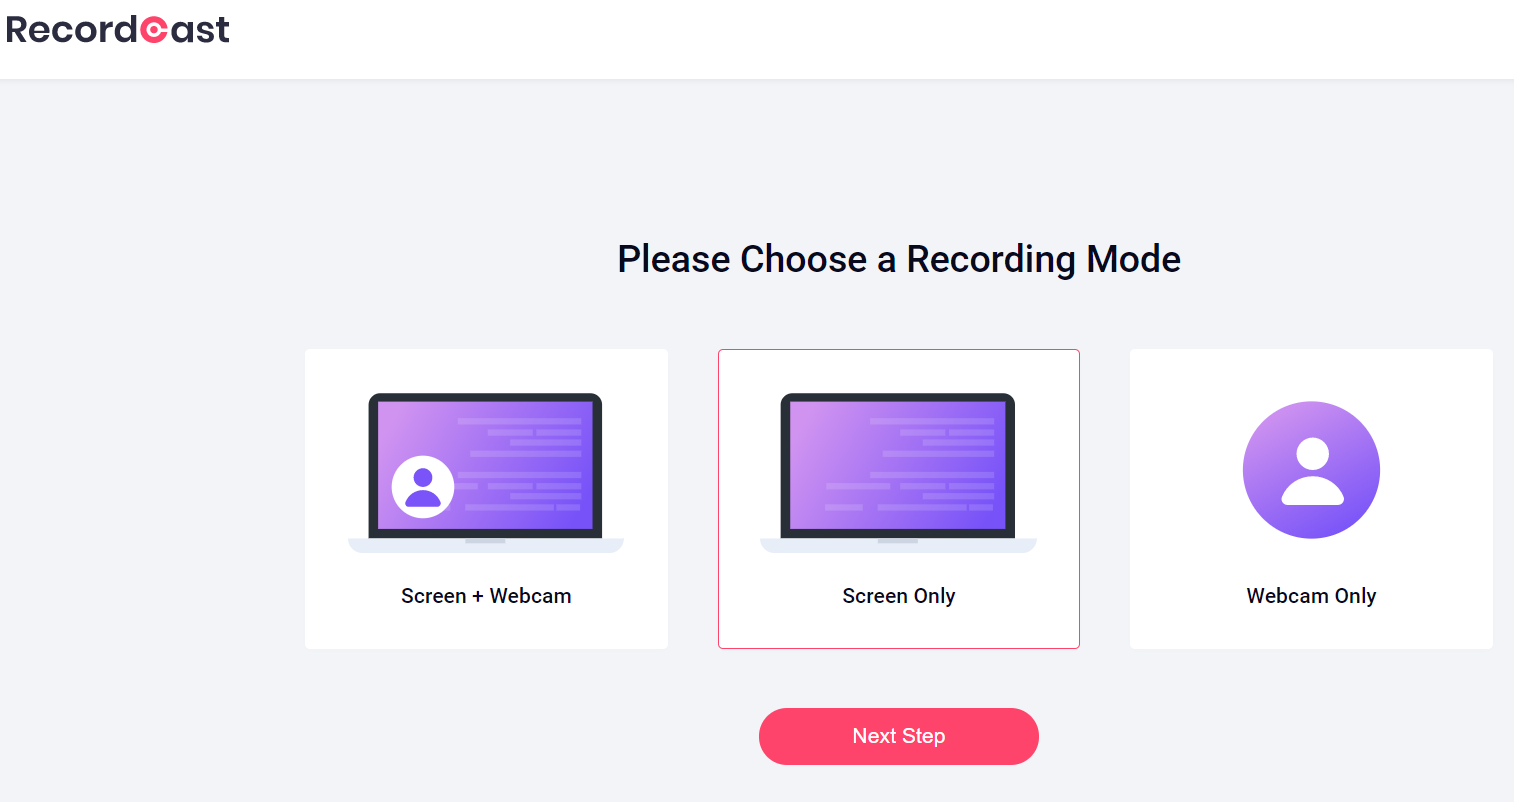
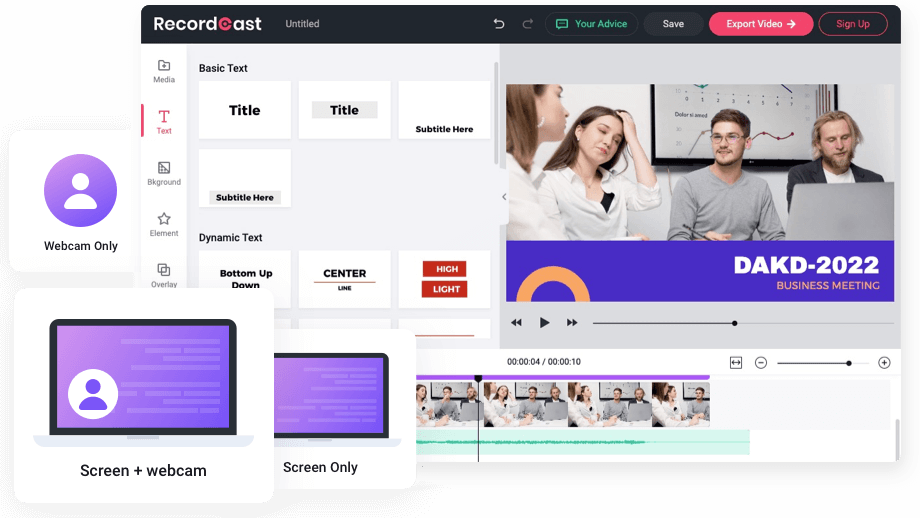
RecordCast brings the functionality of Screencastify and Loom Pro. No browser add-ons or downloads are required. That’s right, RecordCast works its magic without a special browser add-on or extension. That, and its “FREE” label make it an amazing find. But that’s not all.
RecordCast enjoys a thirty-minute time limit for recordings. This makes it a perfect tool for instructional screencasts. It combines the ease of use with two important factors: a timeline that allows you to add audio tracks and overlay text. You can also record your screen, screen plus webcam, or webcam only. Be aware that, in order to use the program, you will need to create an account, as well as verify your email.
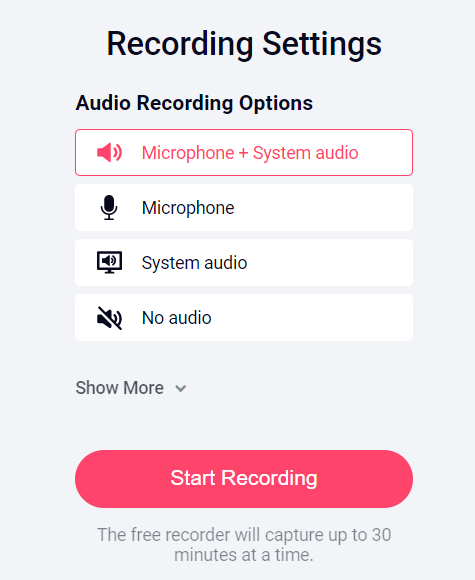
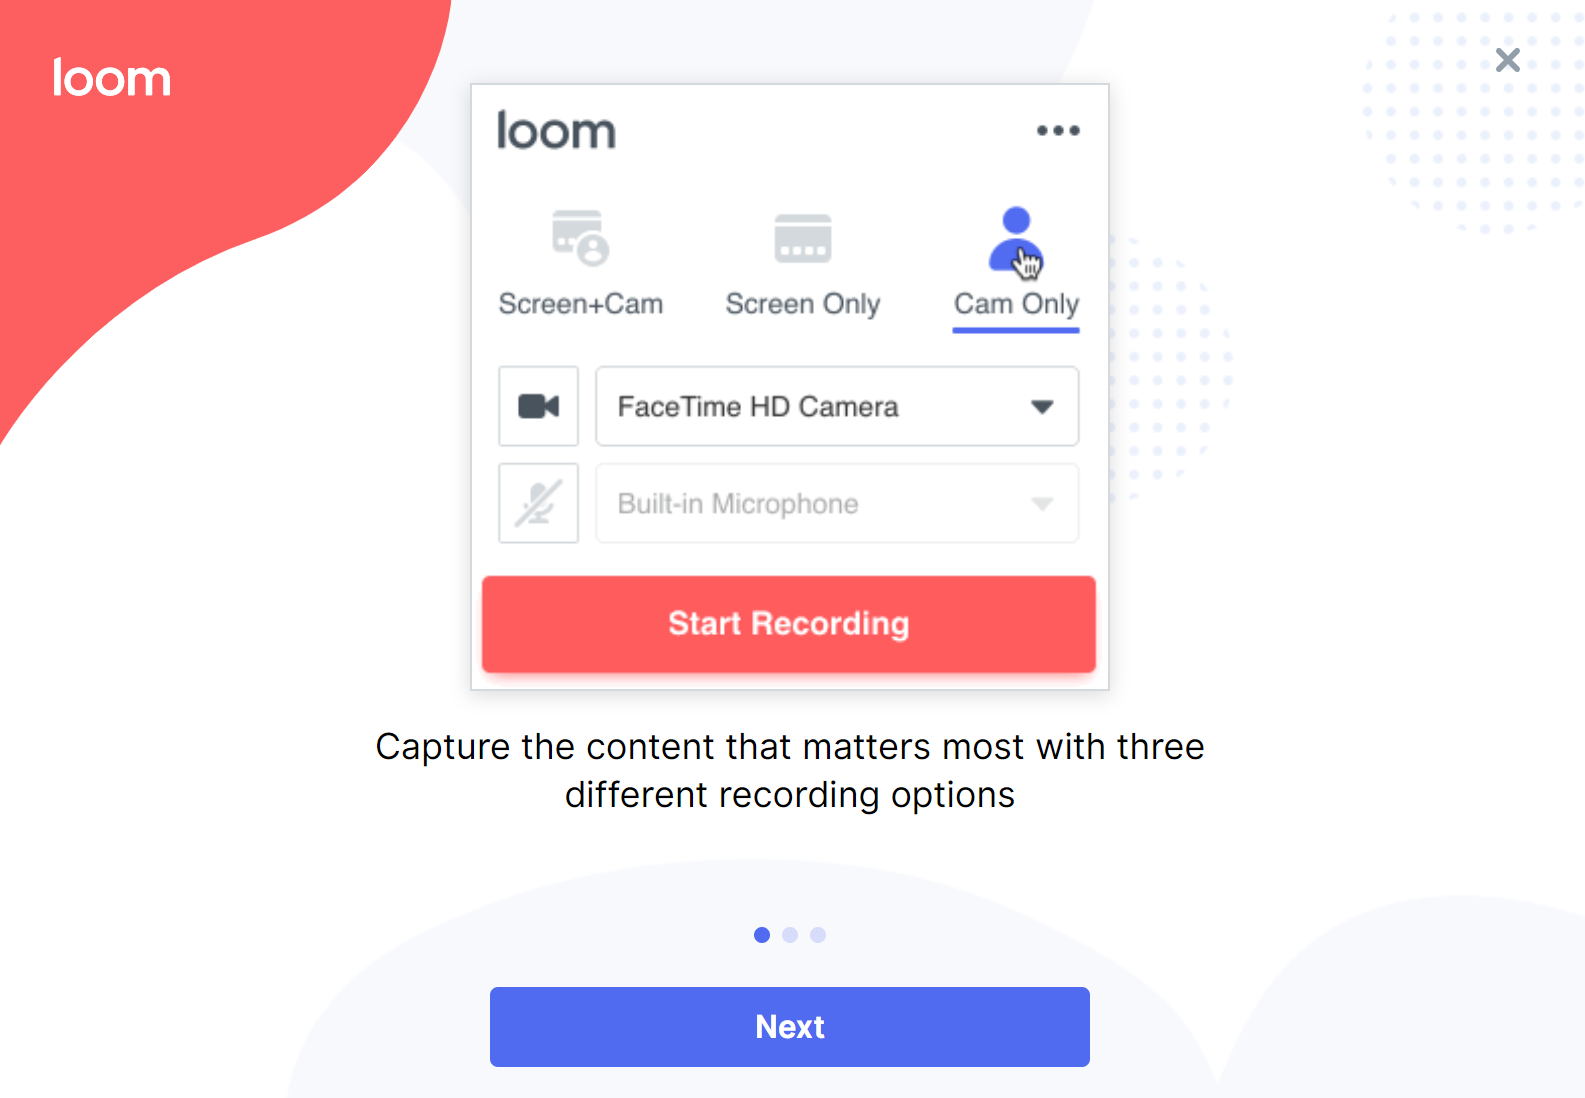
As you set up your recording, you will need to decide whether you want to enable system audio. You will also choose your microphone. RecordCast offers a wizard that guides you through audio sharing.
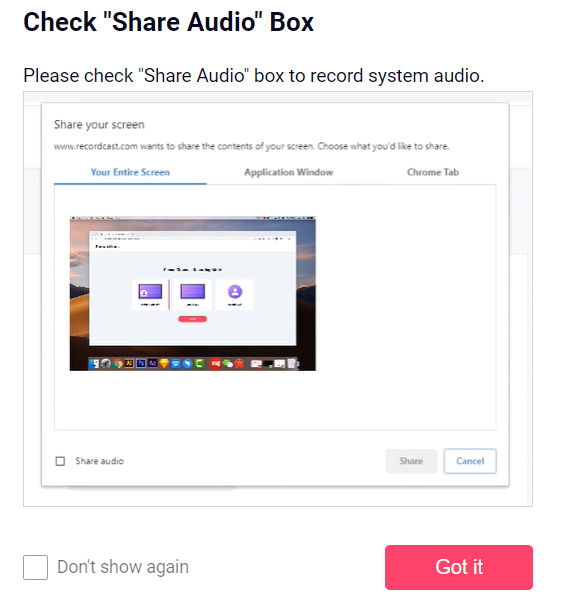
This screen is much the same as when you start a Zoom. That is to say, it will be easy to get started with RecordCast. It seems so familiar.
Downloading Video from RecordCast
Once you have recorded a video, you can save it to your device as a WEBM video file. This video format is compatible with YouTube, and it’s an easy matter to convert it to MP4.
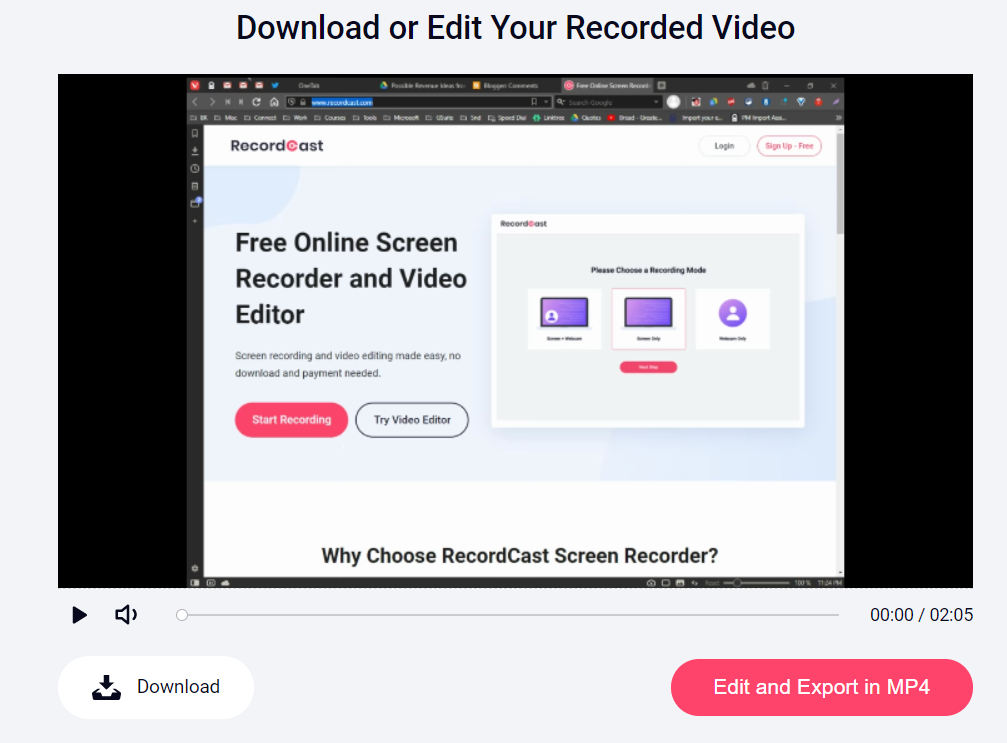
The downloaded or saved video appears in WEBM format on your device. At this point, you can upload (put) it into YouTube or a similar video sharing space. To get an MP4 video-formatted file from RecordCast, you will need to edit and export it in MP4.
Editing Video in RecordCast
The video editor is where RecordCast really shines. It offers a robust video editor that reminds me of Screencastify. It is quite easy to edit video, splitting pieces off to delete unwanted portions. What’s more, you can add an audio track. I often grab my music from the YouTube Audio Library. The main benefit of that Audio Library is that attribution is not required.
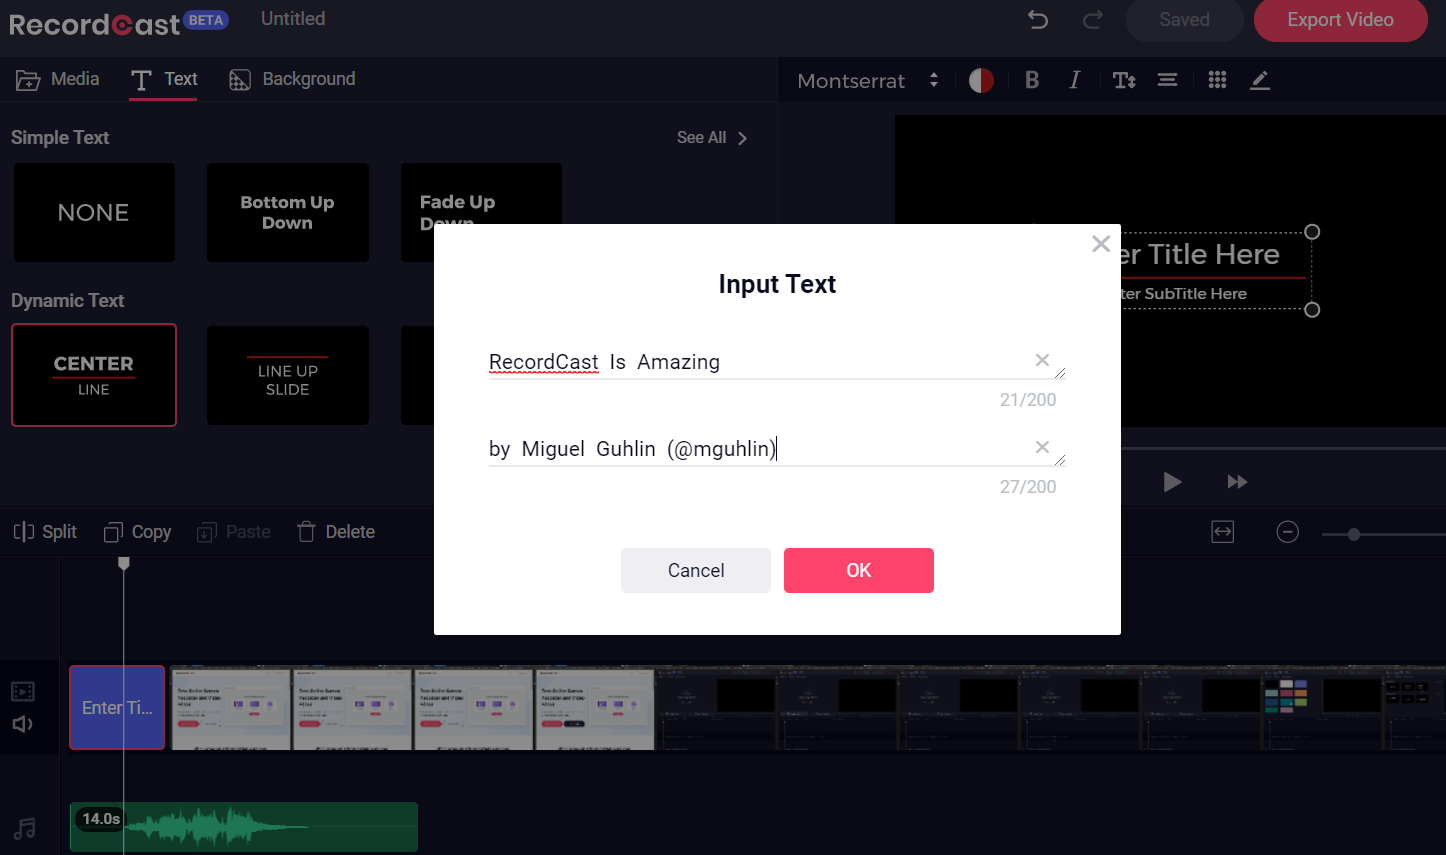
One of the extra features that makes RecordCast’s video editor shine is image import. You can import images and place them on their own track. This is a feature my colleagues and I have used with Shotcut, but RecordCast makes it quite easy, as you may see below:
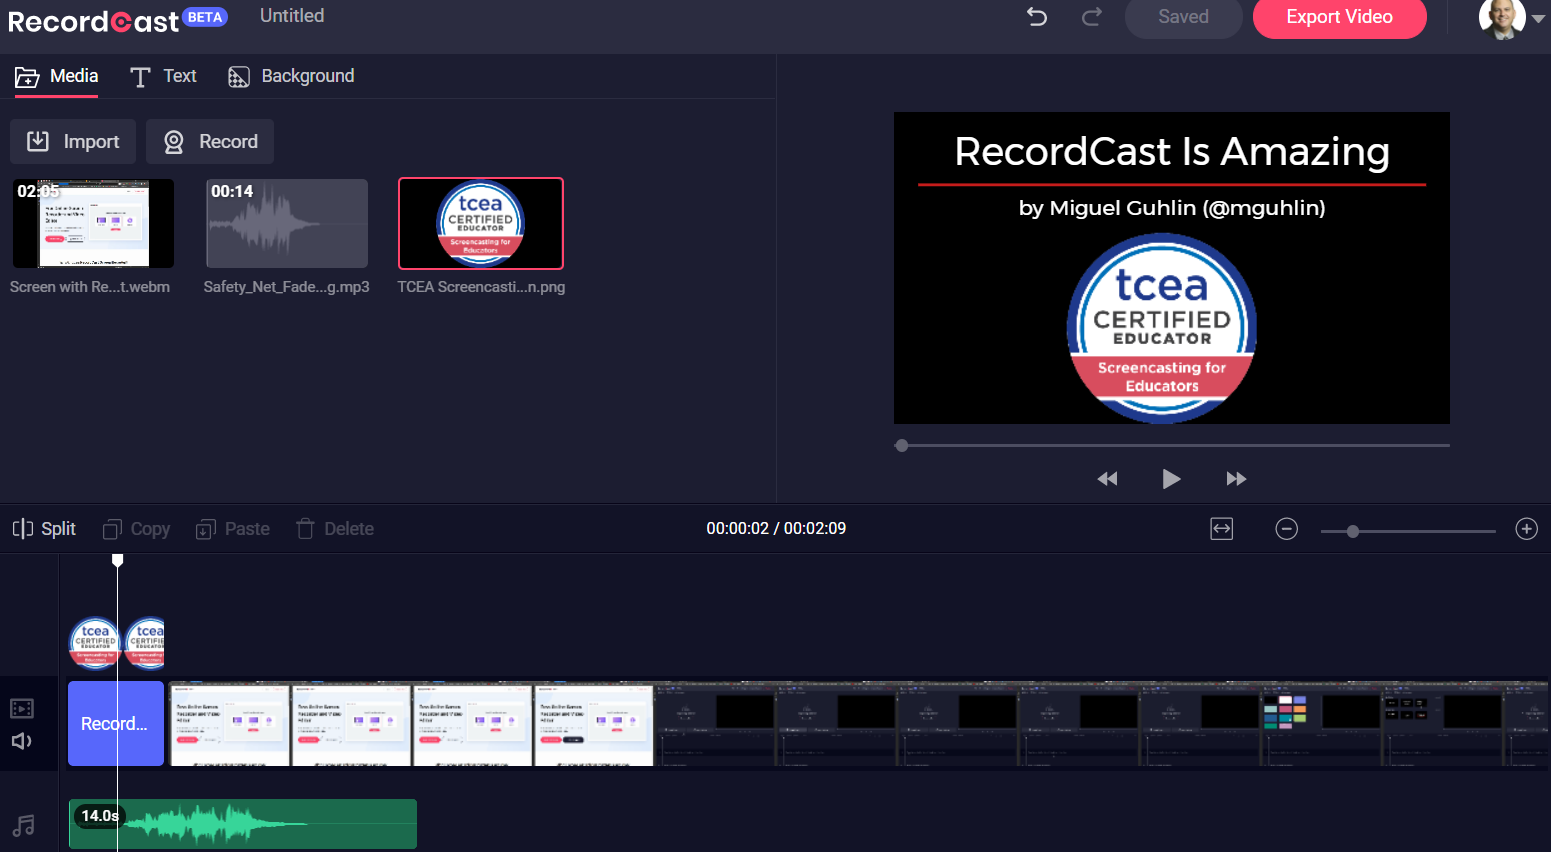
Exporting Video as an MP4
Once your video edits are complete, you are able to export the video. RecordCast offers three options, as you can see in the screenshot below:
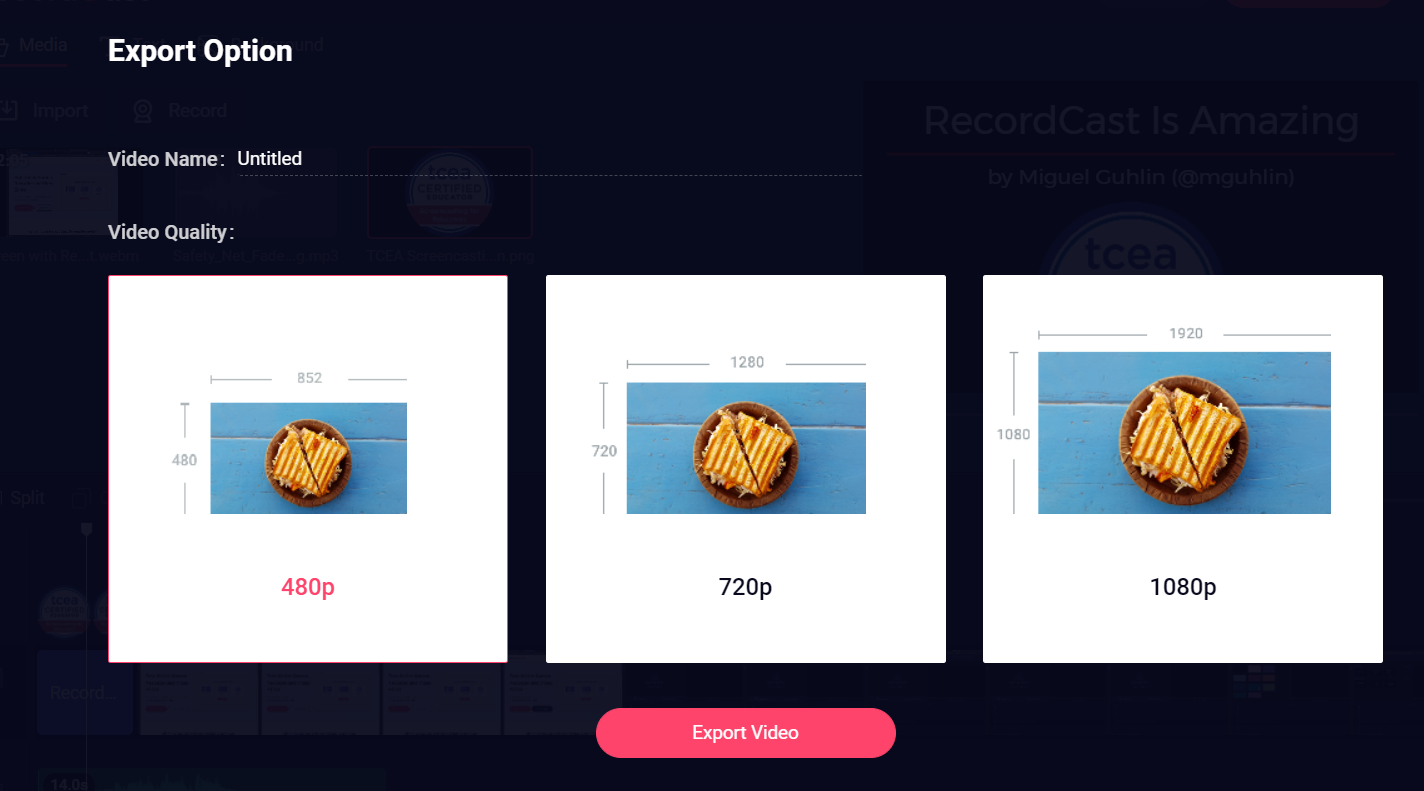
One of the challenges of any browser-based video editor is how much time it takes to render video. Although I have not done any speed tests, RecordCast appears to take an equal amount of time as other video editors to render videos. It took about six minutes to render a two-minute and nine second video.
You can see the scratch video I made above. It was a simple matter to take a screenshot of the splash page in the Video Editor and save it as a thumbnail image to use for the YouTube video. And, if you’re wondering, this video editor far exceeds YouTube’s Video Studio capabilities.
Amazing Free Screencasting Tool
Working with RecordCast was fun. I loved the quick, responsive interface for adding text and images. What’s more, this tool is free. In the list of video editors, I am tempted to put RecordCast at the top of free tools educators need to be using. Here’s a video overview of working on a project with RecordCast:
Bonus Video
Need to safeguard your W9 tax form or encrypt any file before sending it via email? The video below, which runs five minutes long and took ten minutes to render via RecordCast, explains how to use the free FileLock encryption tool.
Feature Image Source
Photo by Recordcast.com


 Sign up for one of our Google Certified Educator certifications. You’ll learn about more than Google Meet, as well as earn 12 CPE hours per course. Use these courses to get Google Educator certified.
 Highlight Tool: Open Broadcaster Software (OBS)