
Educators have begun screen recording and screencasting with a serious need. Preparing content for instructional purposes can drive one to distraction. Let’s say you have a classroom video that needs three seconds removed from the beginning and an awkward pause trimmed from the middle. You do not need a production studio. You certainly do not need another student account to manage. That’s why one of these free, no cost solutions may work well for you. May I share what I found with you?
Five Amazing Video Editing Tools
Need video editing tools available for free? If you are on Windows, it can be challenging. Some entry-level solutions provide you with simple video assembly tools. That is, the ability to trim, split, and join video.
Here are my top tools that make video editing (and audio splitting/joining) easy, at no cost to you.
Tool #1: DrawSplat.org’s VideoSplat
VideoSplat is a private, local-first video editor from DrawSplat. Your video, audio, and image files remain in the browser rather than being uploaded to DrawSplat. The tool requires no account and includes no ads, analytics, or trackers.
I like tools that do their work without asking students to surrender personal information first. That should not be a novel feature, but here we are.
Edit with a Familiar Timeline
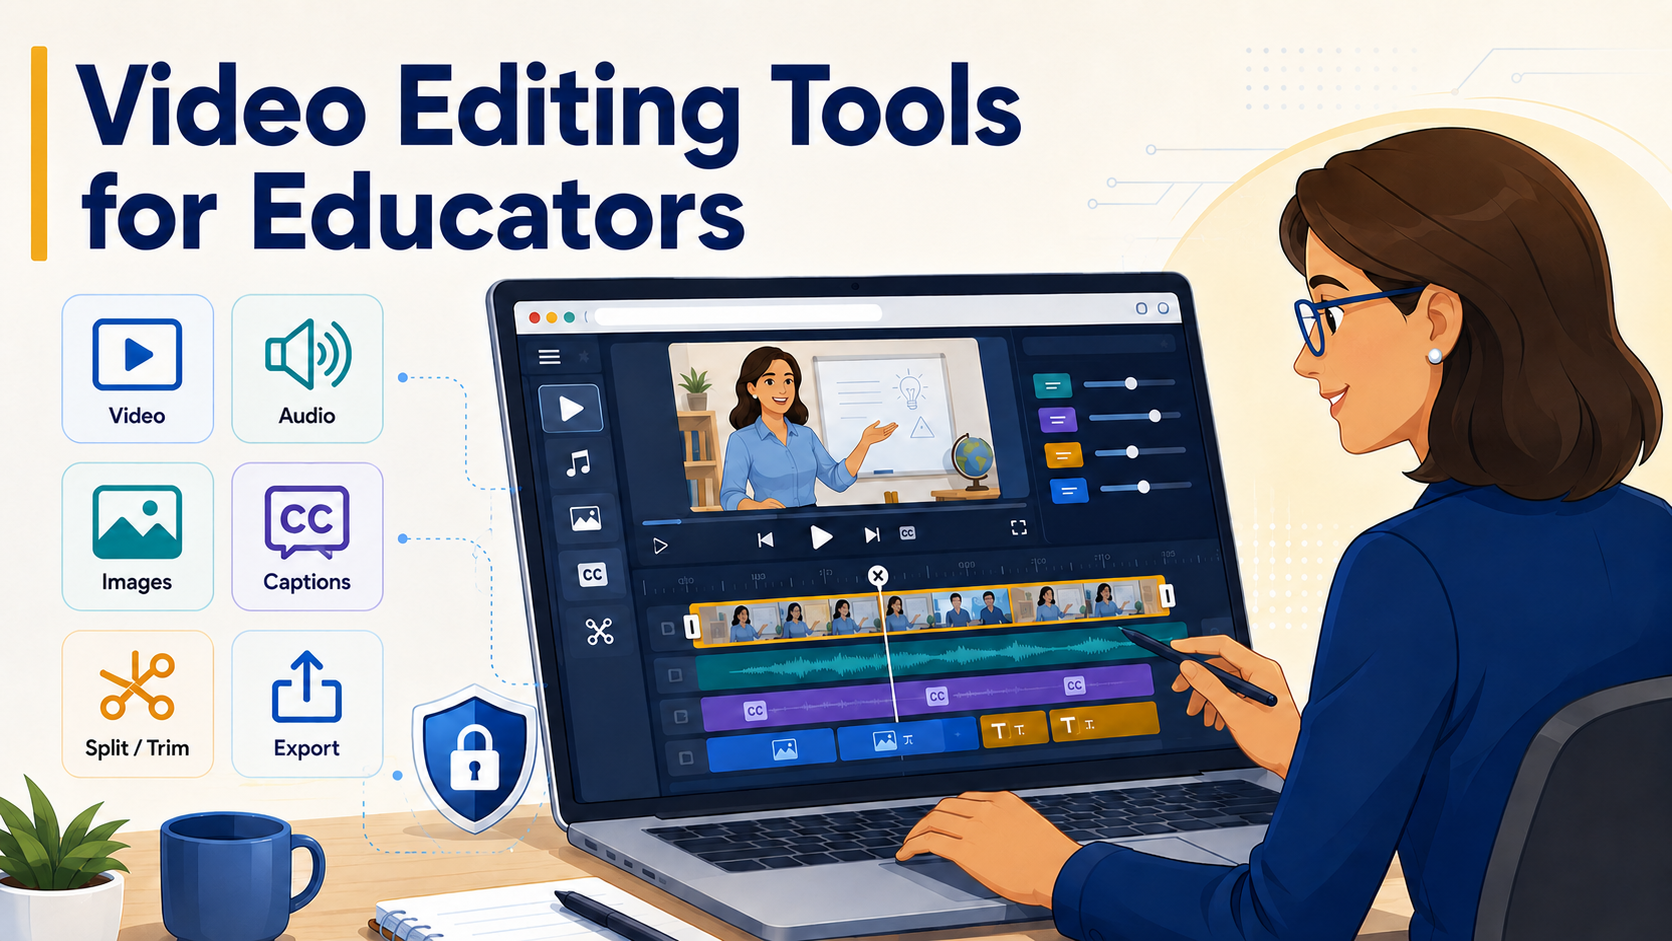
VideoSplat provides the editing features teachers and students are most likely to need:
- Import video, audio, and images
- Split, trim, duplicate, move, copy, and delete clips
- Add video, audio, and title tracks
- Adjust volume, fades, brightness, contrast, color, blur, and opacity
- Add titles and import or export SRT captions
- Choose landscape, portrait, square, or classic canvas sizes
- Export the finished project as a WebM video
- Save a project copy for later editing
- Open and save MLT project files
You can also optimize a large video locally before adding it to a project. Current versions of Chrome and Edge offer the strongest support for local optimization and video export. VideoSplat will not replace a professional editing suite, and that is part of its appeal. It gives you a focused set of tools for creating tutorials, demonstrations, reflections, announcements, and student projects without turning a simple edit into a film-production course. Be sure to check out AudioSplat for an audio editor, as well as MediaSplat for a tool to split and join video/audio files.
Open VideoSplat and try it with a short, nonessential video first.
Tool #2: Google’s Screencast
Did you miss the announcement? If you did, you’re not alone. While there is an abundance of recording and editing tools for video, few of them work on the Chromebook for free. In this blog entry, I feature several you can start with, including the amazing Screencast from Google. Not only does it give you screencasting, automatic transcription of everything said in the recording, it allows easy marking of the screen. You can quickly draw or make annotations.
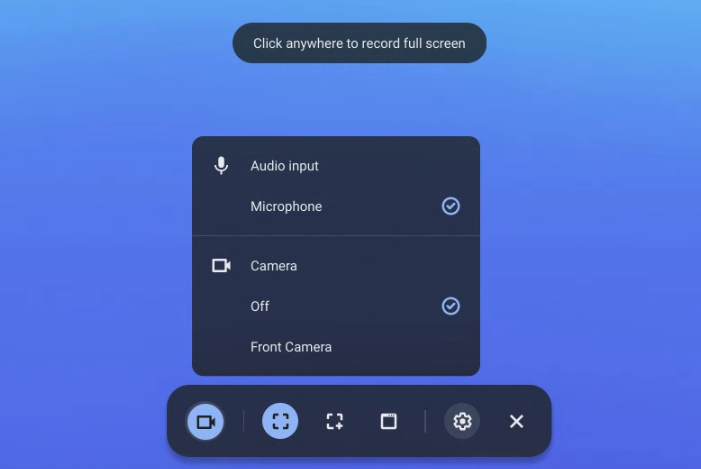
When you first start out with Screencast, you’ll be able to edit your settings for that specific recording, as well as record the whole screen or only a portion:
What’s more, you can also use the built-in annotation tool, or “Marker,” to make notes on your screencast as you make it:
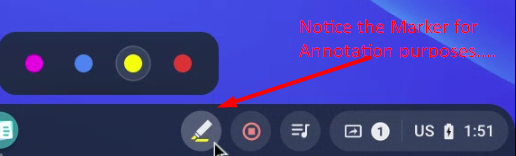
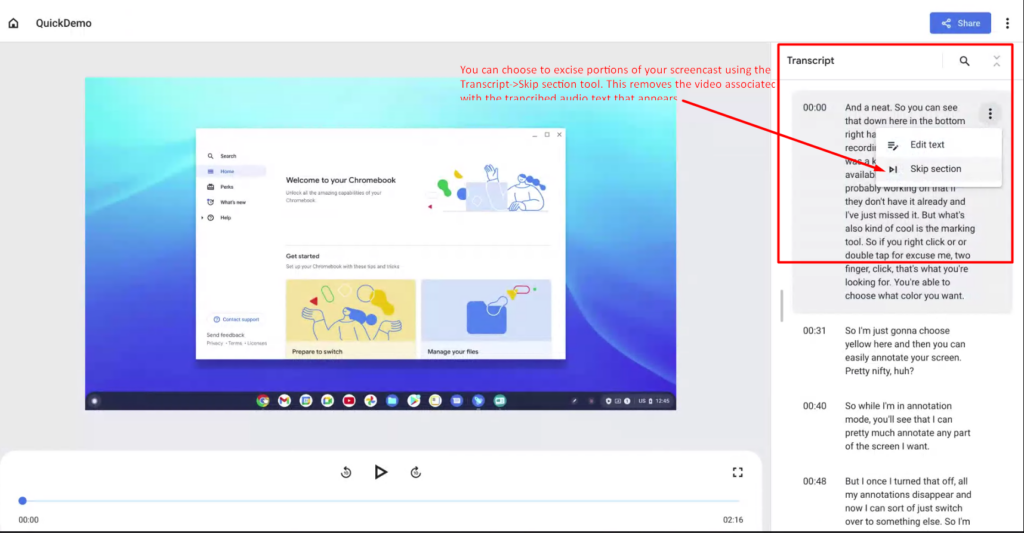
This makes the tool quite friendly and easy to use. Simply two-finger tap (or click) on the touchpad to activate the color choices for the Marker. You may also notice the red circle with red square in the middle. This is how you STOP recording. Once you are done recording, you can get a transcript. The Transcript tool is also what you use to adjust the contents of the video:
Want to know more? Here’s some more information on the tool:
- Screencast without having to add an extension to your Chrome browser. Look no further than this newest addition.
- Anyone with a Chromebook can create and select part of the recordings to skip (via the transcription editor)
- All recordings are automatically transcribed.
Watch this video for a walkthrough:
Tool #3: RecordCast.com
There are plenty of desktop, browser-based video recorders available to us today. So why would you need one more? What if, instead of a video recorder, you also had a browser-based video editor? And what if I told you it’s easy to add images and audio to it and overlay text on that video? Most people would say, “That’s WeVideo or Screencastify.” RecordCast.com offers a “mostly free” browser-based solution you can use.
RecordCast brings the functionality of Screencastify and Loom Pro. No browser add-ons or downloads are required. That’s right, RecordCast works its magic without a special browser add-on or extension. That, and its “FREE” label make it an amazing find. But that’s not all.
You can also record your screen, screen plus webcam, or webcam only. Be aware that, in order to use the program, you will need to create an account, as well as verify your email. You will also be limited to seven projects at a time.
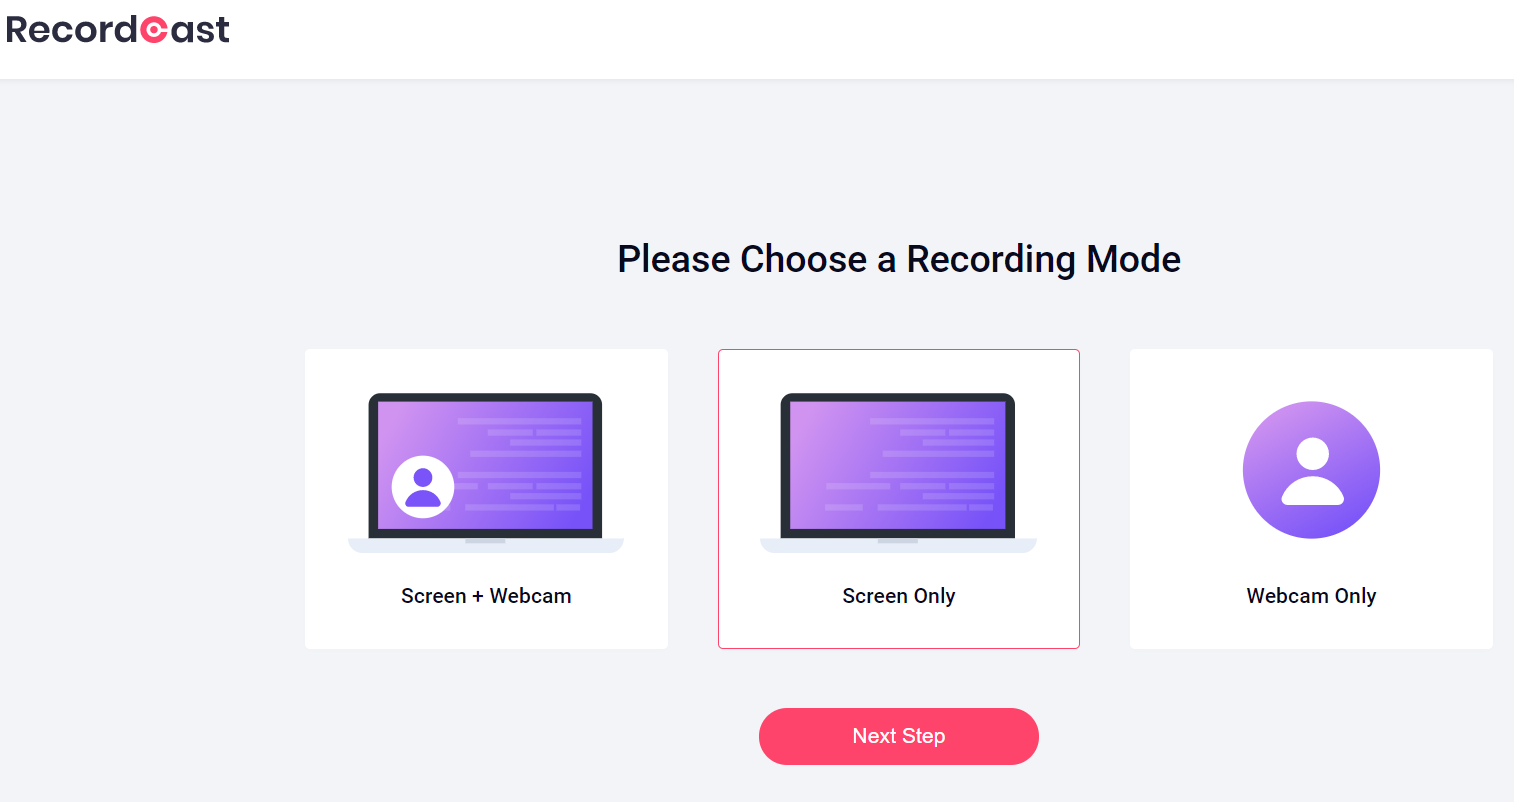
Watch this short video overview of RecordCast and read this blog entry that goes into more depth:
Tool #4: Shotcut
Although open source video editors abound, Shotcut makes video editing easy. In fact, I’ve coached my colleague Peggy Reimers on using Shotcut. Her computer of choice is a Mac and the experience has been uniform for both of us, even though I’m on Windows 10. Shotcut’s ease of use allows me to combine various elements, such as images, music clips, and video. It’s an easy matter to add tracks for each, then export the assembled creation as MP4 video. It has a wealth of online tutorials.
Here’s a quick video overview of Shotcut:
Tool #5: MiniTool MovieMaker Free
When Microsoft cut Moviemaker, I mourned with the rest of the world. For a while, I thought that the enhanced Photos app on Microsoft Windows 10 would get the job done. It did not. As a result, I found myself searching for an alternative.
While Shotcut was the first tool I found that worked well, I recently stumbled on a new one. That video editing tool is MiniTool Mo-vieMaker Free. The interface is a welcome break from Shotcut’s busy one, as you can see below. That simplicity comes with a few sacrifices, as I’ll point out in the video walkthrough:
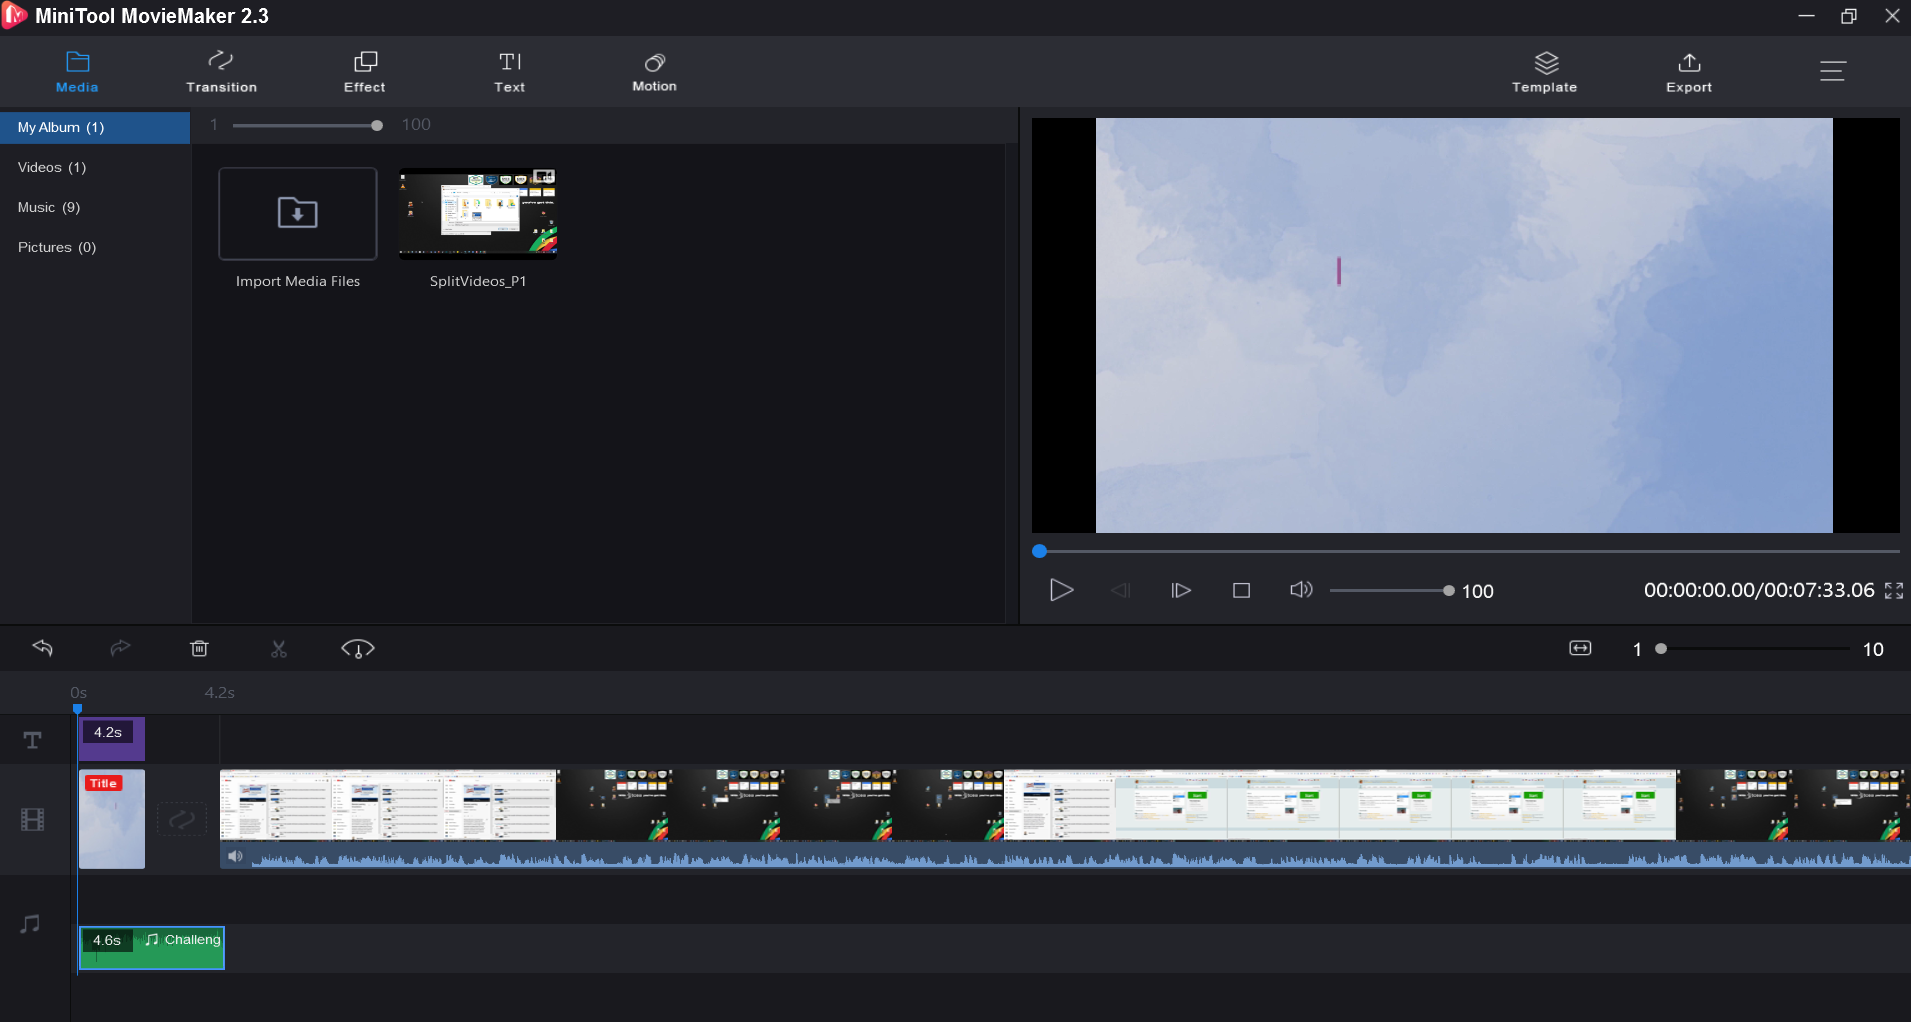
MiniTool MovieMaker Free, as you will see, has a lot to offer. Some of its features include:
- Creating and editing videos in Windows
- Smart movie templates
- Ability to add text and transitions
- Free (no cost) and no watermarks
In fact, some of its own advertising sells it as an iMovie-style editor. I don’t know if I would go that far, but the interface is simple and powerful for video editing newbies like me.
Here’s a quick video overview of MiniToo MovieMaker Free:
I have to admit that I found it a bit poky and slow on the uptake compared to Shotcut. One additional solution may be worth your time.
Tool #6: OpenShot Video Editor
Looking for an easy to use video editor that won’t cost you a dime? Give Openshot video editor a check. While it’s a bit less feature heavy than Shotcut, it will do the most important things. Watch this short video overview:
After playing with all the tools, on a Windows machine, I’m going to rely on DrawSplat.org’s VideoSplat for quick projects, OpenShot for longer ones. It makes it possible to achieve quick editing. Both provide a nice entry point given their easy to use multi-track support, slicing and export features.
For Chromebook users, DrawSplat.org’s VideoSplat is the way to go. No account management, easy to use editor, browser-based make this perfect for K-16 education settings.
Splitting and Joining Videos
Have a long video and need to split it into pieces? Or maybe you have multiple videos that you need to join together? Consider using one of these tools to get the job done. They are available at no cost and will make working with a large video (or a lot of small ones) easier.
Optimal video size is anywhere between six and eight minutes long. Trying to split video into small chunks can be time-consuming. Allow me to share an example.
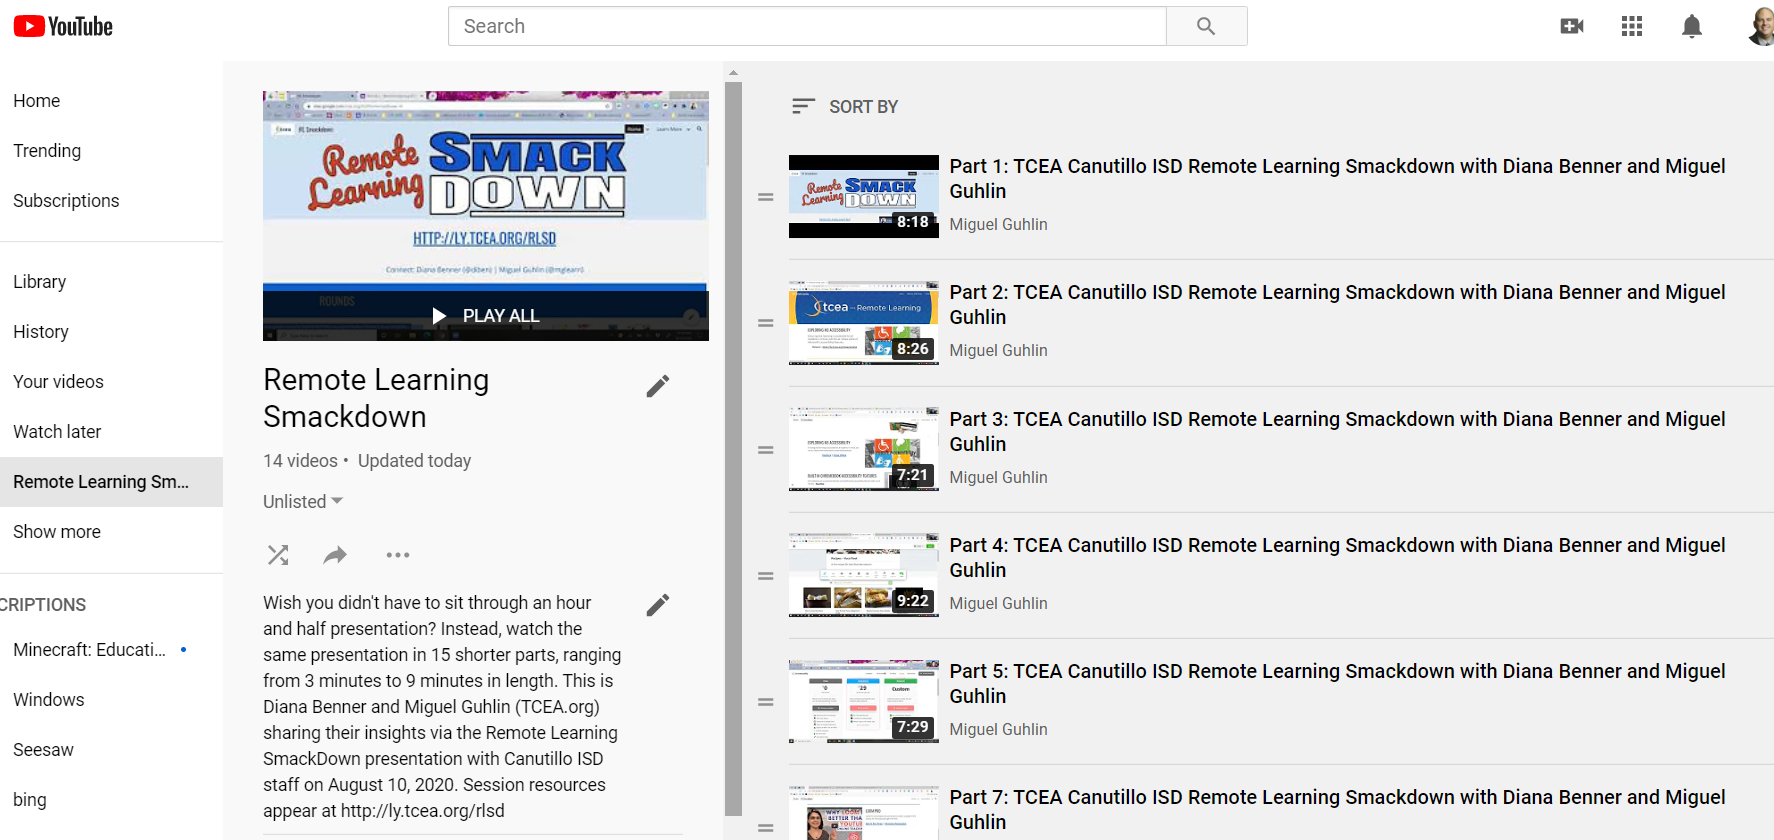
For example, the 15 videos in this playlist were once joined together. That huge video file was about 1.2 gigabytes in size. Eighteen seconds after putting them into a video splitting tool (MediaSplat), I had them ready to upload (put) into YouTube as a playlist.
There are many solutions available to get the job done. A few that you can explore include:
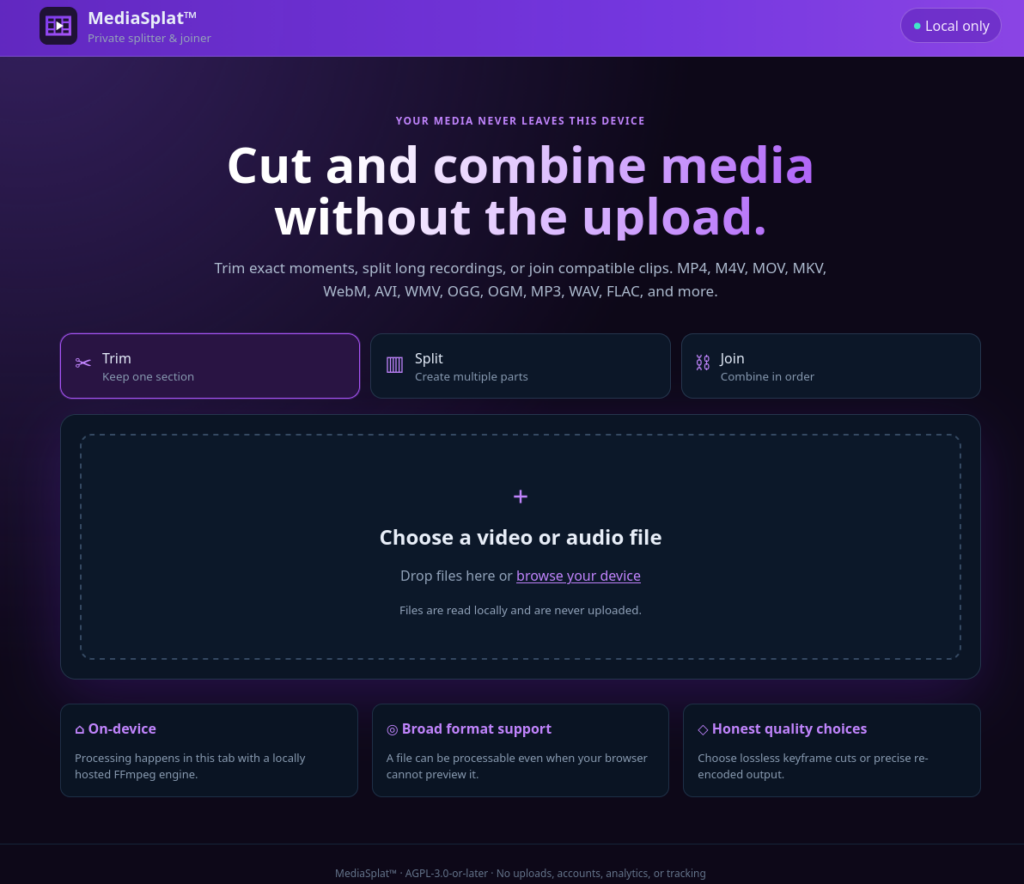
- MediaSplat – This includes a browser-based media (audio/video) splitter and joiner program.
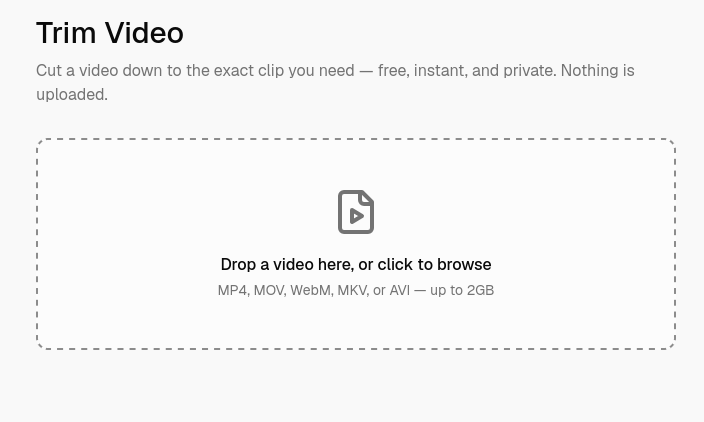
- PixelTools – Cut a video down to the exact clip you need — free, instant, and private. Nothing is uploaded. This is browser-based. Also check out crop-video and video-to-gif might fit nicely alongside the trimmer. And, there are many more wonderful tools at PixelTools.io.
- Filmora’s Online Video Trimmer – This online tool works great for smaller videos that you need to split.
- FlexClip Free Video Trimmer – Easily edit videos (leaves FlexClip watermark on exported videos)
My pick for the best free video editing software? VideoSplat for short videos (under 30 minutes), Shotcut for longer videos or videos that require cropping and other special filters. You can’t go wrong with its powerhouse features and, if you give yourself a little time, you’ll soon be a pro at using it for simple video edits. Not quite ready to jump into the deep-end? Try OpenShot Video Editor.
Finally, be sure to read my blog entry on Five Free Video Converters. They will make your life easier when shrinking videos or prepping them for viewing on specific devices.
This blog entry was updated on 8/24/2026 with new tools and information.

7 comments
You missed OBS, which is an open-source screen recording tool that is very popular with streamers. In less than 5 minutes after install, I had my Powerpoint presentation displaying as a source in OBS and my webcam showing my face in the bottom right corner. It was extremely simple to use, can handle a variety of sources, define placement on the screen, and save the video in a variety of formats. There are many, many options that make it a powerful tool, but the user experience is very easy and intuitive.
Sheri, howdy! I love OBS as well, but not as a video editing tool. I often record videos using OBS, then need to make edits using Shotcut or some other video editing solution. I do cover OBS in this blog entry on Video Sharing:
https://blog.tcea.org/video-sharing/
And, OBS features prominently in my Screencasting for Educators online course available through TCEA.org/courses
OBS works for screen recording, as well as screencasting /streaming via YouTube and Facebook Live (to only mention two of the many solutions available). Are you taking advantage of the recording or streaming option?
With appreciation for your comment,
Miguel Guhlin
Shotcut is free, I guess?
Yes, it is free.
KdenLive is a video editor for both Linux, Mac, and Windows that is free and I think is better than Shotcut and Openshot, so I’d add that to your list as well 🙂
I will spend some time looking at KDenLive. Thanks for the tip. I had never heard of it! ????
Ok, kdenlive is worth checking out. I still prefer Shotcut, but given time and effort, I can see why it would become some people’s favorite video editor. Different strokes for different folks applies here.