As educators, we are always looking for the best ways to help our students learn. Whether it’s a different instructional strategy or a new tech tool, we want to know that what we are spending our time on is worthwhile and will accelerate learning and retention. If you’ve been following TCEA, you’ll know that we have embraced the work of John Hattie to help us determine what truly works in education. In this blog, we’ll look at one of the most powerful (and easy to implement) strategies that his research shows we should be using: the jigsaw method.
Why the Jigsaw Method Matters
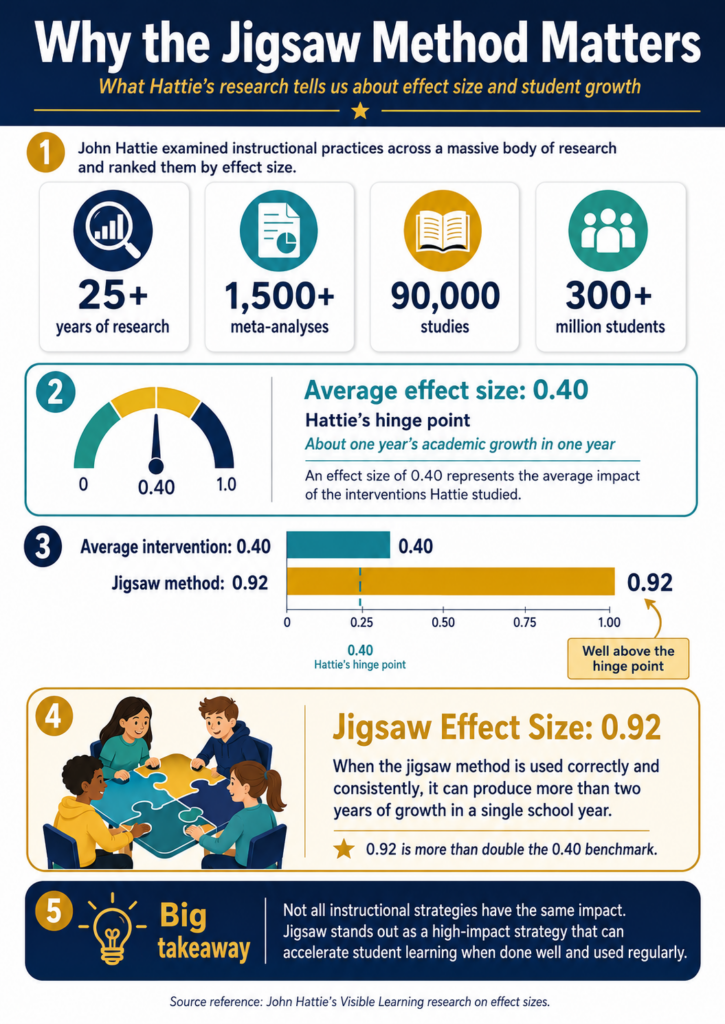
Hattie’s research is based on 25 years of work and more than 1,500 meta-analyses of 90,000 studies involving more than 300 million students. That’s true validity. He examined all of the instructional practices that we use in education and rank ordered them based on their effect size. “Hattie found that the average effect size of all the interventions he studied was 0.40.” (Source) What’s more, the jigsaw method works for both Surface Learning (introducing new ideas) and Deep Learning (connecting those ideas at a deep conceptual level).
So we know that an effect size of 0.4 means an average year of growth/learning for a student. The jigsaw method, however, has an effect size of .92, which means that if it’s done correctly and regularly, students will grow two and half years in the space of that one year (one year’s academic growth is equivalent to 0.40 effect size). That’s powerful!
The method also has other benefits, including (source):
Direct engagement by the students with the material to be learned instead of having material presented to them, which fosters depth of understanding
Practice in self-teaching, which is one of the most valuable skills we can help them learn
Practice in peer teaching, which requires them to understand the material at a deeper level than students typically do when simply asked to produce on an exam
Improvement in social-emotional learning, including increased feelings of autonomy, competence, and intrinsic motivation (Hänze & Berger, 2007)
Speaking the language of the discipline and thus becoming more fluent in the use of discipline-based terminology
Contributing to the group
Encouraging cooperation and active learning and promoting the valuing of all students’ contributions
How to Jigsaw
The jigsaw method is based on the idea that students learn best when they have to teach others. Before the process can begin, the teacher must first examine the content that the students are to learn and divide it up into manageable chunks. In an ideal situation, there would be four, five, or six sections of material that must be studied. The number of sections determines the size of the groups for the rest of the work as each student in a group takes responsibility for teaching one chunk to the rest of the group.
Divide students into groups. These will be the Home Groups. Groups should be diverse and set by the teacher, at least while students are learning the process. Jigsaw works best if there are the same number of students in each group.
Assign one chunk of content to each person in the Home Group. You can do this by having them count off or by drawing straws or even, once they’re familiar with the process, by letting the students pick the chunk they want to be responsible for.
Provide the content to the students (more on what that can look like later) and allow them time to individually and silently study it.
Have the students now move to meet with their Expert Groups. This is where all of the students with the same chunk of material gather together to better master the content. They compare their ideas about the content and then, as an Expert Group, prepare a visual aid to use when they return to their Home Groups to teach. The visual aid can be notes, a graphic organizer, a drawing, a presentation, or anything they want. But they all work on it together to ensure that critical information about the content is included and is clear.
Students now return to their original Home Groups where each student takes a turn presenting his/her chunk. The other students listen carefully and should take notes or use a graphic organizer to jot down ideas. Questions are encouraged.
To ensure that metacognition about the whole, and not just individual, expert learning, students meet one more time in their Expert Groups to discuss the whole content in light of their specific chunk of material.
Students are now individually assessed on all of the chunks to see if there are any gaps or misconceptions in the content learned. This can be for a grade or just for the teacher’s knowledge.
Adding Technology
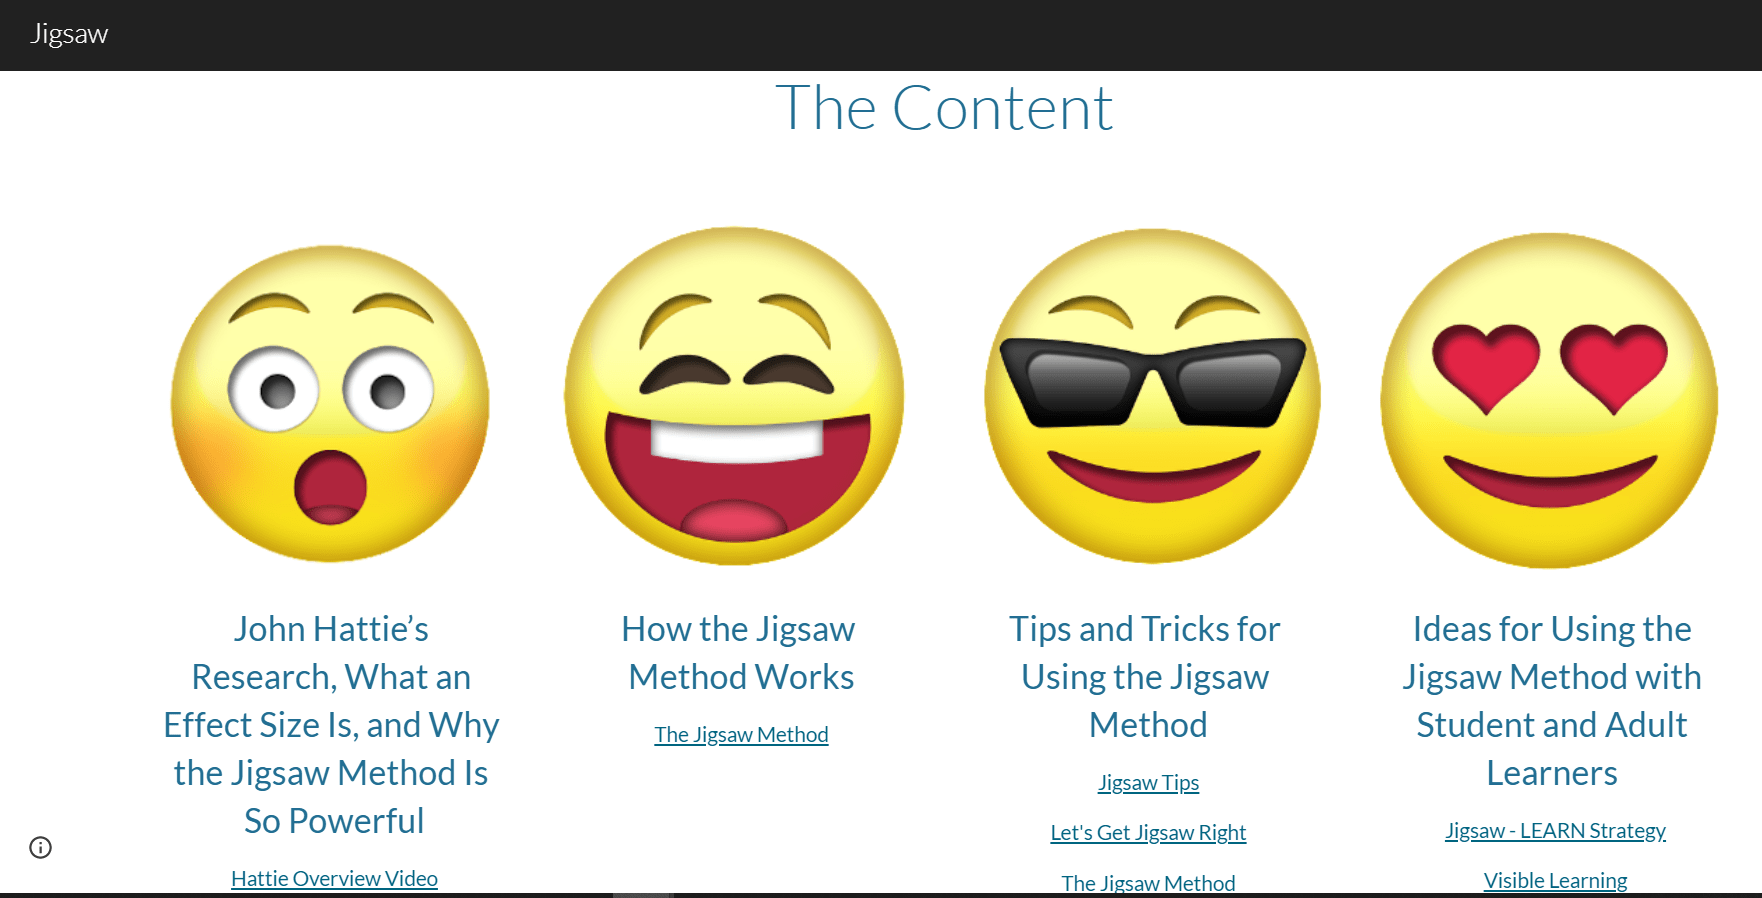
Technology offers a powerful way to provide chunked content in this method. Here’s an example I use when I am teaching people how to do the jigsaw (by jigsawing, of course). I have four chunks of content for them to learn and so there are four people per group.
In their Home Groups, each person draws an emoji from laminated examples I set out and each emoji then corresponds to one chunk of the material. (I don’t show them the corresponding emojis until after they’ve drawn their own.) All of the content is posted on a Google Site for them to access, including text, websites, and video clips. They can then work through their content as they need to. If I see that there is confusion about an idea, I can add clarifying content to the Site that they can access as we work.
You can also encourage students to use technology to create their Expert presentation/notes. Some Expert Groups might want to create a paper slide or a screencast or quick video, as well as the more common Google Drawing, PowerPoint, or graphic organizer. Allow them to choose how they will share their learning; it’s more powerful that way.
Other Jigsaw Tips
If you don’t have the right number of students to evenly divide the groups, you can assign two students in one group to the same chunk of content to be learned. This may also help when you have a weak or struggling student who could use a little help.
If you have a student who doesn’t seem to want to take ownership of his/her content, you can use the Jigsaw II method. It’s exactly the same as the Jigsaw I method listed above, but does add one step at the end regarding the assessment. In Jigsaw I, students are assessed individually and receive just one score. In Jigsaw II, they still receive an individual score. But they also receive a second score that is the average of the group’s score. This builds in competition between groups and individual group peer pressure to perform at their highest level.
There’s also a Jigsaw III with time given for the Home Groups to review each other before the assessment and a Jigsaw IV where the teacher begins the unit of study by introducing the material (but not teaching all of it!).
The jigsaw method is one of the most powerful learning strategies you can use as a classroom teacher or professional development provider. I would recommend you try it once a week in your classroom. And please feel free to reach out to TCEA with any questions about it or if you would like more information. Remember, with TCEA, you’ve got this!
This blog entry was updated with new information, slight edits for readability, updated feature image, and infographic addition on 7/9/26 by Miguel Guhlin.
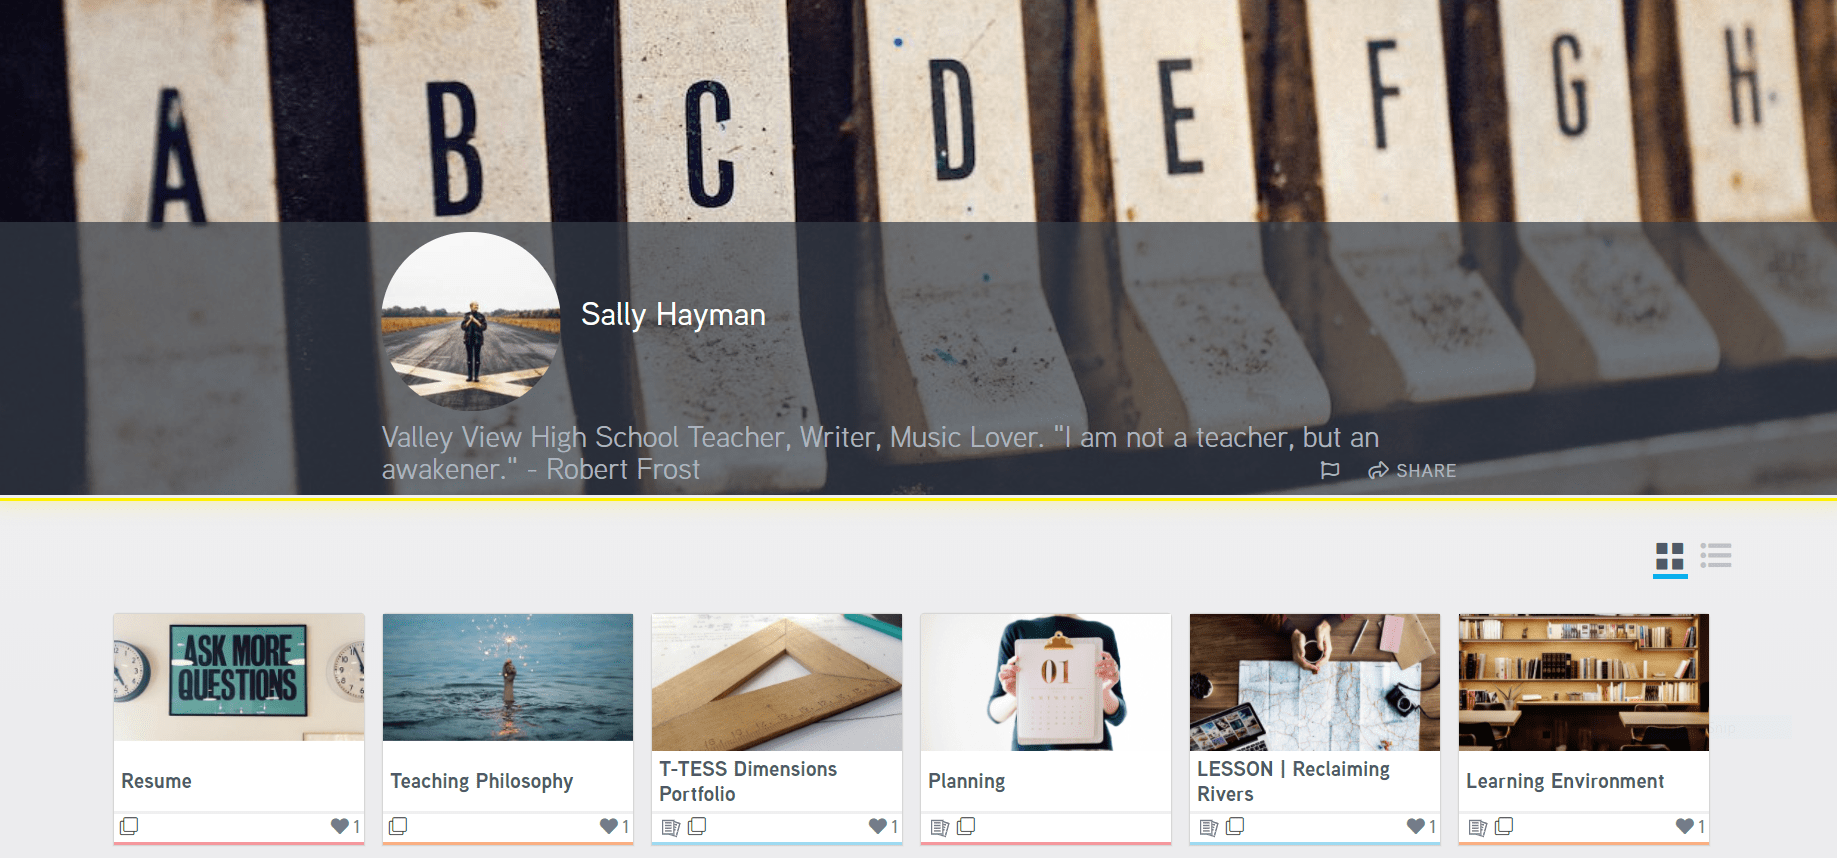
As a professional educator, it’s a good idea to keep a portfolio of your best work. This can be a powerful tool for reflection on individual growth or a way to showcase your strengths when applying for a new position. But what’s the best tool to use for your portfolio? An old-time favorite was just announced as being free for all teachers, which makes it an even better resource.
bulb Digital Portfolios
bulb announced last week that their premium account, bulb+, normally valued at $30/year, is now free to teachers. With the free account, teachers can:
Create personal collections, curriculum, and resources.
Track professional development and display badges and credentials earned.
Establish professional learning plans to meet goals and standards.
There’s even a free iOS app that you can use with your free account to document fabulous lessons or strong student work. And, starting now, bulb will provide additional features for teachers:
To get started, simply create your free account here.
bulb for Students
Students can create a free bulb account to capture ideas, express knowledge, and display skills to get the most out of college, career, and life. The regular account is free for them, but the premium account is $3/month.
Other Reasons to Love bulb
bulb is ad-free, complies with global data privacy and security policies, and doesn’t sell user information to third parties. It has the ability to integrate with most LMS or SIS systems, including Microsoft Office 365, Google, Canvas, Schoology and Blackboard and partners with Clever and ClassLink to provide single sign-on functionality. They also have an excellent blog with great ideas and resources for using the tool.
As you know, your student population is as diverse as it has ever been. Language, race, culture, religion, accessibility — whatever the need, as educators you not only have to teach them, you have to reach them, and technology can be a powerful tool to help you do so.
TCEA Educator Awards and Scholarships
At TCEA, we honor the work all educators do to advance teaching and learning through the use of technology with our annual Educator Awards and Scholarships. We realize how difficult your task is across the board, not only teaching your students what they have to know, but learning the tools that you need to know to create educational equity for the most diverse classrooms your school has ever seen. Although this task is difficult, it is significant, and it should be recognized.
Nominations Open September 1, 2019
This is why we wanted to let you know that nominations for TCEA’s Educator Awards and Scholarships will open on September 1, 2019 and run through October 31, 2019.
All finalists will be honored, and recipients announced, during a formal awards ceremony on Tuesday, February 4, 2020, as part of the 2020 TCEA Convention & Exposition in Austin, TX on February 3-7, 2020. Award categories include the following:
TCEA also awards three scholarships to undergraduate and graduate students who will be, or are currently, serving in this challenging but significant and impactful profession. Scholarship categories include:
TCEA Educator Awards finalists and recipients are awarded $500 and $1,000, respectively, and scholarship winners will receive between $500 and $1,000 based on the scholarship.
It’s Time
As an education professional, you know at least one person who amazes you with their commitment to advancing learning for all through the use of technology. Whether it is making stronger relationships between educator and student, creating richer learning experiences, or approaching collaboration more effectively, it is time we all acknowledge the life-changing work that is happening in education today, driven by true professionals like you.
Nominate your colleague, or yourself, today. You deserve it.
Why not introduce students to the concept of creating timelines to document their adventures? Consider guiding them through crafting timelines of their recent experiences. Demonstrating how to illustrate events with pictures and videos can be a powerful learning experience at any time of the year.
Timelines are critical components to teach. Students stuck in paper-and-pencil classrooms struggle to make them. I know I did when I was an elementary student. Sequencing and comprehension go together, per Reading Rockets:
The ability to sequence events in a text is a key comprehension strategy, especially for narrative texts. Sequencing is also an important component of problem-solving across subjects.
Sequencing in a timeline aids comprehension for English Language Learners (ELL) students:
Sequencing [in a timeline]…provides comprehension support to English language learners (ELLs), helping them make connections and recognize patterns in a series or process. Because numerical markers such as hours, years, days or months are placed apart with plenty of space in between, timelines can appear visually less complex than pure text, helping ELLs more easily relate events to their corresponding times (Source).
Knowing how to make timelines is an important job skill. Don’t think of it as arranging pictures and dates in chronological order alone. Rather, think of it as an unfolding story about what happened, who did what, where, and when. In this blog entry, we’ll explore a free tool for creating timelines with Google Sheets.
Why Are Timelines Important?
“The project timeline is the beating heart of every project,” says Angela Bunner. “It captures the essence of what the project will accomplish and how it will be done.” As a technology director, project management always involved crafting a timeline. Bunner says that all timelines share common elements. Those elements include:
Tasks: A list of what must be done
Dates: A list of when tasks will achieve completion status
Duration: How long each task will take
Prerequisites: The order in which tasks must be done
For timelines that look to the past, there are more expectations. Jen Giambrone (History Associates) recommends you review this infographic. In “A quick guide to Timelines,” they ask a series of questions:
Is a timeline the best way to tell my organization’s story?
How do I pick a platform for an online timeline?
Who is your key audience for the timeline?
What are the project goals?
What are some of the important milestones?
Do you have a style guide?
How many entries will you have in your timeline?
What kinds of media will you include, and where will that media come from?
For classroom timelines, it may be easy enough to create a Google Doc with tables or a template like this one. Some may prefer to use a Google Sheet, inserting images, titles, and quick pictures. And you may want to see how to make timelines with Google Slides or PowerPoint. But another nifty tool is available. Care to take a look?
Introducing Timeline JS
Finding top-notch timeline making solutions (web or software) can be challenging. Often, they cost money, and who wants to pay for a timeline creation solution they may only use a few times?
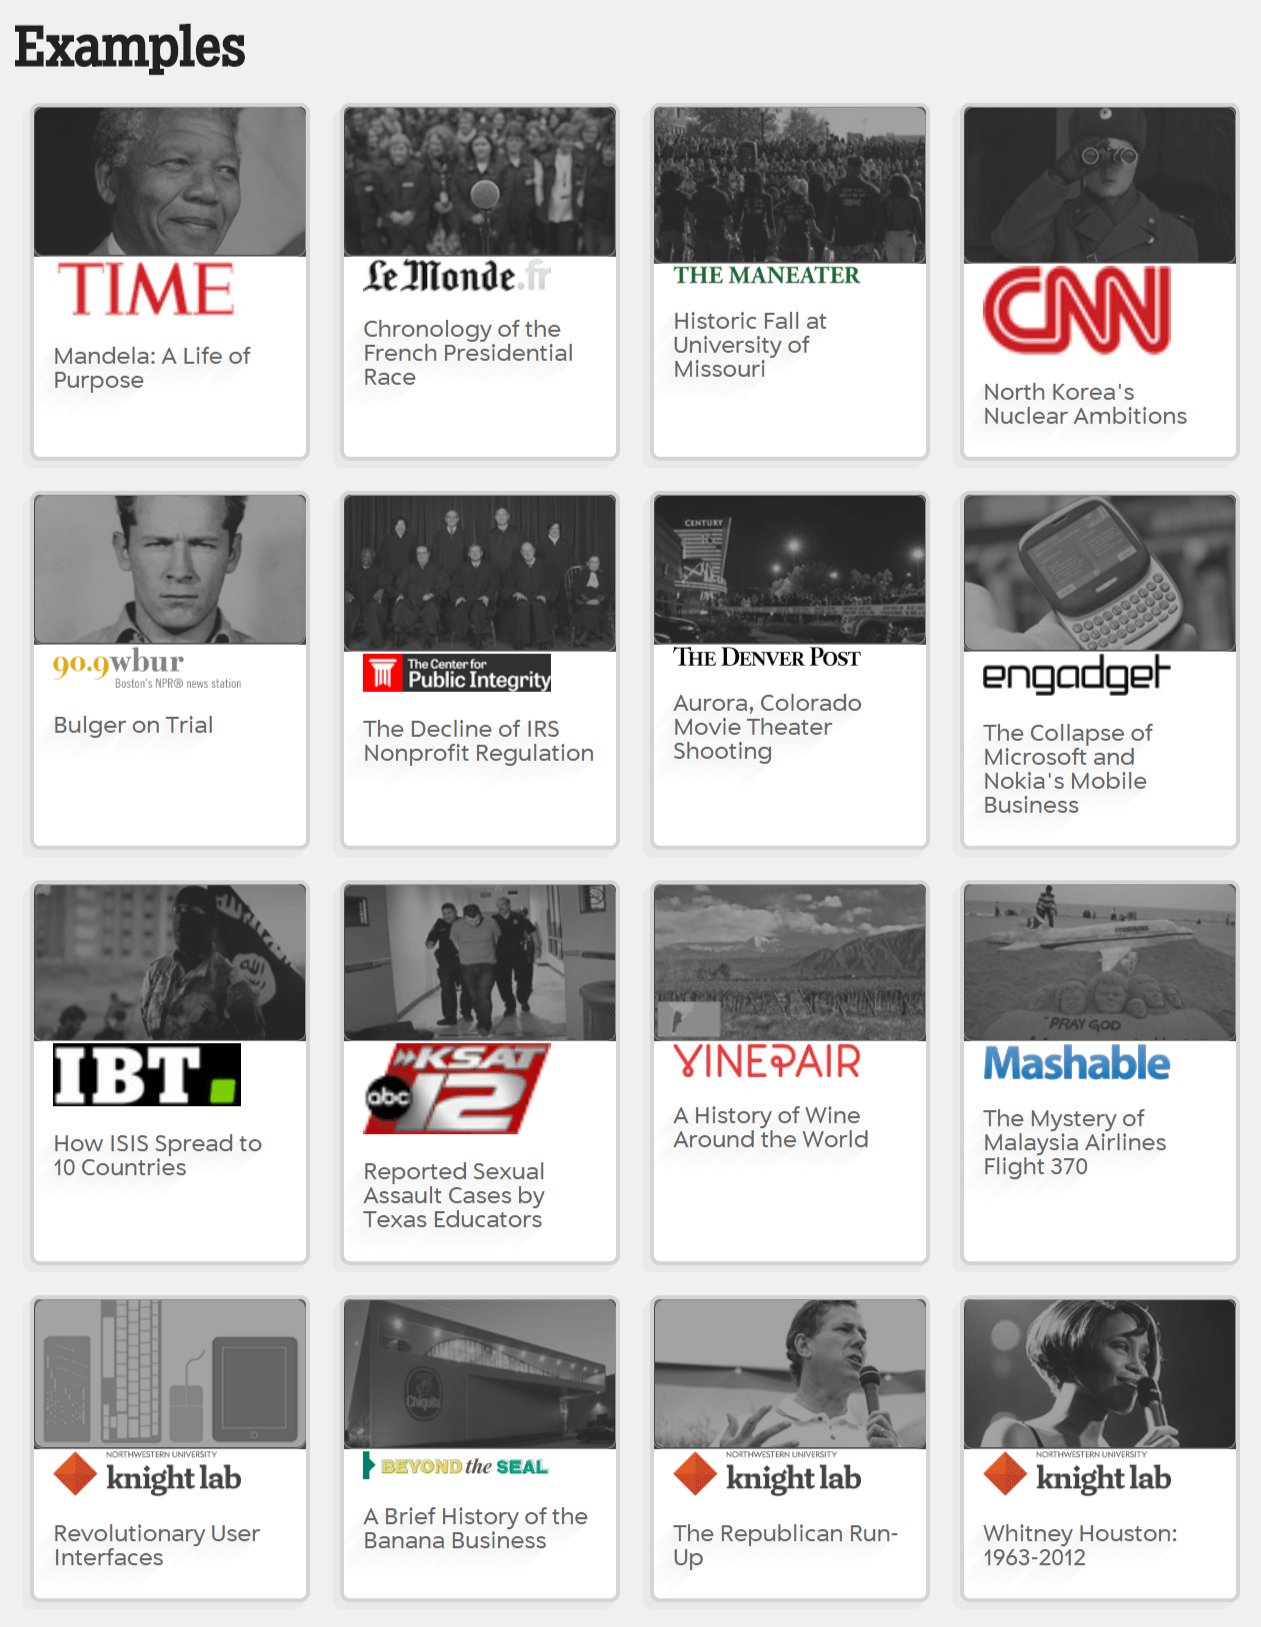
Take a moment to watch their two-minute video introduction and how-to. It walks you through the process starting with a Google Sheet template that Knight Lab’s provides. In no time, you will have a timeline you can embed.
Timeline Making Tips
Some of the tips the Knight Lab folks offer appear below:
Keep it short, no more than twenty slides
Select stories that have a strong chronology
Embed each event in a story that encompasses all events
Be sure to blend in small events that lead to something bigger
Making timelines means crafting a compelling story that arises from insignificant or significant events. These events, taken alone, may be inconsequential. When combined, they show what happened in a way that can have a profound impact. Use TimelineJS in your school, office, or classroom for timelines made easy.
TCEA has been supporting the use of technology in education for almost 40 years now. As we get ready to celebrate that anniversary, we’ve spent time looking at the realm of classroom ed tech and how far it’s come. We know that the real power of any technology relies upon how it’s used. So how well is ed tech being implemented?
To our dismay, we found that we haven’t made the progress we had hoped for. Yes, there are pockets of excellence where the technology truly enhances student achievement. But in most cases, there has been little change in daily teaching and learning. Looking critically at today’s ed tech landscape can not only reveal flaws in current practice, but potentially inform better uses and better technologies in the future. After all, technology is only part of the picture. The other part depends on how we understand and shape our teaching. Tech moves fast, and our learning strategies should not only keep up, but drive the conversation around ed tech.
The Research Is Clear
Unfortunately, the research on the effective use of tech is not positive.
U.S. fourth-graders who report using tablets in all or nearly all of their classes are a full year behind in reading ability compared with peers who report never using tablets in their classes. Internationally, students who report greater use of technology in their classrooms score worse on the PISA exam, the major international student assessment, even when accounting for differences in wealth and prior performance. This is all according to a recent report by the Reboot Foundation. (source)
These findings align with prior research that found essentially the same thing three years ago: High levels of technology use in the classroom tend to correlate with lower student performance.
In the past when we heard this kind of research, we were quick to point out that the study may have been flawed or the students studied may not all have had access to devices or the broadband provided for their work wasn’t sufficient. But I think it’s time for us to really talk about technology and and learning.
What’s Really Happening
The question that we have to ask ourselves is not whether technology canaccelerate learning, because there are lots of studies that show that it can. The question instead is why isn’t it doing so right now. What’s preventing us from making truly effective use of technology for learning?
And after studying this question for the past year, we believe that we have found the answer. We’ve been talking with dedicated CTOs and technology leaders and visiting lots of amazing school districts and campuses working very hard to implement tech and make things better for students. And throughout all of that, we’ve found educators having conversations and professional learning about powerful tools and apps and websites. The focus has been on what the technology can do and on how the students can use it. The problem with that, though, is that’s not the conversation we should be having. Instead, our focus should be on how student interaction with tech will improve learning. We have to talk about the teaching and learning.
Two Questions to Ask
As we plan for tech use in the classroom, we must begin asking two questions:
Is the technology linked to a specific learning goal? If the answer to this question is “no,” then why are we using it? We all know that there simply isn’t enough time each day to cover all the content that successful students must know. So if the devices and software aren’t directly tied to specific learning, we should abandon them. (Yes, you read that right.)
Does the technology follow research-proven methods of how we learn? I am afraid that most educators today don’t think about this question because we aren’t current on the latest research on learning. This again is a time issue. There have been huge strides in the past 25 years proving what works best for learning, but I rarely hear teachers or leaders talking about this. It is time for us to talk about what instructional strategies work best and how and when technology can support those strategies.
One Solution
In order to see full-fledged and powerful use of technology to enhance student achievement moving forward, we must begin training all educators and leaders to answer the two questions above. Luckily, TCEA is here to help with that mammoth job. We are hosting a one-day learning event on Saturday, September 28, 2019. The Innovative Learning Strategies Conference is focused on helping educators answer the two questions above by providing hands-on, minds-on sessions tying research-proven instructional strategies to the effective use of technology. Bring a team and start learning how you can ensure that technology doesmake a difference in learning for all of your students.
This August marks 75 years of Smokey Bear, the portly park ranger who reminds us just who can prevent wildfires. Initially created during World War II to increase awareness of the need to protect west-coast forests from incendiary bombs and public carelessness, he’s since survived as an ambassador of America’s outdoors. Today, his furry face is attached to a number of free educational resources. Here are a few examples that caught our eye.
Editor’s note: Random-Access Memories is a periodic series highlighting the ways in which major historical events have influenced ed tech. Got an idea for a future edition of R-AM? Drop us a line.
America’s wildfire prevention campaign, the longest-running public service ad campaign in U.S. history, was already underway when its living mascot appeared in the forests of New Mexico in 1950. “Hotfoot Teddy,” as the cub found clinging to a pine during a forest fire was first called, became Smokey Bear soon thereafter. The U.S. Forest Service had found the cub in the Lincoln National Forest, and quickly named him after the recently-invented mascot for good forest stewardship. The cub, now called Smokey, was sent to the National Zoo. That Smokey’s gone now, but the symbol of thoughtful environmental recreation and exploration that he became is a national icon, one that turned 75 years old this month.
Since the creation of the modern Smokey character, the beloved bear has been a popular way to engage children with environmental and civic learning. On the occasion of his birthday, here are some ready-to-use resources that can bring Smokey into the the classroom.
Resources for Kids
Smokey Bear’s official website includes a wide variety of resources, some of which are perfectly designed for students to engage with directly. Combining language learning and environmental heritage, Smokey’s Story Maker—think Mad Libs—lets elementary students compose custom stories about themselves and the famous forest protector.
Ask Smokey is an interactive Flash game that students can play to learn about forest ecology and fire prevention. Students can even create a custom coloring book using the Design A Coloring Book page. Choose your favorite images, put them in frames, print, and go!
You can even have students send letters to Smokey. He has his own zip code, thanks to the U.S. Department of Agriculture, the Forest Service’s parent agency.
Resources for Educators
The official Smokey Bear website is built for educators. It includes complete educator guides, lesson plans, activities, and videos, all of which you can use in your classroom. The trove of resources is organized into pages for elementary and middle school learners.
Smokey’s Story, a PDF document, includes all the basics to introduce young students to Smokey, including make-your-own stick puppets of the famous bear and his forest friends. You can even integrate art by helping students participate in the annual Smokey Bear & Woodsy Owl Poster Contest.
Teachers can also work with Forest Service fire prevention planners to deliver talks and resources to their class. Explore fire prevention for grades K-5 with this guide. Learn how you can align all these resources with your educational goals here. Finally, SmokeyBearLive.com has a large collection of lesson plans on fire ecology and biology for every grade level K-12.
Can’t get enough Smokey? Check out the ongoing list of 75th anniversary celebrations here. And remember: Only YOU can prevent wildfires!
Are you getting the most bang for your buck by utilizing the high impact instructional strategies made famous by John Hattie combined with the wonderful tools from Google? If your answer is no, then look at how you can employ practices, such as self-reported grades, that are scientifically proven to increase student achievement, and incorporate Google tools at the same time.
John Hattie’s Effect Size
John Hattie developed a way of synthesizing various influences in different meta-analyses according to their effect size. Effect size is a measure of the contribution an education intervention makes to student learning. In his first study, Visible Learning, he ranked 138 influences that are related to learning outcomes from positive effects to negative effects. He found that the average effect size was .40 and anything above this line is considered “highly effective.” Hattie has updated his work to include over 250 influences on student achievement. You can read more about John Hattie’s work here.
Now, let’s look at one of the strategies that is high on Hattie’s list, and how it can be applied to your classroom teaching using Google tools.
Self-Reported Grades (Effect Size 1.33)
Self-reported grades is a practice by which students assess the quality of their own work or their level of mastery over a given objective. With an effect size of 1.33, it can provide up to three years of additional growth in learning for every year. That’s a huge impact! The validity of self-grading is often assessed by comparing a student’s self-reported grade with the grade provided by a teacher. Below are a few examples of how you can allow students to track their own progress.
Personal Grade Tracker
A personal grade tracker is a way for students to practice personal grade and progress monitoring in a structured way. Personal grade trackers are a great way to teach students how to monitor their growth and progress. They also help teach responsibility and self-awareness. Students keep track of each graded assignment throughout the year. Check out thisGoogle Sheet Template by Mathew Mays. I really like that it includes a space for personal reflection!
Rubrics
Rubrics are a wonderful way to give your students the power to assess their own work. As the teacher, you also grade the student’s work with the same rubric. Afterwards, you compare the two rubrics and then discuss the results with individual students. By using rubrics as a way for students to self-grade, you are allowing them the opportunity to think critically about their work. Regular use of self-graded rubrics will help your students learn to target their work toward your expectations. They might even have fun playing the teacher and grading their own work.
Google Classroom – Google is currently beta testing built-in rubrics in Google Classroom. Teachers will be able to create and attach a rubric to an assignment posted in Classroom. You can sign up to beta test it here.
Orange Slice Teacher Rubric Add-On – This Google Doc add-on allows teachers to easily and quickly make rubric selections and convert the Analysis or Holistic rubric into a percentage or points grade.
Goobric Extension – This Chrome extension enables flexible, efficient rubric-based grading and works with the Doctopus add-on for Google Sheets.
It’s a Win-Win
Using self-reported grades is a win-win in the classroom. Not only does it alleviate student anxiety, but it also makes students feel that they have control over their own evaluation and learning. In addition, when students grade their own work, they can see exactly where they are making mistakes. They obtain this feedback far sooner than if the teacher collects the work, grades it, and then returns it later. There’s no reason not to try it in your classroom.
“Does the TEKS Resource System have an app?” asked a classroom teacher in one of my sessions. “I want to pull up my lessons.” The question got me thinking. After some fruitless searches in the Google Play store, I failed to find an app. But I did find a few, no-cost apps that teachers may want as they head back to school. Care to see what they are?
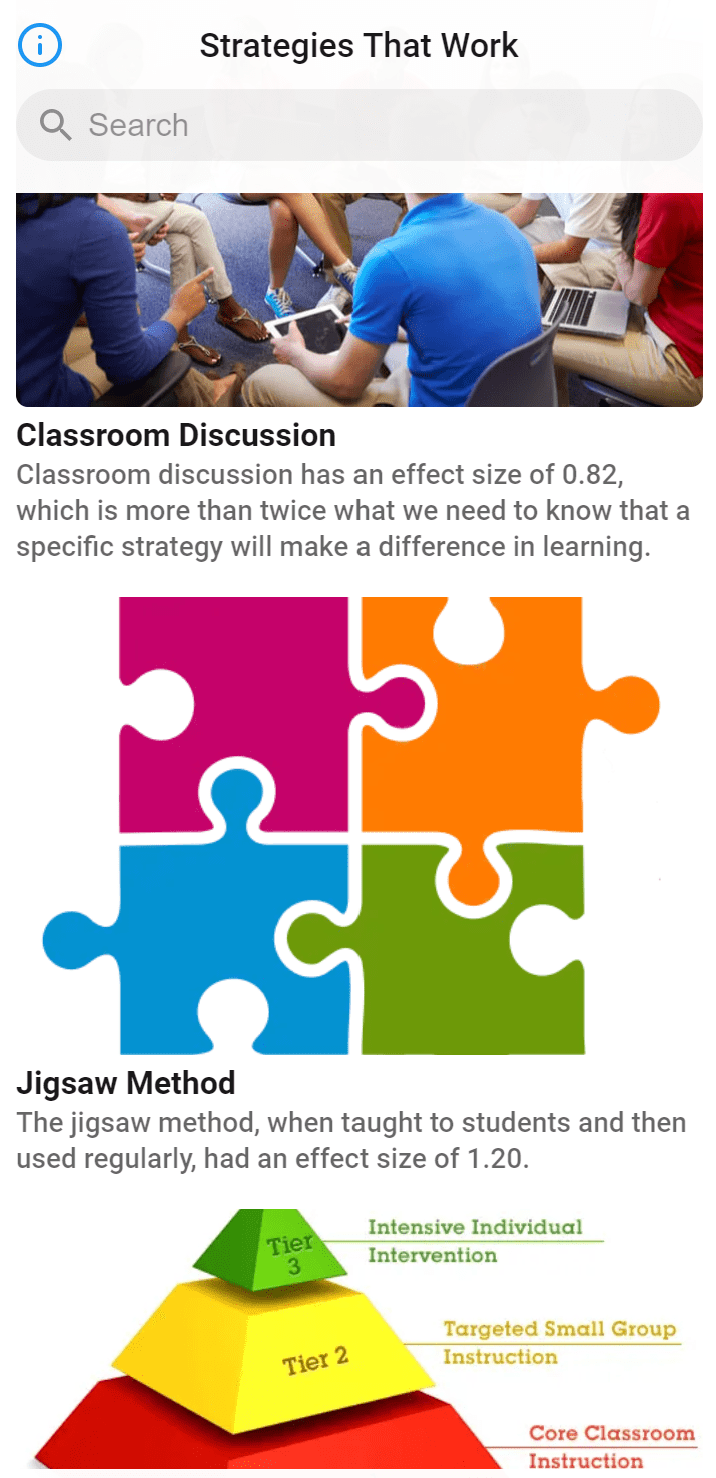
Looking for a collection of research-based instructional strategies? While you may look no further than John Hattie’s list of effective strategies, where’s the app? If you’re wondering, you may disappointed to discover there is no an app. Until now.
Thanks to the magic of Glide, a website that lets you turn a Google Sheet into an app, it’s pretty easy to make your own. The resulting product works on any device, not only your smartphone. With that in mind, I’ve created a Hattie effective instructional strategies app.
The Strategies That Work app includes a short list of effective instructional strategies. As a technology director, I wish I had known about John Hattie before now. They are a real eye-opener when it comes to popular technology-focused strategies.
While Hattie says that “Everything works” with the 250+ instructional strategies we use, not everything accelerates student growth. Want an illustrated, quick reference on your device with links to video and more info? This app will get you started. What’s more, I’ll be adding more instructional strategies at least once a month. Want to help me? Make contact via Twitter @mguhlin.
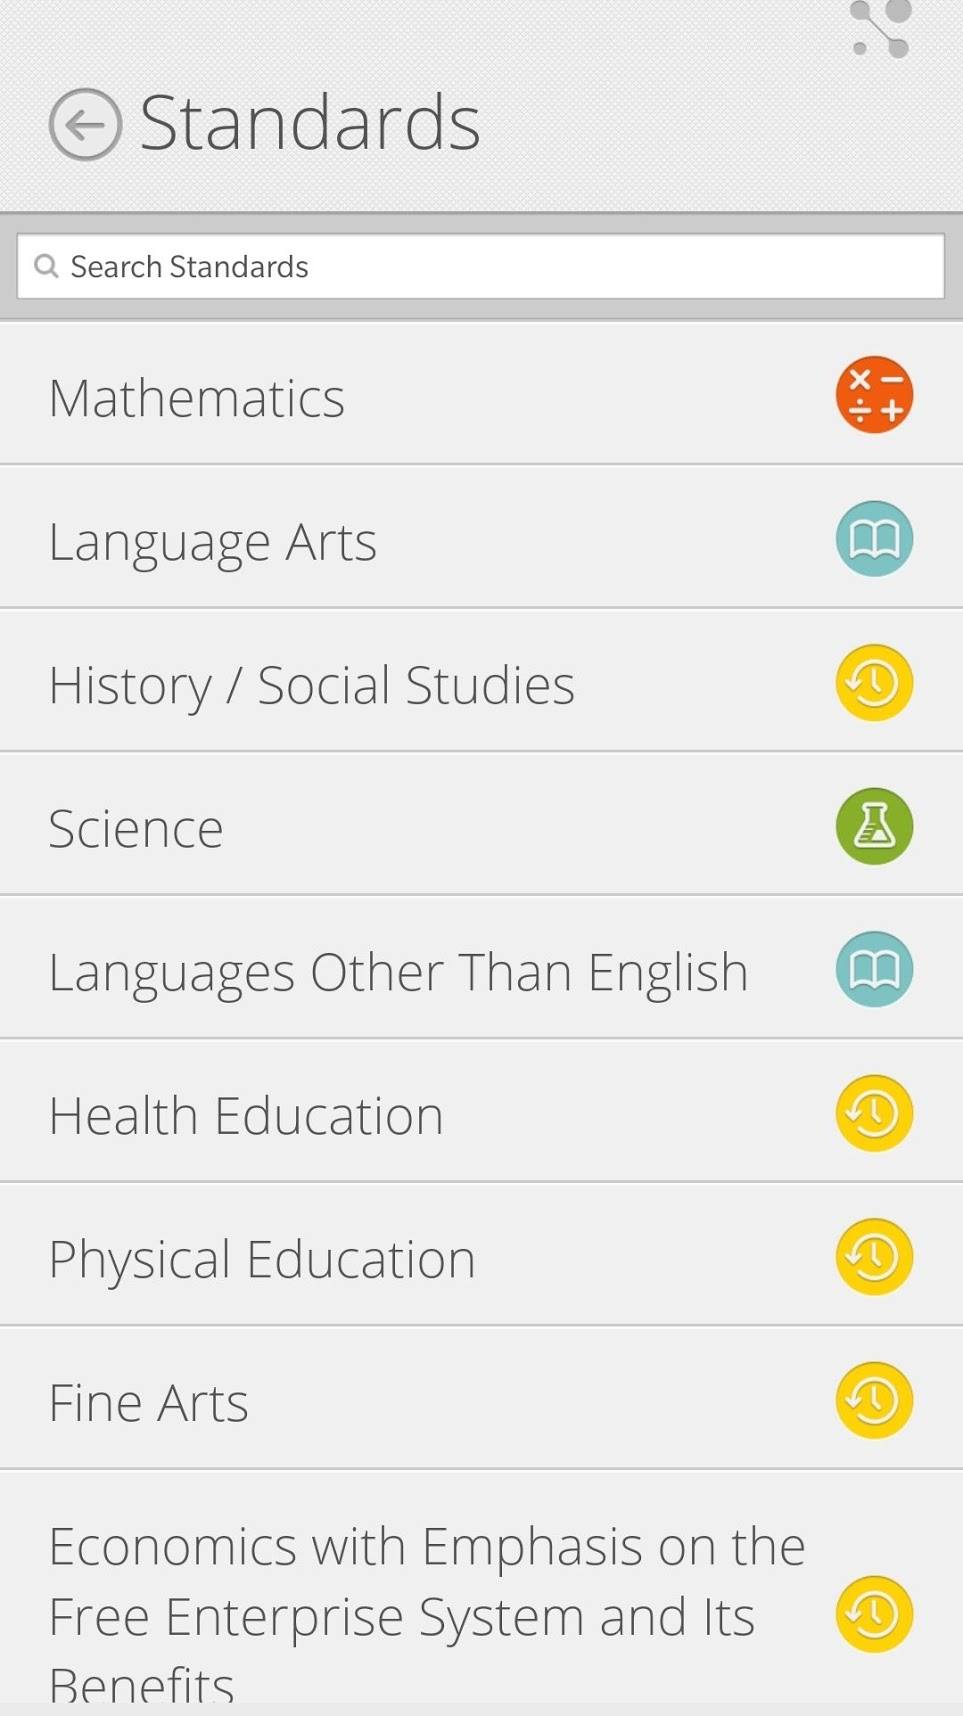
Are you a Texas educator? You may want to have quick access to the Texas Essential Knowledge and Skills (TEKS). Any teacher worth their salt will soon have these memorized (well, if they write lesson plans). But if your brain isn’t cooperating, why not load the TEKS app onto your phone? You can find the TEKS in detail for any content area. Give it a try.
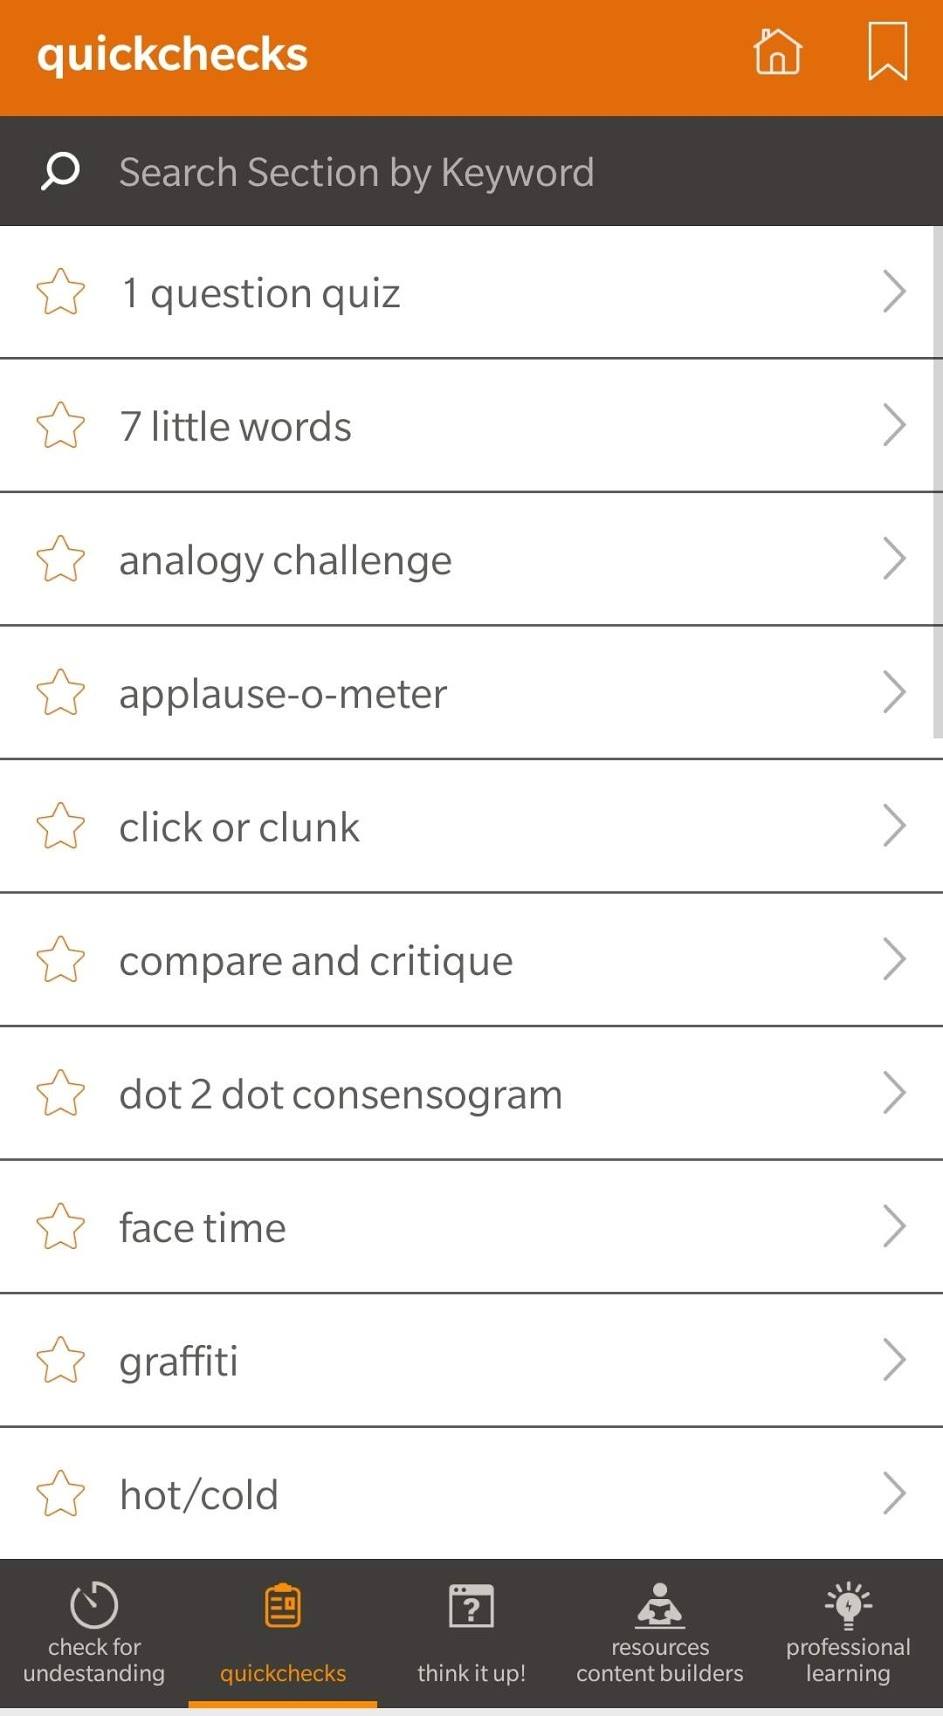
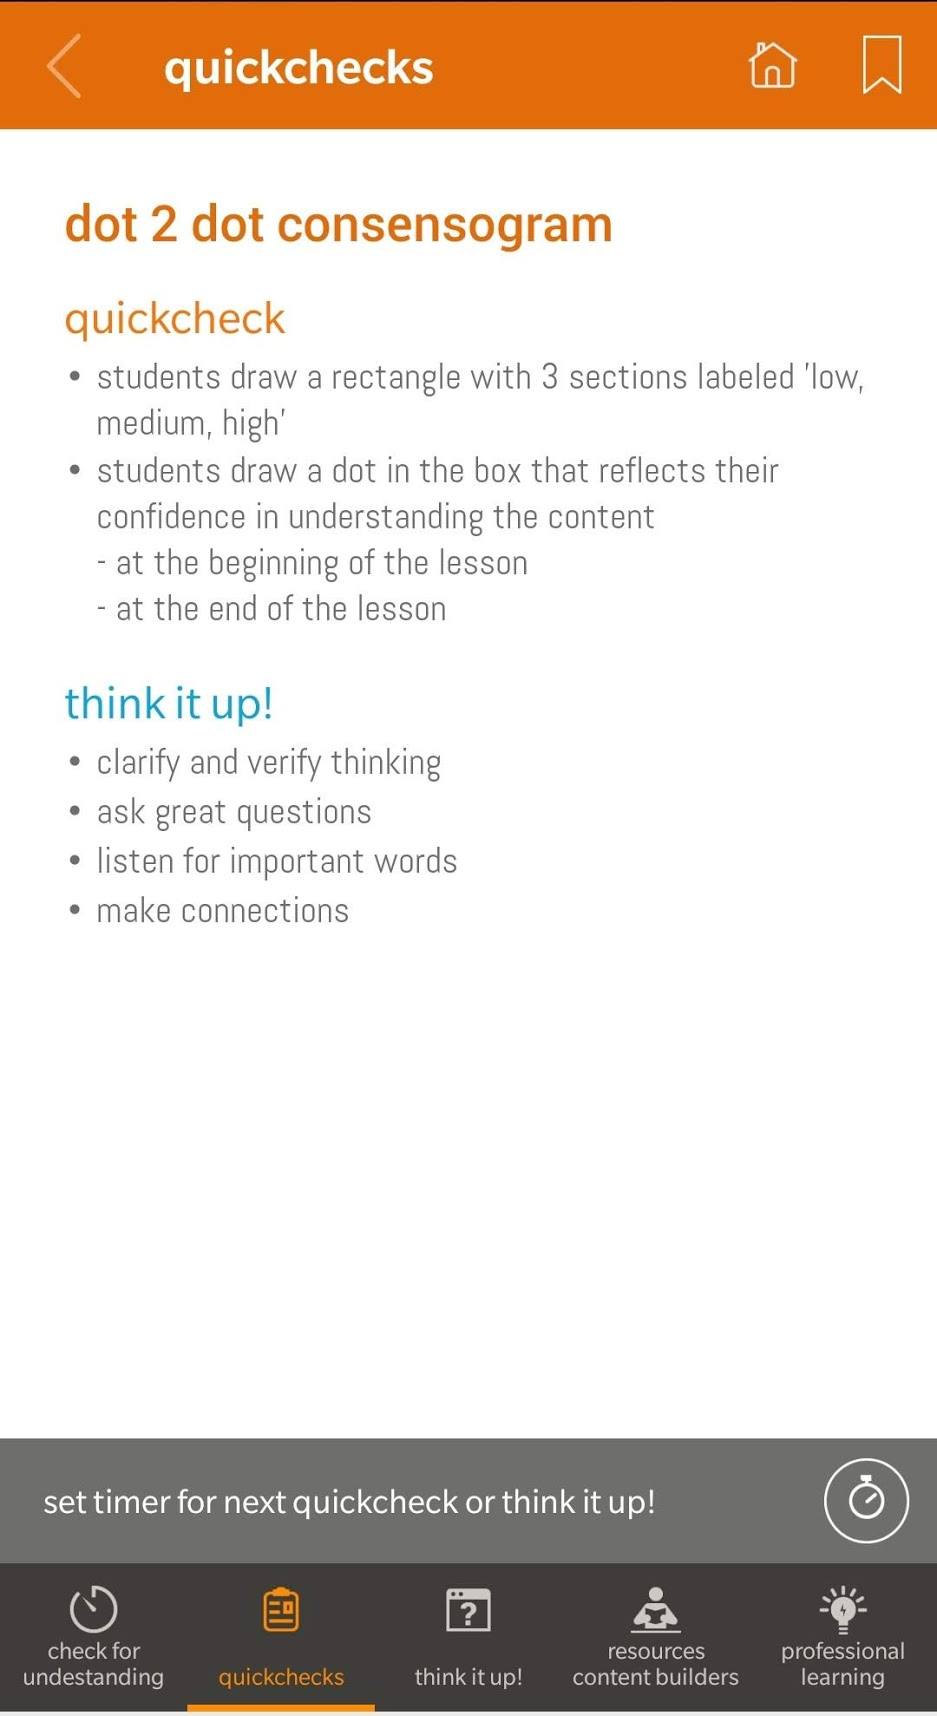
The Lead4ward folks have a lot of fantastic resources for schools. As a classroom teacher, I love their app’s “quickchecks.” These provide a wealth of activities such as one-question quizzes, seven little words, etc.
The list of quick checks is a searchable collection of assessments. You can tap on the assessment and get instructions on how to use it in the classroom.
What a handy aid! And there’s even more included in the app. Why not check it out?
These three apps make it easy to engage in lesson planning. You can find instructional strategies that align to the TEKS and assess learning. Give them a try.
It’s become painful to turn on the news today. So much unhappiness and destruction around us; it’s enough to make anyone see the world in a negative light. And if you’re an educator trying to help students learn about current events, it can also be a dangerous path to tread as you try to locate appropriate stories for them to read and discuss.
Good News Network
Along came the Good News Network, a website and free app that is dedicated to being “an antidote to the barrage of negativity experienced in the mainstream media.” Founded in 1997, GNN has an archive of 21,000 positive news stories from around the globe available in both English and Spanish. It also includes a Good News in History section for each day and you can search for stories by region or topic.
To be honest, the site does have ads on it. And its design is a little clunky. But, for me, the positive stories more than make up for these small failures.
I especially liked the story about the owl who discovered a children’s paddling pool. It made me smile and laugh out loud. And isn’t that what we all need a little more of today? So take a look at Good News Network the next time the world has got you down.
Think back to your last staff development event. Were you engaged the whole time, or was some of the material not quite relevant to you? Or maybe your admin team brought in a trainer to discuss the basics of OneNote, but you are already a OneNote genius. As teachers, we differentiate our instruction for our students to meet their needs — so why are we not practicing what we preach when it comes to professional development? As lifelong learners, we should be exposed to the same opportunities that we are providing our students. It’s time that we start personalizing our staff development!
When I was a classroom teacher, many of the staff meetings I attended were lecture style, sit-and-get sessions. The material was not always aimed at what I was teaching and there was an overall sense of inefficiency during the hour-long meeting. That is, until I had this one specific training. On this one occasion, I felt that the staff meeting met the needs of not only me and my team, but the whole school. We were given the choice as to what we wanted to learn, and this idea has stuck with me all these years. It has shaped and influenced my current teaching technique as a digital learning coach and personalized professional development.
Creating Choice
Let me walk you through that particular occasion. We all met in one room to review our norms, then we were given the menu. The menu was divided into two 20-minute blocks and a 10-minute wrap-up at the end. During those 20-minute blocks, we had our choice of four different sessions we could attend. Very similar to a conference you might attend, each session had a short description, so teachers knew what to expect going into that lesson. For each time slot, the sessions were different so that those presenting in the first block could attend something in the second and vice versa.
The choices we had were sessions on: ELAR, math/science, technology, and special education. At 3:40, we were released to our first session. Then, 20 minutes later, an announcement was made to move to the next session and then the next one began. For our 10-minute wrap-up, we discussed the main themes of each session and as a ticket out, we posted our favorite things about the new method on a “parking lot.”
So, what did it look like behind the scenes? A few years later, after I had left the classroom, I asked my then principal how she organized that meeting. She told me that the administrative team met with several people weeks before the staff meeting and asked them to present something related to, well, whatever. Those staff members then prepared their presentation. The people that she chose were those looking to move up into a leadership role or those currently in a leadership role. She said that it took some time and effort to plan the whole thing, but in the end, it was a very valuable learning experience for the entire staff.
Blended Delivery
With the advancements in technology over the past several years, one idea for staff meetings is to make them blended or even flipped. With a blended delivery, students (or in this case, the staff) would conduct a short activity or watch a short video prior to the staff meeting. This front-loading of material allows the meeting host to begin right away, not having to use valuable time to introduce the material. For example, the professional development is on student motivation. Admin could send out a TED Talk or another video for staff members to watch, and once the meeting begins, staff immediately break into groups to discuss the video. This eliminates having to use the first 10 minutes of the meeting to watch the video.
With a flipped method, the entire staff development is conducted online. One great way to conduct flipped professional development is through a learning management system. When designing the professional development, you could set up a module that staff members move through with a quiz or discussion at the end for accountability.
With a flipped delivery, staff members are free to work on the program or activity when they want, where they want. If the entire third-grade team wants to get together after school to complete the activities, they can. Or, if someone is unable to attend a meeting, they can complete the assignment at home. The ability to work on the training when it’s convenient to them will help ensure they are engaged and the training is effective.
Conclusion
Traditional staff development still has its place. When it is time for STAAR training, or when new campus discipline programs are being implemented, the entire staff should be together. For many other concepts though, giving the teachers options when it comes to what they learn and how they learn is the way to go. You’ll have staff that appreciates the opportunity to pick something of interest, and you’ll be modeling what we expect our teachers to be doing with their students.





 videos, all of which you can use in your classroom. The trove of resources is organized into pages for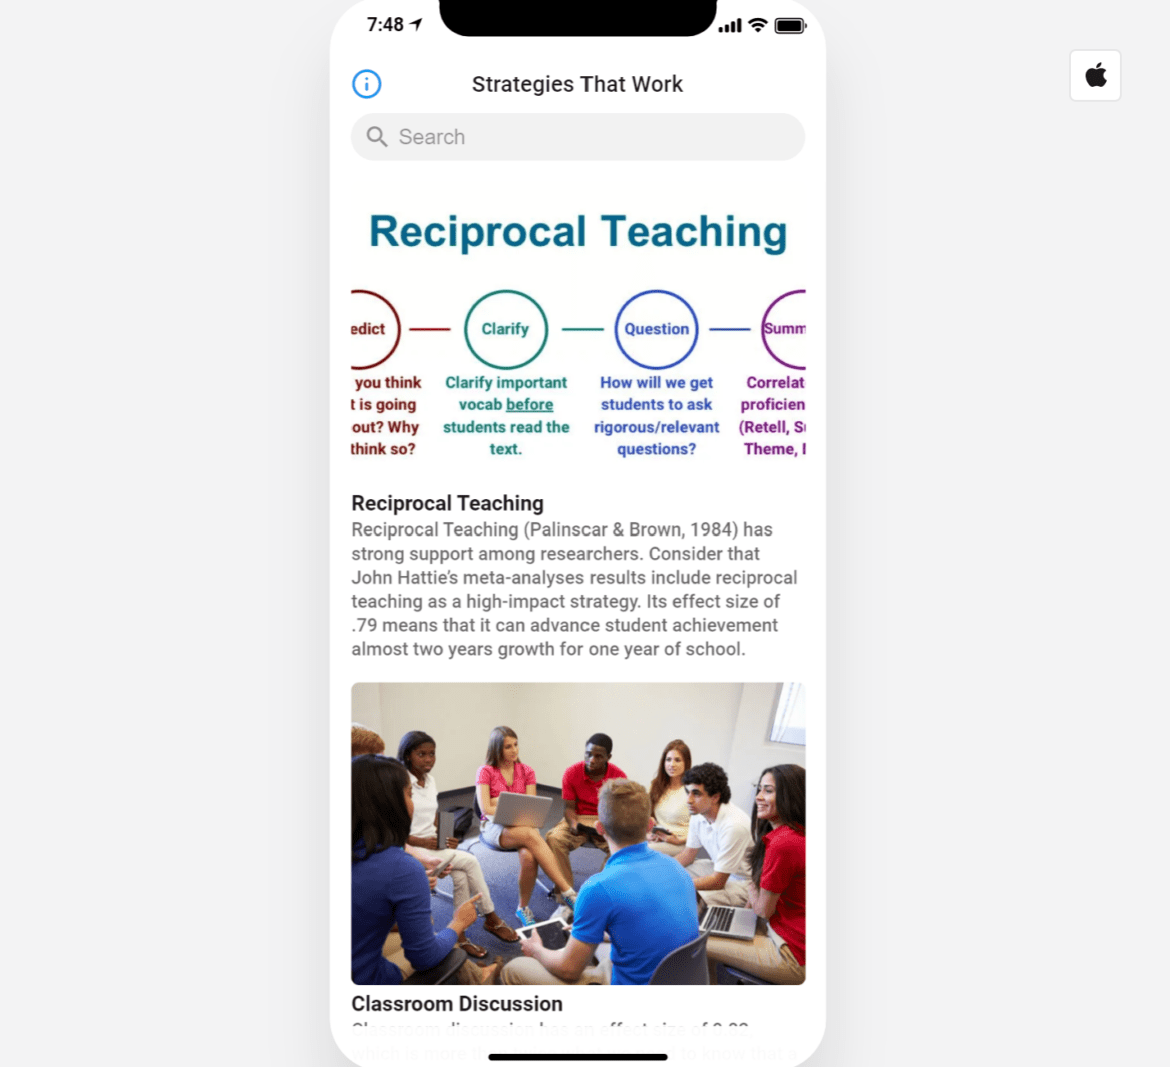

 Along came the