Explore resources, tools, and strategies for teaching science. Discover activities to spark curiosity and enhance hands-on learning in the classroom.
In the pursuit of educational excellence, our nation is at a pivotal moment. While educators remain committed to providing every student opportunities to succeed amid competing priorities, resource restraints, and diverse perspectives, one state’s legislature is making significant strides by enhancing the availability and integration of OER that meets high-quality instructional materials (HQIM) criteria across classrooms in Texas. This major step forward refers to the Texas Open Education Resource (OER) Repository recently established under the state’s House Bill 1605. This centralized digital platform envisioned for Texas and designed to store, manage, and distribute educational resources and instructional materials is set to be a key driver in ensuring that high-quality, standards-aligned content is readily available to districts. The Texas OER Repository envisioned by legislators and representing learner-focused priorities of the state and districts is positioned to provide significant benefits for educators, students, and the broader educational system.
What Is a Learning Object Repository (LOR)?
A learning object repository is a digital collection of educational resources and instructional materials meticulously curated and easily integrated at the district level to support teaching and learning. These resources (also referred to as learning objects) are tagged with metadata (e.g., keywords, grade level, subject, and instructional standards) making them easily searchable and accessible to educators and students. As a centralized learning object repository that integrates seamlessly with various Learning Management Systems (LMS) and instructional tools, it catalyzes achieving educational goals and student outcomes by having high-quality, preferred resources available to classrooms just a click away. An example of a statewide learning object repository serving local districts is the Instruction Hub launched by the South Carolina Department of Education.
Key Features of an LOR for OER
- Centralized Resource Hub: A learning object repository houses all instructional materials in one place, ensuring that educators can easily find and use the resources they need. This centralization promotes consistency and quality across educational content.
- Standards Alignment: A learning object repository maps resources directly to state standards to allow educators to see which resources meet specific standards for each lesson. This further supports educators in understanding how each resource fits into the broader curriculum.
- Organizational Structure: A learning object repository supports the fidelity of implementation of HQIM by allowing resources to be accessed in the intended sequence. This facilitates the implementation of HQIM aligned to the designed learning path and state and district instructional frameworks.
- Seamless Integration: A learning object repository integrates with various Learning Management Systems (LMS) such as Canvas, Schoology, and Google Classroom, allowing teachers and students to access their specific resources effortlessly through Single Sign-On (SSO) and rostering capabilities.
- Customizable, Flexible, and Scalable: Districts and educators can add other HQIM resources to the learning object repository (e.g, other licensed content) allowing for customization to meet local needs. This flexibility ensures the LOR remains relevant and useful for diverse educational contexts. Plus, the LOR can be easily scaled and distributed making it an ideal solution for large and diverse educational systems like Texas.
- Data-Driven Insights: A learning object repository provides detailed analytics on how resources are used, enabling educators to measure engagement and the effectiveness of instructional content. These insights help refine and improve teaching strategies to better meet student needs.
The Benefits of a Learning Object Repository
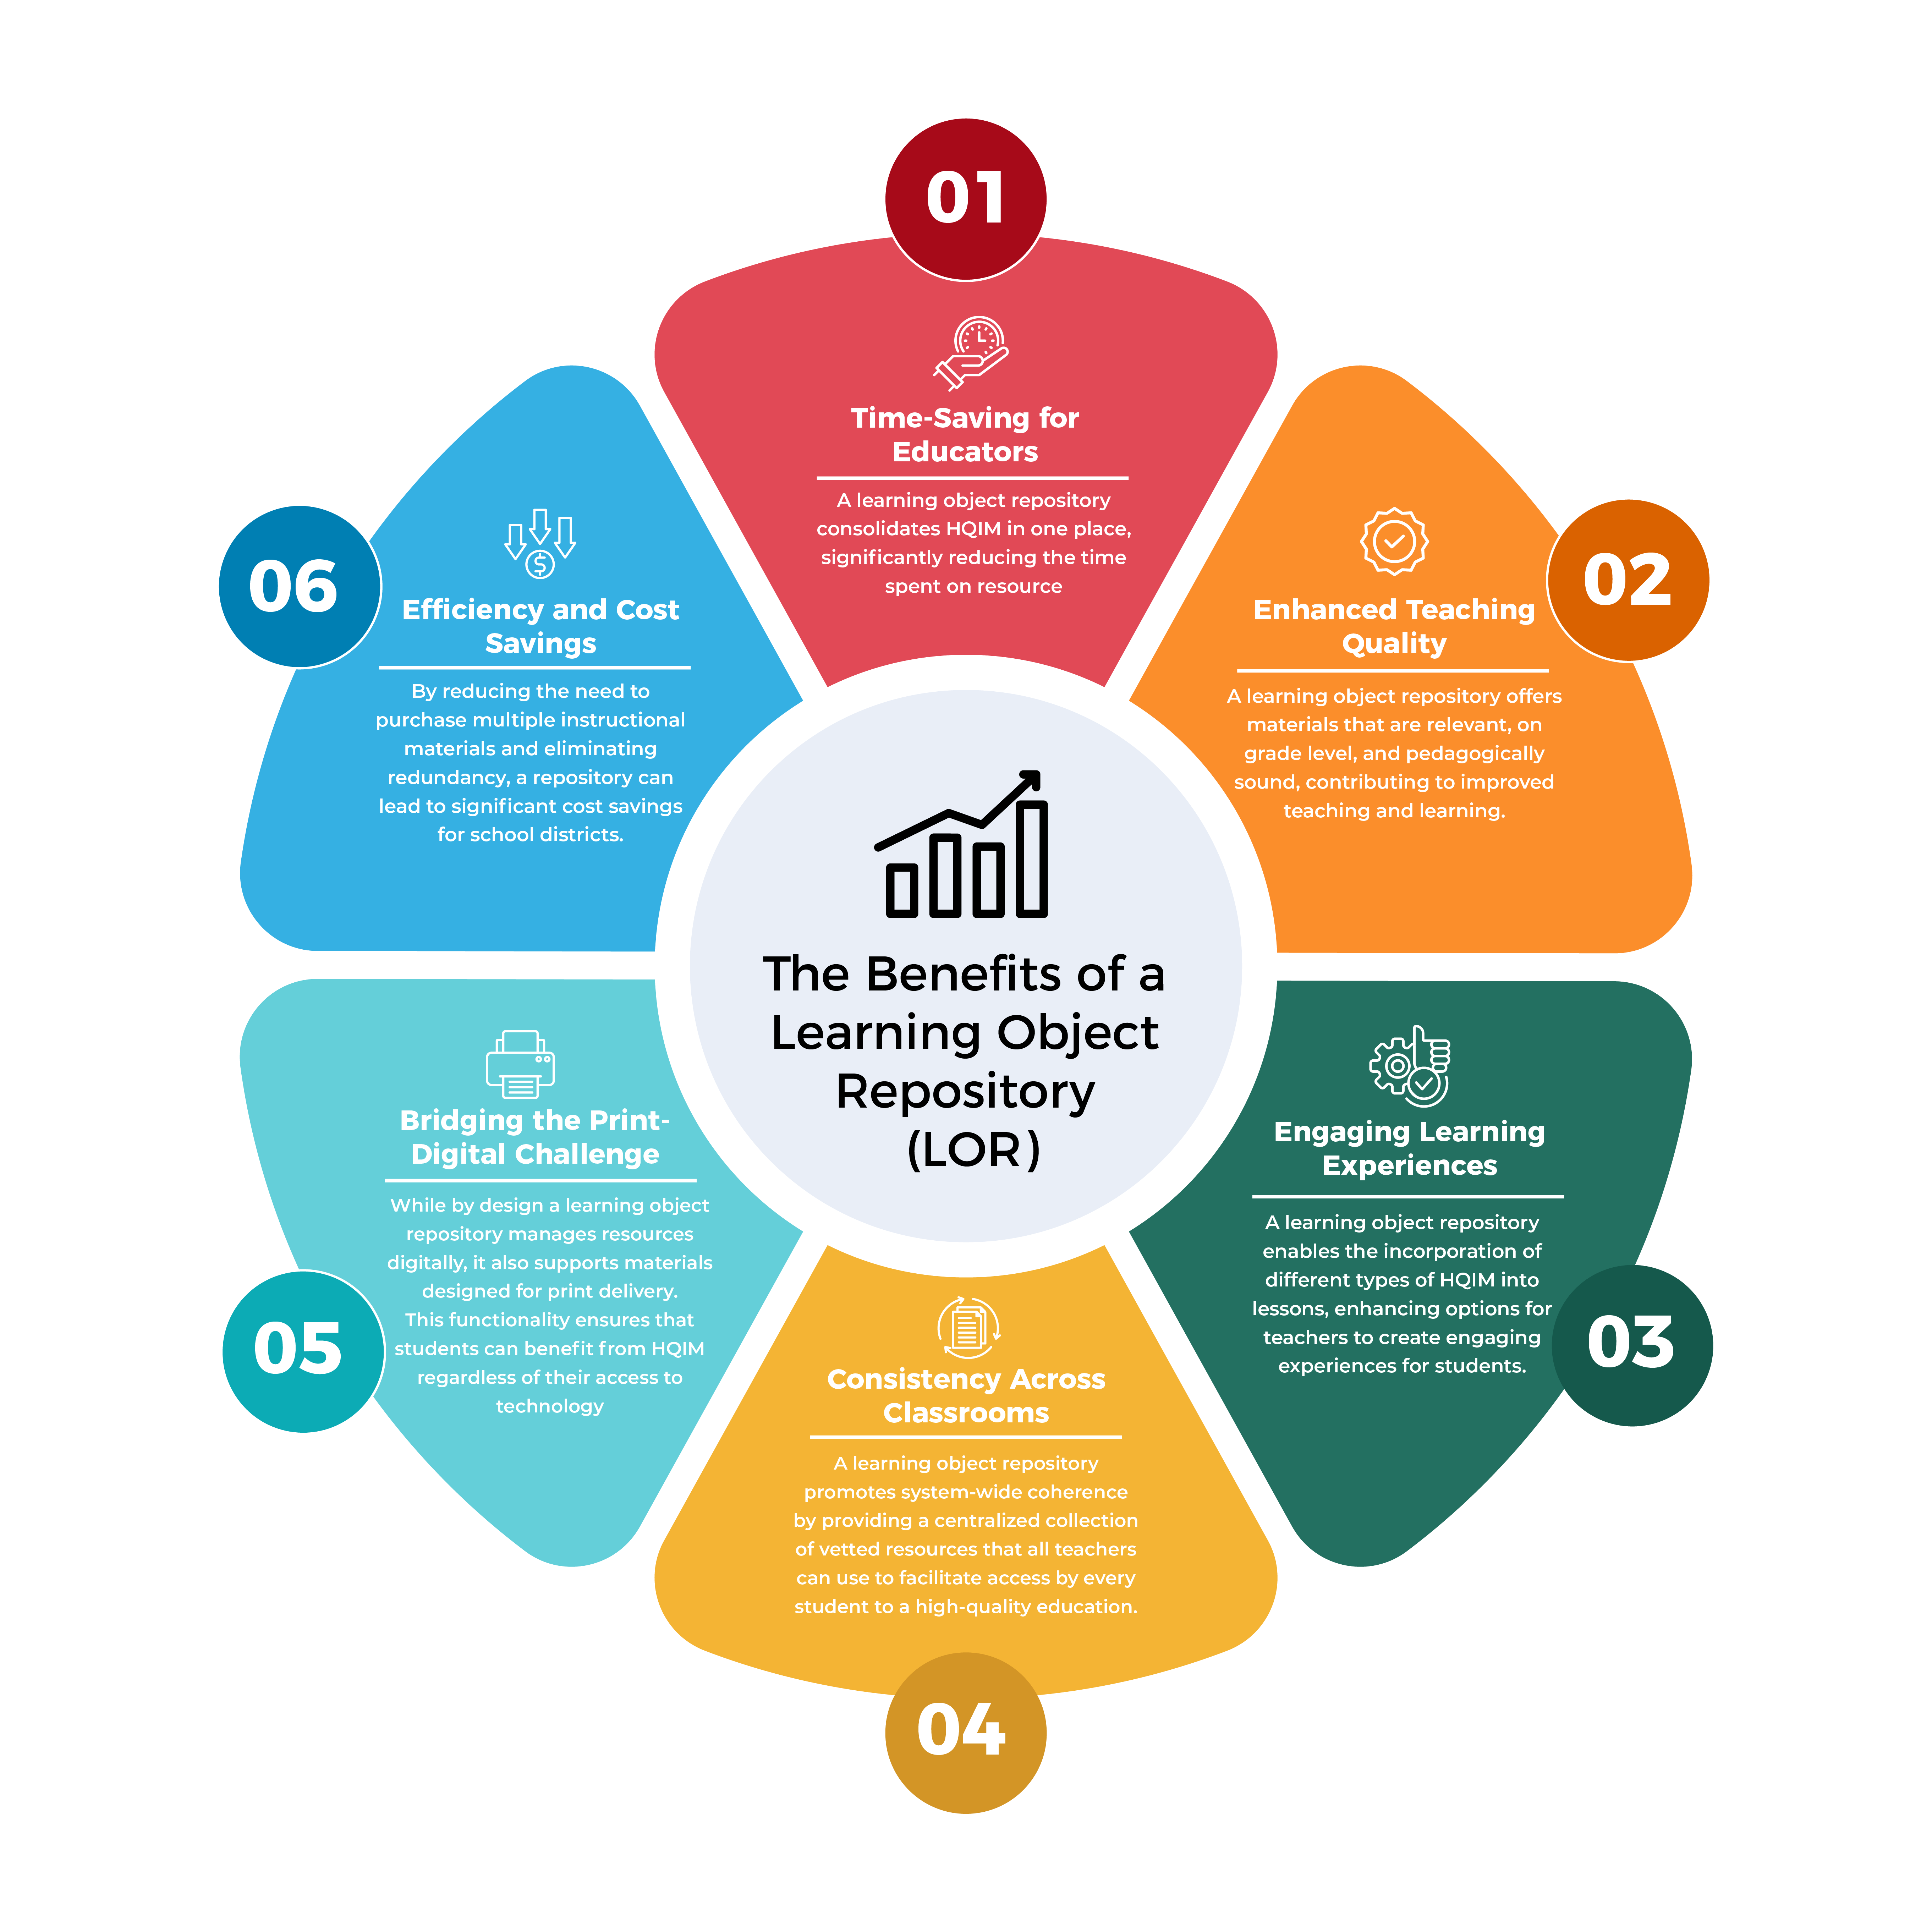
The advantages of implementing a LOR are multifaceted, touching on efficiency, quality, and effectiveness in educational practices. Here are some key benefits:
- Time-Saving for Educators: Teachers spend a considerable amount of time searching for instructional materials. A learning object repository consolidates HQIM in one place, significantly reducing the time spent on resource discovery and allowing teachers to focus more on instruction and student engagement.
- Enhanced Teaching Quality: With access to a vast array of high-quality, standards-aligned resources, teachers can enhance their instructional practices. A learning object repository offers materials that are relevant, on grade level, and pedagogically sound, contributing to improved teaching and learning.
- Engaging Learning Experiences: A learning object repository enables the incorporation of different types of HQIM into lessons, including digital media, enhancing options for teachers to create engaging and interactive learning experiences for students.
- Consistency Across Classrooms: One of the significant challenges in education is ensuring consistency in instructional quality across different classrooms and schools. A learning object repository promotes system-wide coherence by providing a centralized collection of vetted resources that all teachers can use to facilitate access by every student to a high-quality education.
- Bridging the Print-Digital Challenge: While by design a learning object repository manages resources digitally, it also supports materials designed for print delivery. This functionality ensures that students can benefit from HQIM regardless of their access to technology. Teachers can seamlessly transition between print and digital formats to provide a flexible and adaptable learning experience for all students.
- Efficiency and Cost Savings: By reducing the need to purchase multiple instructional materials and eliminating redundancy, a repository can lead to significant cost savings for school districts. A learning object repository streamlines the process of updating and managing curriculum resources, ensuring that teachers always have access to the most current materials.
The implementation of a Texas OER Repository put forward by House Bill 1605 is a strategic move towards achieving educational excellence in the state. Its implementation promises to streamline access to HQIM, support effective teaching practices, and ultimately contribute to the academic success of every student in Texas. With Texas leading the way, this model will capture the attention of other states seeking to transform education and advance student success.


