School librarians keep getting asked to run real programs on budgets that shrink every year, and the per-student, per-month pricing model is rarely on your side. You can build these tools with vibe-coding yourself now, without writing a line of code, and they cost nothing to run. I was skeptical too. Then I tried it.
What “Vibe Coding” Even Means
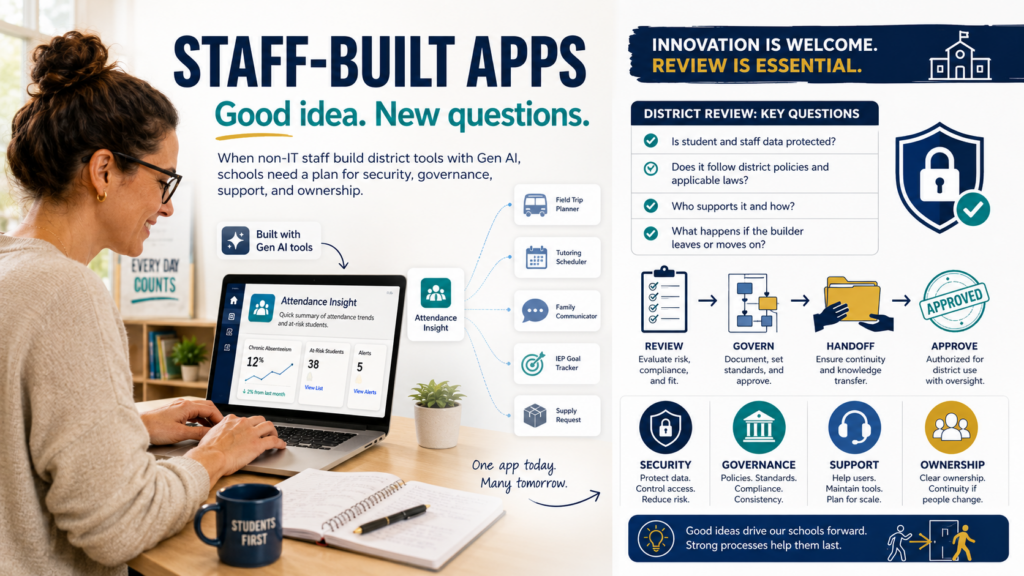
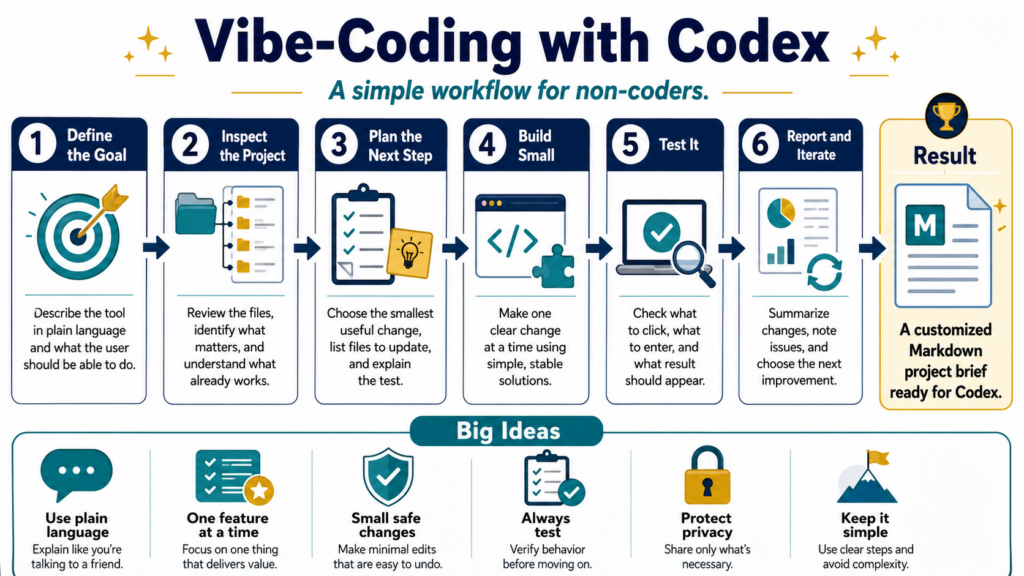
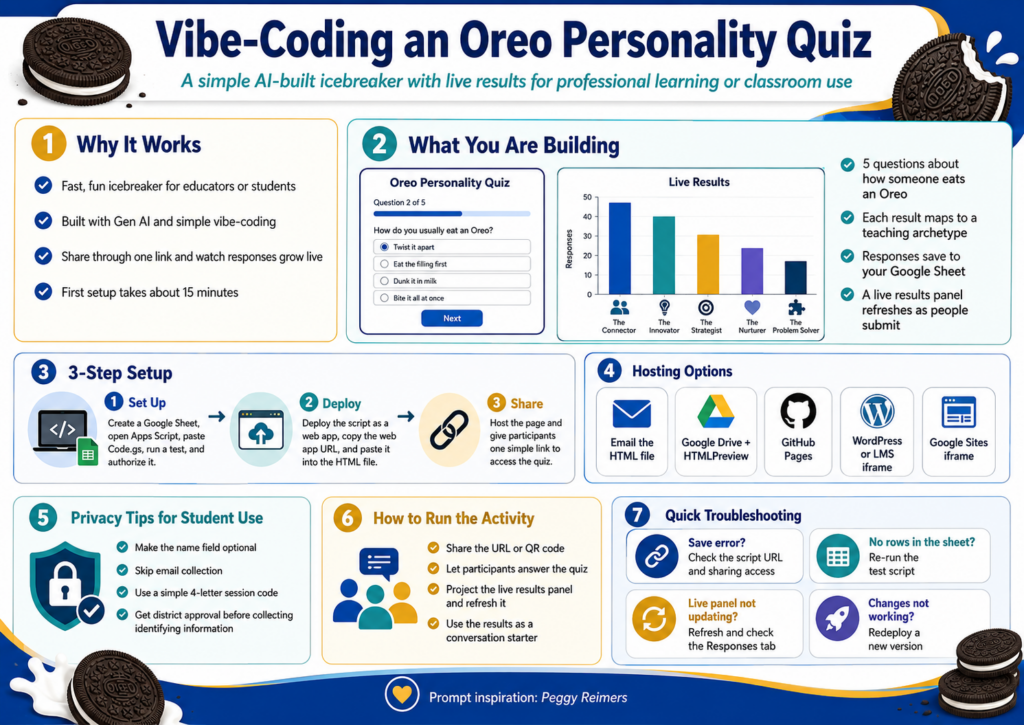
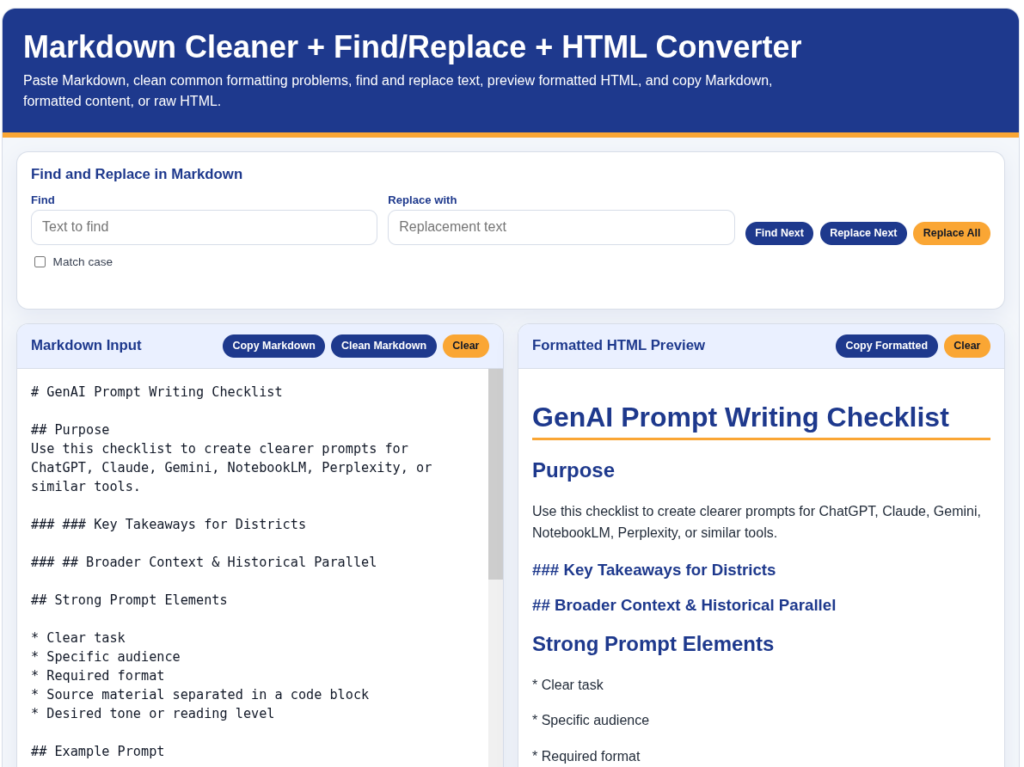
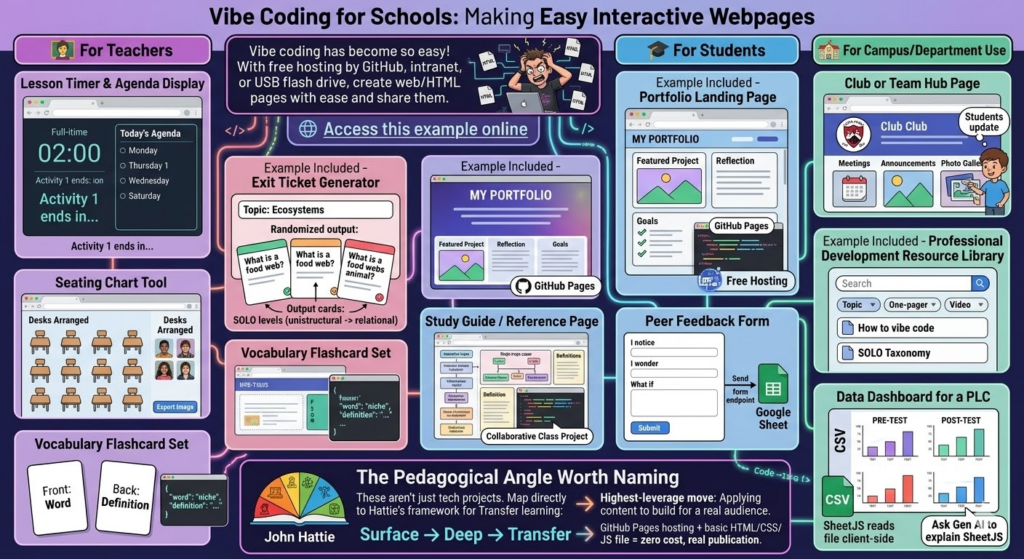
You describe the tool you want to a Gen AI chatbot. It writes the code. You spend your time clicking through the result and telling it what to fix. That’s it. That’s vibe coding.
You don’t need JavaScript. You don’t need a computer science class buried somewhere in your past. What you need is a clear picture of what the tool should do and enough patience to test it properly when it’s done.
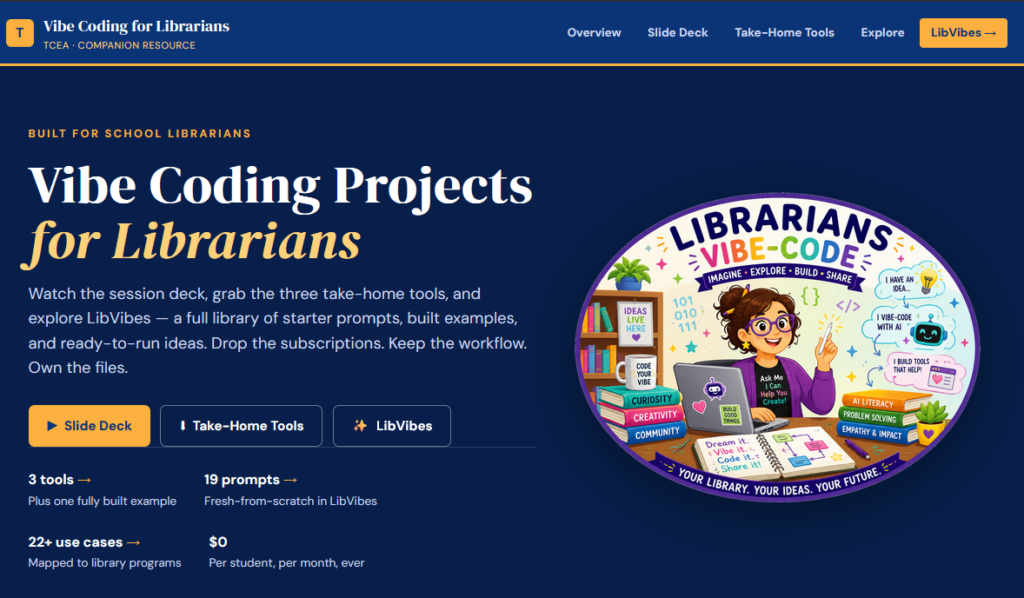
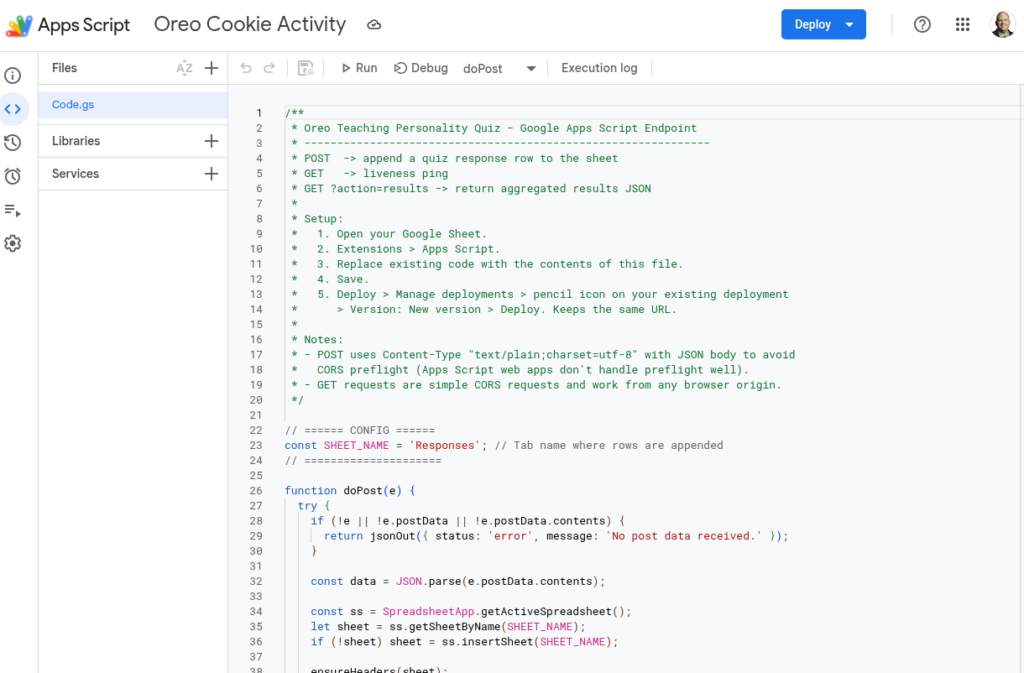
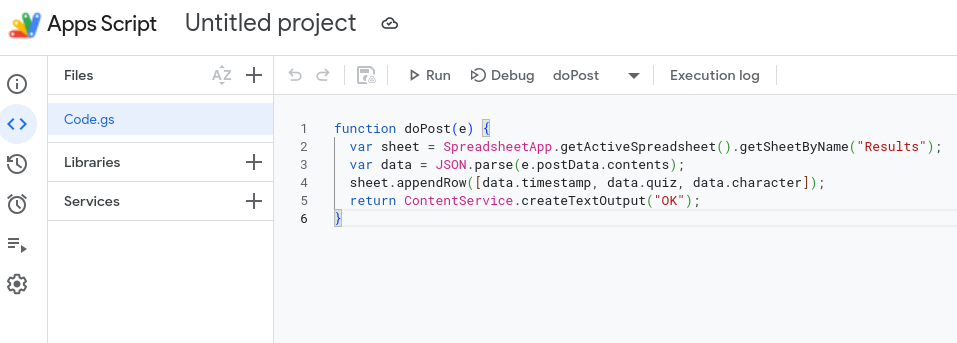
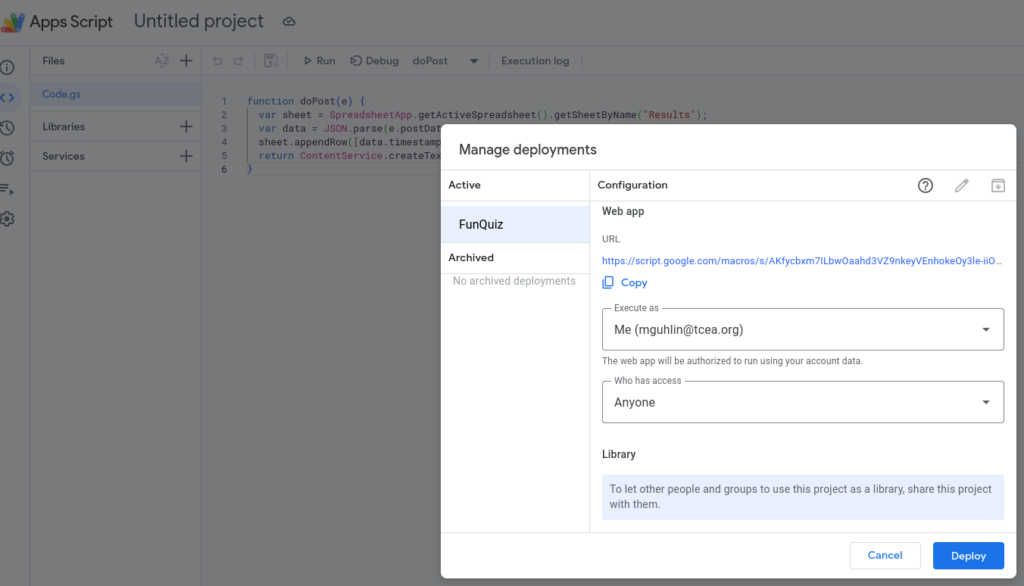
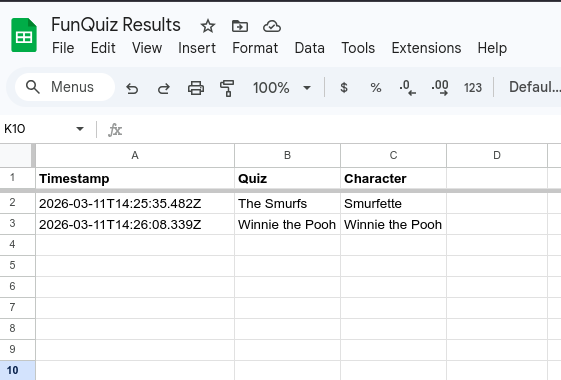
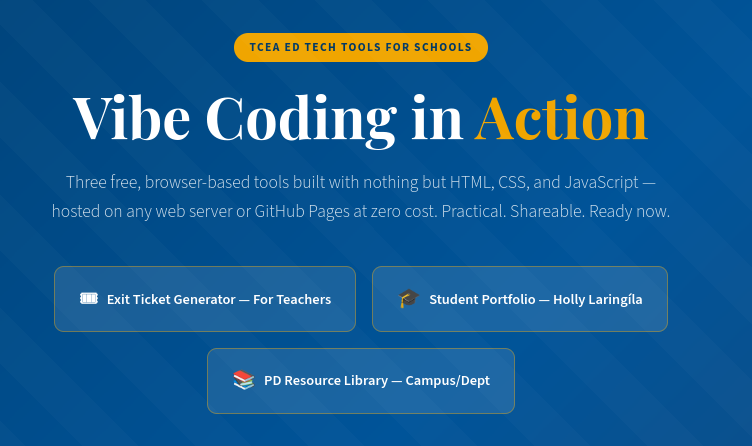
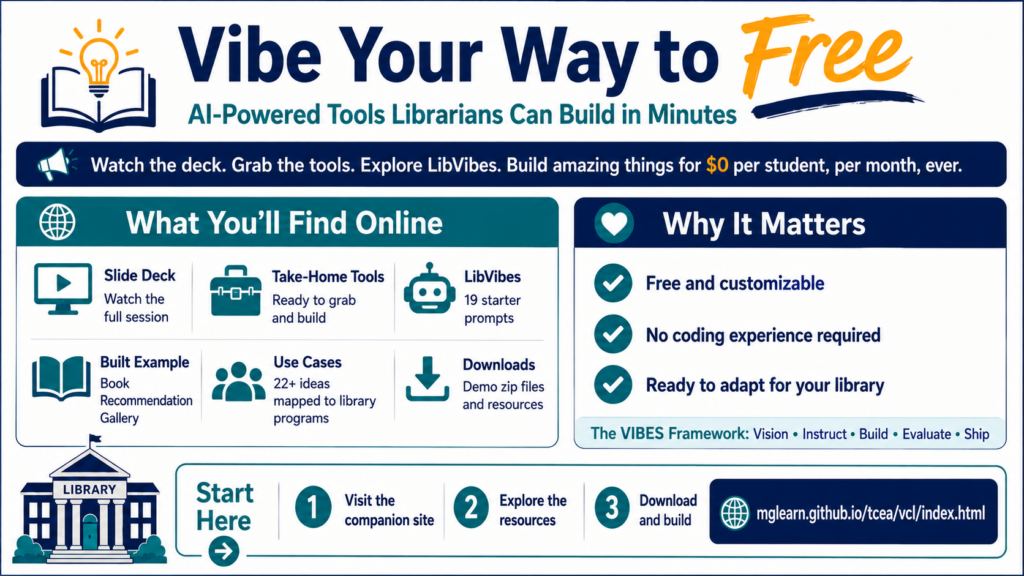
I put together a TCEA resource for librarians: Vibe Coding for Librarians. Everything on it is free, the tools you build belong to you. What’s more, there’s no per-student cost. You can use Google Sites, Google Sheets, and Google Scripts if you need a place to host, a way to store information, or secure data in your Google Workspace.
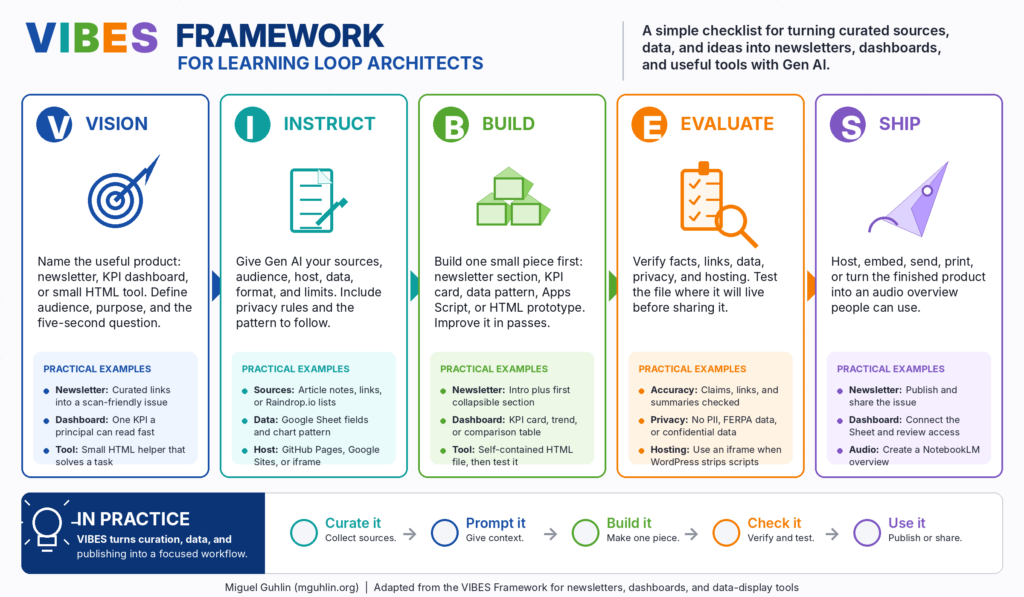
Save Time, Use VIBES Framework
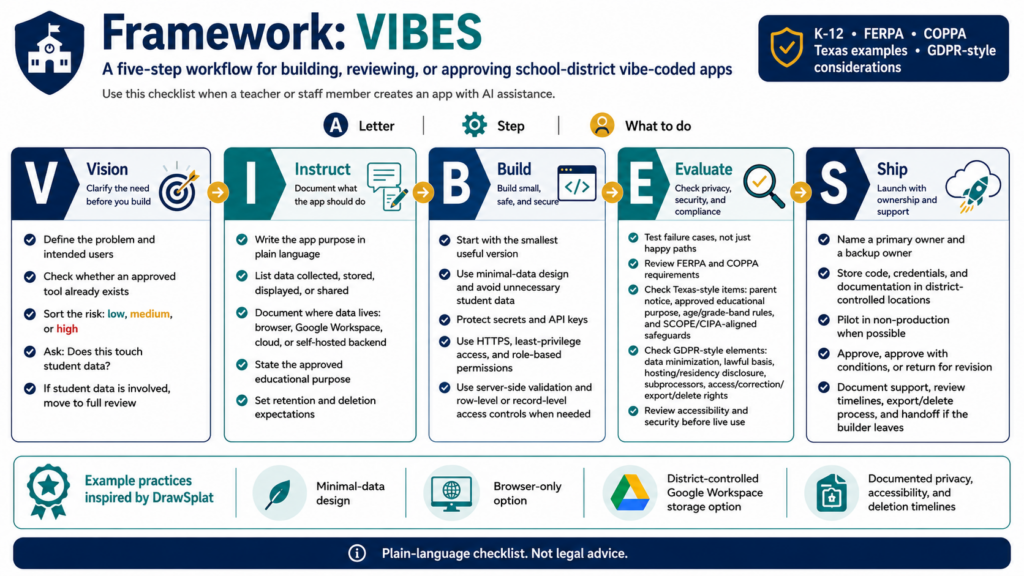
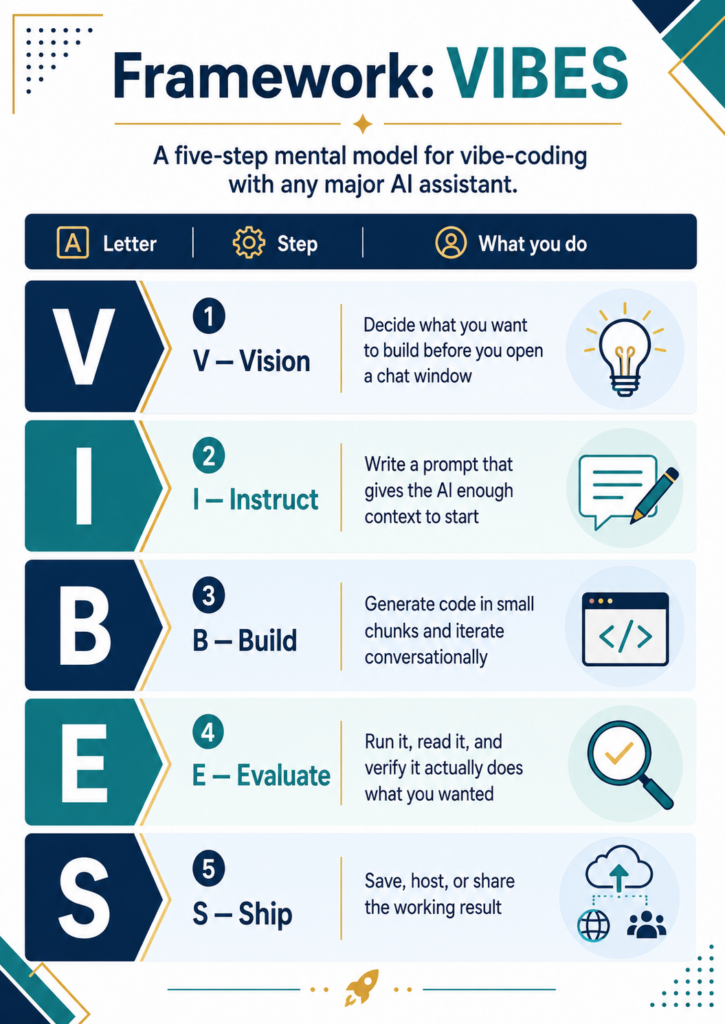
The fastest way to waste an hour with a chatbot is to open it before you know what you’re making. I’ve done this so many times, I see it as a rite of passage for new vibe-coders. But if you want to be a vibe-architect, use the VIBES framework.
VIBES is a loop, rather than a staircase. You’ll run through Build and Evaluate a few times before anything ships. As a writer, I know the feeling well. Plan, plan, plan, research, before you start to get the result you want.
| Step | What You Do |
|---|---|
| Vision | Finish this sentence first: “This is for so they can .” One audience, one job |
| Instruct | Hand the chatbot your real stuff: your colors, your data, the one constraint that matters |
| Build | Get the skeleton working, then add one feature per turn so you know what broke |
| Evaluate | Click everything, test it on a phone, check any facts it shows |
| Ship | GitHub Pages, a Google Sites embed, a QR code taped to the shelf |
The Vision sentence is the part I skip when I’m in a hurry. It’s the part that always costs me later. Trust me. Try a few small projects as a “vibe-coding pantser” (seat of your pants), and you’ll be using VIBES framework forever after (outline and organize).
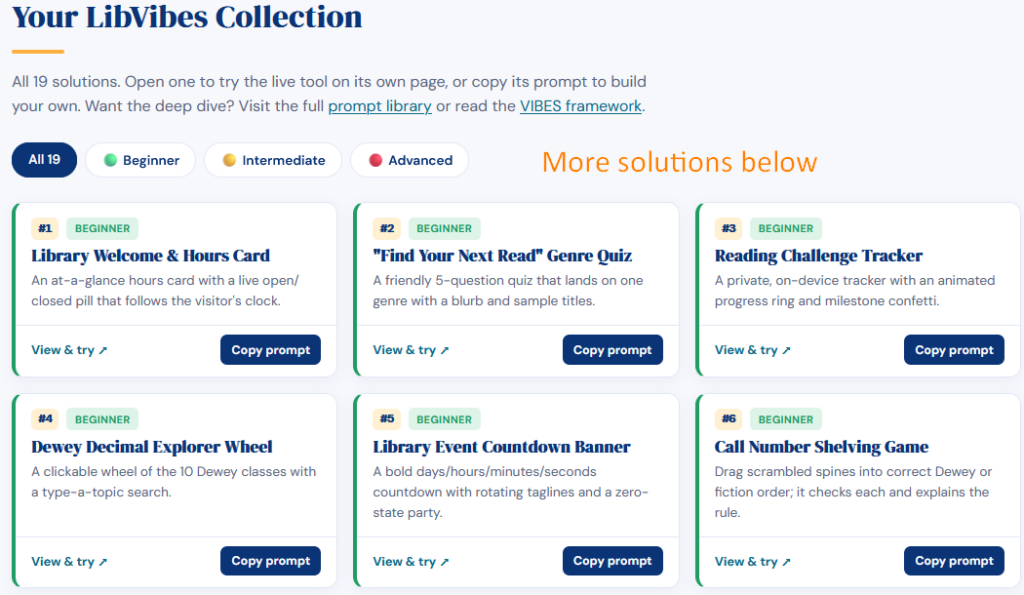
Nineteen Prompts, Read to Go
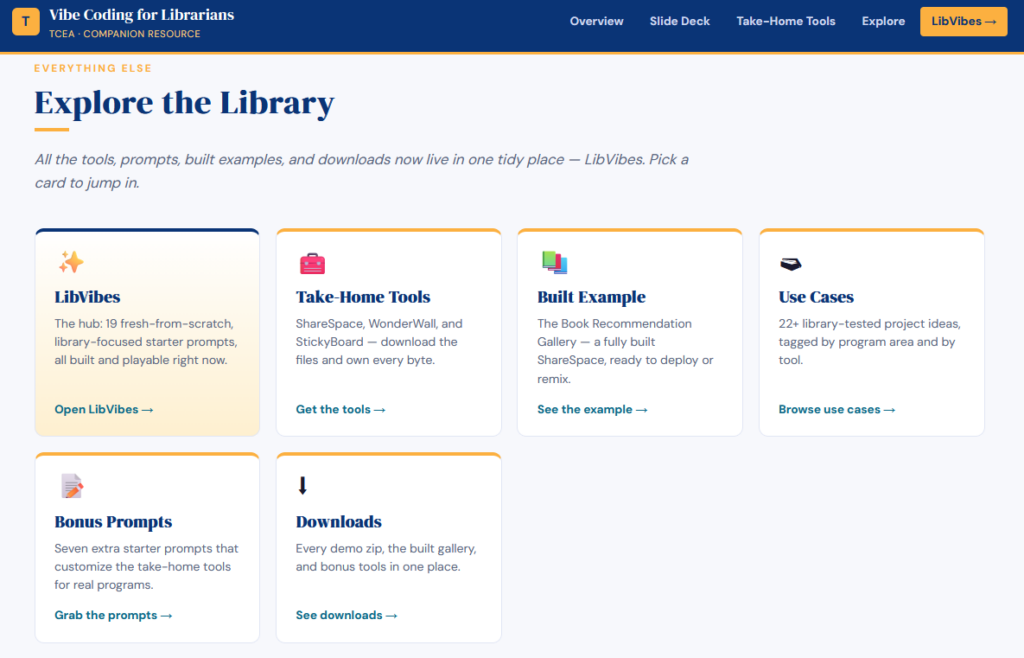
Once the loop makes sense, the LibVibes collection hands you 19 starter prompts written for library work specifically. Shelving practice, information literacy, reading events, the operational odds and ends. They are set up to range from beginner to advanced. Each has a copy prompt button and comes with its own VIBES plan. That way, you can start to build a feel for what VIBES works. I can easily imagine working with students to VIBES their way through a prompt.
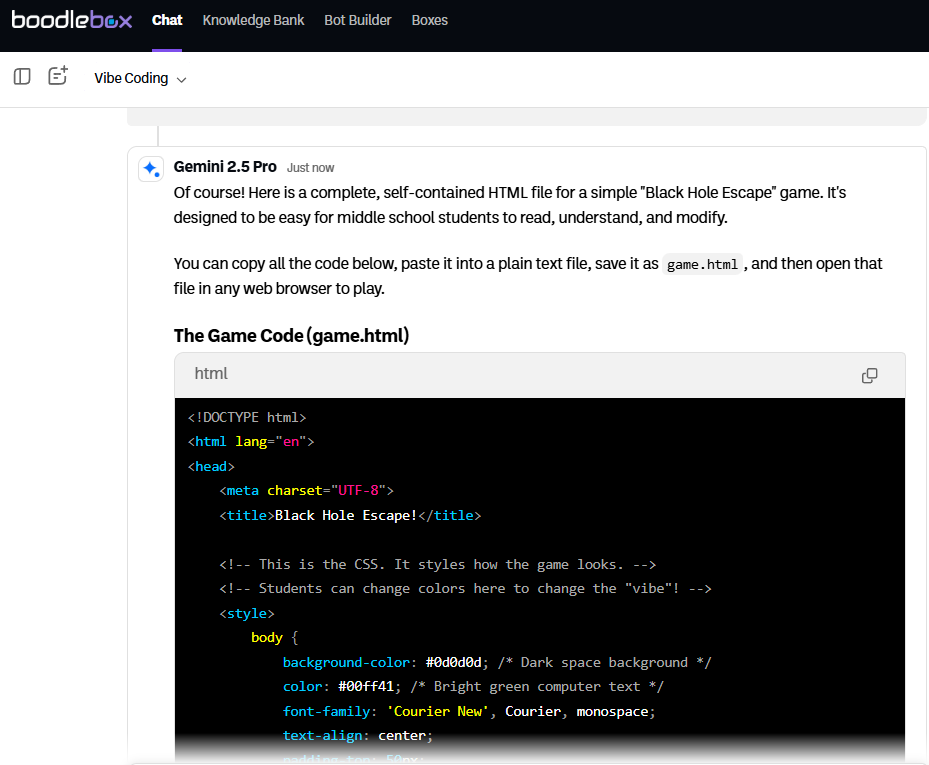
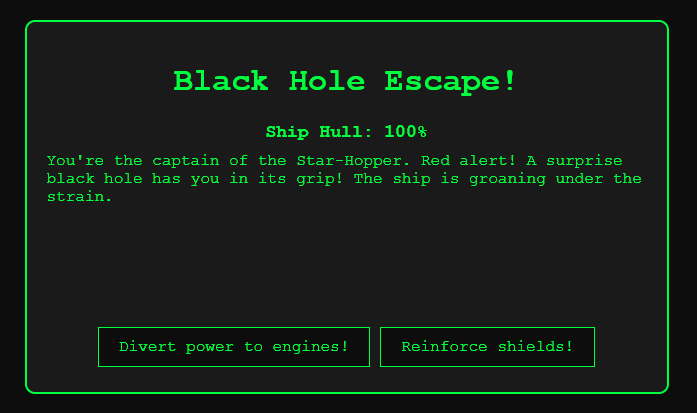
Once you have it ready, paste the prompt into ChatGPT, Claude, Gemini, or BoodleBox.
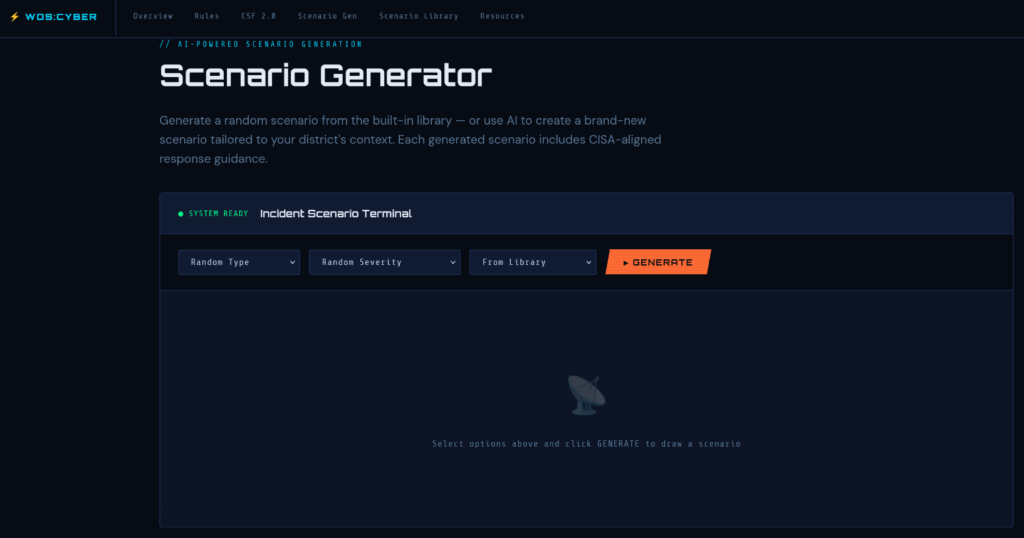
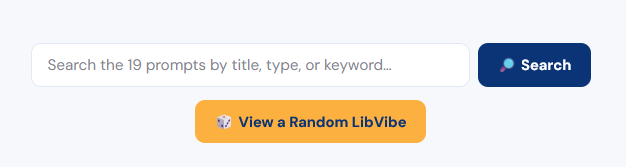
Random Solution Picker
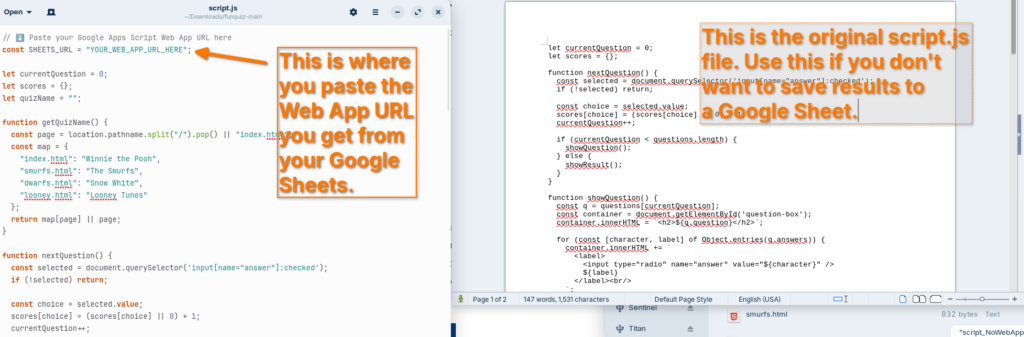
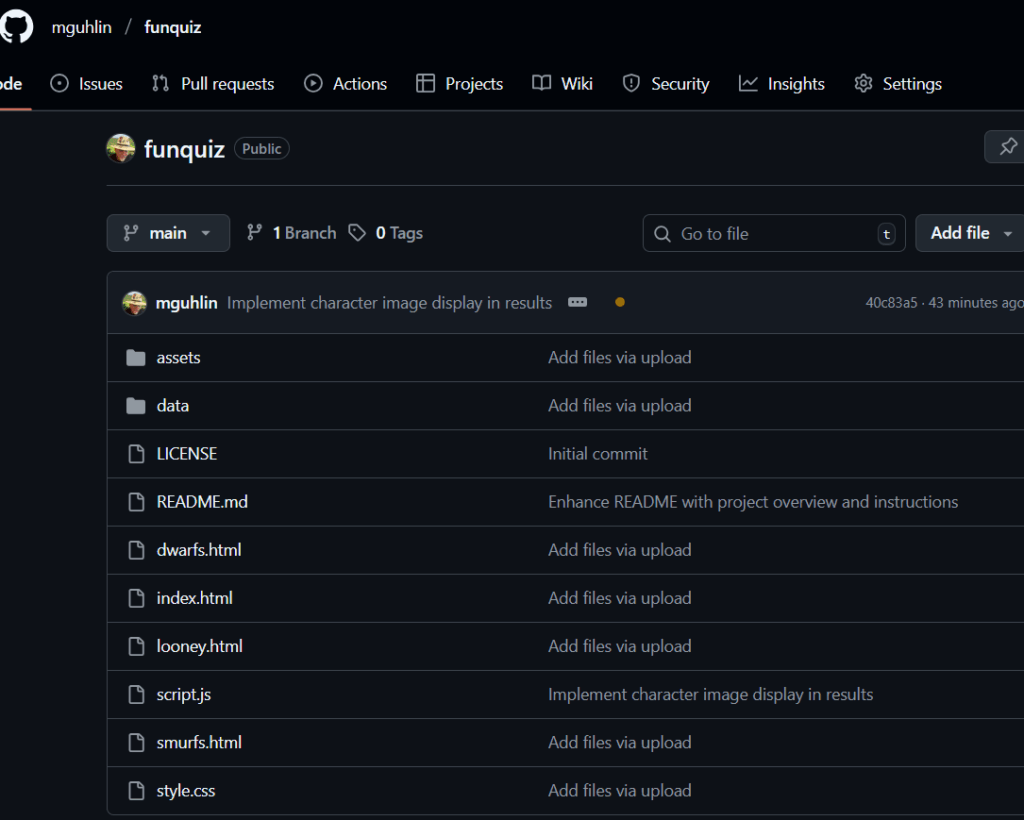
Not ready to build from scratch? You can use a random solution picker to try out any one of the available solutions, then download them. They come with setup files you can read in Ghostwriter, a markdown editor, or a text editor like Notepad or Texedit.
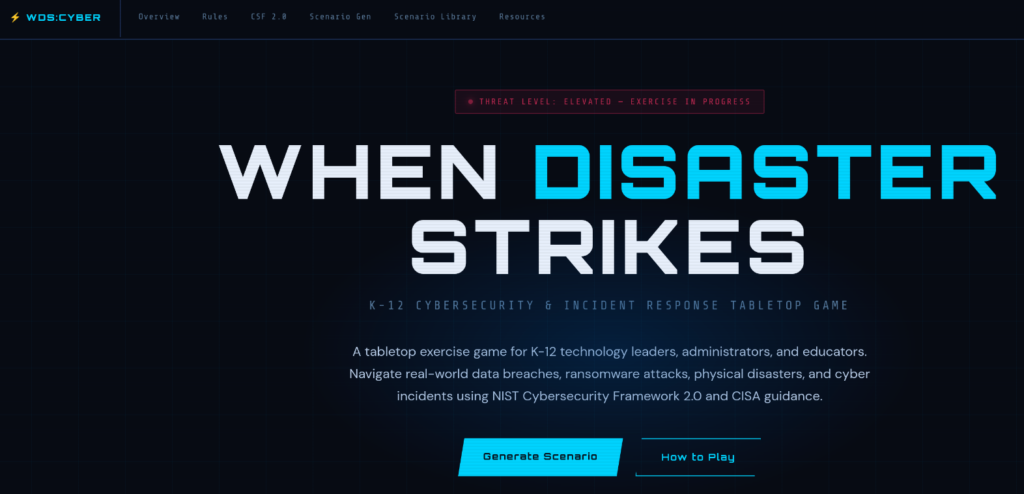
What This Looks Like When It Works
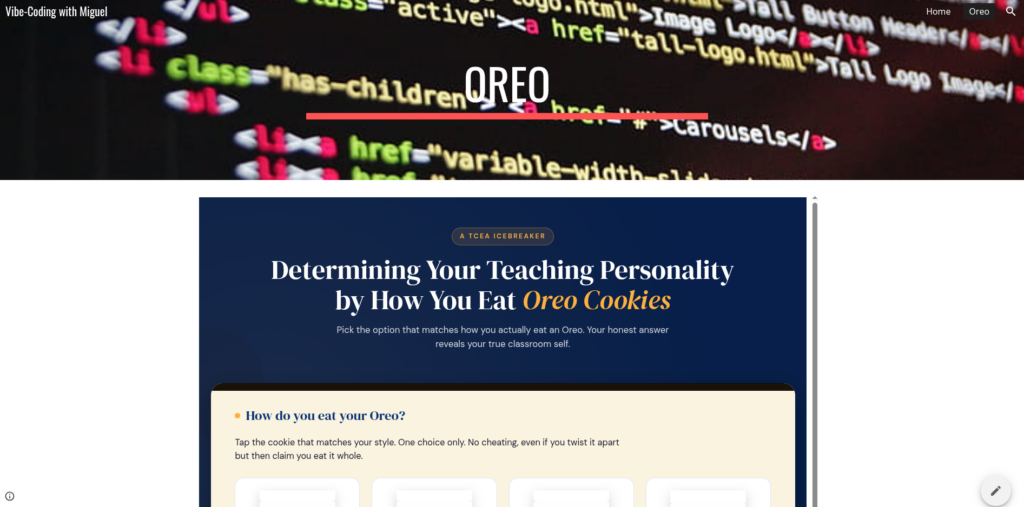
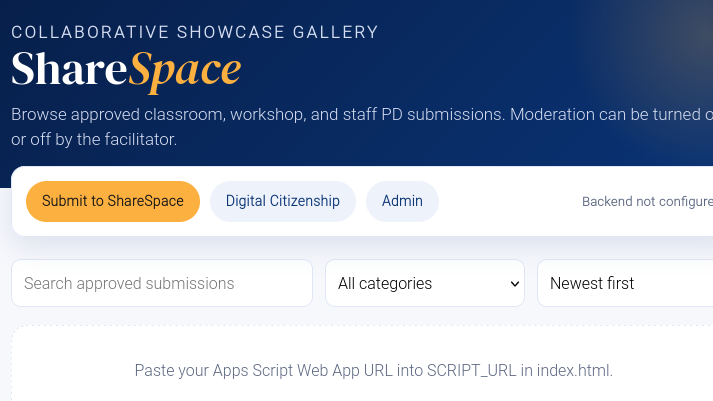
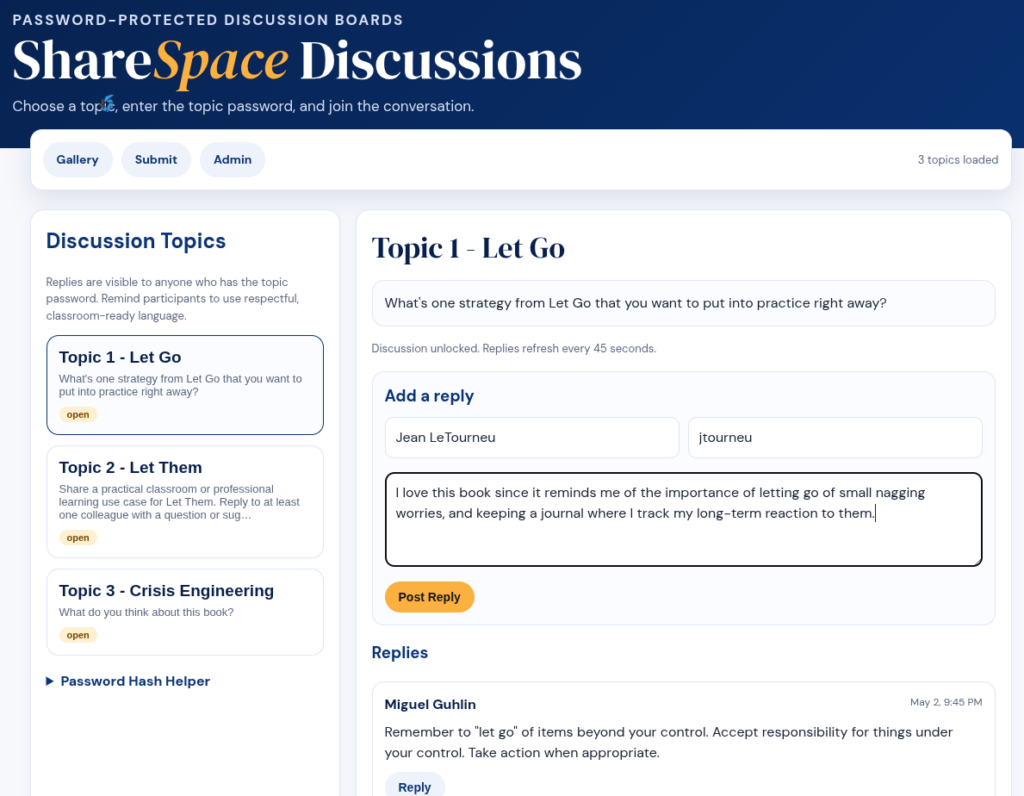
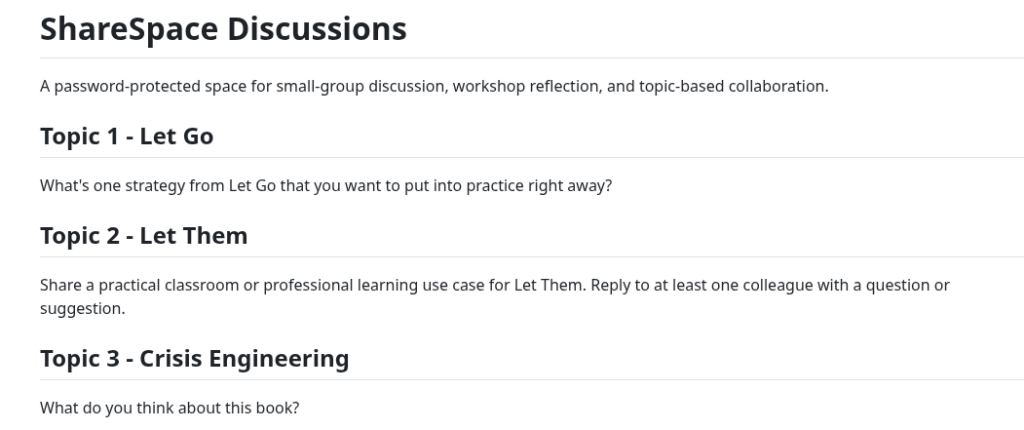
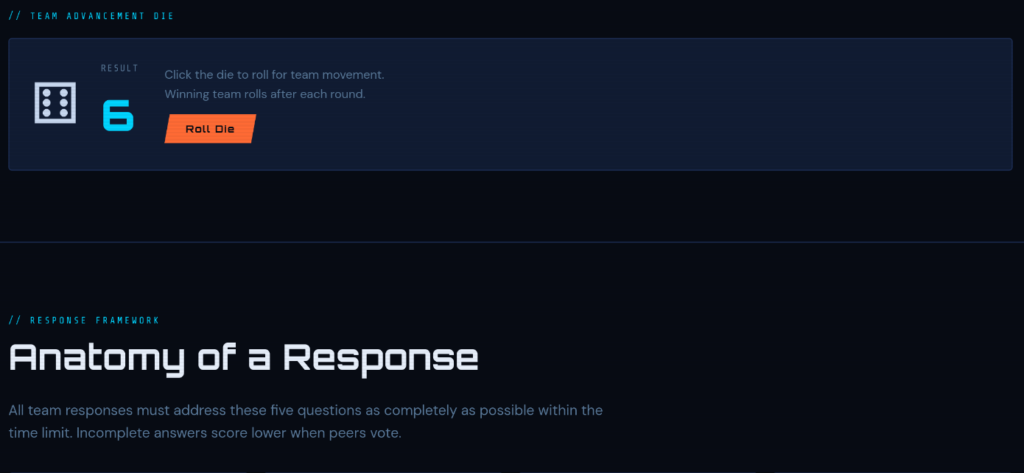
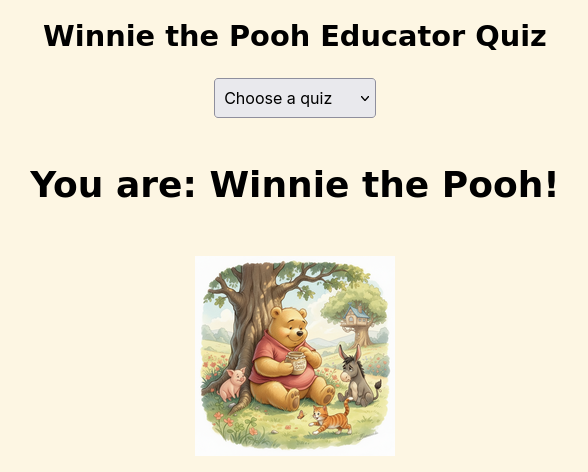
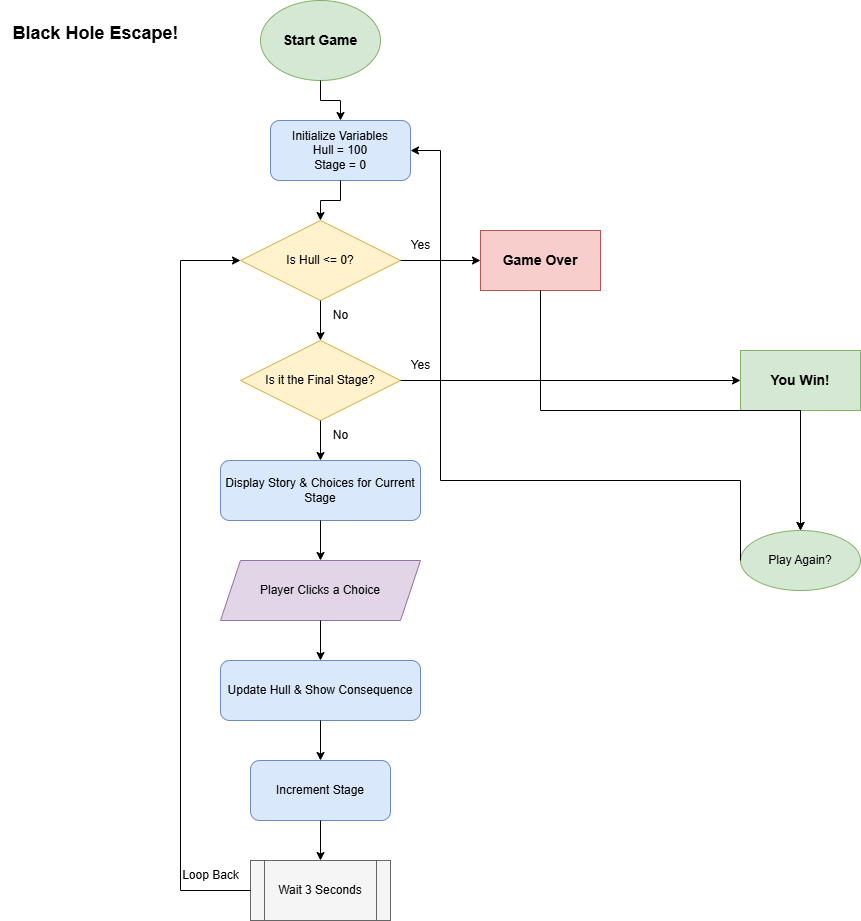
You will also find some additional examples of projects, like the book recommendation gallery. The examples page follows a book recommendation gallery from its starting point as the plain ShareSpace template to something a library would actually put on a screen. About an hour of back-and-forth with a chatbot did it. You can actually start from something and get to a working solution custom for your needs faster than I did. What a time-saver!
Here’s how that works:
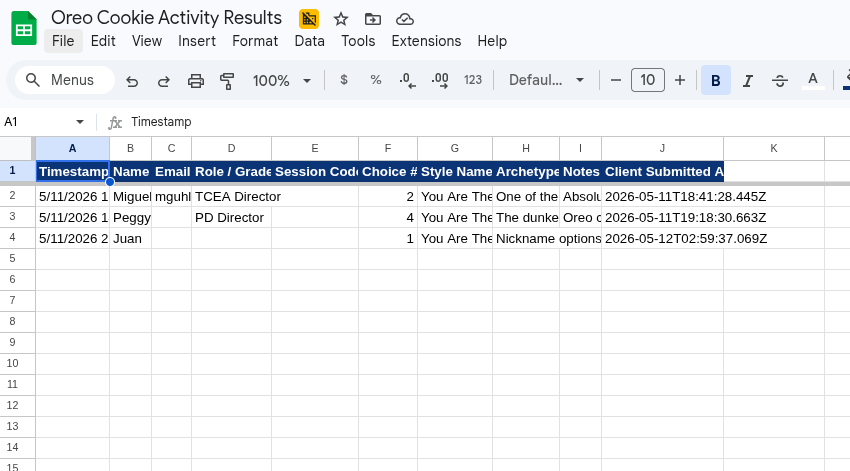
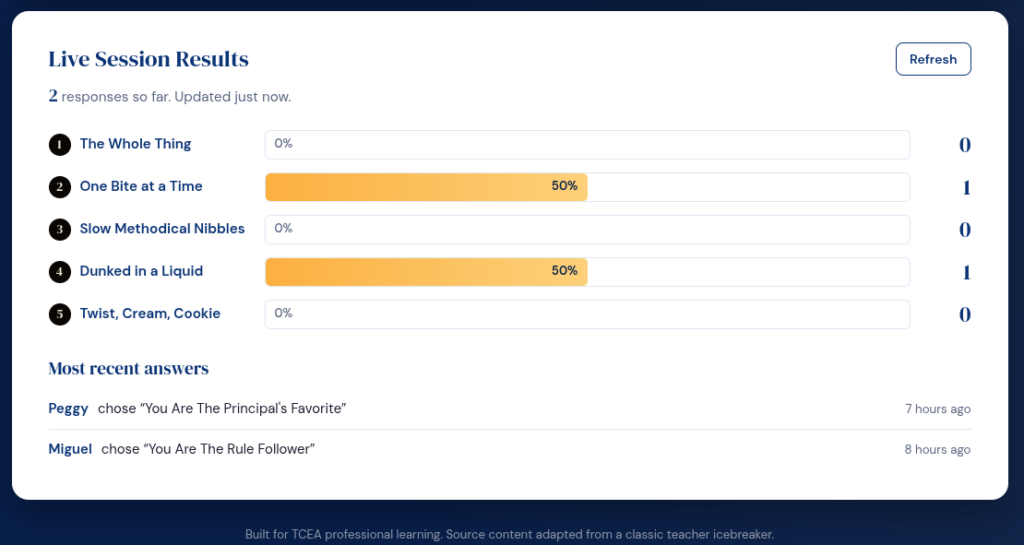
Students upload a cover, pick a genre from six K-12 options, and write a short review. The recommendation drops onto a public gallery you can project or embed in your library page. Title and author are required fields, and you can edit any submission after it comes in.
Give it a shot.
Where to Start
Read VIBES. Open LibVibes. Filter to beginner, copy one prompt, and paste it into whichever chatbot you already use. Aim for a working tool before your next class, not a masterpiece. You build from there.
| What You Want | Where to Go |
|---|---|
| The framework | VIBES overview |
| Starter prompts | LibVibes collection |
| Ready-made tools | Downloads page |
| A finished example | Book Recommendation Gallery |
| Project ideas | 22+ use cases |
Did You Know?
TCEA’s Teacher-Library Collaboration course (12 CPE hours) pairs neatly with this kind of work. Register now (only $49). Or, if you want to go deeper on AI Chatbots and vibe-coding, check out the AI Essentials for Educators course ($49).
Take a look at the full Vibe Coding for Librarians site, then tell me in the comments what you build first. Or, better yet, share it online via LibVibes Community.