How are you showcasing student accomplishments in your classroom now? One great way to do so combines video, audio, and text in a simple interface. That interface? Blogs. At the TCEA 2020 Convention, I had the opportunity to share a few ideas and resources with educators. Let’s take a moment to revisit some of those ideas, even if you missed the TCEA 2020 Convention.
Make Conversations Happen
Blogs and podcasts make it easy to engage students. After all, who wouldn’t find their own voice and performance engaging? Here are few examples of educators sharing how they are making conversations happen or how to create conversations.
- Listen to Marie Schmidt share her insights
- Learn more about Tara Martin’s BookSnaps
- Why Listening to Podcasts Helps Improve Reading Skills
- Teens Create Podcast as Final Exam
- Fifty Creative Writing Prompts for Student Blogging (Contributed by Dr. Bruce Ellis)
Ready to explore some specific ideas? Let’s begin!
Step 1: Select a Blogging Platform
 One of the first steps you need to take is to select a blogging platform. This is an online space to share content. Avoid getting caught up in the strict definition of a blog (e.g. RSS feed or an online space with content you can subscribe to). Another point you need to consider is that you need something you can control as the teacher. Students are often blocked from using tools like Blogger because they are for students older than thirteen years old. As a teacher, you need an online platform that makes it easy for you to manage content online and student posting.
Fortunately, we have access to a wide range of tools. You are looking for something that’s easy to set up, maintain, and support. Here are a few blogging platforms that give you control over publication content and commenting:
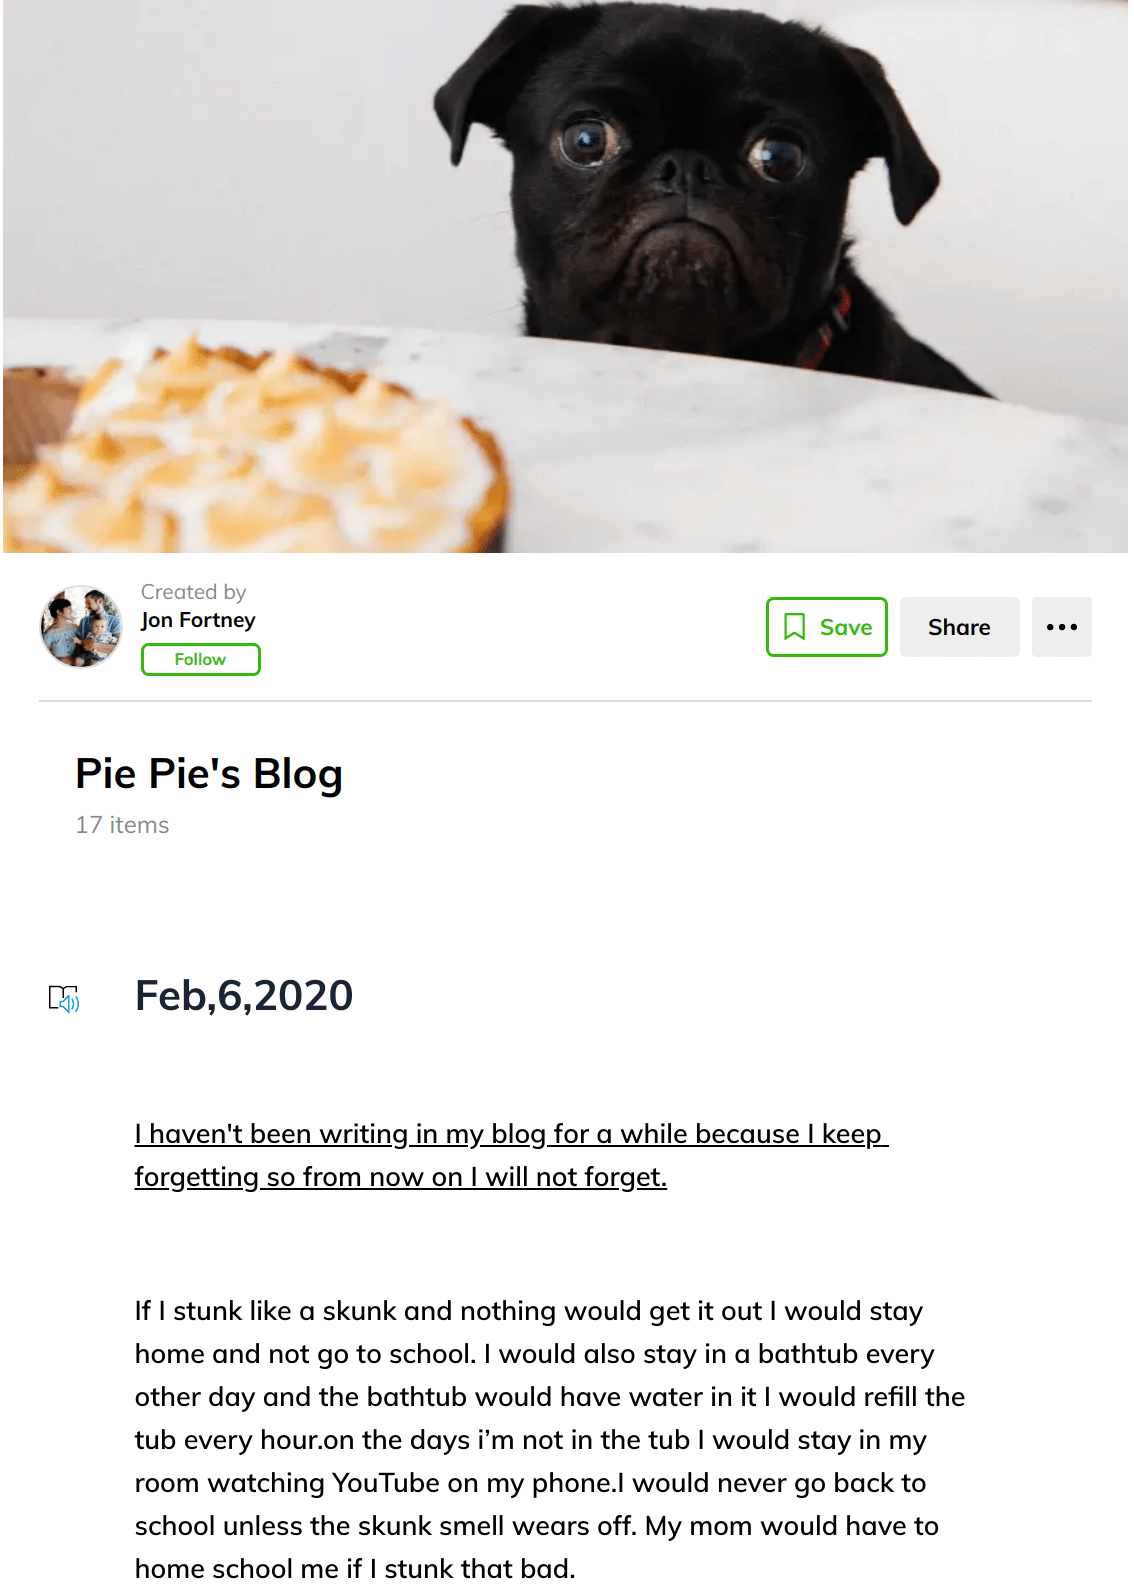
Items two through four above cost money, while blog platforms one and five are free. Although Wakelet isn’t a true blogging platform, several educators have chosen it. The ability to embed all sorts of content, including Flipgrid shorts videos, make it a choice worth exploring. You can see one example from Jon Forney’s Wakelet class blogs collection above.
Seesaw Class Blogs is a great free alternative, but your work does end up in a system that may cost money in the future. Another possibility not listed above is the new Google Sites. While Google Sites is a wiki rather than a blog, it is easy to maintain and update. Schools may also want to use G Suite EDU’s Blogger, which is full-featured and allows for close control.
Before you commit to any one solution, be sure to run it by your organization’s technology team.
Did You Know?
Sign up for one of our Google Certified Educator certifications. You’ll learn about more than Google Meet, as well as earn 12 CPE hours per course. Use these courses to get Google Educator certified. Find out more online.
Step #2: Select Podcasting Solution
 Unless you’re engaging in full-blown podcasting which involves scripts and audio editing, use Voxer to record interviews of less than 15 minutes and then post to social media (e.g. Instagram, Twitter). Be sure to combine your media shares online via Instagram, Twitter, Facebook and Tumblr. In the meantime, here are some suggested tools for working with podcasts:
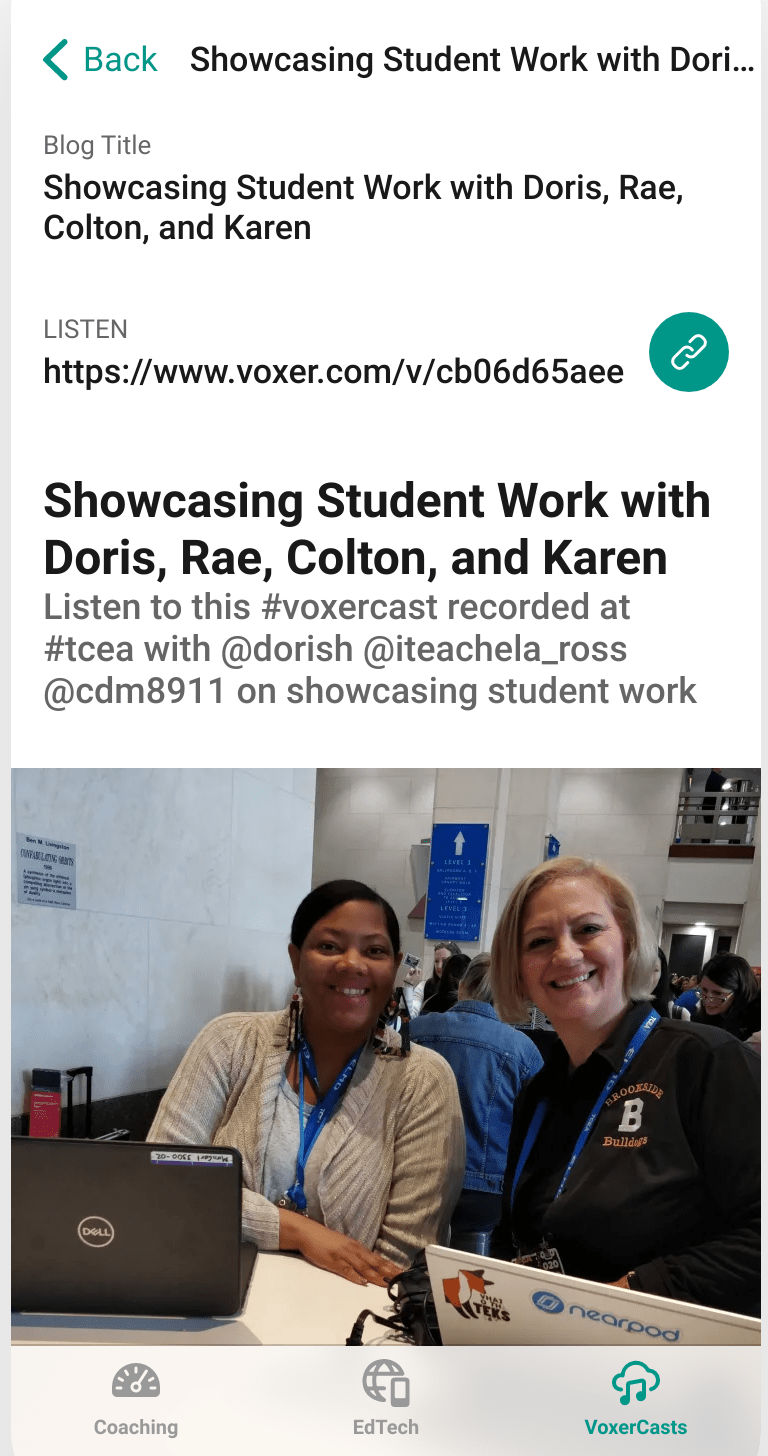
- Voxer.com (Android/iOS/Web): Use this mobile or web-based tool to record “voxercasts” featuring students, staff, and community. Easily share links to audio. Here are some examples in a Glide app.
- Shadow Puppet EDU (iOS only): Snap pictures of great learning or displays, combine them with your audio narration, mix in music, and then share as videos online.
- Hokusai (iOS): This audio editor (try Audacity on Win/Mac laptop or Beautiful Audio Editor on Chromebook) makes it easy to edit sound. In-app purchases extend functionality.
- Podcasting with Microsoft Sway or PowerPoint
Need to Record on the Go?
If you are in a classroom situation, it may be prudent to set up a microphone on a desktop computer. This makes it easy to edit audio using a free program like Audacity Sound Editor. If you need recording on the go, then get a portable microphone for your smartphone or tablet.
Here are a few choices:
- iRig Mic Cast for iOS/Android ($35) – Less expensive that the Mikey Digital, this offers solid audio recording. This is what I carry around with me for interviews. It also comes with iRig Recorder software. I like the fact that it plugs into your microphone jack on your device and includes another headphone jack for earbuds. You can also get a handheld microphone that plugs into your iPhone or iPad. As the website says, it features “unidirectional pickup pattern that minimizes background noise, making it ideal for single-source audio recording.” Learn more online.
- Shure MV88+ (>$80) – While this version is iOS only, the MV88+ works with iOS and some USB-C enable Android devices.Learn more online.
Remember, you don’t have to have a microphone for your smartphone. But audio quality will improve if you decide to use one.
Quick Ideas for Podcasting in the Classroom
Wondering how you can use podcasting in the classroom? Here are a few.
- Current Events Newscasts: Practice nonfiction reading skills by having your students do weekly or monthly podcasts on an interesting current event.
- Reading Radio: Have your students make short radio broadcasts summarizing the books they are reading.
- Roving Reporters: Send your students out into the “field” (a.k.a. the school) to interview key players in important school events.
- Celebrate Culture: Have your students record podcasts about important cultural months like Black History Month or Hispanic Heritage Month and then present them to the school or parents to commemorate the events.
- Podcasting Library: Have your students collaborate to create a library of podcasts from which future students can learn.
- Music Casts: Have band or orchestra students create podcasts for each instrument, detailing specific notes, sounds, and characteristics of each instrument.
You can find more ideas online with a quick Google search. Start small and build up.
Step #3: Decide Where to Save Content
When podcasting, it can be difficult to find a reliable place to host your audio or video over the long term. Consider one of these locations:
- Enhanced podcasts (video)
- YouTube
- Google Drive
- OneDrive
- Seesaw Class Blog (vidcasts)
- Flipgrid
- Audio only
- Google Drive
- OneDrive
- Seesaw Class Blog (vidcasts)
- Write About
My recommendation? Rely on YouTube for video-casts (vidcasts), if possible. Otherwise, take advantage of whatever cloud storage solution your school or district uses. For example, G Suite EDU provides unlimited storage, and Microsoft OneDrive for Schools is about the same. Need more inspiration? Check out the TCEA TechNotes podcast series.
Step #4: Make an App
Want to reach your audience, which includes students and parents? Appify your podcast using a tool like Glide. It is a service that lets you add information to a Google sheet, then quickly create an app from its contents, all without coding.
You can save your blog entry links (or links to audio/video) to a Google Sheet, then have Glide put it into an app. Just pick one of your sheets and Glide assembles it into a polished app that you can customize, share with a link, and even publish to the app store. You can view a tutorial online.
Showcasing student work has never been easier. With a few quick steps, you can publish your students’ creations online to a global audience. You can then appify that content and make it accessible for your local community.





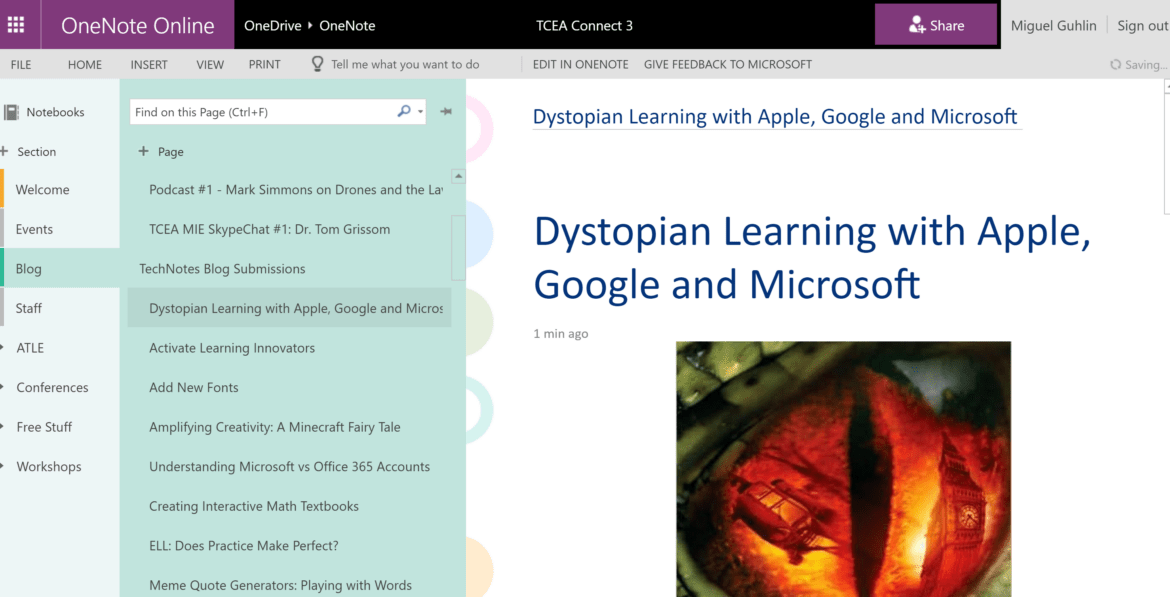
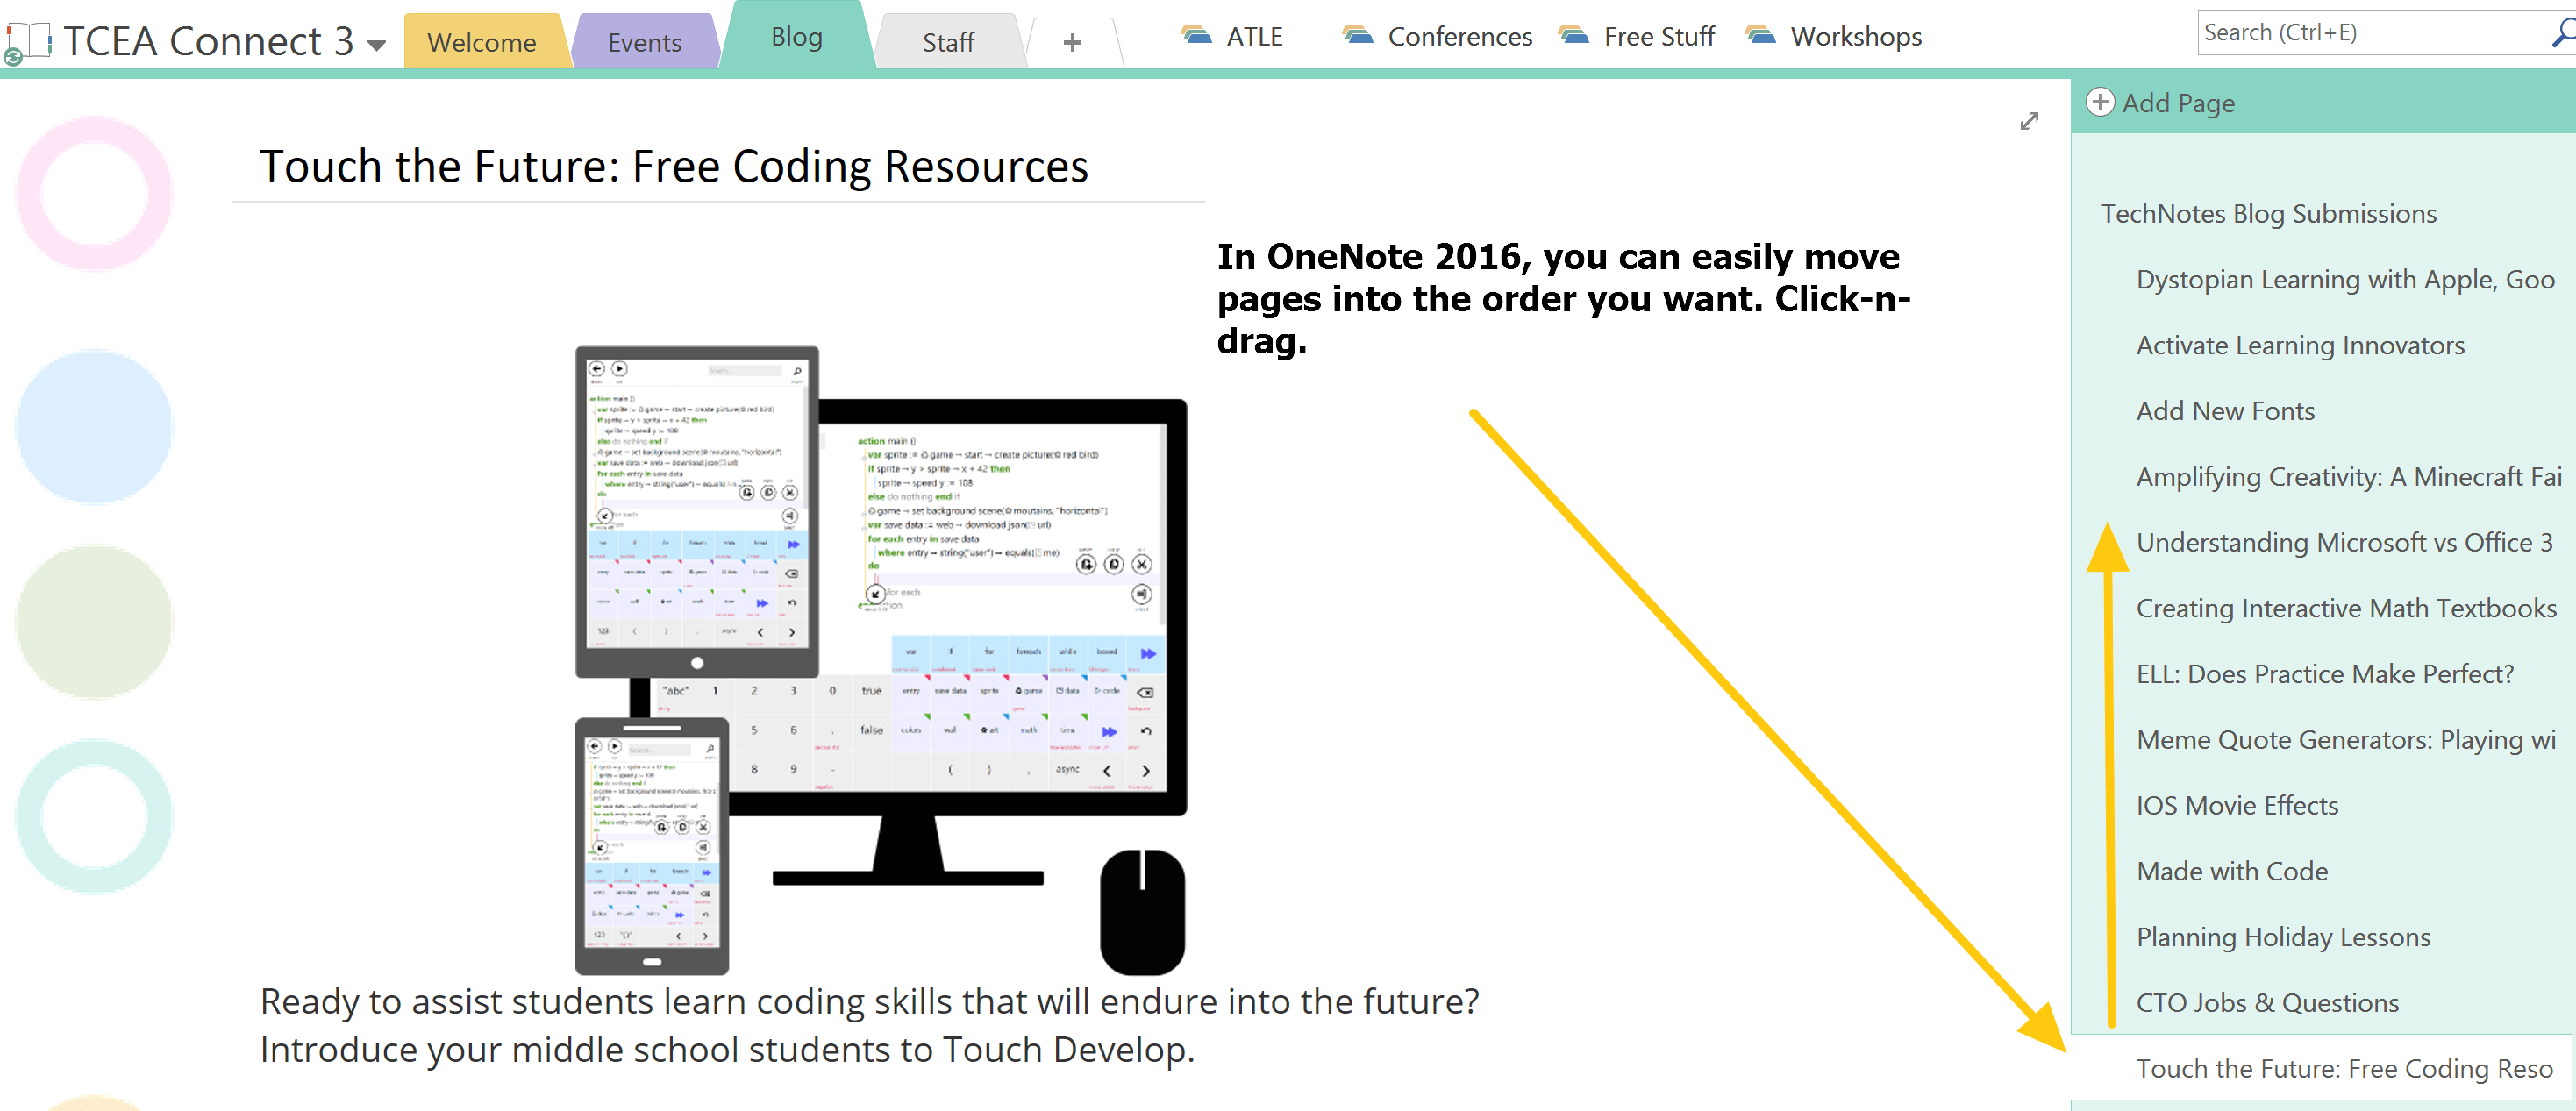
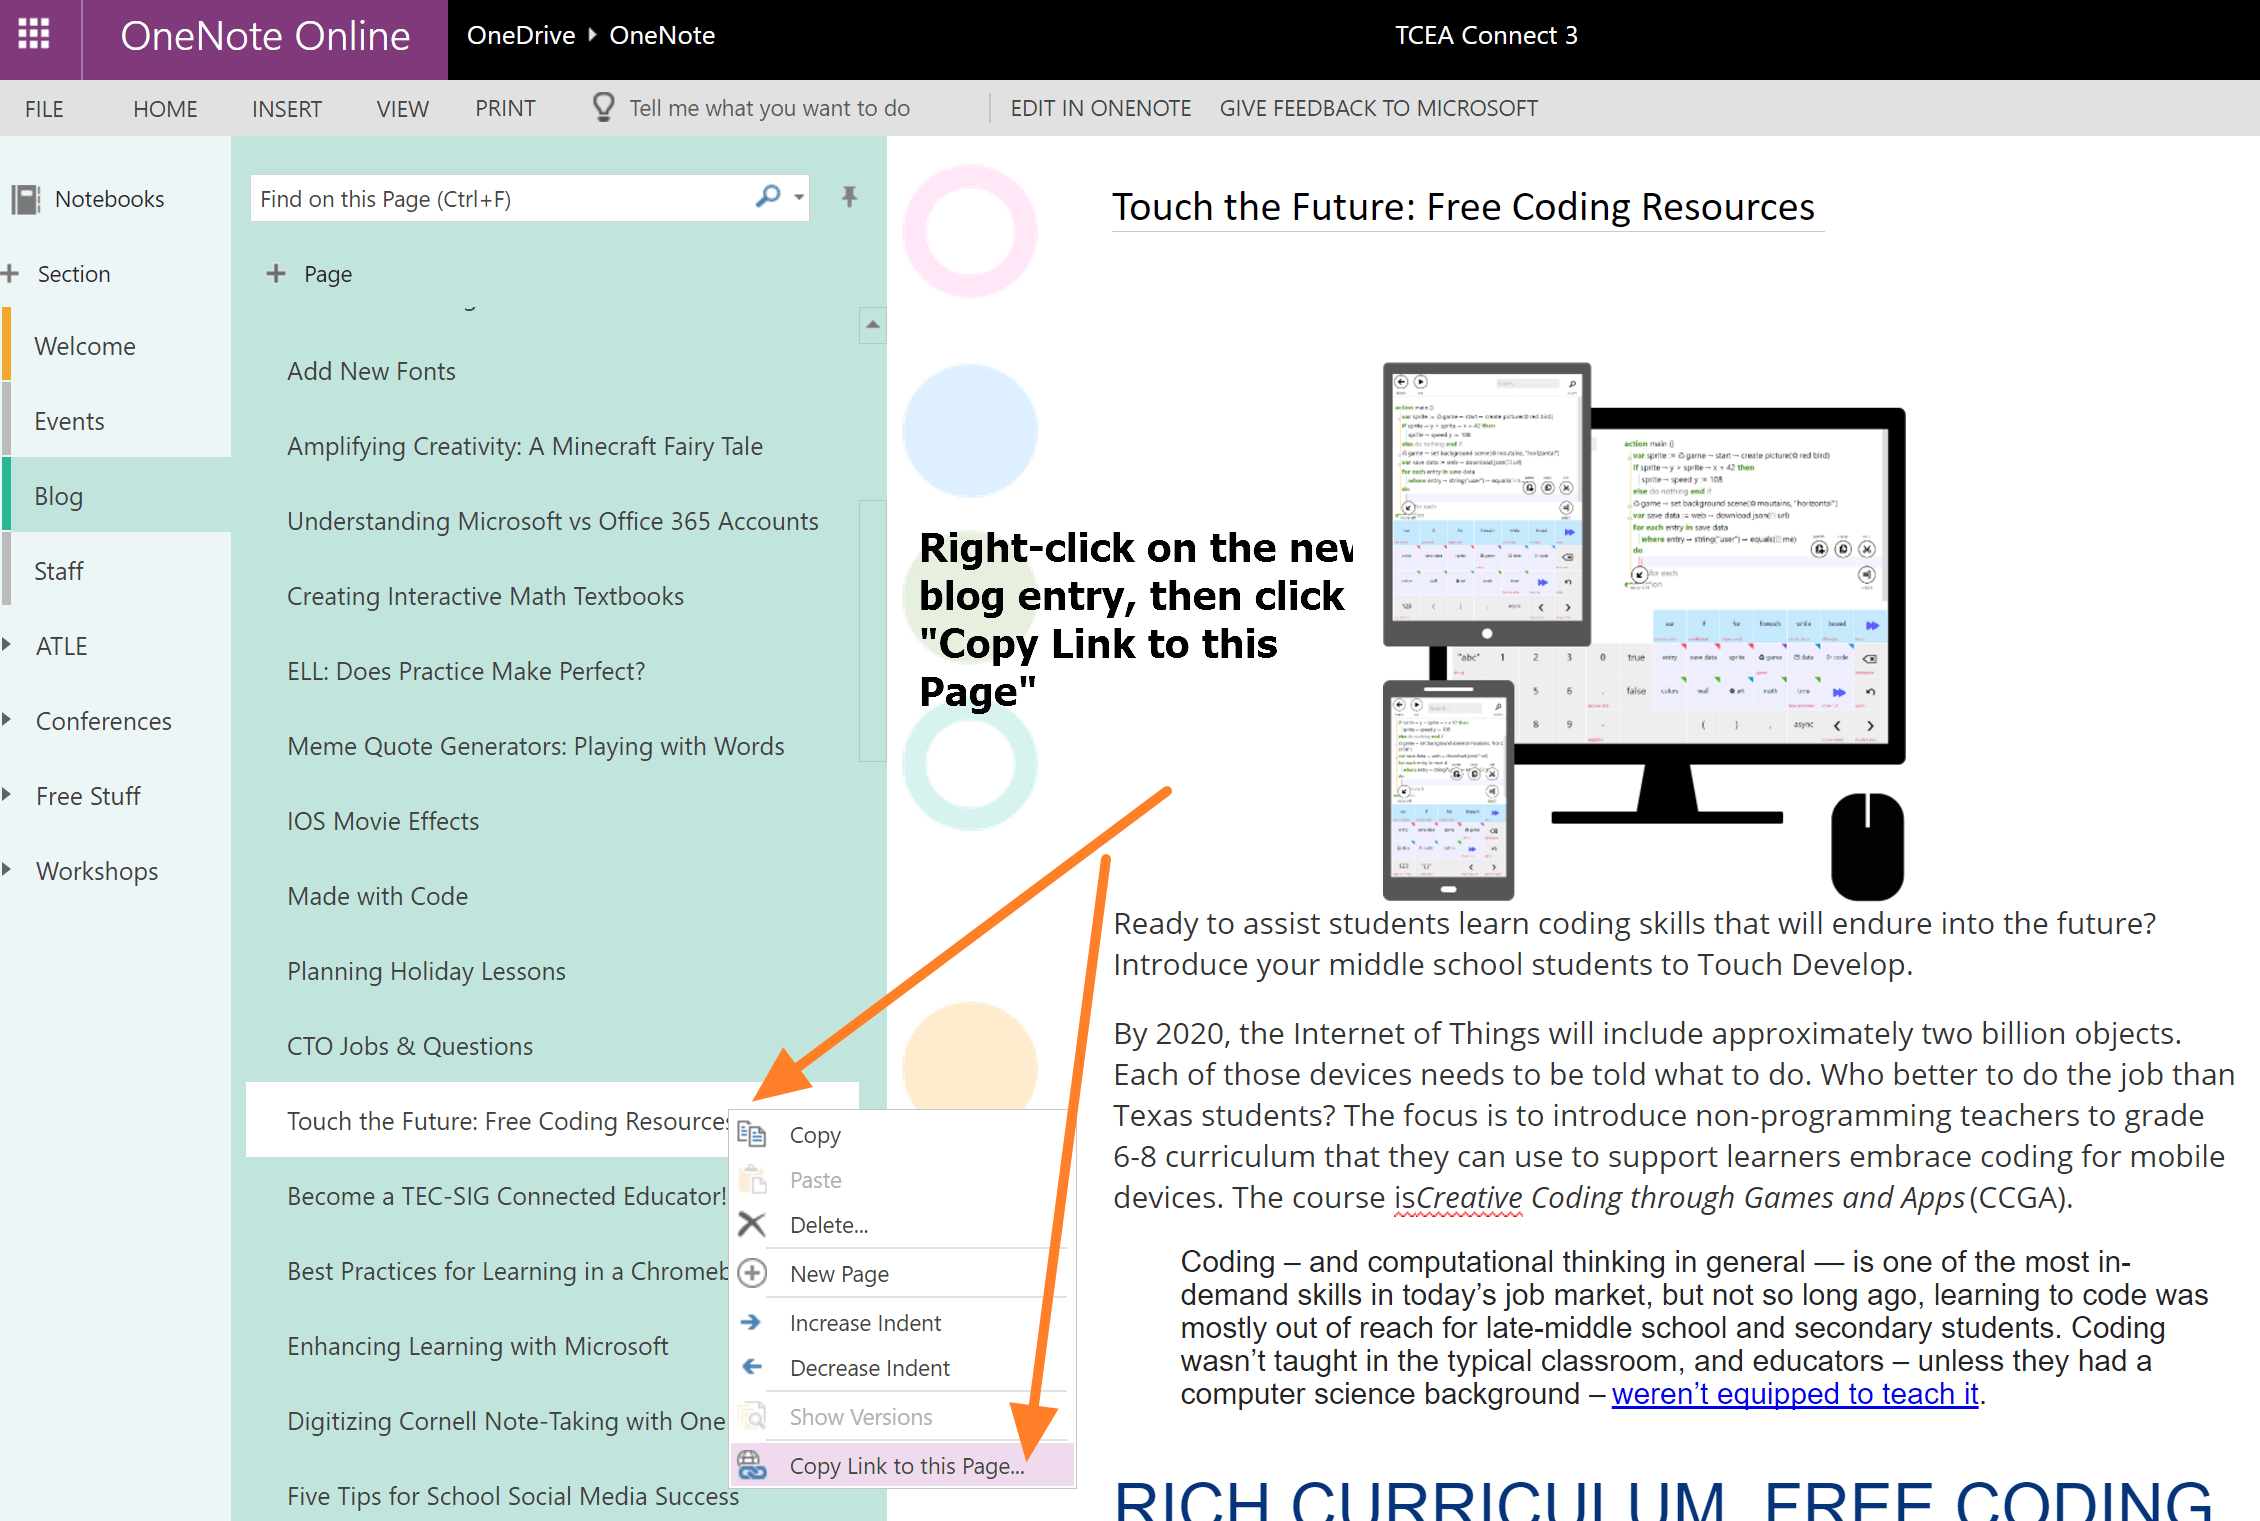
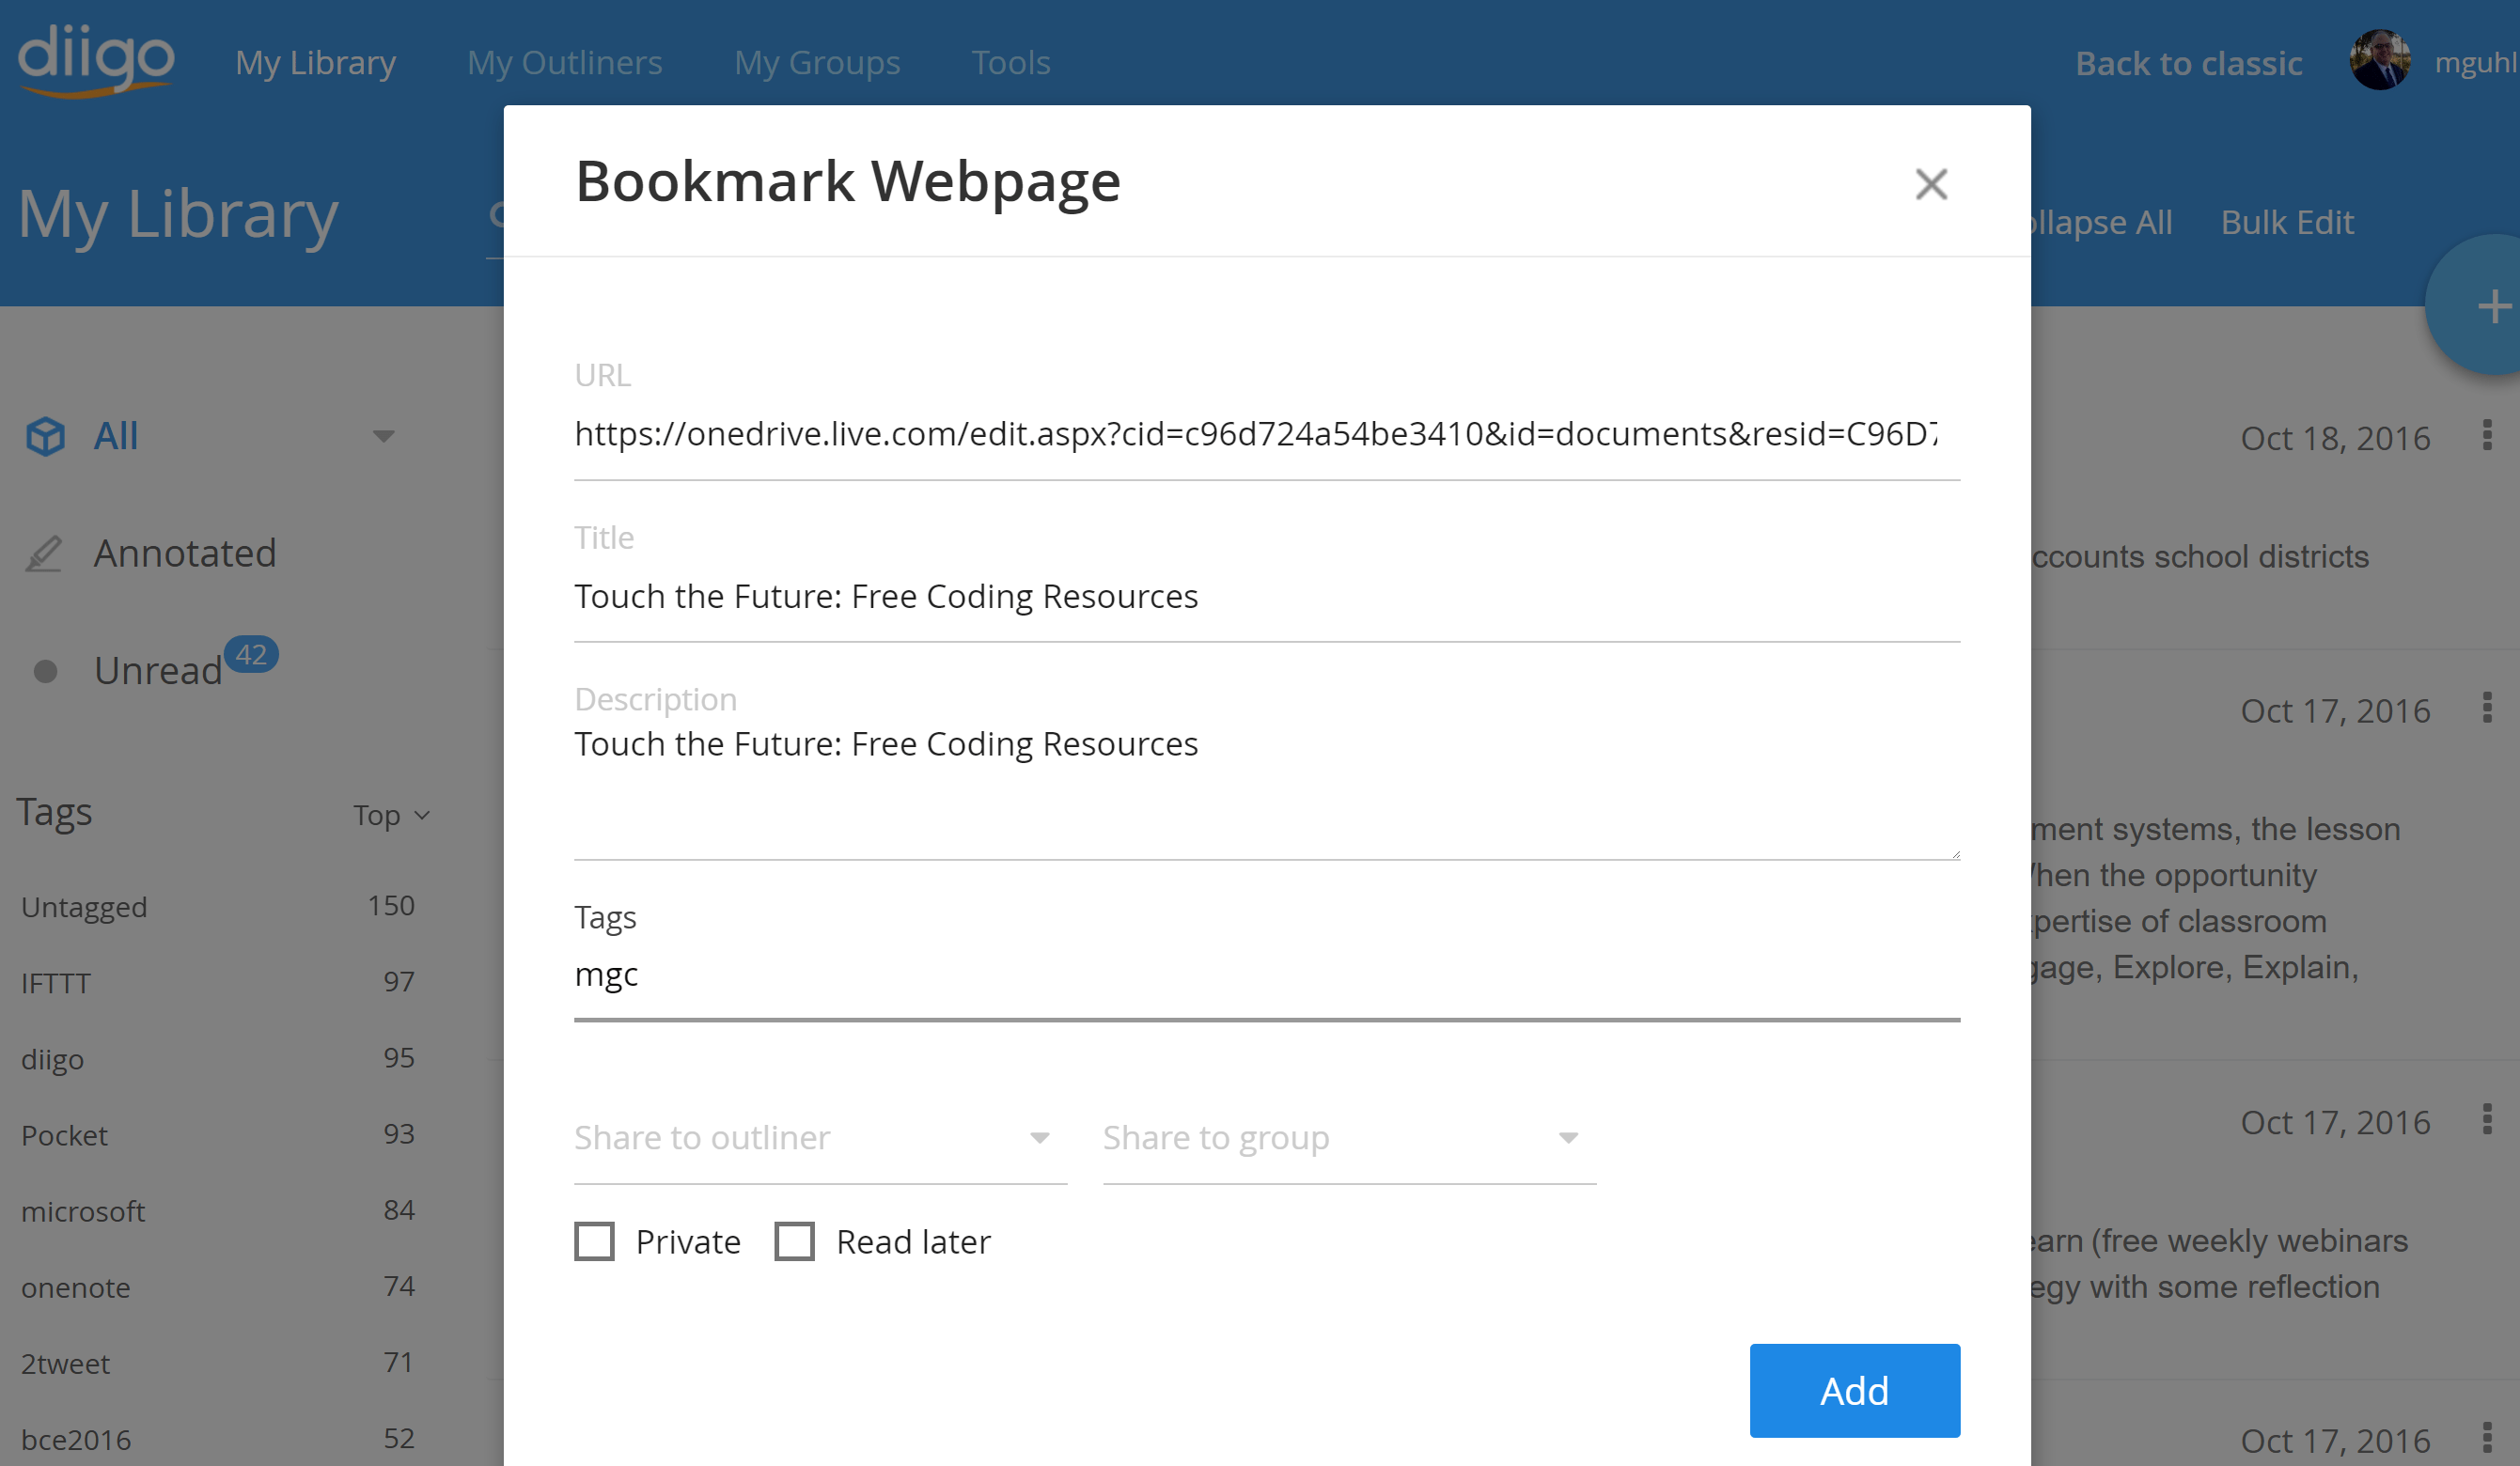
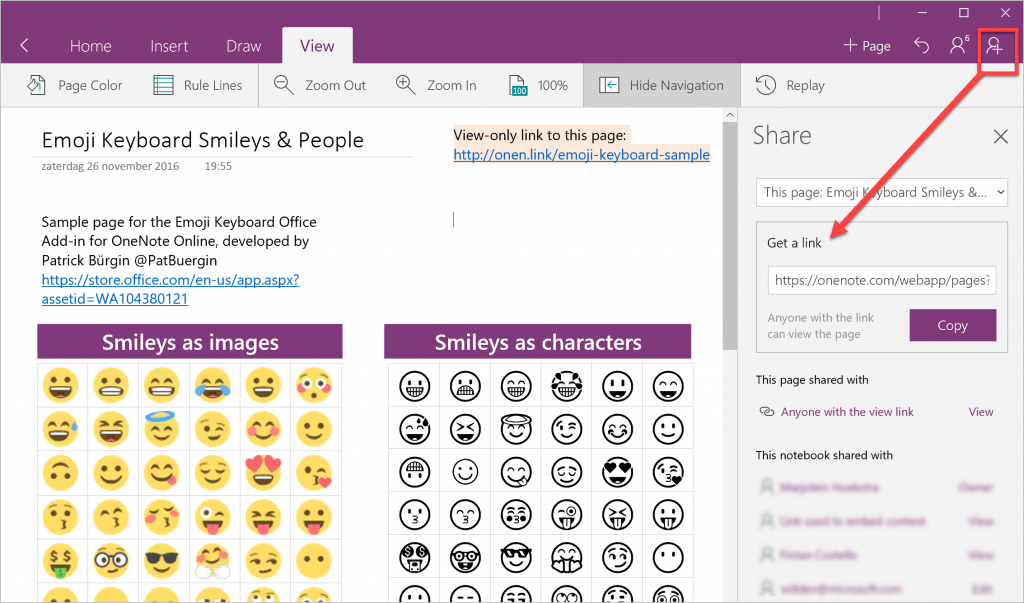
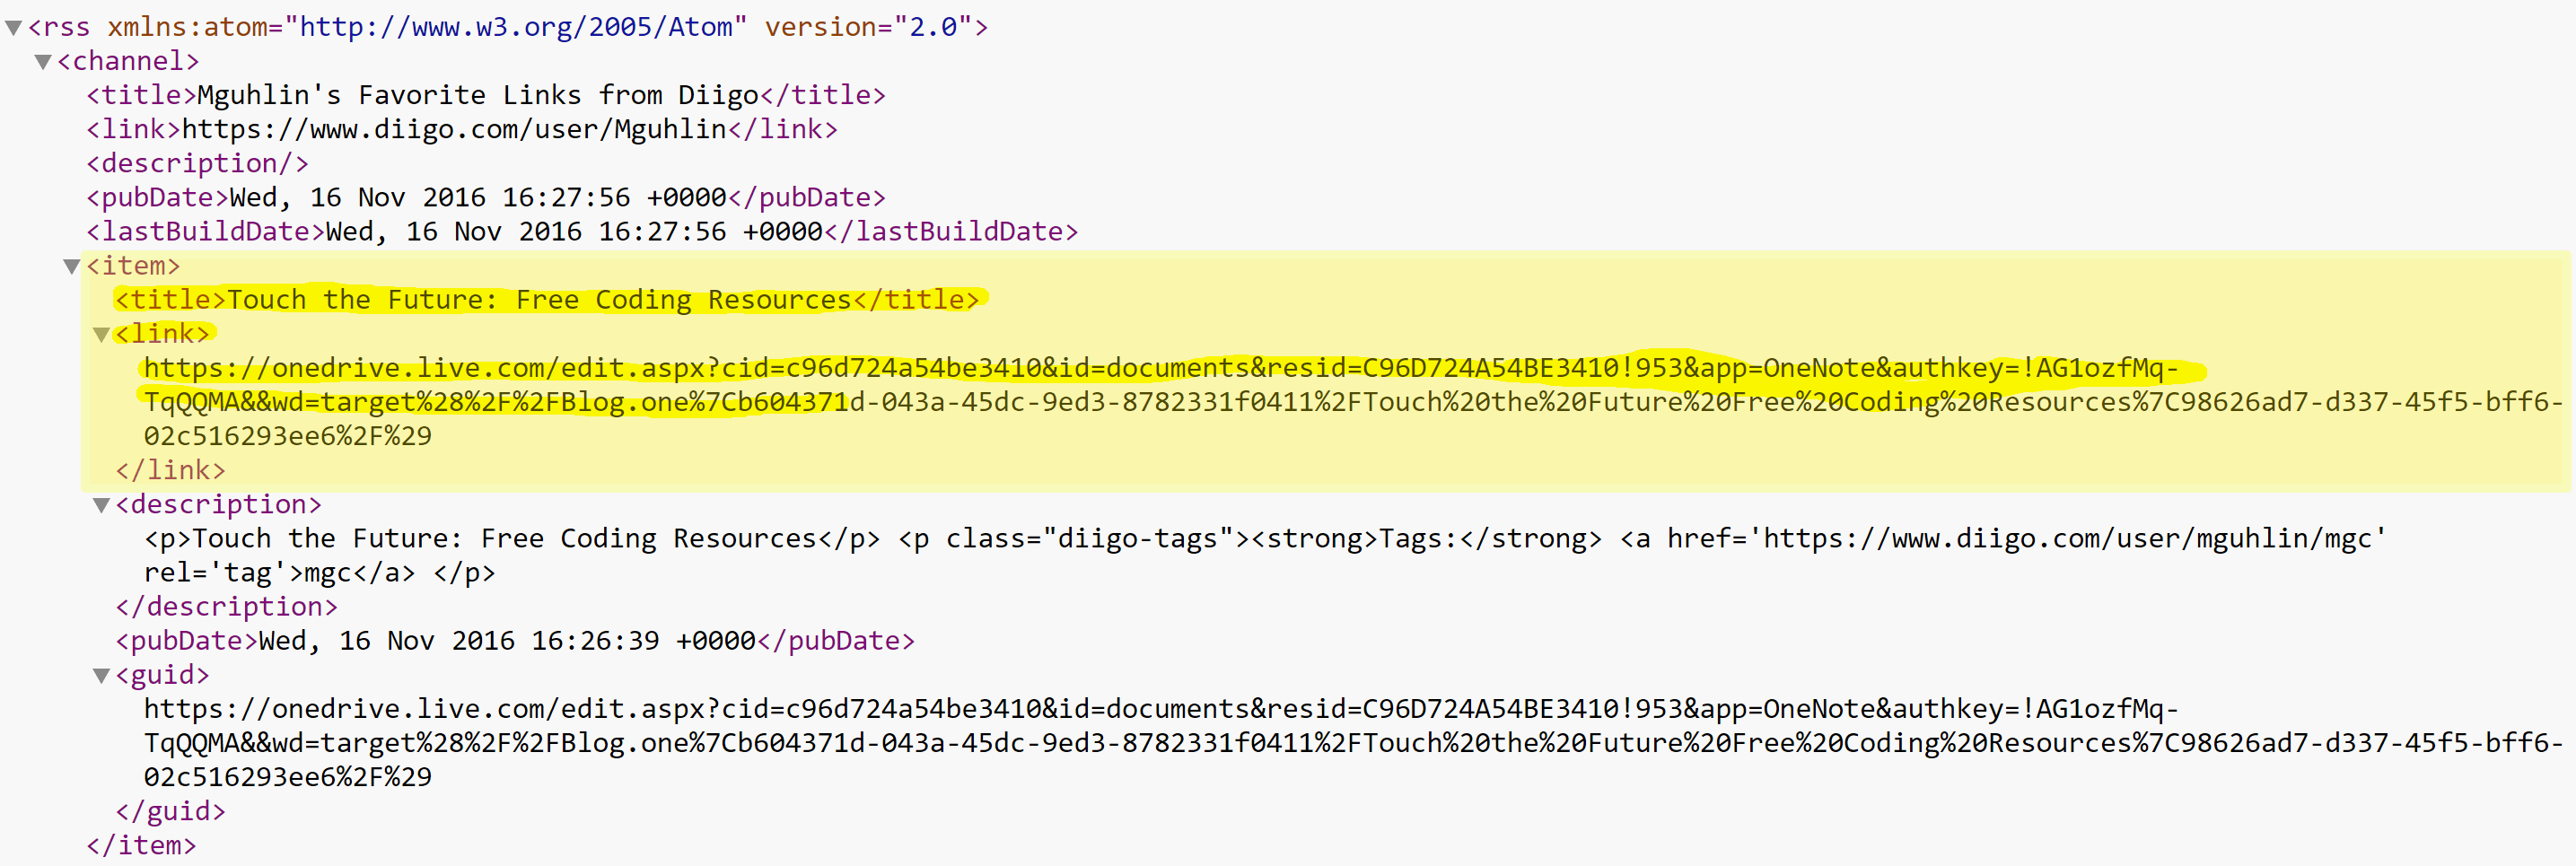
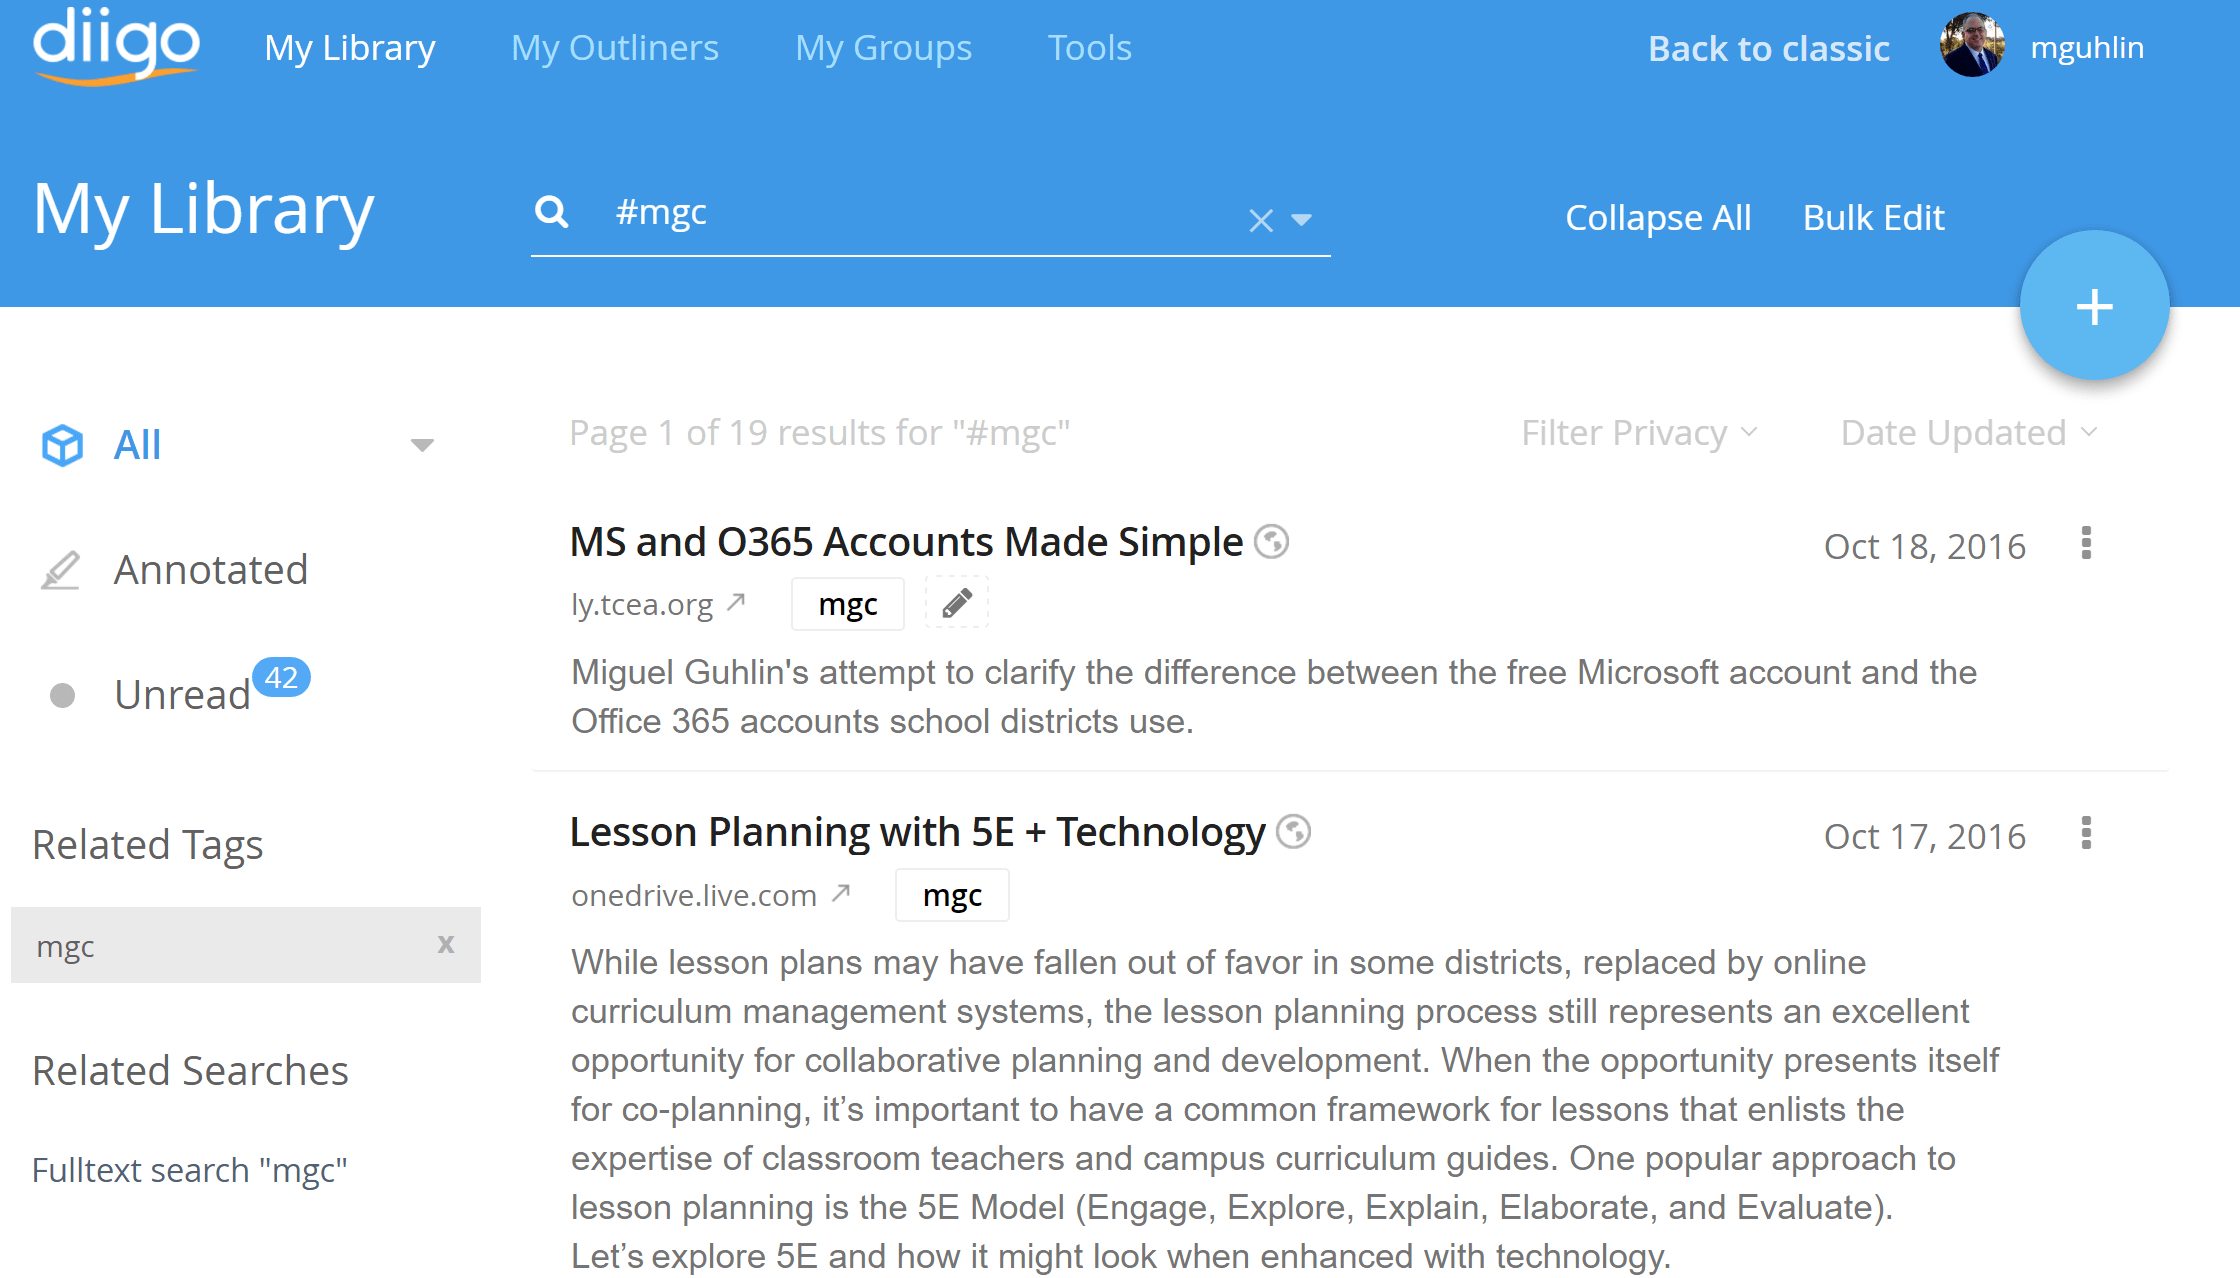 Create an RSS feed for OneNote blog entries with the
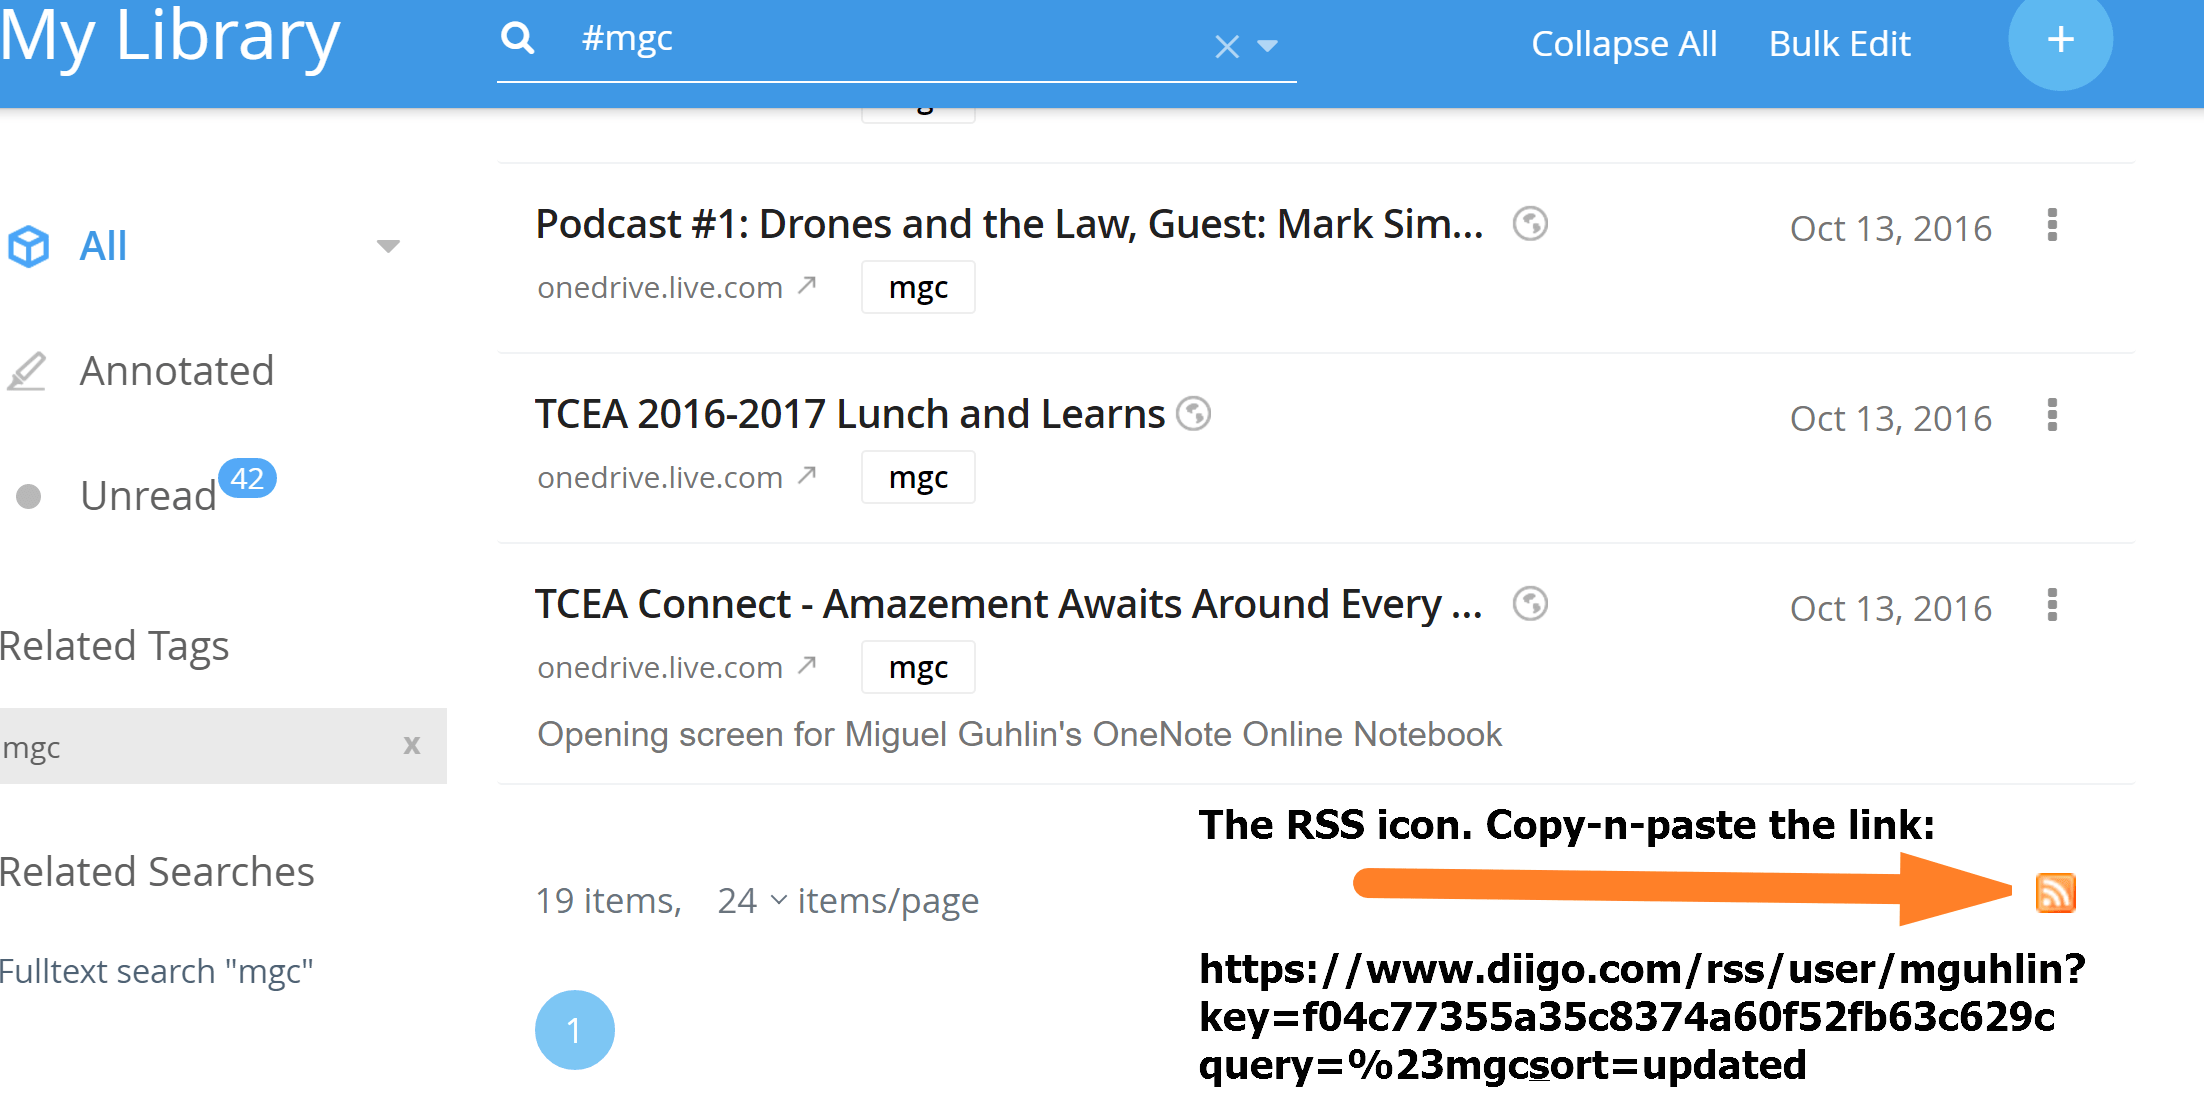
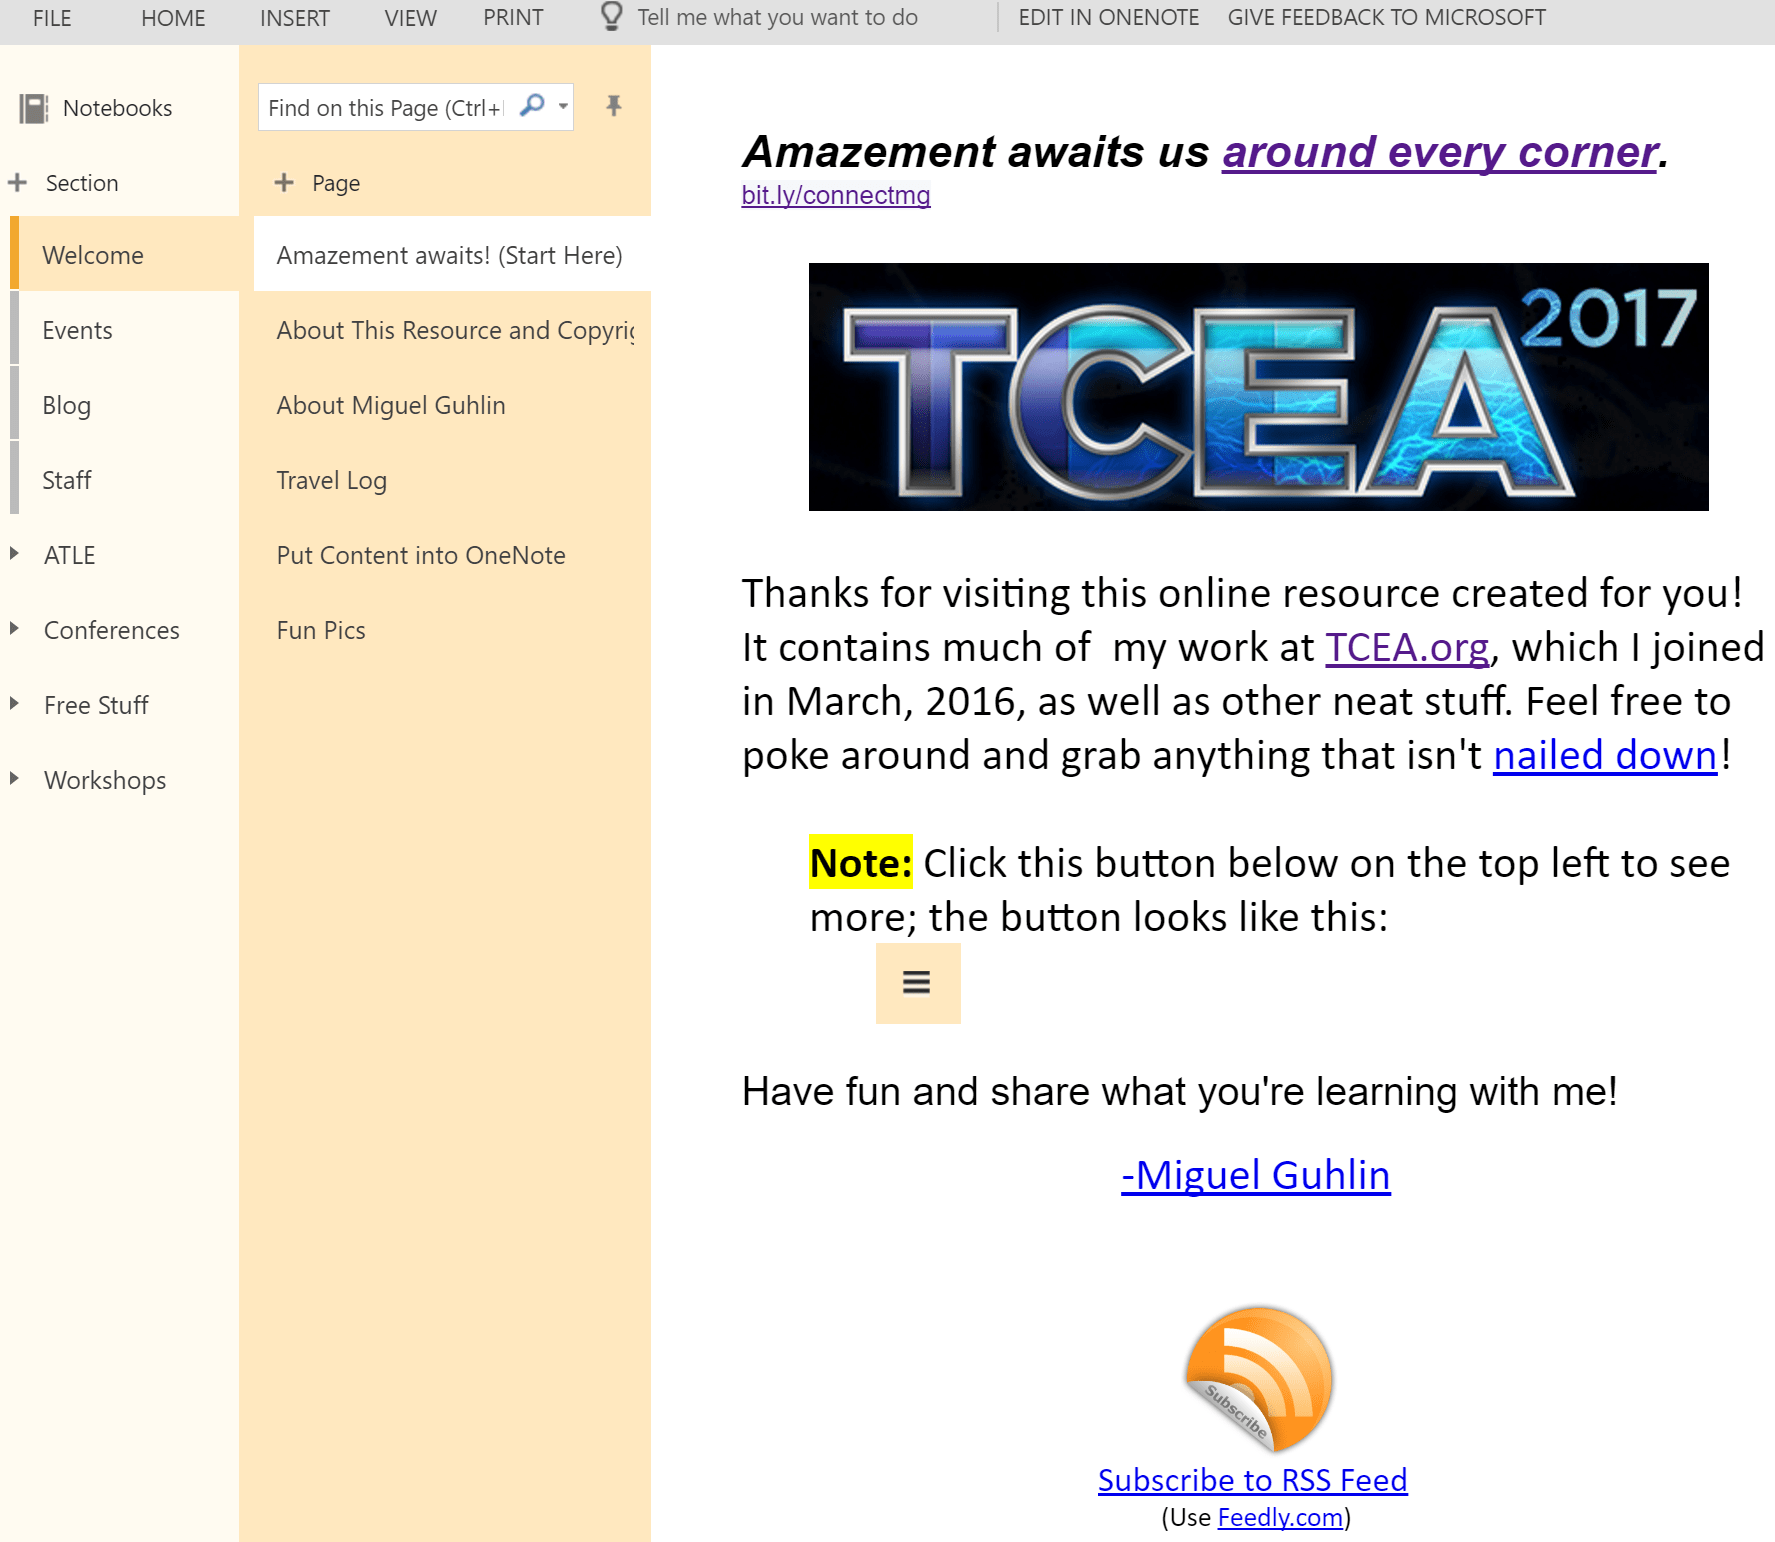
 Twitter or Facebook.