Discover innovative online tools for education. Explore strategies and resources to enhance teaching, learning, and collaboration in the digital age.
Here’s a new, quick, fun, and FREE resource that I discovered recently. It’s called ClassroomScreen and it has a very simple purpose. It was created by Laurens Koppers, a teacher in the Netherlands, and is designed for educators to use as a teaching screen in their classrooms. Simply connect your device to a projector, launch a browser, and go to the website. While the Chrome browser is recommended, it works in any browser, even on your smartphone.
What ClassroomScreen Offers
Once loaded, the site offers first a beautiful background picture that is different every time you open it. (I could use just that feature alone for so many classroom purposes, from writing prompts to descriptive language to math problems to science or geography facts.) Across the bottom of the screen, though, is where the real power of the site is.

Each of the icons above represents a tool that you can use on the screen. And these tools are perfect for the classroom! Here’s what’s currently available (from left to right):
- Language – Yes, you can have the content in a multitude of languages.
- Background – This tool lets you select from a wide variety of stunning images or upload your own. You can even add your own video background now.
- Random Name – Create a .txt file with all of your students’ names and upload it. Then this tool will randomly select a student. This same tool also lets you roll one, two, or three dice for a random number.
- Sound Level – Follow a few simple steps and allow the site to use your computer’s microphone one time. Then set the maximum noise level you want in the classroom. This tool will show a a red or green progress bar to help your class know when they need to get quieter. And it’s good to know that the site does not record any sound or save any of the noises.
- QR Code – This is a favorite resource of all the tools for the teachers I talked with. Type in a URL you want your class to access and it will automatically create a QR code for it. It’s so simple!
- Drawing Tool and Upload Image – Use this to bring up a drawing screen that includes simple pens and shapes and a graph paper background. Upload an image and annotate over it for everyone to see.
- Text – Insert a text box on your screen with basic word processing tools. This is great to use for simple instructions you want the class to follow.
- Work Symbols – This is one of my favorite resources. It pulls up a reminder for the students about how they are working in class today, whether it is in Silence, Whisper, Ask Neighbor, or Work Together. It’s a great way to set expectations.
- Traffic Light – Want to remind your students about their noise level? Bring up this stop light and tap on either green, yellow, or red to show them the current room condition.
- Timer – This opens a simple hour-glass timer that you can set for however long you want and it will count down. It also includes a lap timer and a stop watch, for PE teachers, as well as a loop function.
- Clock and Calendar – This is a simple clock that also shows the date.
- Exit Poll – This new feature allows you to edit an already-created sample poll with your own question. Students can then select one of the five face choices to indicate their responses. This could be done on an iPad or Chromebook as they leave the classroom. Access to the exit poll is through a new, small icon on the far right side of the screen; it is not in the tool bar across the bottom.
All of the tools can be moved around the screen to wherever you want them, and you can have multiple tool windows open at the same time, even of the same tool. So if you have groups of students working on different things, each group can have their own widget. I’ve even heard of students who run ClasroomScreen on their own devices to help them stay on task or even using the Traffic Light to show their current understanding of a lesson or the status of their project.
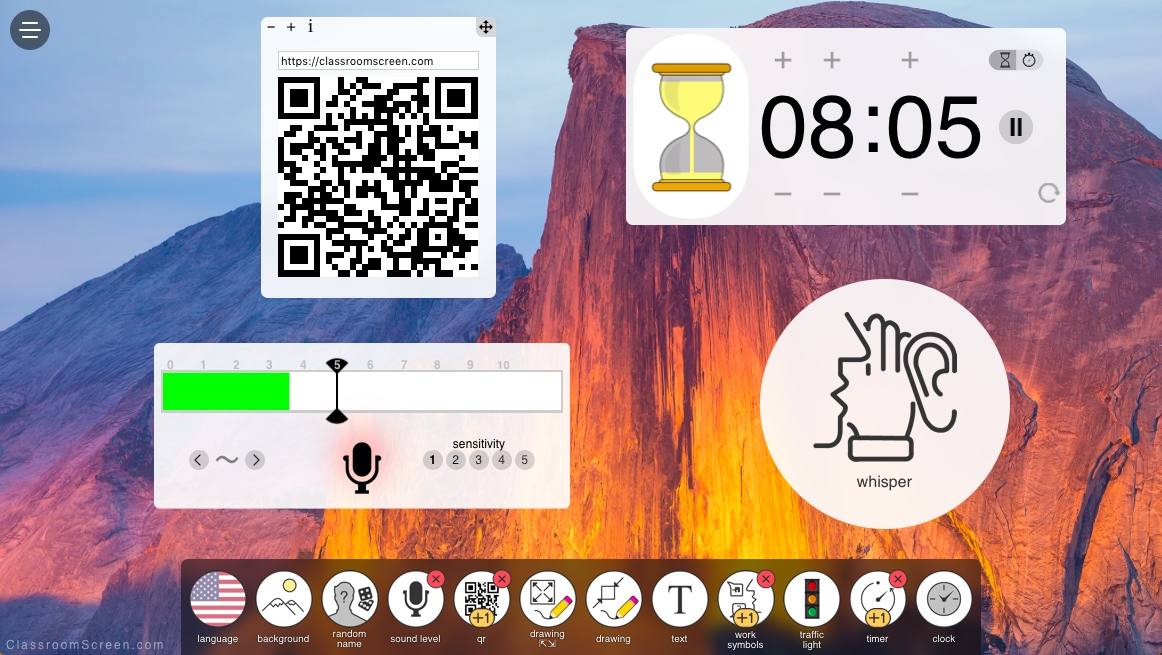
ClassroomScreen works best in full screen mode, which you can access in the bottom right-hand corner of the screen. I am really impressed with this resource, even though it’s simple, and would encourage you to try it out in your classroom today!
This blog was updated with additional resources on July 26, 2018.













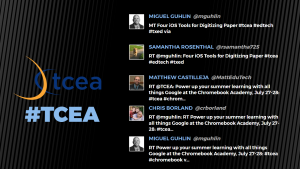 This has to be the easiest Twitter wall to set up. You have multiple themes available, can upload your logo, and identify one Twitter keyword, username, or Instagram keyword on the free version. There are four layouts (text, text and images, images, and instructions) which you can use in any combination or use all four (my preference) set on timers.
 Though not quite as extensive as The Wallrus, Activity Walls does do a nice job of showing the most recent tweets. Just identify your hashtag, set the colors (which can be a little quirky, depending on what browser you are using), and your wall is instantly created. Using Chrome, I can quickly jump to full screen for a nice projected view; using Internet Explorer, I can customize the accent, background, and text colors.
 Tweet Monsters is simple and focused. The free account is for personal use; you’ll need to contact them for pricing on corporate and other uses. Begin by identifying your hashtag. Customize text and background colors as well as the font, transition type, and transition speed. If needed, you can use the custom word filter to identify words to be filtered out and to either not show the tweet or substitute the bad word with an *. The downside of Tweet Monsters is that you only see one tweet at a time.
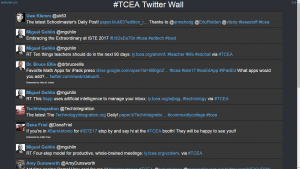 This Twitter wall has the most options available without a cost. You can add lists, searches, tweets by geolocation, exclude specific hashtags or words, and color code your timeline, mentions, and direct messages if needed. You do have a variety of setting to change regarding the speed, fall size, language, font size, and whether or not to show retweets. When finished tweaking your wall, you will want to click on the Presentation Mode link for easier viewing for your attendees. Though not the most professional looking wall, it does give the most flexibility. And, when I’m in a Twitter chat, I use this wall to follow the exchange and participate.
 Now that you have a few Twitter walls to choose from and some tips to get you started, we’d love to see what you do with them. Share the link to your Twitter wall in the comments below.
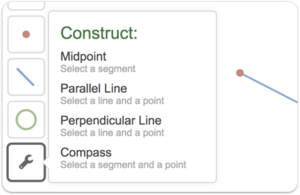 But now they’ve released a new tool specifically for geometry, and it’s just as amazing. Although not as fully featured as a website like