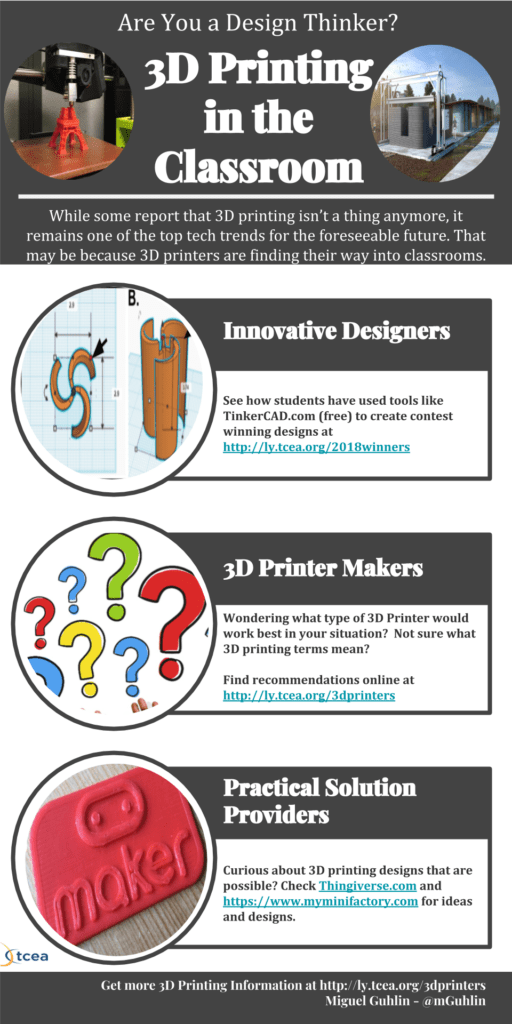
Getting started with 3D printing or thinking about it? There are tons of resources online, as well as Diigo groups where resources are shared frequently. Check out the TCEA resources available here and here. And then read below to find answers to the most common 3D printing questions.

#1 – Where can I get a 3D printer?
There are various printers available, but the one recommended by Mark Simmons (Director of Technology, Sabine Pass ISD) is the Dremel 3D printer. Find a comparison table of 3D printers online. Specific recommendations are at the end of this article.
#2 – How does 3D printing work? How do I get started?
Once you have your 3D printer, you will need to use special software to create print files that tell the printer how to proceed and make things. There are many tools available, among them TinkerCAD, which is a web-based software package that is easy for young learners to start with.
Tinkercad is an amazingly powerful easy-to-use tool for creating digital designs that are ready to be 3D printed into super-cool physical objects. You will be guided through the 3D design process via easy hands-on “Lessons” that teach you the basics of Tinkercad before moving on to more complex modeling techniques. Read more.
Then, after learning to manipulate objects in 3D space, you can try other software. You can find a list of other software programs, including how to get SketchUp Pro for free for your school or district via TCEA. Many of these have to be installed on your computer, but there are also mobile apps you can use to digitize objects and put them into a 3D space.
Once you have created an object, you can print it. For classroom purposes, limit your students to objects that will print in less than four hours (think small!).
#3 – What are some helpful vocabulary terms one encounters when using 3D printers?
There are various terms that you do not necessarily need to know. Refer to the glossary at the end of this blog for a general list of terms. Some of the key ones to know include “build plate,” “filament,” “extrusion or print nozzle,” and “extruder arm.” It is also important to know that there are several types of filament, which resembles weedeater cord.
#4 – What can I realistically print?
You can print anything you have a design for, realizing that for more complex designs, you will have to print each component of a design separately and then assemble it.
You have several choices:
- Design something yourself using 3D printer software (e.g. TinkerCAD or SketchUp Pro). You can also use a free app like 123D Catch (iOS) to capture an object using your mobile device, and then digitize it for printing.
- Download a file from the web that’s already designed so that you can modify and print it (e.g. Thingverse, CookieCaster).
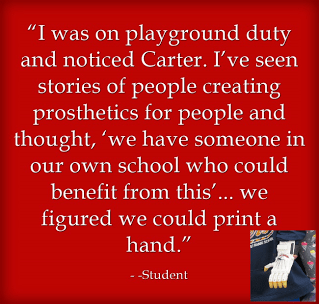
- Collaborate with others to co-design a 3D project, such as to help design a prosthetic device.
 #5 – What are some of the costs of 3D printing?
If you are hoping to get an idea for the cost of a 3D printer, you may want to look at some of the ones listed on Amazon. Here are a few popular printers:
- Dremel Idea Builder 3D Printer (<$1,000)
- Ultimaker 2 or better ($2,999)
- Makerbot Replicator 2 3D Printer ($2,200)
There are less expensive 3D printers you can get for your home, of course. Also, consider these additional items:
- Filament (approx. $25): The cost of a spool of filament, the source material for the 3D print.
- Build Tape ($25): This is what goes on the non-heated glass surface of your 3D printer to facilitate removal of printed items. You can usually skip this if you have a heated glass surface (a.k.a. build plate or print bed).
For post-processing a printed item, you may also want to have on hand the following:
- 3D Print Removal Tool ($6) – Helps you scrape off items from the print bed.
- Plastic putty – Helps you hide the seam in larger items. You can sand it down to cover a stream. Use 120 grit sandpaper when sanding items.
- Spray paint or enamel
Conclusion
Getting started with 3D printing can be expensive, obviously, but there are many ideas for curriculum integration. Be sure to review the resources here.
References
Glossary of 3D Printing Terms
- Build plate (a.k.a. print bed) – This is the glass your 3D-printed creation will be built on.
- Dremel Build Tape – This is the tape used to cover the glass (the “bed” or “build plate”) upon which the 3D-printed object will rest. Non-heated print beds normally need to be covered in blue tape (painter’s tape) or even Kapton tape (i.e. polyimide tape – very heat resistant) in order to make the print stick to the print bed. The tape helps with initial adhesion of the thermoplastic and keeps everything in place during the print. The object needs to be firmly fixed to the print bed, as the slightest movement of the printed object itself will most probably result in a botched-up print. As the adhesion factor of the blue tape wears out quickly, it needs to be replaced regularly.
- Dremel Multi-Tool ($20) – This facilitates removal of the 3D printed item from the print bed.
- Extrusion or print nozzle – This refers to the nozzle from which the filament emerges. Also known as the “hot end.”
- Extruder – The extruder is actually the part that is responsible for feeding the filament into the so-called “hot-end.” See diagram shown right. (Source)
- Extruder arm – This is the arm to which the extrusion nozzle–where the filament is distributed from onto the build plate–is attached. The arm moves in the prearranged design, laid out in layers.
- FDM – Fused Deposition Model refers to the type of 3D printer. FDM printers use a thermoplastic filament, which is heated to its melting point and then extruded, layer by layer, to create a three-dimensional object. “Objects created with an FDM printer start out as computer-aided design (CAD) files. Before an object can be printed, its CAD file must be converted to a format that a 3D printer can understand — usually .STL format”. (Source)
- FFF – Fused Filament Fabrication is another way of referring to an FDM 3D printer, except the term isn’t copyrighted or trademarked. “FFF printers are by far the most common 3D printer type used for home 3D printing, i.e. desktop 3D printers. If you are thinking of buying your own 3D printer, a FFF is most likely the technology that you will end up using. Fused Filament Fabrication is nothing but a fancy word to describe a process by which a machine deposits a filament (picture something like a small string) of a certain material (normally thermoplastics, wax, or similar products) on top or next to the same material in order to create a joint by heat and/or adhesion. Thermoplastics are plastics which become semi-liquid above a specific temperature and return to a solid state when cooling down.” (Source for quotes above about FFF and diagram shown right)
- Filament: There are several types of filament, including the following:
- PLA – This is “pretty” filament, food safe and plastic.
- ABS – This is strong and is what is usually used for logos. It has toxins, so it’s not safe for food storage items (e.g. mugs).
- PLA/PHA – Strong and pretty looking.
- Co-Polyster – ninjaflex, rubbery
- Composite PLA – Shavings of organic material such as copper, limestone, poplar wood, cedar, plastic. You can use this to make small objects that appear to be made of metal.
- Filament + Perfume – These are used to get rid of the “burnt” smell and have a nice odor. Good for schools where the 3D printer is in a common area.
Update: This blog entry updated 05/2018 with fresh infographic.

