So you want to create a choice board for your students to learn a concept. In this blog, we will tackle the BIG question, how does one go about creating a choice board.
What is a choice board?
A choice board is a graphic organizer that allows students to choose how they will learn a concept. Usually a choice board carries these aspects.
- 9-square grid
- Each square has an activity
- Each activity should relate to one of the multiple intelligences
- Level of difficulty can vary or stay consistent
How do students complete a choice board?
- Tic-Tac-Toe Style: choose three choices in a row
- Random choice
Why use a choice board?
Choice boards engage learners. A choice board can also facilitate differentiated learning opportunities for your students. For ten reasons why to use choice boards in the classroom, check out Miguel Guhlin’s blog. For additional information, Lori Gracey’s blog is a great read.
Steps I Took to Create a Choice Board
Step 1: Choose the Concept
As a former fourth grade teacher and a big FAN of Texas history, I chose the following Texas TEK:
113.15. Social Studies, Grade 4
(16) Citizenship. The student understands important customs, symbols, and celebrations of Texas. The student is expected to:
(A) explain the meaning of various patriotic symbols and landmarks of Texas, including the six flags that flew over Texas, the San Jacinto Monument, the Alamo, and various missions;
(B) sing or recite “Texas, Our Texas”;
(C) recite and explain the meaning of the Pledge to the Texas Flag; and
(D) describe the origins and significance of state celebrations such as Texas Independence Day and Juneteenth.
Step 2: Get to Know your Multiple Intelligences
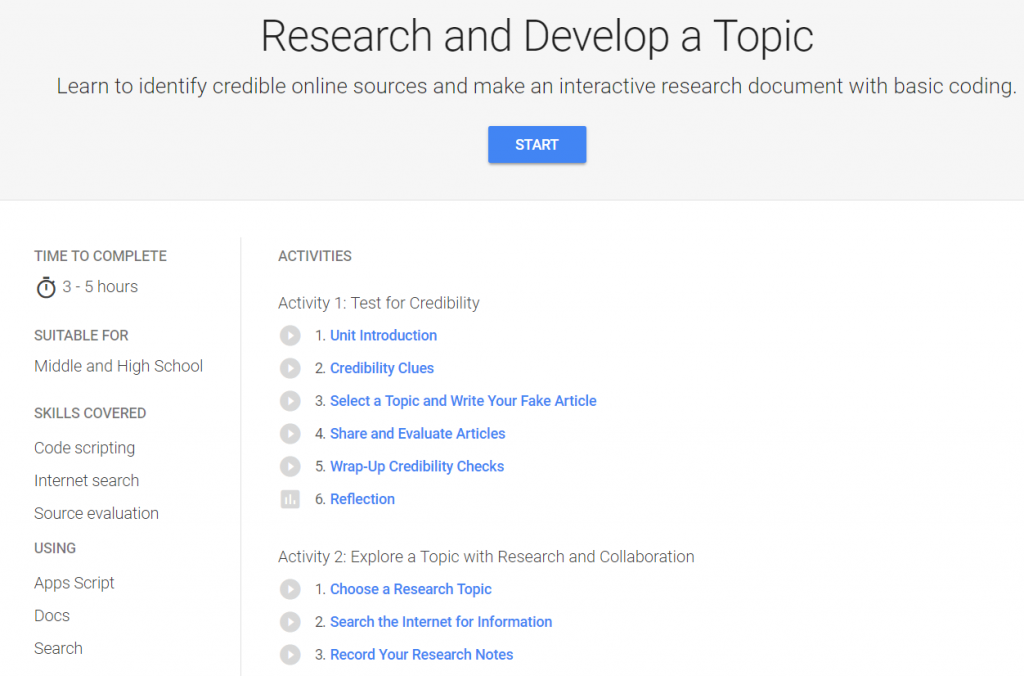
I checked out these three resources:
- How to Use Choice Boards to Differentiate Learning
- 9 Types of Intelligence Infographic
- Checklist: Learning Activities That Connect With Multiple Intelligences by Scholastic
Step 3: Create a List of Multiple Intelligences
From the above three articles/blogs, I combined the multiple intelligences I read about and added a few I thought were missing. See my compiled list of learning modalities below:
- Naturalist (nature smart)
- Musical (sound smart)
- Logical-mathematical (number/reasoning smart)
- Existential (life smart)
- Interpersonal (people smart)
- Bodily-kinesthetic (body smart)
- Linguistic (word smart)
- Intra-personal (self smart)
- Spatial (picture smart)
- Computer (*technology smart)
- Visual/Spatial (art and space smart)
- Culinary (food smart)
- Makerspace (**maker smart)
*3D printing, robotics, minecraft, coding, etc.
**Woodworking, perler beads, crocheting, jewelry making, etc.
Step 4: Brainstorm and Map it Out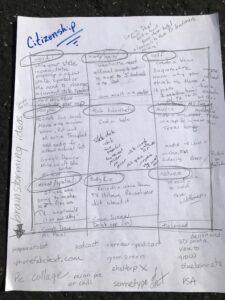
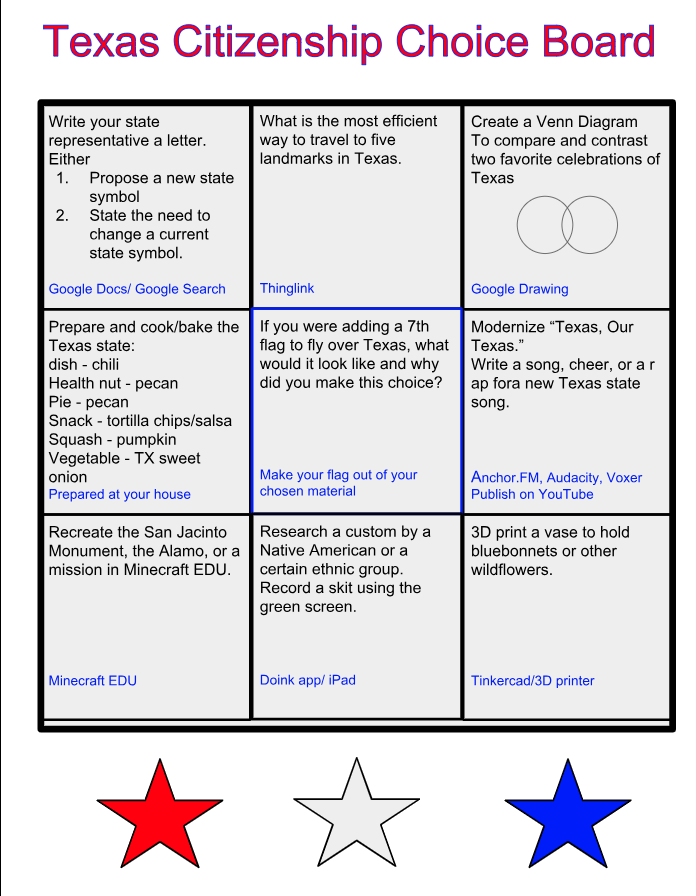
After selecting my fourth grade social studies TEK, I drew a 9-square grid and a brainstorming box on a piece of paper. I started writing down modalities that I thought would work for this particular TEK. I created space at the bottom of my brainstorming for two items: 1. Activity ideas that popped into my head 2. Tools to integrate technology into the activities. I always write in pencil, because I tend to move things around or change the activity to a different square.
Step 5: Make the Choice Board
Finally, I transferred my choice board to a Google Slide. I listed the activity at the top of each square and suggested tech tools in blue at the bottom. You could also use MS Word or a Google Drawing to design your particular choice board. Check out my choice board here.

