

Our lives are intricately intertwined with mobile devices and apps. From communication to productivity, entertainment to education, we rely on apps to navigate today’s digital landscape. Spend five minutes with a teenager, and you’ll quickly realize this trend is amplified in our students. But while students are consumers of tech, it is important to push students to become active creators in the digital world, fostering vital skills like creativity, critical thinking, and communication. One powerful and underutilized tool that can facilitate this shift is Glide, a free app development platform. Let’s explore this tool and its potential to cultivate digital designers.
What is Glide?
Unlike other app development methods, Glide requires no coding, making it accessible for students regardless of their tech background. With a versatile and user-friendly interface, Glide integrates with spreadsheets, allowing students to work with data and hone their spreadsheet skills. Teachers can upload an Excel spreadsheet, link to Google Sheets, or work within Glide’s platform, but I recommend using Sheets. Teachers create the Sheet and share it with students, who use their Google accounts to add content, edit, and build a mobile or web-friendly product. Glide has a few pricing options and offers Free, Maker, Team, and Business accounts, and you can accomplish a lot with the free version.
Plus, if you feel stuck at any moment, Glide provides robust support with educational clips, a blog, documents, templates, and an active community. In one class period, students have the potential to collaboratively build a fully functional and informative app! Here is an example where students have made a spreadsheet with info about the solar system. With Glide, they can connect their spreadsheet data and view the information in an interactive app with images and more.
Four Stages of App Development with Glide
Shifting our focus over to integration, how does an educator start an app development project with Glide? For ease of use, we’ll break this into four stages: getting started, linking to a spreadsheet, customizing the app, and publishing the project. Here is a five-minute video to get you acquainted with Glide before we dive in.
1. Getting Started with Glide
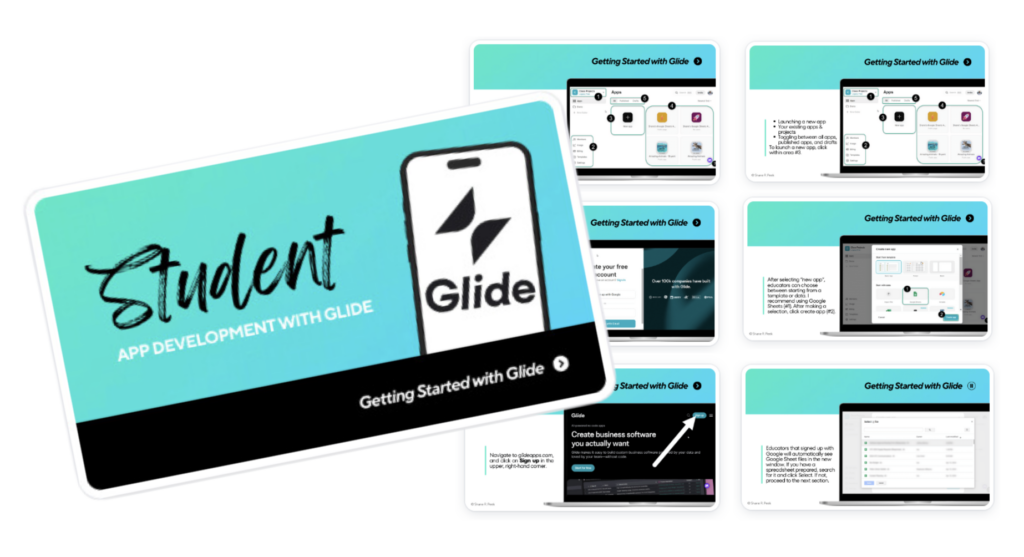
Getting started is a straightforward process for teachers. At glideapps.com, sign up on the top right using Google credentials or with a work email. Upon logging in, educators arrive on a simple landing page. Click around and explore before navigating to the top, left-hand side to initiate a new team (e.g., class). While additional features like upgrading, templates, settings, and team member management are available along the lower left side, most educators will not need these extensive features for class projects.
Once a team is started, click “new app” in the main area. Teachers are prompted to select a template type or source of data, and I recommend Google Sheets. In the new window, teachers are prompted to choose a file, which allows Glide to automatically build the framework of the app, as well as instantaneously update the data as students add their research.
2. Building and Linking the Spreadsheet
A pivotal step in the app development process is crafting your Google spreadsheet. Before diving in, consider the following questions:
- What are the goals of this project?
- What are students researching?
- What data will be included in the app?
With these considerations in mind, educators can create a spreadsheet with the end in mind. The answers to these questions may serve as the spreadsheet’s column headers. For example, if students are researching a particular organism, column headers may include “Organism,” “Student Name,” “4 Facts,” and columns for images (here’s a free template). Assign an easily recognizable name to your spreadsheet, then return to Glide and pick up where you left off (new app > select a file). In Glide, locate your spreadsheet and within moments, Glide builds the app framework based on your data.
3. Customizing the Student App
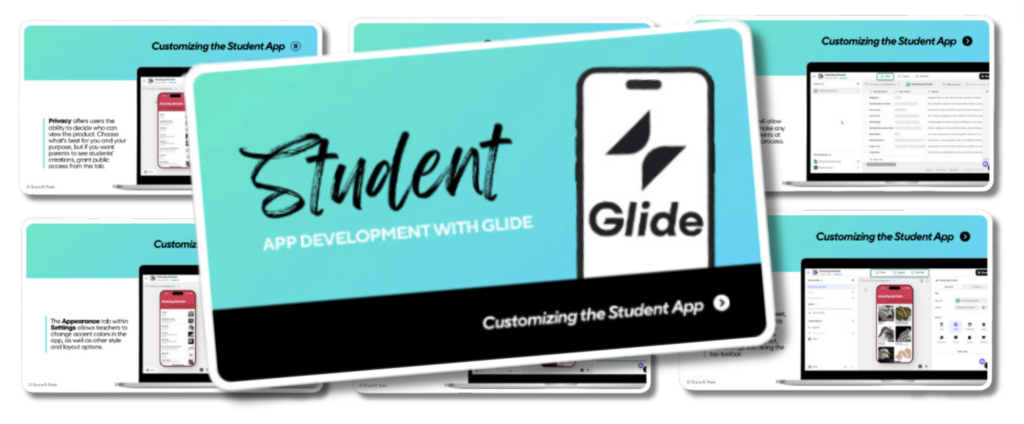
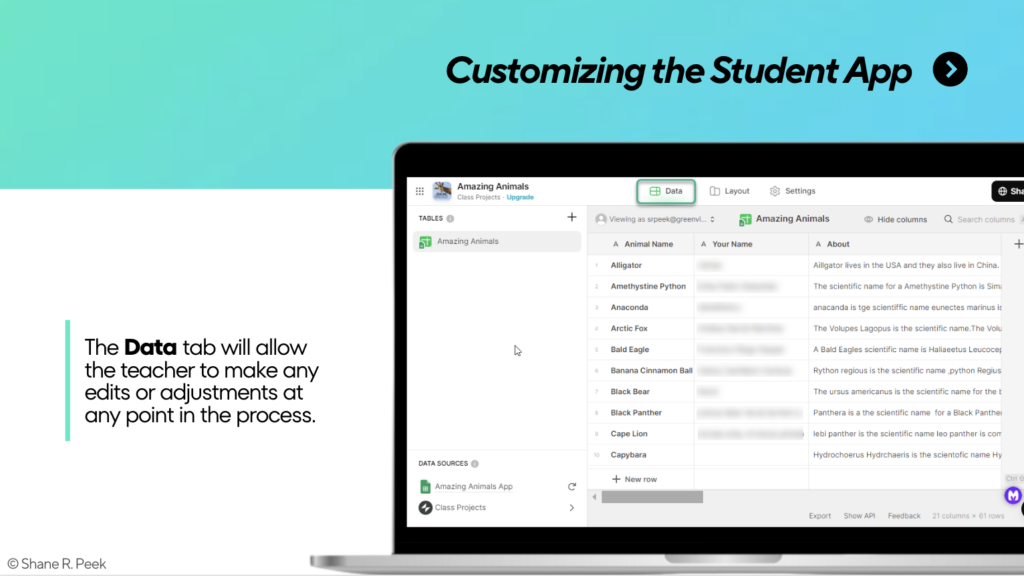
Once Glide generates the app layout, a new window opens providing educators with a range of customizations. Along the top toolbar, teachers can rename the app and toggle between the Data, Layout, and Actions tabs. While students edit from the spreadsheet, educators can make adjustments in Glide from the Data tab.
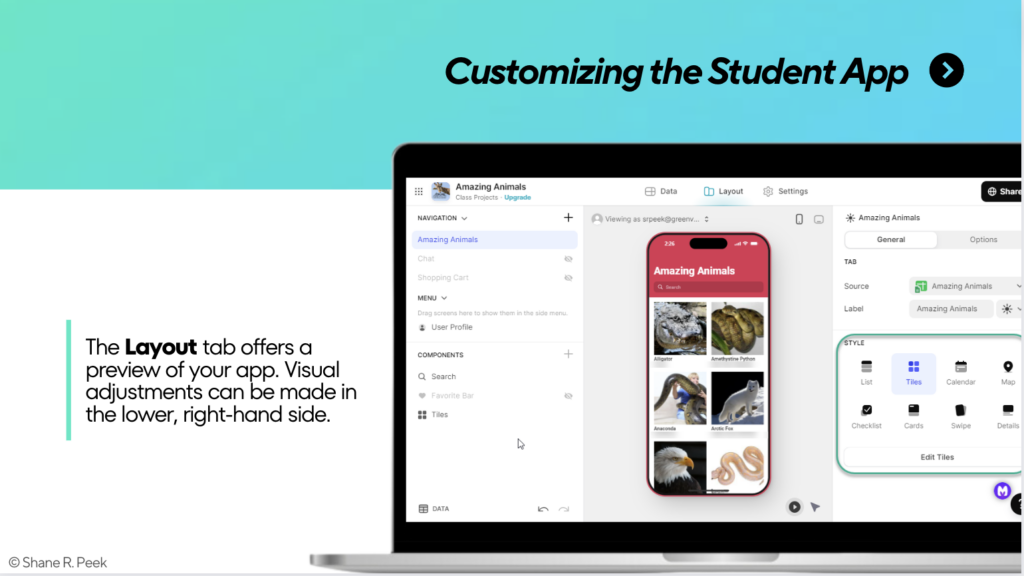
The Layout tab offers a fully functional preview and allows for style adjustments such as card or list format. Pro tip: Disable a few options at the bottom right-hand side (i.e., allow users to add, edit, or delete) to prioritize spreadsheet editing over in-app modifications. The Actions tab provides advanced integrations. Feel free to dig into those, but they exceed the scope of this beginner’s guide.
Additionally, the Settings and Publish options are accessible along the top toolbar to the right. Regarding Settings, explore the Name & Icon, Appearance, and Privacy tabs. You can customize the app’s name and upload an icon. Consider appsmashing with Canva to create a personalized icon using this template. Click on the Appearance tab and have fun with your class – allow students to vote on colors, layout, style, and other customizations.
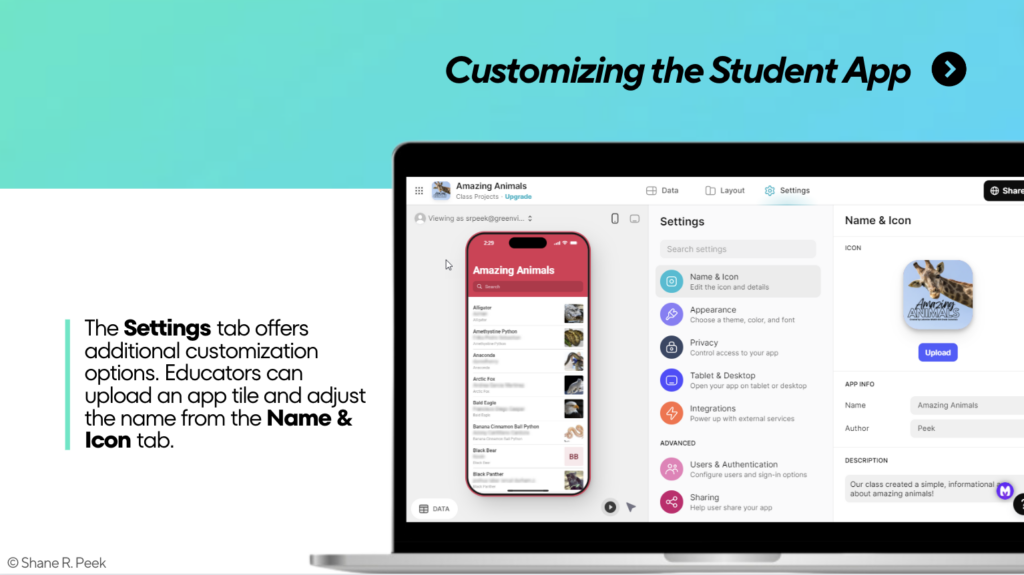
In the Privacy tab, decide between the following accessibility settings: private, public with a link, or sign-in required. For classroom projects, I opt for public access without sign-in ensuring family members can view students’ creative work, but feel free to keep the project private if you desire.
4. Publishing the Classroom App
Now that students have added their research, what’s next? Publishing the app is the final phase in bringing this project to life! Simply click on “Publish” and you’ll receive a shareable link. Upon selecting “Publish” again, Glide provides a QR code that can be printed for parents or displayed in the hallway for easy access. Educators can also send invites via email. Keep an eye on the Publish button – it may change colors to indicate completion (teal to black). Additionally, you’ll notice new settings (Share, Privacy, Publishing, and Domain) behind the Publish button, allowing for further customization should you decide to make changes later.
Your classroom app can now be shared with students, colleagues, and family members, allowing the world to explore your students’ collaborative effort and hard work!
Ways to Use Glide in the Classroom
At this point, I hope app development project ideas are flooding your brain. Here are a few recommendations:
- Start Small: Begin with an upcoming unit and experiment with a simple design. Introduce students to the spreadsheet interface cautiously, emphasizing similarities with documents while highlighting unique features. Encourage students to maintain organization within rows and highlight helpful shortcuts like Ctrl+Enter.
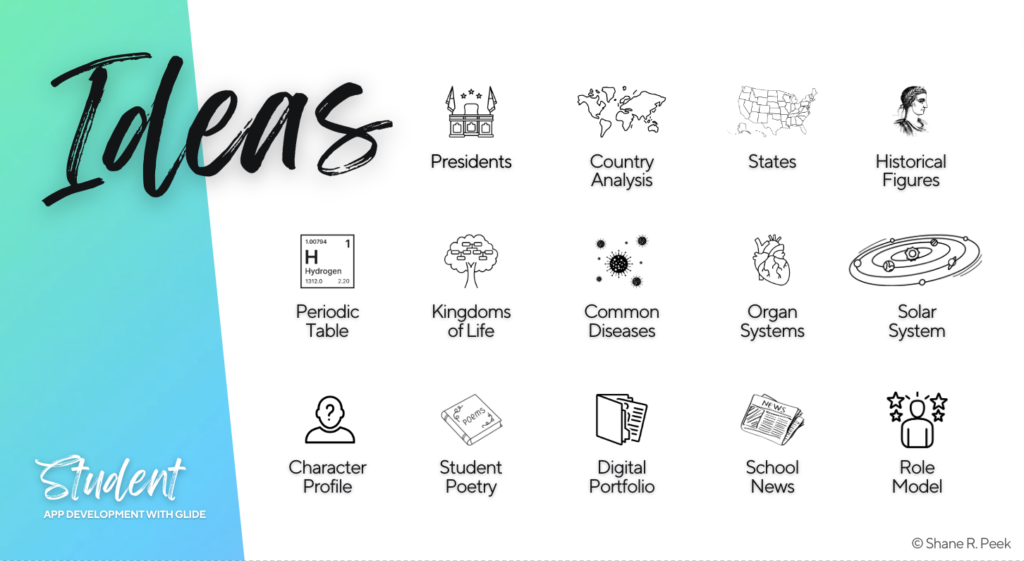
- Free Activity Ideas: Project ideas are vast with Glide. Anything involving research and sharing information on concepts in science, social studies, or geography is fair game. Students can create apps on the solar system, local organisms, historical landmarks in their backyard, biomes, presidents, states, and more.
- Interdisciplinary and Project-Based Learning: Glide lends itself well to project-based learning and cross-curricular projects.
- Parent Hub: Schools could leverage Glide to create a centralized hub for parents housing important information, documents, and updates regarding schoolwide events.
- Personal Planning: Glide isn’t limited to classroom use, educators also have lives outside of school (despite what our students may think)! Create an app for an upcoming vacation or side hustle, or use your skills to serve a local organization.
The project possibilities with Glide are endless. I’ve only scratched the surface! I invite you to share your ideas and thoughts through X or LinkedIn. Let’s collectively explore innovative ways to harness the power of free app development in education! Remember – it’s not just about teaching, it’s about igniting creativity and curiosity in our students. From simple apps to complex projects, we’re shaping a future where our students aren’t just consumers but creators with technology.
2 comments
I love Glide and have used it to build a conference app for our district. It is worth including information about the Terms of Service and Privacy Policy as it pertains to students/children. Terms of Service state that children ages 13-18 may use Glide with parental/guardian consent. HOWEVER, their Privacy Policy states something different. It states that children under the age of 16 should NOT register or use Glide.
With that being said, I would be hesitant to promote this for educators to use with students without specifically stating who is legally able to use the platform.
Hi, Matt! Thanks for sharing your perspective. I agree, it is critical to keep student data safe and secure, and educators should always abide by the Terms of Service and Privacy Policy for any application or website. I would recommend that educators seek guidance from their technology department as to how to utilize this platform with parent/guardian consent. In my examples, I recommend that only teachers create the Glide account. Students can collaborate on and curate their research/information into a Google Sheet built/owned by the teacher, and then the teacher can use that data to create the Glide app.