When I read the Facebook groups for Canvas and Schoology, I see the anguish. Teachers forced to use many different learning management systems at the same time are overwhelmed. Instead of picking one LMS, school districts are selecting several.
They’ll say, “All our prek-3rd grade teachers will use Canvas, but they can link to Seesaw.” Or that choice could be “Schoology.” This causes several challenges for teachers. In this blog entry, we’ll explore how to link from one learning management system to another. We’ll also discuss how to organize your learning management system.
If you missed Part 1 and Part 2 of this series, be sure to go back and take a look at them for more great ideas for remote learning.
Navigate Through Digital Space
As a veteran educator, I have worked with many learning management systems. I’ve set them up and managed the servers they live on, but the most important lessons, I learned early. Those lessons came with the concept of hyperlinking, originally learned while working with Hypercard and HyperStudio.
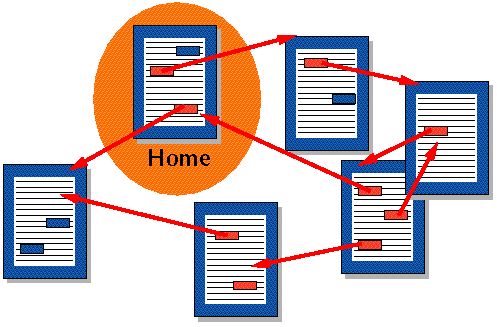
When you’re working with a learning management system, you are creating a system. When you click on one thing, it takes you to another. Then, you click on something where one thing is and that click takes you back to where you came from. That’s all hyperlinking is. A way to move around digital space.
Did You Know?
Sign up for the Remote Learning Tools self-paced course. You’ll pick up a variety of tools that make flipped classroom, hybrid/remote learning easier.
What you’re doing as you create an online space for your students is creating a system of hyperlinks. These hyperlinks allow your students to move easily from one space to another. That space is in the same learning management system (e.g. Canvas, Schoology, Seesaw). In others, you travel virtually to a different space (Canvas to Seesaw).
Let’s see how that looks.
“Our teachers are brand new to Canvas this year. As I am reviewing daily lessons, I see they are so disjointed. It seems like teachers are entering assignments to enter them. How do you teach teachers to make lessons flow in Canvas?” asked one instructional coach.
Canvas for Secondary Educators Facebook Group
When I explain Canvas to people, I like to start with a website diagram. I ask them, “Where do learners start? What learning path do they then need to follow?”
Creating a Simple Interface
“Have you thought about mapping out what you want students to do and where they need to go to get things done?” I asked a second grade teacher planning her Canvas. After a moment of silence, I realized she didn’t understand. Making little boxes on a piece of paper and drawing arrows that showed movement didn’t give her the idea. She needed to see it first to understand.
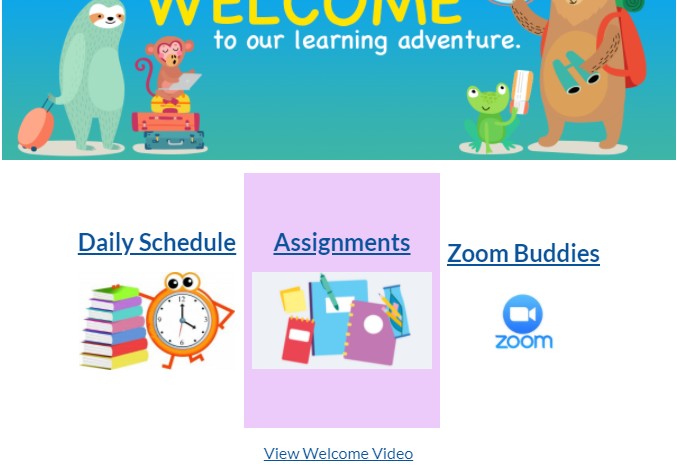
In the image above, you can see the initial page students land on when opening Canvas. When participants click on Daily Schedule, they will only see this:
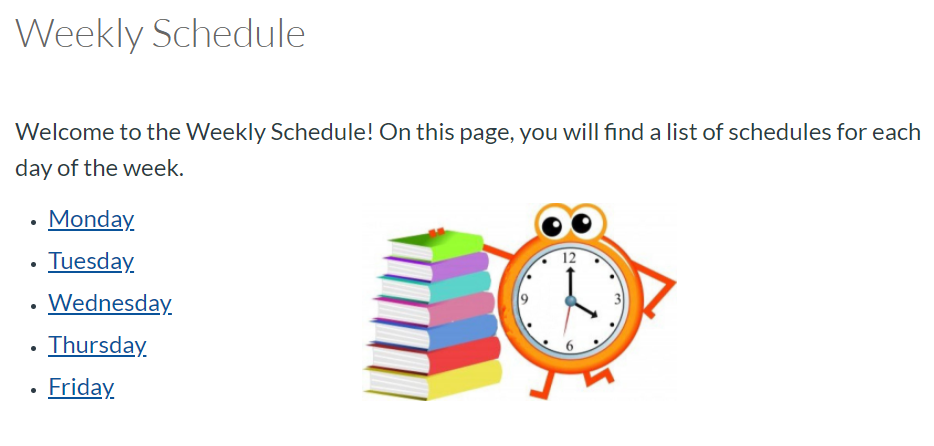
This is the home page or front page you choose. Each link can take a student to a schedule or assignment page for the weekday that looks exactly the same. It varies only in the details.
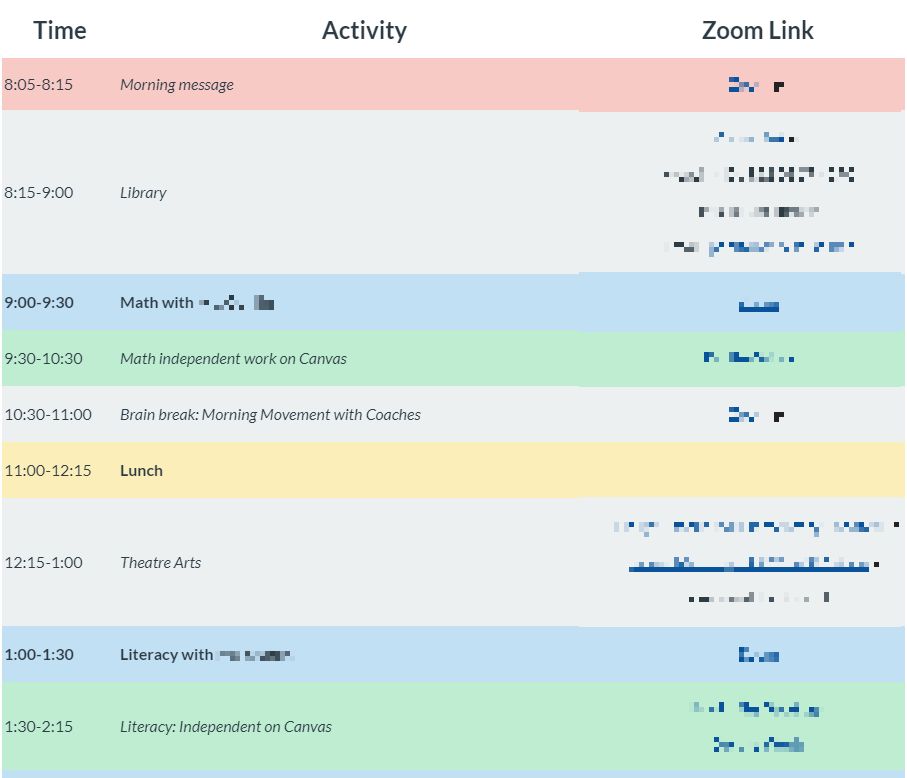
For example, the assignment schedule shown above displays a simple table with links. Even though it looks simple, that’s the best design to follow as you avoid the temptation to use a lot of high resolution images. (In fact, while writing this blog entry, Canvas users I know were reporting images not fully appearing. I observed this myself.) Too many images can be a serious drain on bandwidth and students on slower internet connections may find themselves waiting to get content. If that content is graphic-intensive, it may not show up at all. Worse, if it is integral to understanding a lesson concept, you’ve lost your students. Providing short text and links to streaming content while avoiding high-resolution pictures is the way to go.
For some, the ideal is to see something like what Chelsea Pomponio uses (shown below). She’s done a wonderful job of setting up her Canvas with a simple, functional design.
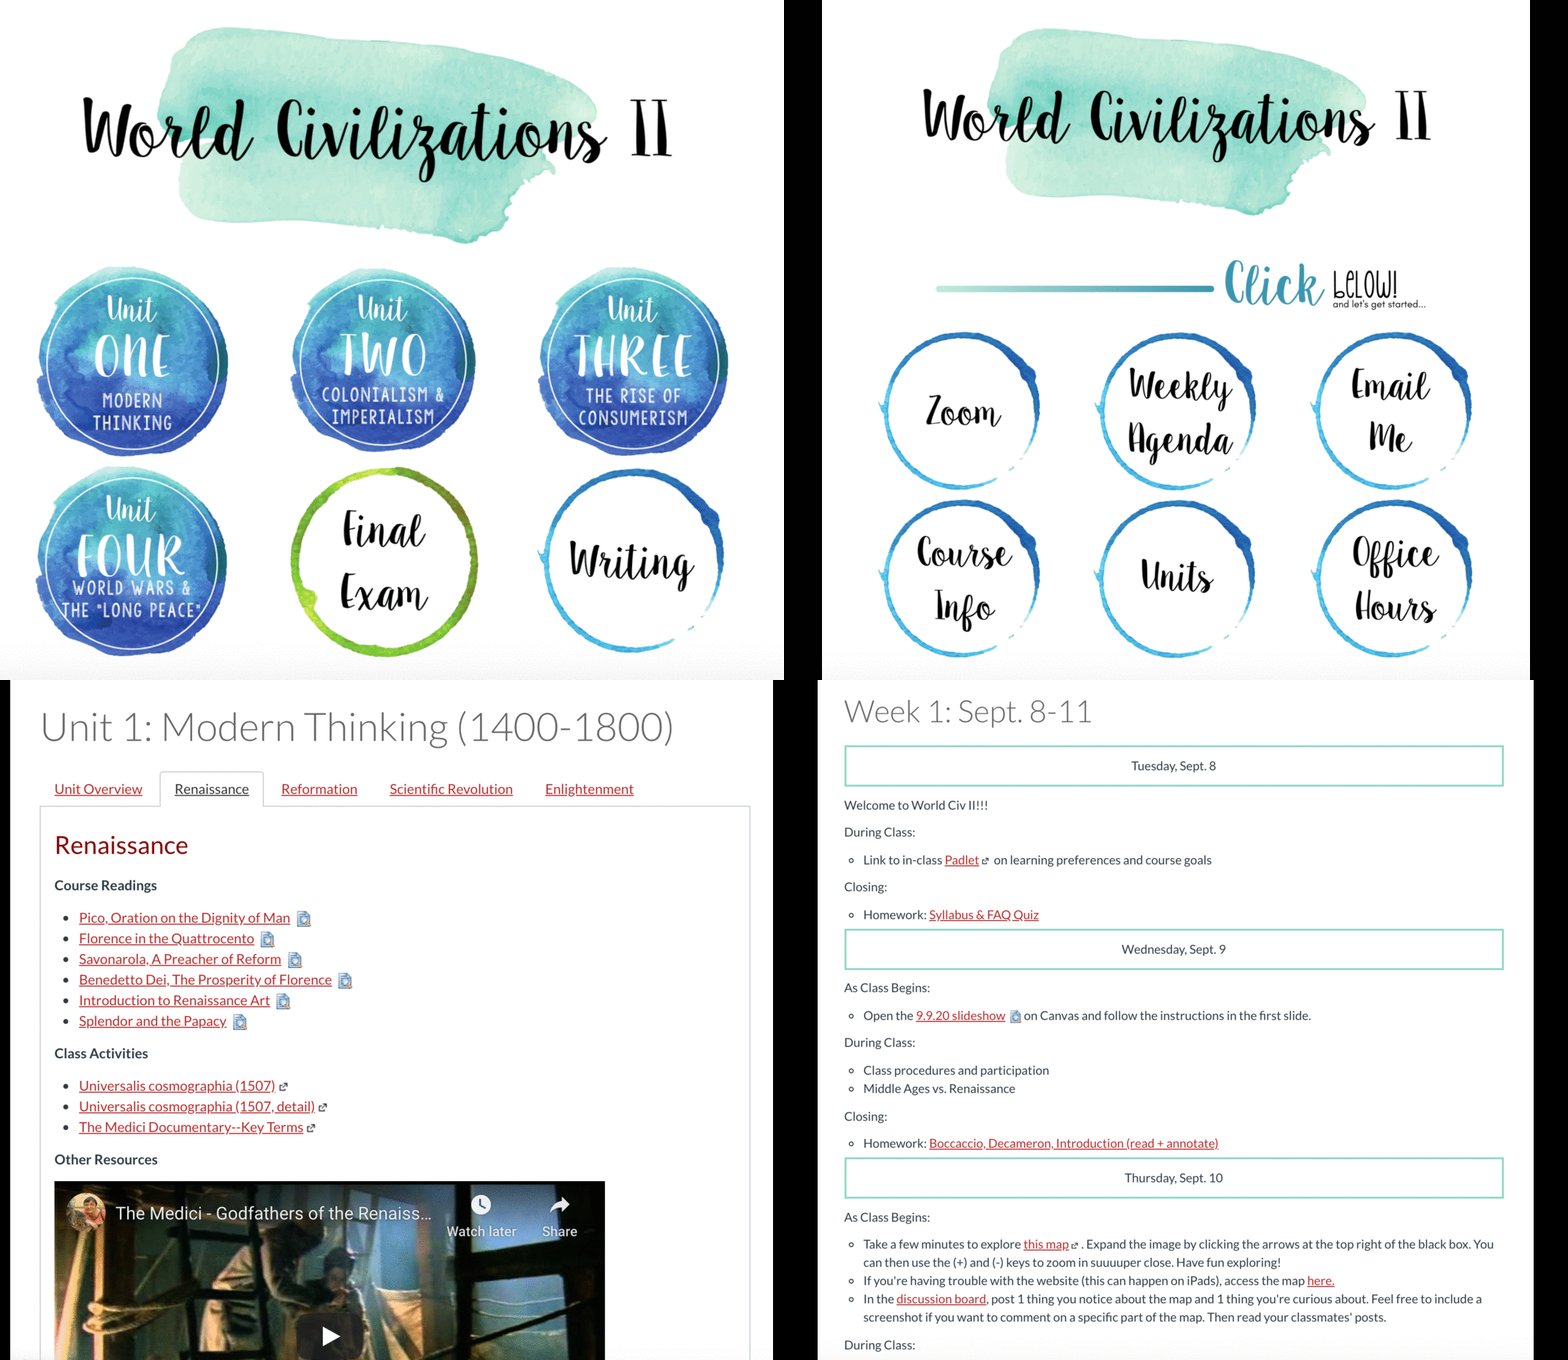
Her suggestions include:
- Link a module containing the daily or weekly agenda to the homepage.
- Create the routine of checking the agenda as soon as class begins.
For others, keep it simple works as well. Consider advice from veteran Canvas user Elizabeth Momont:
Keep it simple. Use one chapter/unit per module. Use the indent option to format like an old school outline. I do notes, video notes, homework, and extra help sections in every lesson. The pretty and more elaborate will come in following years.
Elephant in the Room
The possible elephant in the room? The mistaken idea that teachers have to start or end with a graphics-heavy course. For some, that’s a Bitmoji classroom. As fun as Bitmoji classrooms are to create, they may add unnecessary bandwidth usage if they go overboard. That is, the images may not work.
Did You Know?
If you DO want to include Bitmoji classroom elements, learn how using TCEA’s Bitmoji Educator online course. Whether you end up using Bitmoji or not, you’ll learn valuable ways to manipulate images in G Suite EDU’s Slides tool.
One teacher bemoaned the fact her district required all to have Bitmoji classrooms. When you’re working online, you want a functional, utilitarian design that gets it done. Getting it done isn’t about looking pretty, but doing at least the following:
- Provide an easy-to-navigate site
- Make sure the site is easy to maintain and update over time
- Embrace a simple design you can add content to, or remove
Planning a simple, interconnected site with no extra clicks can be mind-boggling. Take your time doing so. If you don’t have time, remember: Post it once, then link to it from wherever you need to to avoid duplication. So when it comes to that elephant in the room, make sure to design a simple agenda that works.

