

Are you getting started with Canva? It’s an amazing digital creation tool. If you’ve not yet been verified for a free Canva for Education account, I’d highly recommend doing so! Once you’re in and exploring all the amazing features, you might appreciate these productivity hacks I stumbled upon as I got to know Canva. Let’s take a look at a few tricks on everything from editing your uploaded PDFs to masking images.
Did you know?
A few colleagues didn’t know that Canva has an app that works on Windows or Mac computers. Using the Canva app can improve your creation speed. I knew there was an app for smartphones and tablets, but I didn’t know there was one for my desktop. It’s now my favorite way to interact with Canva!
Hack #1: Importing Presentation Templates to Canva
Want to import amazing content from SlidesMania into Canva? Sure, Canva has tons of great templates, but they don’t have everything. SlidesMania, SlideCarnival, and SlidesGo offer a variety of presentation templates you can use within Canva. Didn’t find what you’re looking for? Don’t worry, there are plenty of other sources of templates available online!
With that in mind, from your Canva Projects home page, you can import presentation templates you find elsewhere.
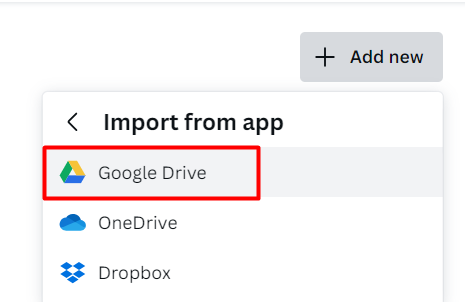
- Click Add new in the top right corner.
- Select Import from app in the drop-down menu.
- Import your saved template.

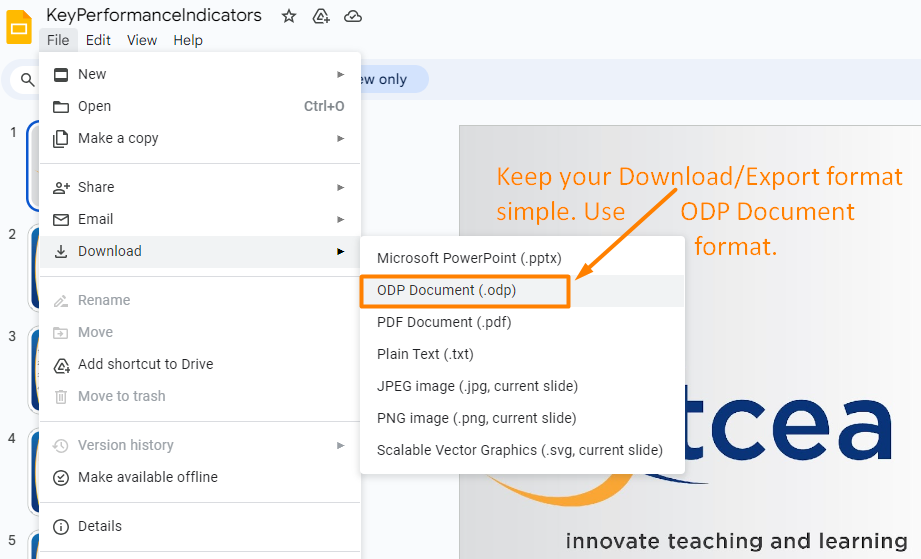
What you may not know is that Canva supports other import formats besides PowerPoint. This is good because exports of PowerPoint files don’t often import well into Canva. You may need a simpler, intermediary format, like an ODP presentation. But the simpler the format, the more likely fancy animations will fail. That’s alright, though, since Canva offers its own magic.
Hack #2: Hide, Blur, or Add Effects to Pages
Hiding presentation slides isn’t anything new. You can do it in Microsoft PowerPoint and Google Slides. But if you “skip slide” in Google Slides, the skipped slides are visible if you share the link. In PowerPoint Online, the skip slide will obscure the slide from presentation view. But, you can still print them to PDF to see any slides the author chose to hide. Canva makes it easy to hide presentation slides (called “pages” in Canva), and you can hide many at once!
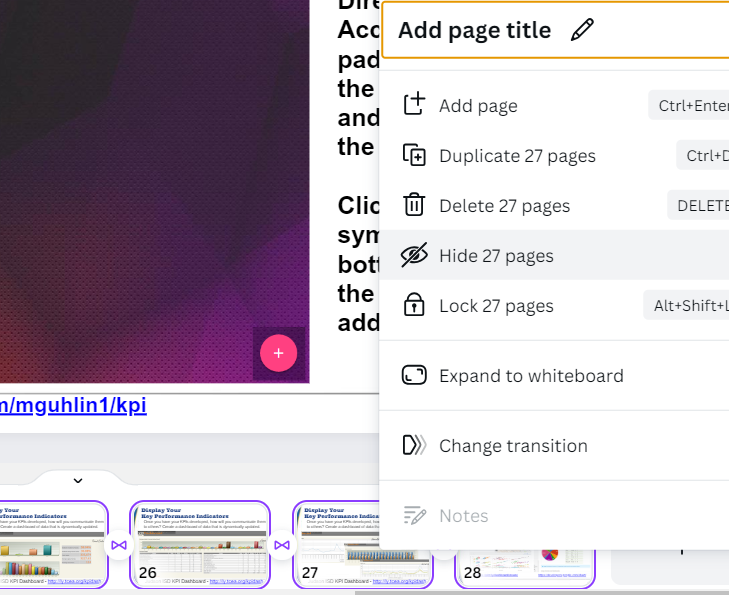
- Click the arrow in the bottom center of the editor to Show pages in your presentation.
- Select the page you wish to hide (it will outline in purple) or press and hold control to select multiple pages.
- Hover over a page and click the three dots in the top right corner.
- Choose the Hide pages option in the menu.
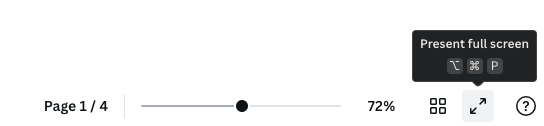
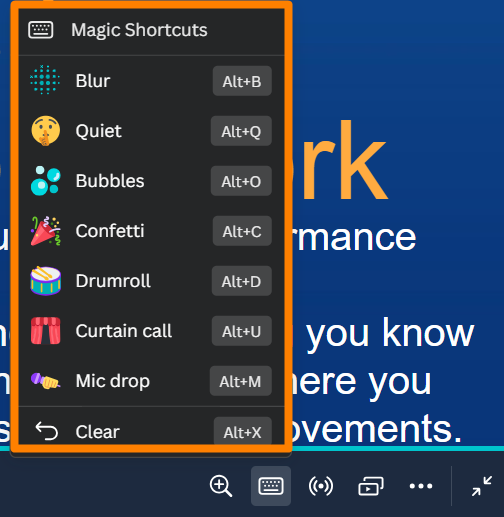
A neat feature in Present mode on Canva? You can use Magic Shortcuts to blur content or add effects. To enter Present mode, just click the full screen icon in the bottom right corner of the editor.
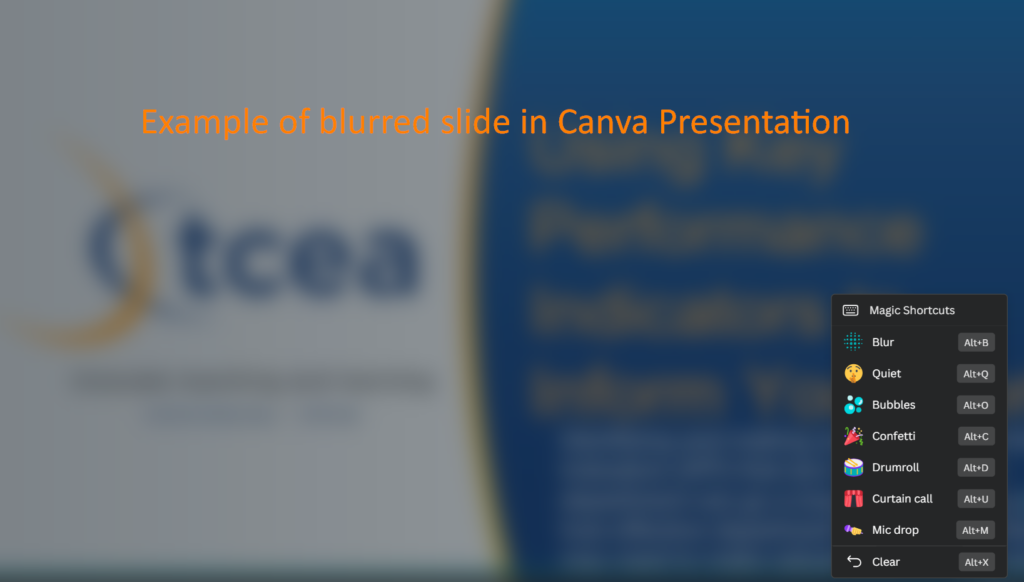
You can “hide” content in a presentation by blurring it until you’re ready to discuss it, and you can add special effects like bubbles and confetti! To access this menu in Present mode, click the keyboard icon in the bottom right of the screen.
Hack #3: Clean Out Uploaded Items
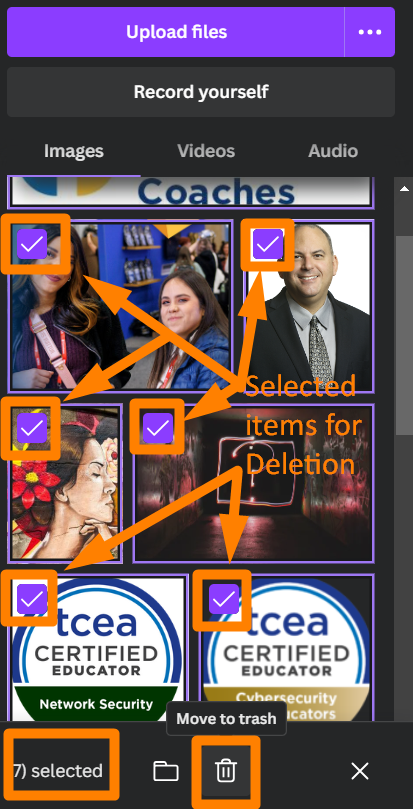
Want to easily clean out your uploaded items in Canva? Use the Select items tool to choose multiple items.
- Click Uploads in the side panel.
- Select an image and click the three dots in the top right corner.
- Choose Select items in the menu.
- Select all items you’d like to delete.
- Click the trash can at the bottom of the Uploads pane to send them all to trash.

This allows you to keep your uploaded items area tidy. Trashing items from your upload tray does not remove them from any documents you put them into. That means, unless you are planning to use those items again, it’s fine to select and delete them.
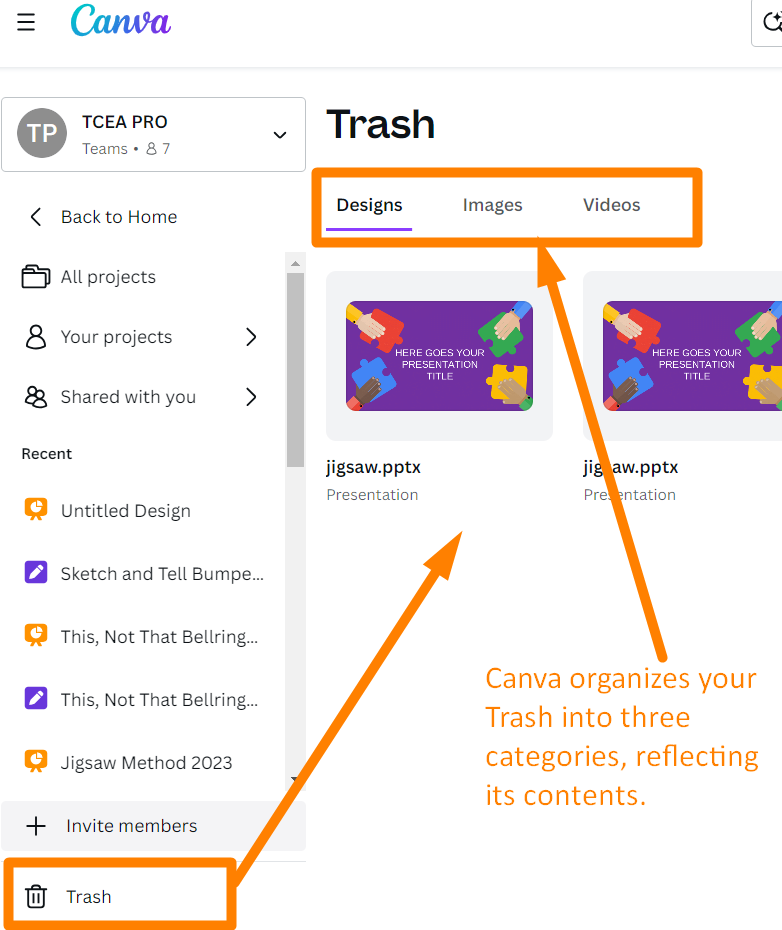
And, remember, items stay in the Trash for thirty days. If you need to restore a trashed item, you can always recover it:
Hack #4: Edit PDFs with Canva
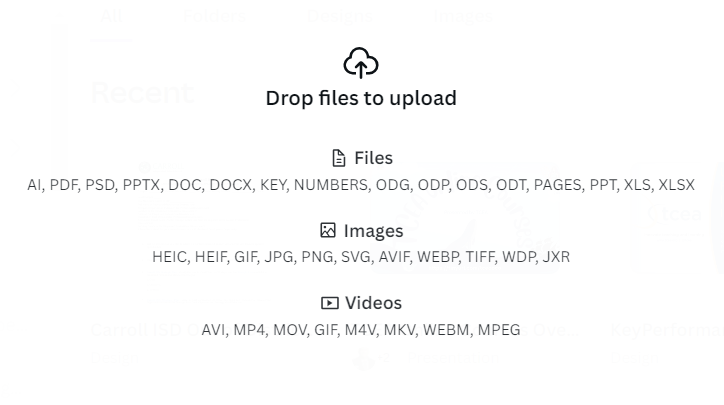
Wish you could edit a PDF? While one of my favorite tools is PDF Reader by XODO for forms, give Canva a try. You can drag and drop the PDF file into the Canva Projects home area. When you start to drag it over, it will look like this:
Then, once Canva has uploaded your PDF file, you can begin editing it right away. What’s amazing is that Canva converts the text in a PDF to become editable, so you’re able to make changes and adjustments.
Here’s a form adapted from a school district’s form available in PDF:
All the text in this PDF is edit-friendly. If I need to add content and images or make corrections, I can do that.
Hack #5: Masking Images with Frames
Wish you had an easy way to drop an image or photo into a shape? Canva offers pre-created “frames” you can use. These allow you to mask an image, hiding parts you don’t want people to see. The benefit? You can frame an image into a particular shape, like a cut-out.
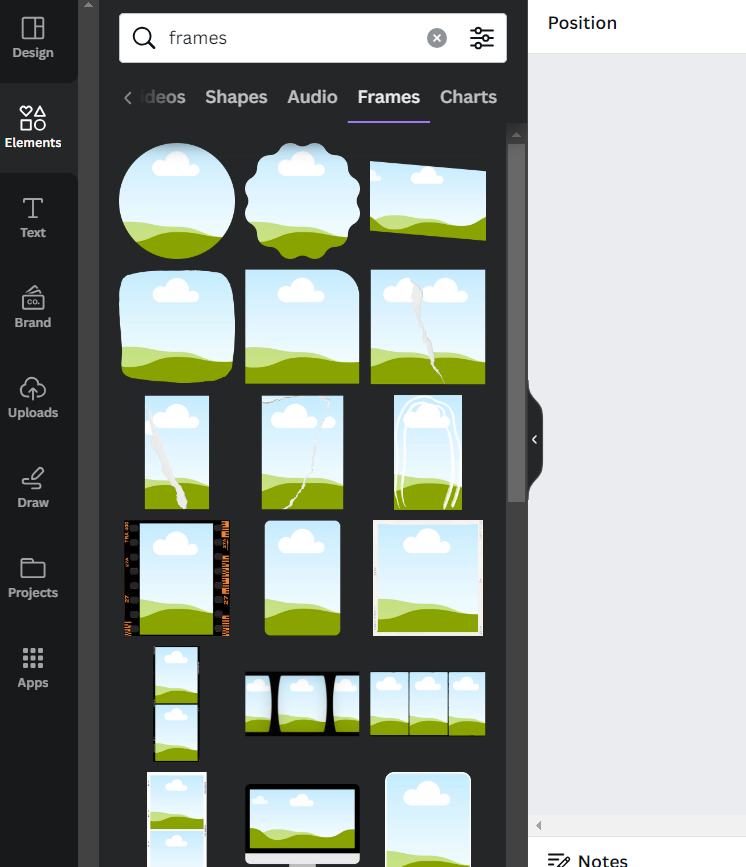
To frame an image, first open a Canva project document or make a new one. Then, select Elements in the side panel. You’ll notice a menu at the top of the elements pane. Choose Frames to explore all the options. You’ll find a variety of them to choose from:
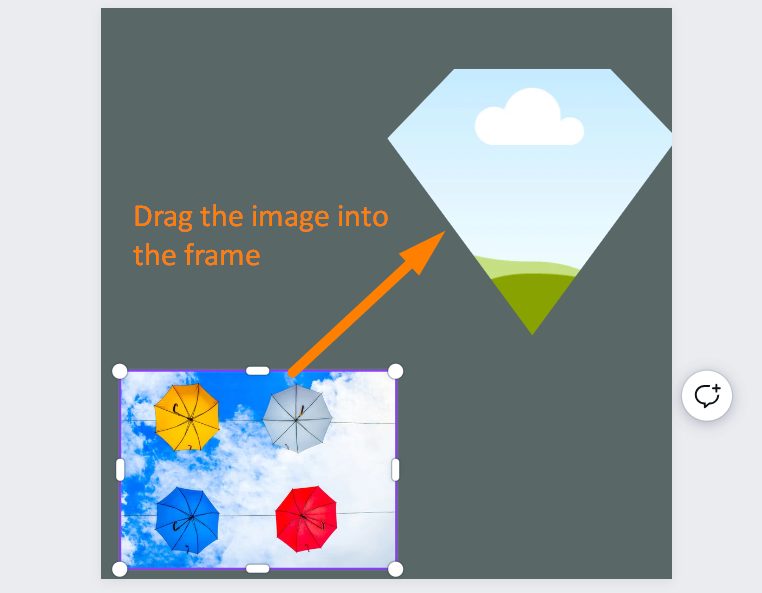
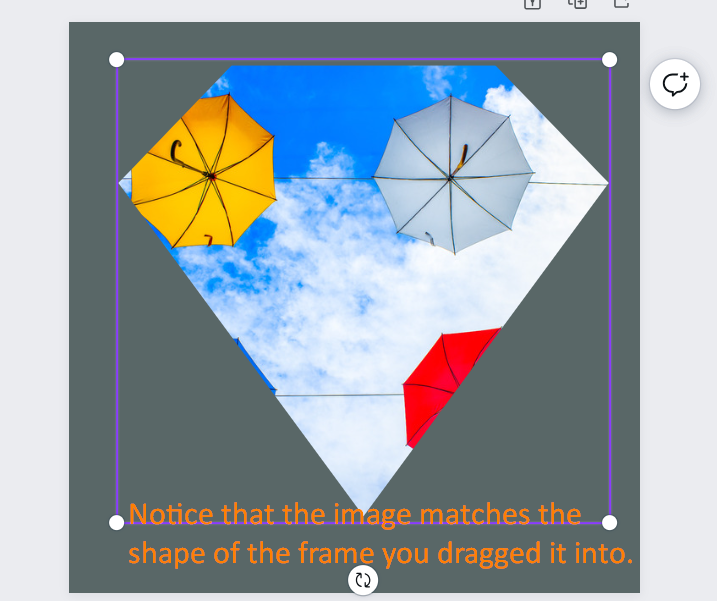
Add one of the frames to your document, then import an image or find one in Canva’s Elements. Drag the image into the frame, and it will merge to take the frame’s shape. Double click the image to move it within the frame.
While there are various programs that allow you to do this (Google Slides has a “crop to shape” option), Canva offers a variety of frames. There are more frames available via Mockups in Canva’s Apps area. Watch the video below to see how you could use them, along with Canva’s QR Code generator, to put your QR code or image on anything!
Wouldn’t it be neat to match any image to any shape? Or convert any simple shape to a frame you could use? There are ways, but that will have to wait for another day.
Bonus Hacks!
If you’re a classroom teacher, you can do any of the following:
- Create workbooks and worksheets
- Turn a single presentation page into a shareable digital whiteboard
- Take advantage of the huge number of education templates
- Assign activities (e.g. bell ringers, exit tickets, self-reflection) in Canva to students in Google Classroom
- Create a teacher slide deck for back to school or parent night
Additional productivity hacks:
- Use the Canva Color Palette to match colors to an image
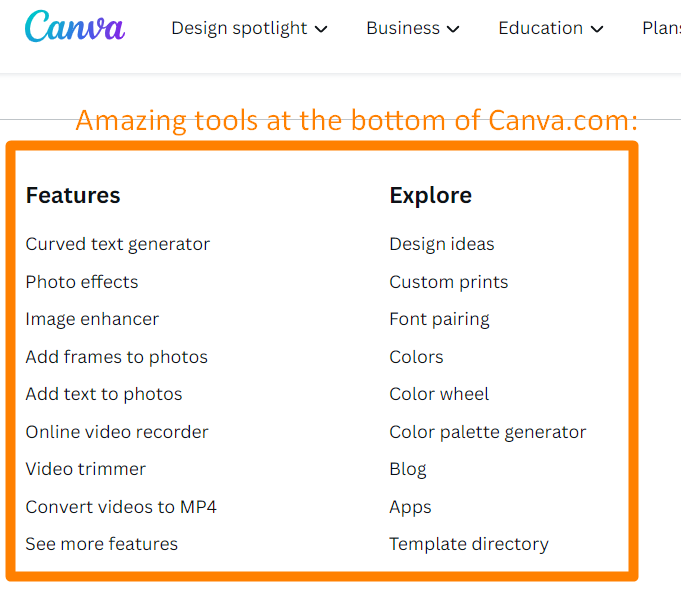
- Check out all the amazing tools at the bottom of the Canva.com website
What Are YOUR Canva Productivity Hacks?
Now that I’ve shared some Canva hacks with you, which ones do you plan to try? Maybe you’ve already discovered some tips and tricks of your own. Share them in the comments so we can all reap the benefits!
Explore TCEA Canva Courses to Ramp Up Your Work!
Check out TCEA’s up to date, self-paced, online course: Canva Specialist! This course will make you an expert in Canva’s new Magic Studio AI tools. You’ll also get updated on all the educational features Canva has to offer. Don’t miss it!
Need a Canva intro course?
TCEA has a flexible, online Canva Educator course to introduce you to Canva’s powerful toolkit! Learn how to easily and quickly create spectacular resources, even if you’re not a designer or an artist.