

If your campus or classroom is just beginning to dabble in 3D design, you may think you are limited in the resources available to you. But there are tons of amazing tools and even libraries available for you and your students. Imagine an online library where anyone can browse, share, and remix a 3D object. For example, you might design a tour in Google Tour Builder. Now you can put that into Google’s Poly, an online library, and you have something you can share. In this blog entry, we’ll explore a few tools for creating 3D assets (i.e. models, scenes, tours) and examples.
Why Learn to Create 3D Assets?
When students work in virtual words, they are learning to manipulate 3D objects and navigate virtual 3D environments. Minecraft: Education Edition and Sketch Up Pro are two fantastic tools for this. TinkerCAD enables students of all ages to design in 3D. Put those designs in a 3D printer and you have a physical artifact. Don’t forget that 3D printing is about more than small curios. 3D printing houses, bridges, clothes, and even glass objects and more is a reality now.
As the 3D printing industry grows, so do opportunities. It is critical for students to “become fluent with programs and machines for 3D printing.” The Try Engineering Institute points out several important job skills in this area, such as the following:
- 3D Design: Take a product idea, then make it into something that can come to life. Consider the importance of rapid prototyping for design thinking and engineering design processes.
- 3D Computer-Aided Design (CAD) Modeling: This involves converting product designs into digital blueprints. These digital blueprints are then used in 3D printers.
- Biological and Scientific Modeling: Engineers, designers, and modelers design and create 3D-printed organs and more.
Poly Toolkit offers a wealth of resources needed to build augmented reality (AR) applications. This short, 35-minute video will provide some background on the toolkit:
Making the ISTE Student Standards Connections
Wondering how learning 3D design is important from an ISTE Standards perspective? Consider the following relevant standard and indicators:
1. Empowered Learner
1.d. Students understand the fundamental concepts of technology operations, demonstrate the ability to choose, use and troubleshoot current technologies and are able to transfer their knowledge to explore emerging technologies.
4. Innovative Designer
4.a. Students know and use a deliberate design process for generating ideas, testing theories, creating innovative artifacts or solving authentic problems.
4.b. Students select and use digital tools to plan and manage a design process that considers design constraints and calculated risks.
4.c. Students develop, test and refine prototypes as part of a cyclical design process.
4.d. Students exhibit a tolerance for ambiguity, perseverance and the capacity to work with open-ended problems.
5. Computational Thinker
5.a. Students formulate problem definitions suited for technology-assisted methods such as data analysis, abstract models and algorithmic thinking in exploring and finding solutions.
5.b. Students break problems into component parts, extract key information, and develop descriptive models to understand complex systems or facilitate problem-solving.
6. Creative Communicator
6.a. Students choose the appropriate platforms and tools for meeting the desired objectives of their creation or communication.
6.b. Students create original works or responsibly re-purpose or remix digital resources into new creations.
Now that you can see the connections, let’s take a look at the evolving tool set and some examples.
What Tools Are Available to Create 3D Assets?
Although I’ve mentioned a few tools for creating 3D assets, others exist. There are some you may be unfamiliar with. Please find a short list below:
- Poly Toolkit : This cross-platform tool works on Android, iOS, Web, as well as Unity and Unreal. If you’re using Blender, Cinema4D, Maya, or 3dsMax, you can get a plug-in for the Toolkit. Using the web version, you may need some background on Javascript or Python. Don’t know coding? That’s OK. There are simpler tools.
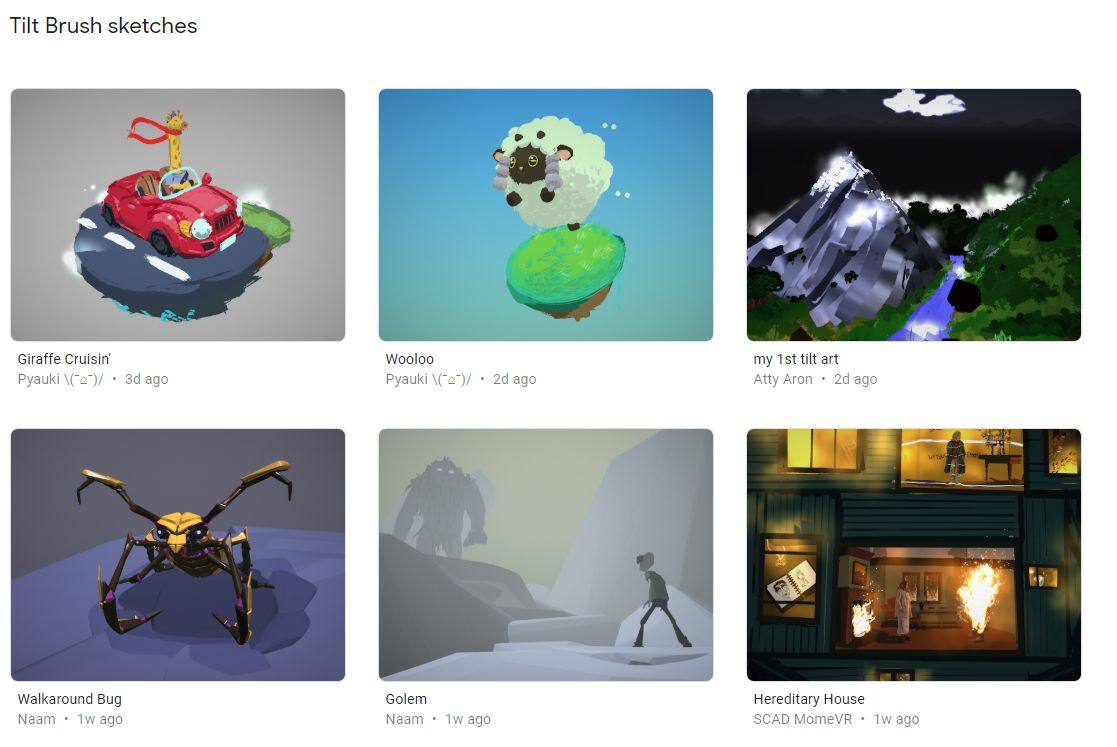
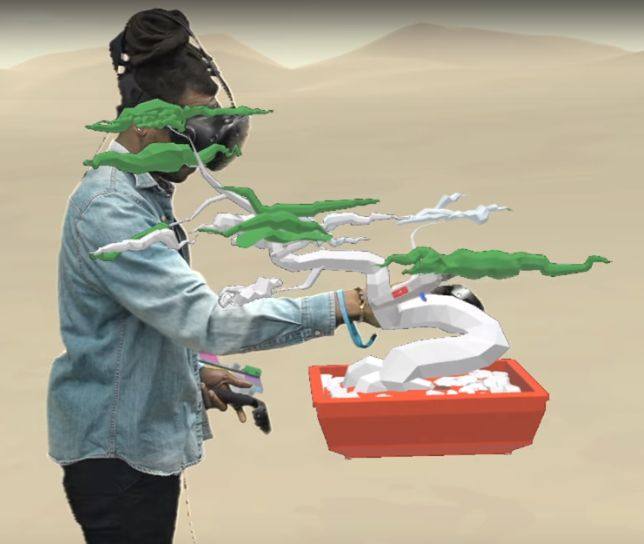
- Tilt Brush: Do you have access to Google VR on VIVE, Oculus, or Windows Mixed Reality? Then you may want to explore the Tilt Brush Tutorials.
- Blocks: This tools enables you to create 3D models as well (see image below). The goal is to enable developers to create 3D objects in 3D environment. Then you can publish those.
To be honest, most of the activities and skills needed for this require special equipment. But there is one tool you may already be familiar with. The tool? Google Tour Builder.
Tour Builder
Tour Builder enables students to create a virtual tour of their research data. They can add photos, text, and video as needed. Students use a map-based approach to organize research as location and impact are the two organizing principles. Check out this Getting Started with Google Tour-Builder guide for more information.
Tour Creator
Did you know that you can use Tour Creator to design virtual-reality tours and then publish them on Poly? This means you, as a teacher, can add tours you create to Expeditions. This allows you to guide your students in your class on an Expedition because tours that you add to Expeditions on Poly are auto-added to your Expeditions app.
Publishing Google Tours into the Poly Library
Once you create a Google Tour, you can share it and make it public. That’s important because it will make it available in Poly for students to access. Jen Cauthers suggests these steps:
- Log into your account (the same one you would use on your phone).
- Go to Poly and click the share button for that tour.
- Choose “Expeditions” for the way you want to share the tour.
- You should now see the tour you want to share under your tour list in the Expeditions app.
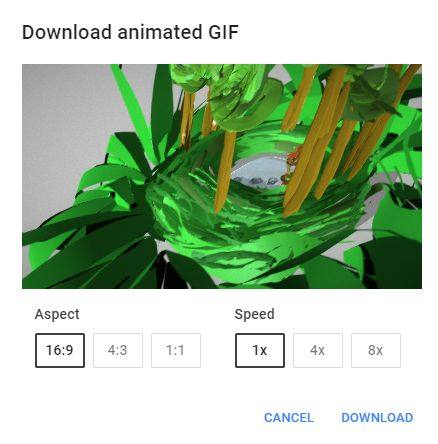
Make the tour public in Poly, then you can share the link with anyone. This means they need not sign in as a Poly Tour designer to view it. One neat feature is the ability to save items in the Poly library as animated GIFs. Give it a try!
Some Examples
Ready to see some examples? Here are a few to get you started:
- Lewis and Clark Expedition – In this tour, you see six different landmarks that Lewis and Clark stopped at.
- Gettysburg Battlefield – Includes seven scenes depicting a tour of the Gettysburg Battlefield.
- Isabel’s Journey – A story of Isabel, who lived in Cuba under Fidel Castro, and left. Some interesting text items illustrate the tour. Great example of how to capture student’s family history. Of course, the source is Alan Gratz’ book, Refugee.
See many more examples are available online in the Poly library. Organized in collections, you’ll find a variety under many headers, including Animal & Pets, Architecture, Art, Culture & Humanity, Food & Drink, Current Events, and more.
1 comment
This is great for newbe. When i am beginner , i am using 3ds max and later on i move on autodesk maya. But these software are slso good , if you jest started