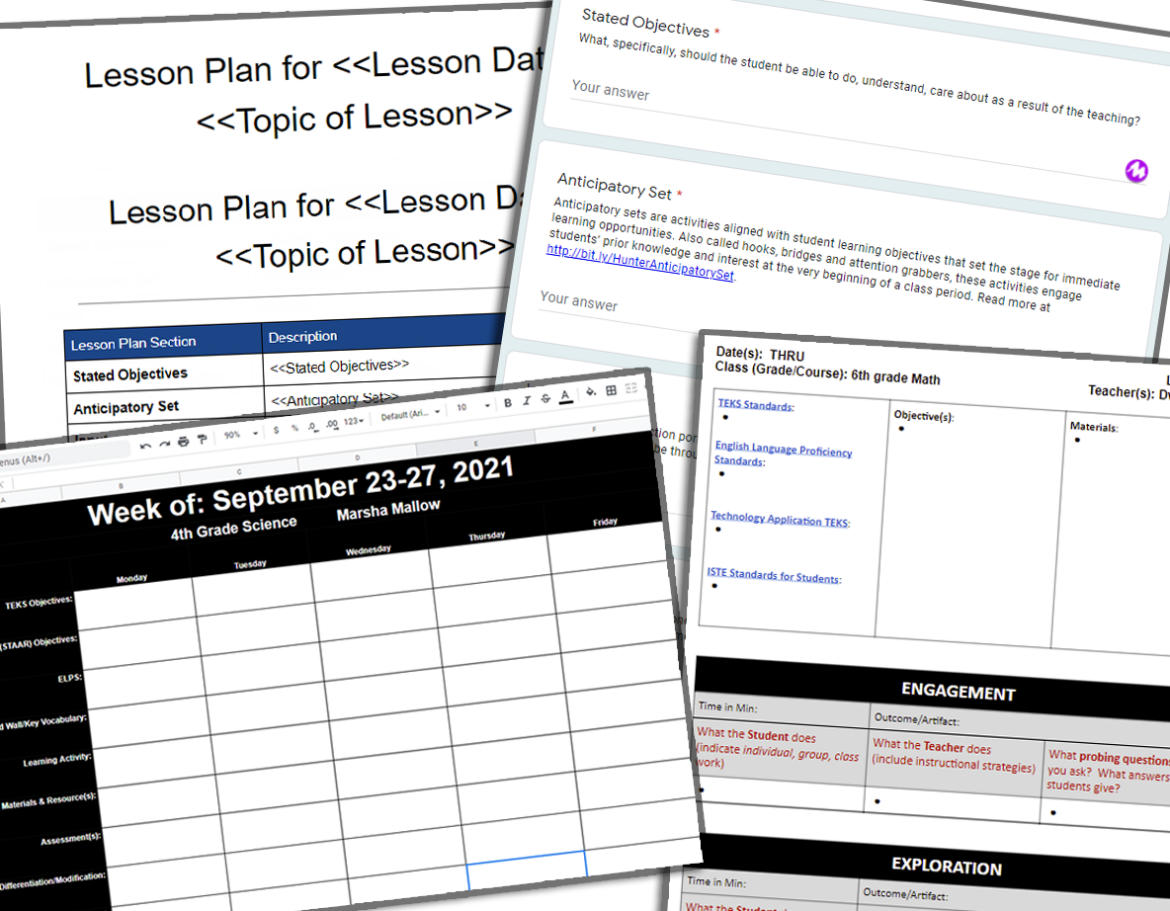
I don’t know that I’ve ever met a teacher who loves writing lesson plans, at least not before teaching the lessons. And if you are a veteran teacher like me, you may have had those years where you were required to use a specific format or criteria that took longer to write than it did to actually teach the lesson. Hopefully, this year won’t be like that for you. If you can choose your own lesson plan layout and format, you may find a method here that will make lesson planning more productive.
Be sure to check out Lori Gracey’s post from earlier this year entitled 2,000+ Lesson Plan Templates and Ideas for K12. In her post, you will find more templates than you can shake a stick at. So what is different about my post on lesson plan templates? I’ll be sharing a few different templates and processes that you might find more efficient and in line with how you like to organize.
Get ready to learn how to:
- Create templates and use Google’s Template Gallery
- Organize lesson plans with Google Docs’ outline feature
- Create and collect lesson plans using Google Forms
- Use Google Sheets as your lesson-planning template
Lesson Plan Templates: Using Google’s Template Gallery
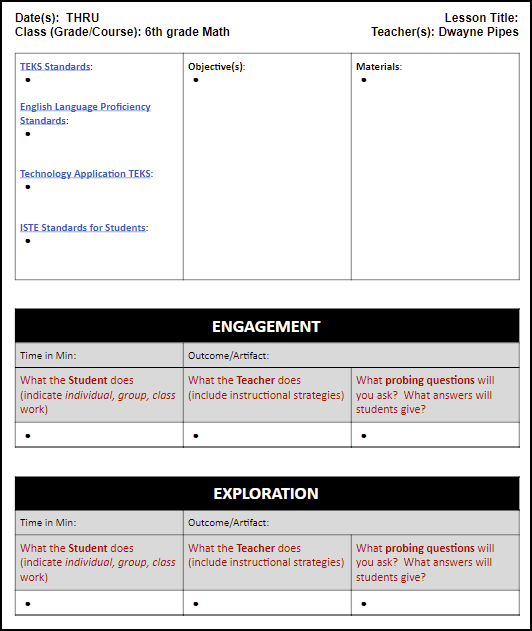
In Google Docs, you can create your own template to use over and over again or for others in your domain to use. Begin by creating the Google Doc with tables, headings, placeholder text, and other features as needed. When done, save your document with a meaningful title. I recommend putting the word TEMPLATE (yes, in all caps) at the beginning of the title to make it easier to locate in our next step. Here is a Google Doc template that I created using the 5E Model of lesson planning. Click the link to the template and feel free to make a copy of it (File → Make a copy) to your Google Drive so you can add it to your templates.
Once you have your file created (or copied to your Google Drive), you are ready to designate it as a template in the template gallery.
If you do not see available templates on the Google Docs home page, you’ll need to enable the view in the settings. To do this:
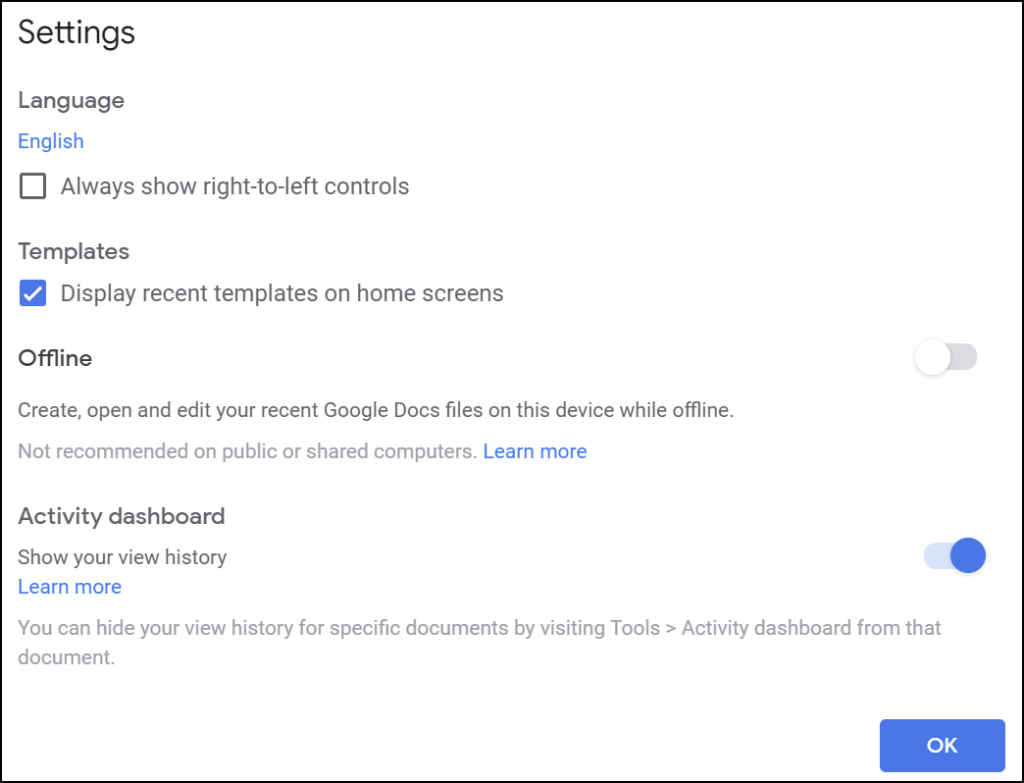
- Go to http://docs.google.com.
- Click on more icons (top left corner).
- Click on Settings.
- Tick the box to display recent templates on the home screen (as shown in the image to the right).
- Click OK.
A template gallery dashboard will now appear above your Google Docs. Initially, this shows templates that Google makes available to you. Clicking on the Template Gallery expansion link will reveal templates made available to you through your domain and the general templates from Google. While viewing your domain template area, click on the Submit Template button. You can now locate the Google Doc you want to add to the template gallery.
NOTE: You can submit a copy of the file instead of the original; however, I do not recommend this. Submitting the original allows you to easily update the template file at any time as the need arises.
Organizing Templates

You can follow the same procedure above to make a template in Google Sheets, Slides, etc. For organization, I recommend creating a folder in your drive named TEMPLATES to place all your templates for easy access. This will ensure that you don’t accidentally use one as a normal file.
Using Google Docs’ Outline
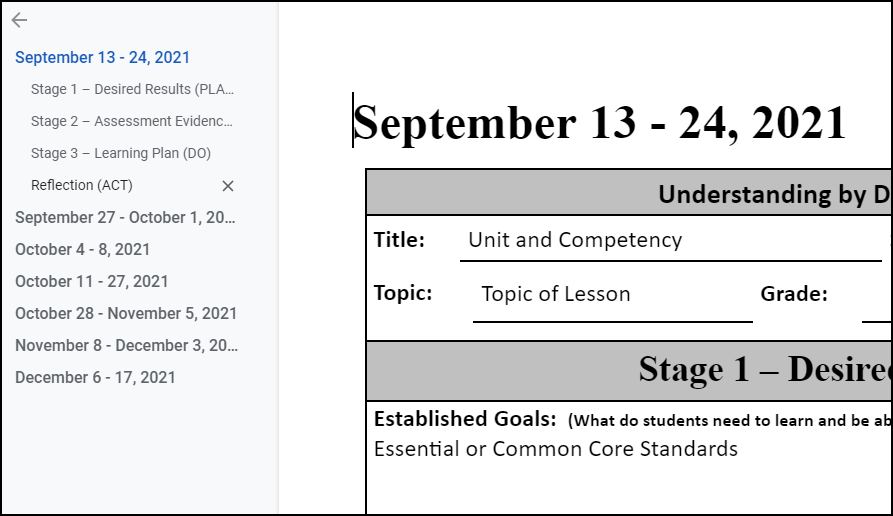
If you want to have all your lesson plans in one Google Doc, consider using the outline feature. To view the outline, click on the small outline icon located at the top left of the document. The outline feature allows you to jump to specific headings in the document. By designating headings, Google will auto-generate this outline on the left-hand side. If you use different heading formats (Heading 1, Heading 2, Heading 3, etc.), you will have a nested outline.
Notice the image below in which the outline is nested. Each major date of my lesson plan document has been set to Heading 1. For the first set under September 13-24, the four parts (three stages and the reflection) have each been set to Heading 2. Since the outline picks up any headings, these are automatically nested for easy viewing and access. I can jump to any part of the document by clicking on the particular line in the outline. Feel free to make a copy of the blank Fall 2021 UbD Lesson Plan and edit as needed. Note that the Heading 2 level has only been applied to the portion of the first unit in this document. To see how to add this heading format to another section, you can watch this short tutorial.
Using a Google Form to to Create and Collect Lesson Plans
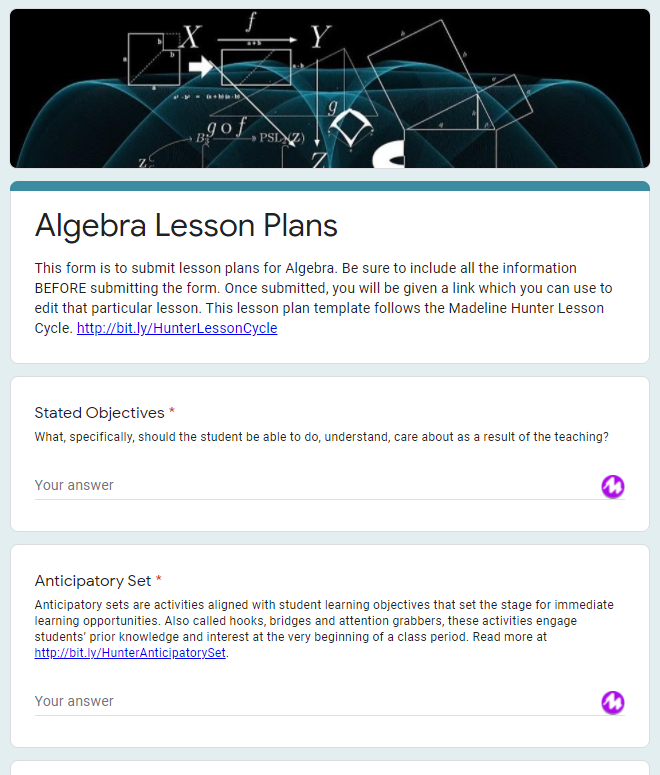
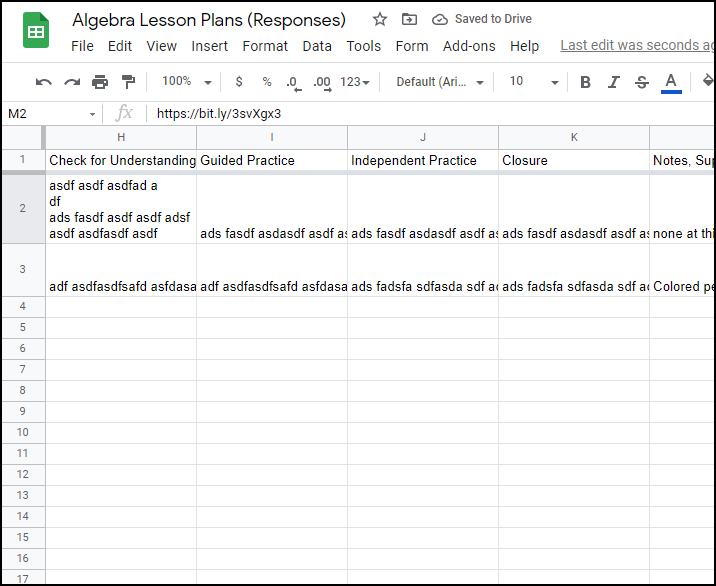
Using Google Forms in your lesson plan process is a perfect way to collect and organize your plans, especially if you have different people writing them. Once you set up your form, you can start dropping in information, knowing that it will be nicely transferred into a spreadsheet.
For this template, we will be following Madeline Hunter’s lesson cycle. Also known as direct instruction, the format may be valid for some lessons, but not fit other, more open-ended teaching methods.
You can view an example form here. Besides asking for the lesson plan’s date(s) and topic, the various sections of the lesson cycle are included in the form, some with links provided to give information and examples for the section. The form collects information on:
- Objectives
- Anticipatory Set
- Input
- Modeing
- Check for Understanding
- Guided Practice
- Independent Practice
- Closure
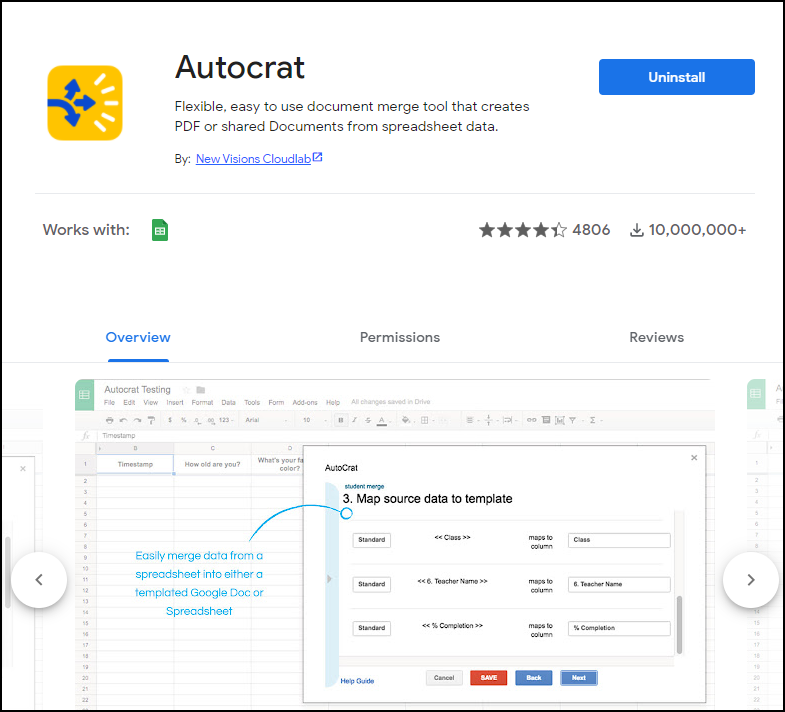
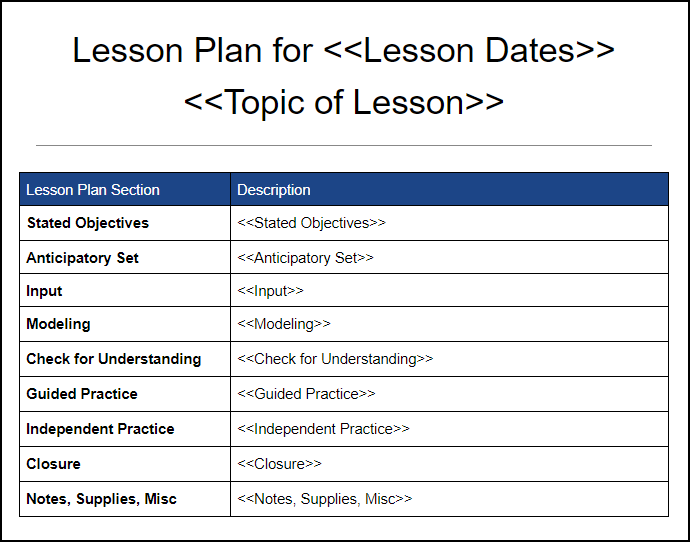
You can also consider merging the data into a Google Doc template or a PDF using the AutoCrat add-on. If you have not used AutoCrat, I highly recommend that you watch a few tutorial videos. Below are files to explore as you consider using Google Forms in your lesson plan creation process.
NOTE: You will need to create your own form from scratch since you can’t copy a form I create.
| Lesson Plan Form | AutoCrat Add-on | Google Sheet | Merge Template |
Using Google Sheets for Lesson Planning
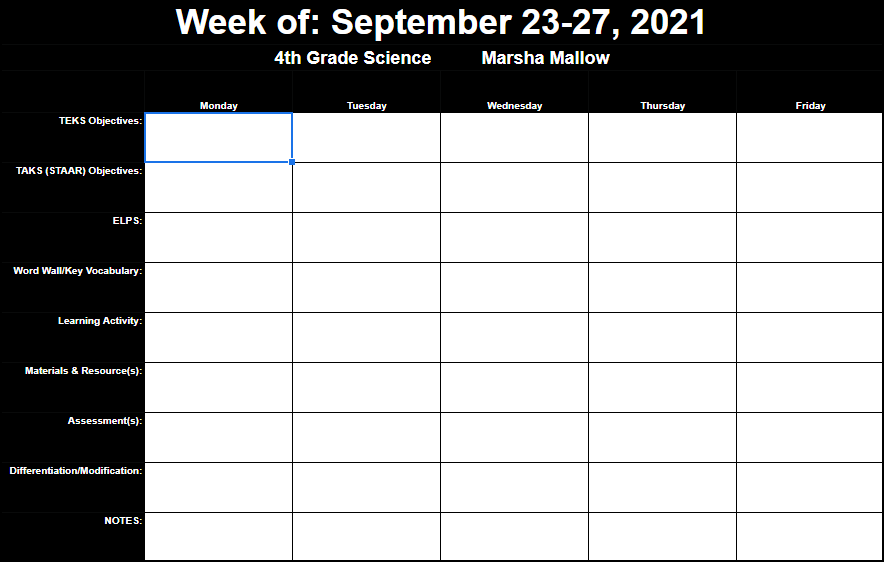
Google Sheets can also be used as the repository for lesson plans. In this scenario, we have a tab for each lesson plan. If your lesson plan is based on a day, a week, a unit, etc., you can have one tab for each and easily share your lesson plan workbook with your supervisor and with peers.
If you are working collaboratively with your content area team (or grade level team), then consider making the team more efficient by sharing a single Google Sheets workbook as the “group” lesson plan. I encourage you to explore and make a copy of this sample Google Sheet Lesson Plan workbook. This example also has a tab with sample assessments that you might want to use. Feel free to edit the assessments sheet to include the most appropriate assessments for your students’ ability levels. In the video below, I walk you through using Google Sheets as a lesson plan workbook.
Other Lesson Plan Template Ideas
As you can see, there are a lot of ways to create and curate lesson plans. Additional ways include using Google Slides, Google Sites, and Microsoft OneNote. Whichever way you choose to go, think about who will be accessing and using the lesson plans. Is it for you to build on over the years? Is it for an administrator who only needs the ability to view or comment? Or is it a collaborative document used by several peers to help communicate learning activities and expectations within the grade level or content area?
In the comments section, let us know what you use for housing and organizing your lesson plans. Does your district prescribe a particular format or tool, require lesson plans to be submitted by a deadline, and monitor your submissions? Share your experience and ideas for making lesson planning less cumbersome.

