When I was tasked with teaching typing to 6th graders back in 2004, my only experience was from my own typing class in 1985. Thanks to an electronic typewriter, countless hours of practice, and my dedicated teacher, Berta Foster, I was a proficient typist. But I lacked the specific knowledge needed to teach 11-12 year olds how to type. To prepare myself for this new teaching opportunity, I delved into research on various programs. I hoped to find a resource that would be more engaging and less complex for today’s students. Here’s what I found to work in creating my own keyboarding program, starting with goal setting and building healthy habits.
Setting Goals and Providing Background Knowledge
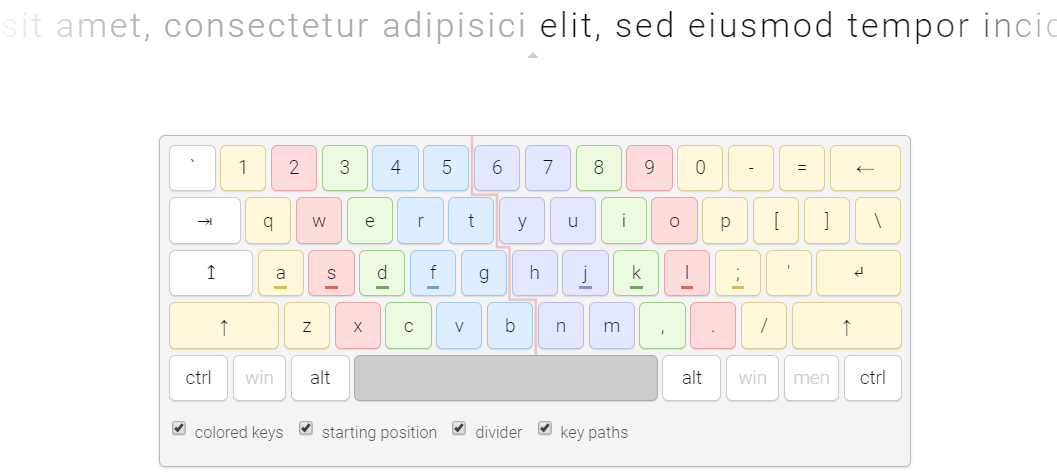
Before students embark on typing instruction, it’s crucial for them to understand the positive benefits of developing this skill. Setting realistic goals for success is equally important. Drawing on my experience as a typing teacher for over 14 years, I’ve found that sharing this video about the history of the typewriter, along with a brief explanation of the modern keyboard layout, to be helpful. It addresses many questions students often have about why keys are arranged the way they are.
Each student learns at their own pace, particularly when it comes to touch typing. With this in mind, I discovered the effectiveness of an activity called “Meet it, Beat it, Double it.” This approach, which I learned about at TCEA’s Convention & Exposition a few years ago, allows for individualized goal-setting and can be used as a measurable tool in the early stages of instruction.
Developing Healthy Keyboarding Habits
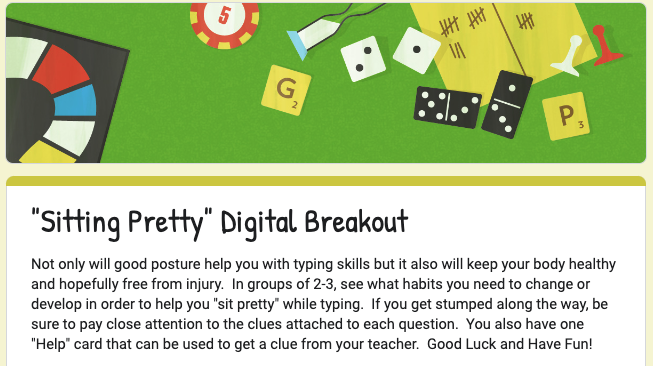
It’s important to emphasize the significance of maintaining good posture while typing. To make this information engaging and fun, I created a digital breakout called “Sitting Pretty.” This resource incorporates various digital elements that highlight positive habits. Typists should adopt or adjust them to ensure their safety and well-being while typing.
Alphabetic Keyboarding Instruction
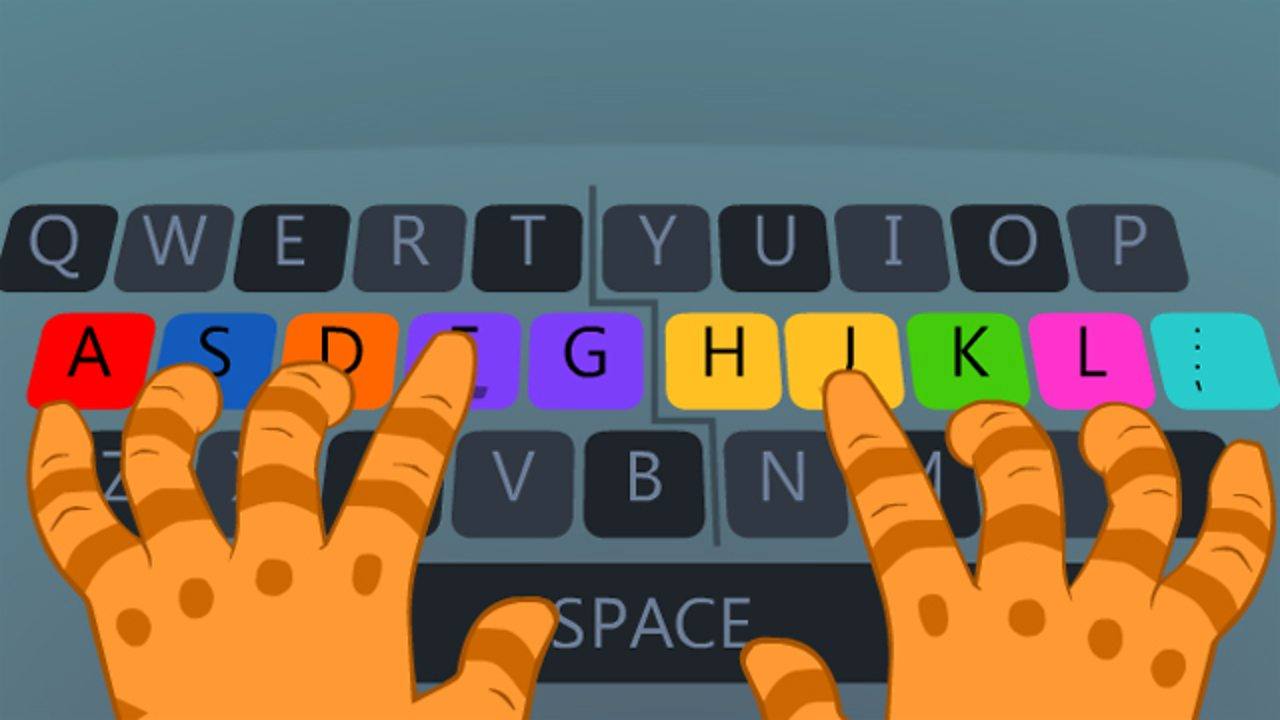
One major challenge I faced was the limited time I would have with my students each day. Just 30 minutes! Most of the programs I came across were software-based and centered on teaching the keys using the “home row” method. Given the number of lessons required to introduce the keys using this method, it would be challenging to establish a routine where students could experience success.
Continuing my research, I eventually stumbled upon another method. This method bypassed teaching from the home row and introduced the keys alphabetically instead. This approach, rooted in research and outlined in Diana Hanbury King’s book, “Keyboarding Skills,” yielded remarkable success. I combined her method of alphabetic keyboarding instruction with positive reinforcement. Additionally, I used a revised poem she adapted from Joyce Steeves of The Jermicy School. This poem proves invaluable in helping my students remember correct finger placement and reaches.

To delve deeper into this method of keyboarding instruction, I highly recommend exploring Ms. King’s book. You can also refer to my pacing guide for additional information. The pacing guide includes the following:
- The history of typing with discussion questions
- Goal setting activity
- Healthy habits with discussion questions and an extension activity
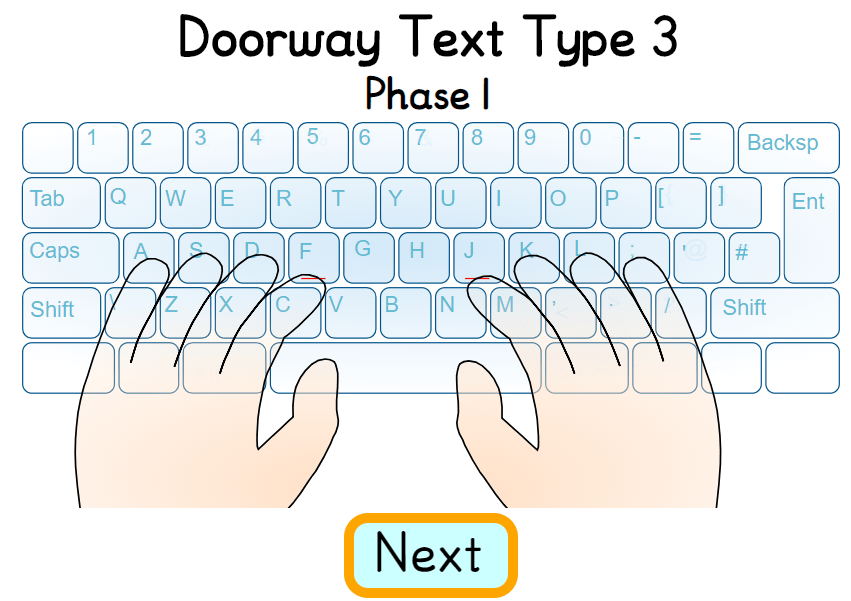
- Finger placement visual guide
- Instructions for preparing to type
- Left-hand letters video introduction and visual guides
- Right-hand letters video introduction and visual guides
- Typing with both hands video introduction and visual guides
- Reinforcement activities in Google Slides that can be easily duplicated and shared with students digitally
Additional Practice for Keyboarding
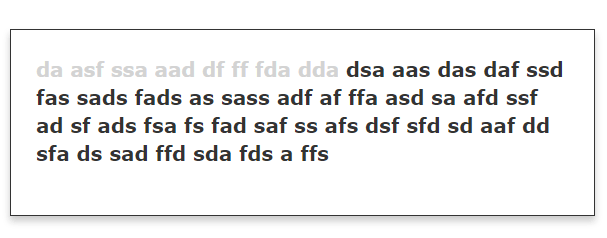
After students have been introduced to the keys, additional typing practice will be essential to develop speed and accuracy. In her book, Ms. King suggests using short words to foster accuracy. Moreover, encouraging students to focus on practicing a sequence until they’ve mastered it correctly multiple times can be instrumental in honing these skills. Once students have mastered the alphabet, additional keys such as numbers, symbols, and capitalization can be introduced.
Google Slides Practice Sets
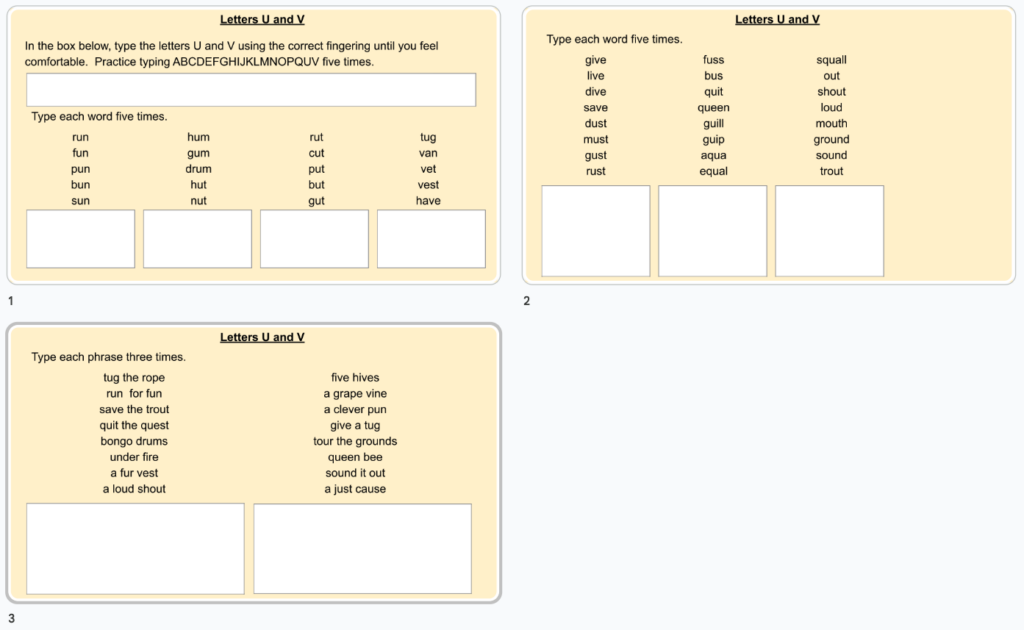
In the pacing guide, I provide activities for additional practice that can easily be shared with students digitally. These activities are in Google Slides and offer students practice with short words and phrases to build accuracy.
TypingClub.com
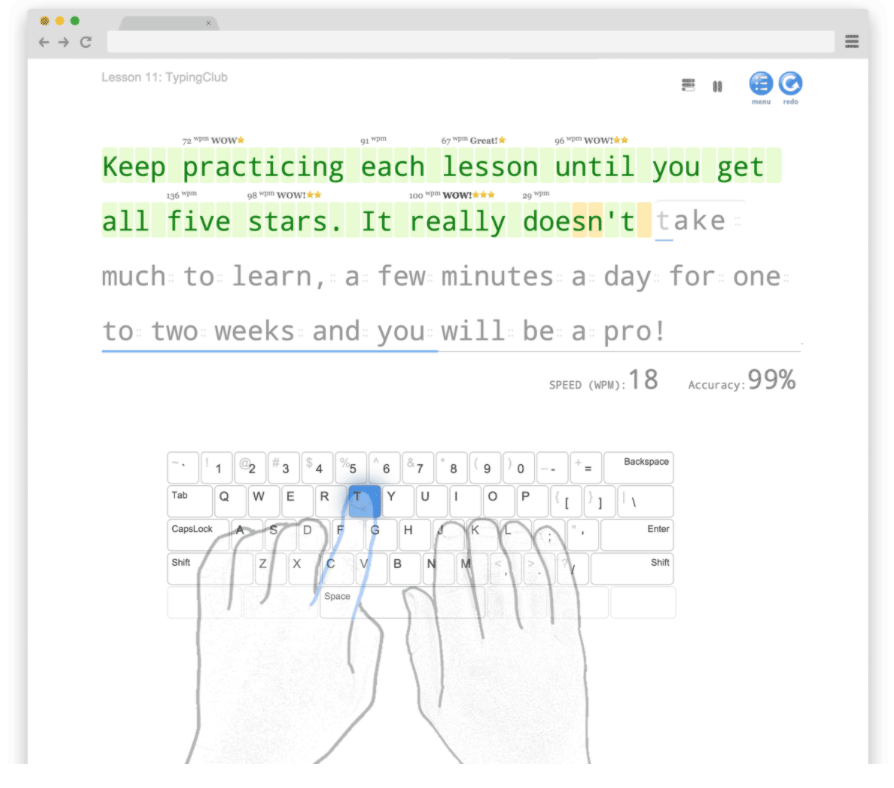
In my experience, after students master the keys, they benefit from additional activities to keep them engaged and focused on improving their skills. After extensive research, I found that TypingClub.com closely aligned with the needs of my students. This online resource allowed me to create a free School Edition account and generate login information for students through an import.

Once the accounts were created, students were added to a class. Then, I assigned pre-made or custom activities tailored to their needs. While I’m not a fan of programs that exclusively instruct students using the home row method, I found TypingClub.com to be a motivating platform. It guides students through skill-building using challenges and a badging system. Additionally, I was able to monitor student progress both online and through the program’s reporting options, which provided valuable data for differentiation and remediation. I also incorporated other online resources to keep learning fresh and make practice time more engaging and enjoyable.
By setting achievable goals, providing essential background knowledge, and emphasizing healthy typing habits, I was able to create a foundation for successful learning with countless students. The alphabetic keyboarding method, complemented by positive reinforcement, has proven to be a game changer in my teaching experience. I hope these insights inspire fellow educators to refine their own typing instruction. Equipping students with this essential skill is an investment in their future success in our digital age.

