We’ve all had those students who are always early finishers. Like, always. Every time. Am I right? And we all know what can happen if they don’t have engaging work to start after they finish their assigned tasks– boredom! Boredom can creep in and manifest itself in a plethora of ways in the classroom. Do we want this? No, thank you! So how do we keep students engaged, thinking, creating, and learning, if they finish early? Today, I will share some resources and ideas for using centers flexibly for extension and enrichment.
What Is the Purpose of Flexible Centers?
The purpose of flexible centers isn’t to introduce new content or to change your designated center times on your class schedule; instead, the goal is to give students flexibility and choice once tasks are completed to practice, extend, and reinforce or to enrich, challenge, and explore. With flexible center activities, students can:
- make connections between ideas and concepts
- explore interests and apply prior knowledge
- engage in problem-solving and creative thinking
- and more.
These activities can become a natural part of your classroom routine with a bit of practice with your students, and they can complete flexible centers individually or with a partner/small group (when appropriate). Once you’ve put your system in place, you can reuse it with very little prep year after year.
Types of Centers to Try
A Puzzle Center
I incorporated a center with activities and instructions in numbered hanging file folders. I placed my hanging folders box on a table, labeled it as “Teacher, I’m done!”, and it was its own center. When students finished their assigned classwork, group work, or partner work, they could go to the table and choose an activity. Then, they would complete the activity at their desk or in a designated flexible work area within the classroom. Students had their own special folder for these activities as well as a coordinating numbered checklist. This helped them easily keep track of which activities they were working on or had completed. This center mainly contained enrichment activities like logic grid puzzles, brainteasers, sudoku, etc.
Content-Specific Centers
I also used my regular classroom centers, which I’d set up by content area (math, writing, reading, etc.), in a flexible way for early finishers. Yes, even in upper elementary! These centers were arranged strategically around the room to avoid crowding and gave students a choice of where they wanted to work. Students loved the movement and flexible work areas. I would put “Teacher, I’m done!” activities for students to choose from in these centers (separate from regular center activities). At times, I would give students checklists or choice boards if I wanted them to practice, reinforce, or be challenged in certain areas while continuing to offer them choice.
Digital Centers
You can take this idea and digitize it with any number of great digital tools by creating a “hub” or “portal” for your students to access with a variety of enrichment and extension options. A few tools that initially come to mind are Google Sites, Padlet, Wakelet, SeeSaw, and Google Classroom. If you know of other tools, add them in the comments section! You can also use QR codes to transport students to various online spaces, websites, videos, or activities.
Mix and Match Digital and In-Person Centers
Mix digital and paper methods in a number of ways! Some activities can be online, while others are written or completed using manipulatives. Students love the variety of switching between the digital and the tactile, and as digital natives, they can do this seamlessly. For example, although my centers were based in the classroom, some activities were completed online or created using digital tools. The instructions for these online activities were in the classroom center or on a QR code in the classroom. This is definitely my preferred method!
Resources for Center Activities
I am including a Wakelet collection with examples of activities I had in my centers that worked well. Most of these resources provide activities for multiple grade levels or can be adapted.
Here are a few examples (included in the Wakelet) that students particularly enjoyed:

- Reading fluency practice using handheld timers and reading practice passages. They liked timing each other for three tries at a passage. They would record their WPM on a record sheet like this one. We based our method loosely off of 6 Minute Solution.
- Reader’s theater! This was a HUGE hit. They loved reading scripts in groups of 2-3 students. This improved their intonation and expression when reading and motivated students who usually didn’t read. See this section in my Wakelet collection.
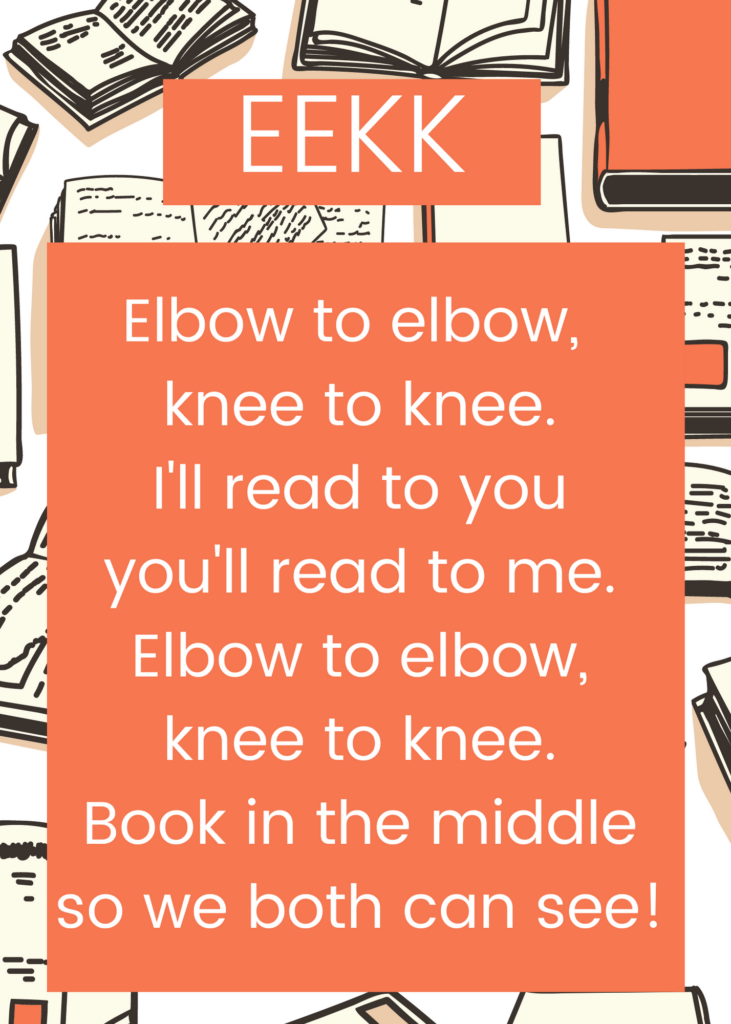
- Partner reading “knee to knee” or “elbow to elbow.” My students loved grabbing a book and reading with a partner. Sometimes, they would record their reading with Flipgrid.
- Independent author studies or research projects.
- Written responses to journal prompts or creative writing. Sometimes, they would write a paragraph describing a painting, photograph, or piece of artwork, which was a very popular activity.
- STEAM activities that included building or creating.
- Creating new words and definitions in a “class dictionary” based on learned root words, prefixes, and suffixes.
- Partnered math card games or partnered math practice.
- Writing “how-to” instructions for science experiments or tasks we had completed in class; or getting a problem card and writing up a solution.
I hope you’ve found these ideas and resources helpful. The key is to really set expectations and practice with students so that this becomes routine. Once you’ve set it up and practiced it, I hope it adds to your positive classroom environment and makes it even more comfortable, engaging, and active. If you’ve done this a different way, please leave a comment with your method. The best way to learn is from each other, so feel free to actively share with us.

