

How do you make a custom GPT accessible to anyone, whether they have a ChatGPT account or not? You turn it into a website! In part one of the AI Magic Maker series, you created a custom GPT-based Fun, Personality Quiz. The only problem is that this personality quiz lives inside a Custom GPT. If you did not have access to that GPT, or a free ChatGPT account, you could not use the quiz. Instead of a custom GPT, I wanted a web address or uniform resource locator (URL). In this way, I would be able to drop the link into a slide deck, blog post, or whatever for easy access. A tool I knew little about (i.e. GitHub) made this possible.
Let’s go through the process together. Towards the end, you will find a video that walks you through the GitHub set up as well.
Step 1: Capture the Quiz as a Web Page
First, I asked ChatGPT to help me translate the quiz into a web format. What I am looking for has to include:
- A simple page titled “Fun Personality Quiz for Educators.”
- The same instructions as the GPT version.
- A place to show the quiz image at the top.
Also, I wanted to get an interactive version using HTML and Javascript with buttons, tallies, and the response with the result. To get ready, you will need:
- A GitHub account (for hosting your quiz for free )
- A GitHub repository (which you will create)
- The files you will need (e.g. index.html, style.css, script.js)
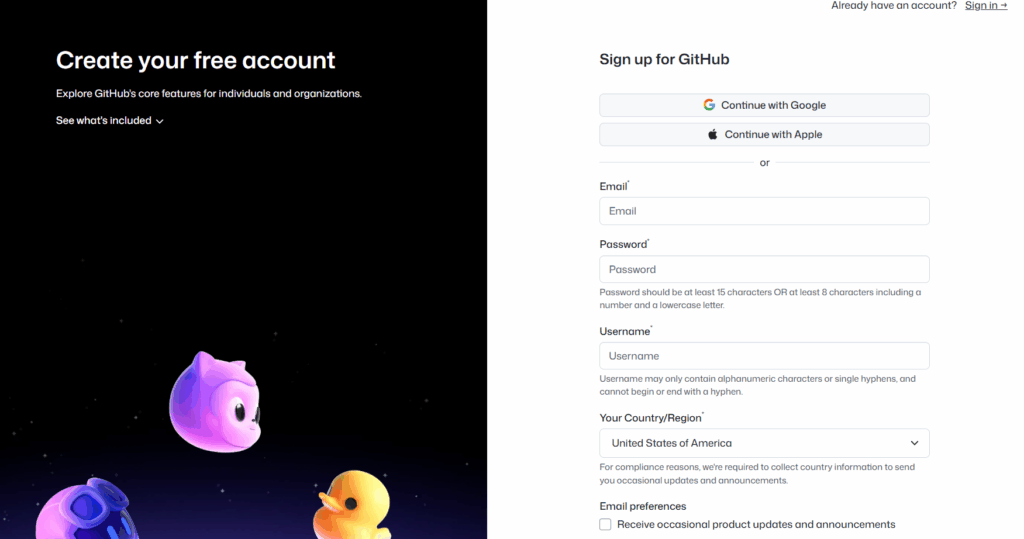
Your next step is to sign up for a free, GitHub account.
Step 2: Create a Dedicated GitHub Repository
After creating an account using GitHub, you are ready to create a repository. Rather than mix this quiz with other projects, I created a new GitHub repository just for it. Something like:
funquiz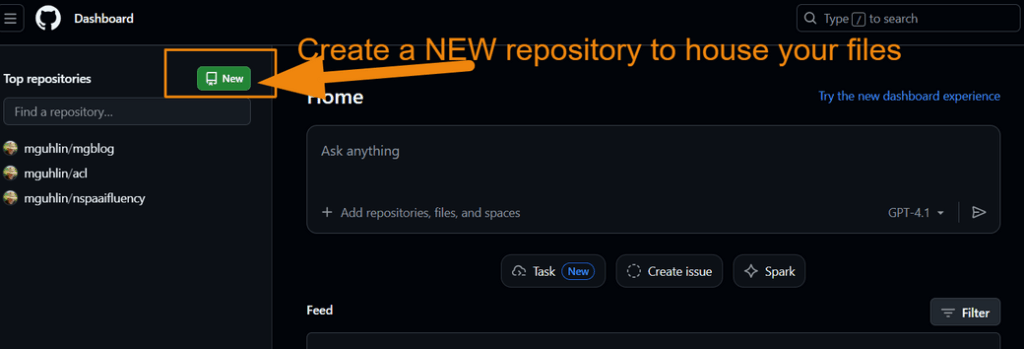
Then, I prompted ChatGPT to create the files I would need with a simple prompt:
I want to turn this personality quiz into a github page that people can fill out online, then get the result right then and there. How would that work?
It then offered a step-by-step for me to follow, and provided the required files (list appears below).
Did You Know?
In part three of this series, you will modify that prompt to get a version that saves the results into a Google Sheet. For now, this is a simple process to put the quiz online.
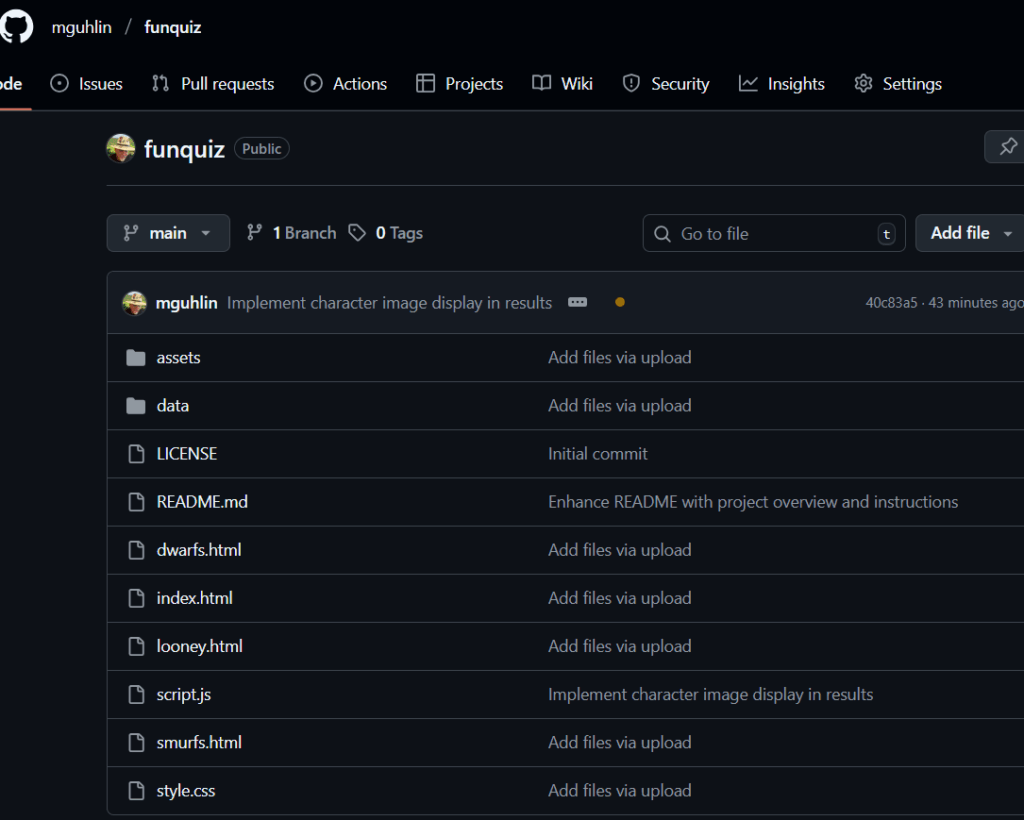
With my new repository, funquiz, you will see the following:
As you can see, this image offers a folder structure for placement of files. I did not include the assets (I’ll do that in part three). Or, to be more exact, I included them but they did not work. I will ask ChatGPT to fix that in the final version.
You can prompt ChatGPT to do the following prompt, which appears below:
Begin prompt
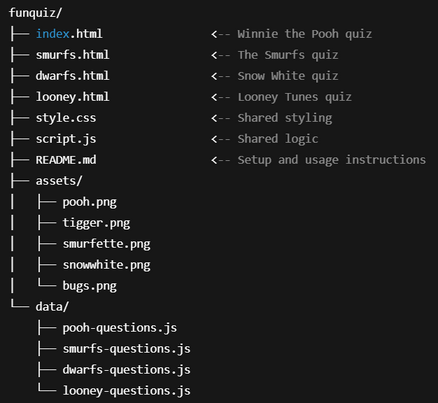
Create a complete GitHub Pages project for "Fun Personality Quizzes for Educators" called `funquiz`.

It should include:
- One HTML page per quiz (Pooh, Smurfs, Dwarfs, Looney Tunes)
- Shared CSS for layout and styling
- Shared JS logic for quiz progression and results
- One question set per quiz in separate JS files under `/data/`
- A dropdown menu to choose a quiz from any page
- An `/assets/` folder with character images or placeholders
- A README.md file explaining how to deploy and customize

Package it all as a downloadable ZIP I can use or upload to GitHub Pages.
End Prompt
Now the quiz exists as a small website folder, ready to publish. Before putting it into the GitHub repository, you can test it on your device. I created a folder to house these files, then uploaded (put) them into the GitHub repository once they had the look I wanted.
Step 3: Turn on GitHub Pages
In the repository:
- Go to Settings.
- Scroll to Pages (sometimes under “Code and automation”).
- Under Build and deployment, set:
- Source: Deploy from a branch
- Branch:
main - Folder:
/ (root)
4. Save the settings.
GitHub will build the site and generate a public URL, usually in this format:
https://<username>.github.io/funquiz/This is your quiz’s public home. For my example, the web address is https://mguhlin.github.io/funquiz/.
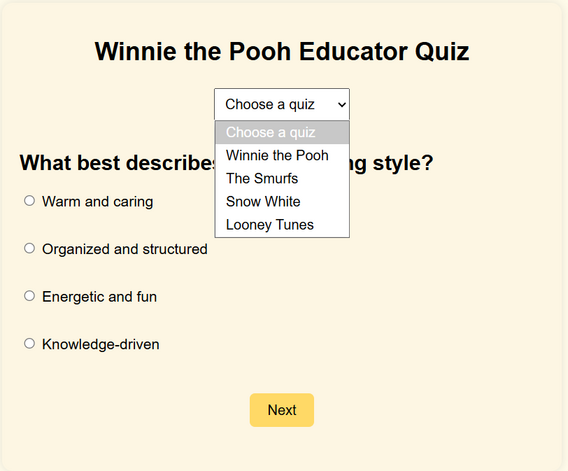
As you can see from the screenshot below, I’m able to pick the quiz I want users to see. I can also upload images so that each quiz has its own custom image. I’ll save that for the final version in part three of this series.
Step 4: Test the Live Quiz
Next, I opened the URL in a browser:
- Did the title display correctly?
- Did the image load?
- Were instructions clear for educators?
- If interactive, did clicking answers produce a final result?
Any changes needed went back into index.html or one of the other files. You can watch a short video of the steps I followed below:
Step 5: Share, Embed, and Extend
For the final step, I’m ready to share this with colleagues as a link that will go in a blog post (like this one), or use it in a future workshop. In part three of this series, I will add images, instructions, and save the results of the quiz to a Google Sheet.
The big benefit of all this is that we not only end up with a fun personality quiz, but also, have a process for vibe coding our way from a custom GPT to a website hosted for free online. Of course, GitHub Pages may be blocked by your school district, but that’s another blog entry.