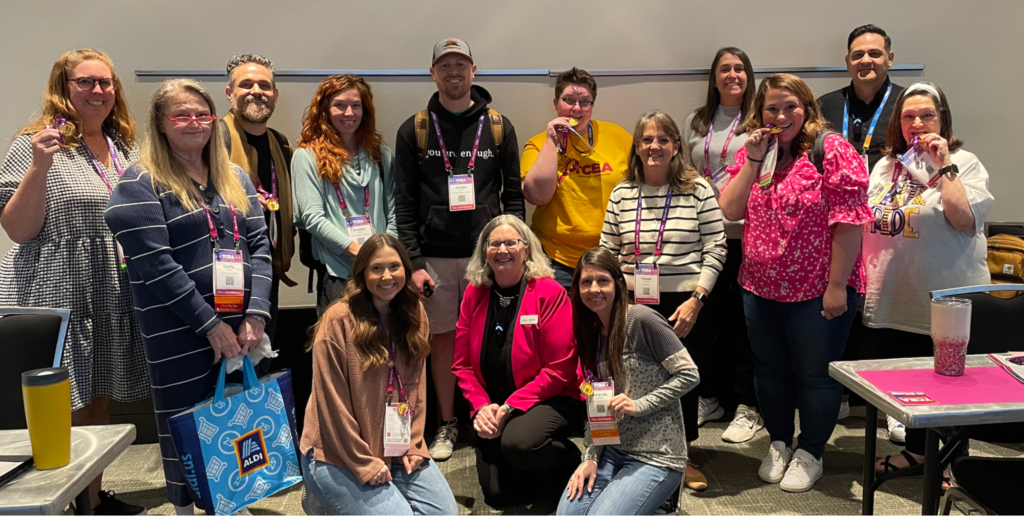
Imagine a room buzzing with excitement as educators tackle a series of puzzles and hands-on engineering tasks. This was the scene at my TCEA 2025 Convention & Exposition learning lab. The Escape from Laboratory ZYXW robotics challenge, where teams worked tirelessly to program LEGO SPIKE Prime robots.
For three action-packed hours, participants raced against the clock, solving eight unique challenges. The atmosphere was electric as they collaborated and problem-solved their way through each obstacle. In a thrilling finish, with just six minutes to spare, the teams successfully “escaped” from Laboratory ZYXW.
This experience showcased the power of teamwork, creativity, and robotics skills in action.

Introducing the “Escape from Laboratory ZYXW” Robotics Challenge
I am so excited to release the “Escape from Laboratory ZYXW” robotics challenge materials to teachers and robot enthusiasts. This robotics escape room experience is perfect for:
- Robotics clubs
- Technology classes
- Afterschool programs
- Summer camps
It’s designed to engage students in grades 3-12, promoting critical thinking, collaboration, and hands-on STEM skills.
The Premise
Imagine a secret lab where humans suddenly gain consciousness. They realize they’re captives and must escape before being “ctrl + alt + deleted.” Can they work together to build tools and break free from the complex systems holding them in?
Challenge Structure
- 8 total challenges
- 6 challenges tackled simultaneously by different teams
- 2 final challenges solved as a whole group
Teams use either LEGO SPIKE Prime or VEX IQ kits to complete the missions.
Eight Exciting Robotics Challenges

- Critical Capsule Extraction
- Tagline: “Navigate, Extract, Secure: Q-Bits Are Your Key!”
- Task: Design a robot to travel on a pool noodle and touch a container to retrieve crucial Q-Bits.
- Equipment: Pool noodle (1 or 2), Q-Bits: glass vase gems (something similar) , container, blue tape
- Oxygen Release
- Tagline: “Breathe Free to Break Free!”
- Task: Create a robot with an extension mechanism to knock Wiffle balls off PVC pipes, releasing vital oxygen.
- Equipment: 5 PVC couplers, 5 wiffle balls, poster board mat
- Operation Highwire
- Tagline: “Ride the line, deliver the future: Every Q-Bit counts!”
- Task: Build a robot capable of moving along a cable to transport and drop Q-Bits into a specific container.
- Equipment: 6 feet nylon rope, structure to tie rope off, poster board for wall, Q-Bit Container (Q-bits will be provided by Challenge #1)
- Threaded Fate
- Tagline: “Match or be crushed!”
- Task: Construct a drill-like robot to unscrew and transfer nuts between bolts on a board.
- Equipment: 4 bolts and nuts secured on a board, socket with LEGO motor axle (.stl file provided)
- Cylindrical Cipher Retrieval (CCR)
- Tagline: “Cylindrical Secrets: Grab and Go!”
- Task: Design a robot with a grabbing mechanism to retrieve a cylinder containing crucial information.
- Equipment: Cylinder container/holder, cipher poem, poster board
- Power Core Stabilization
- Tagline: “Balance the core or face a meltdown!”
- Task: Create a robot that can spin a top using gears for a specific duration to stabilize the power core.
- Equipment: Poster board, a top made out of the LEGO SPIKE Prime wheel
- Quantum Cipher Convergence
- Tagline: “Unite minds, unlock destiny!”
- Task: Program SPIKE Prime Hubs to display the correct sequence of symbols from the Six Symbol Cipher.
- Equipment: 6 SPIKE Prime Hubs (1 for each team member or group)
- Chromatic Code Sequence
- Tagline: “Align the spectrum, secure freedom!”
- Task: Decode and display a precise color sequence on SPIKE Prime Hubs to activate the final escape protocol. (This might have to be changed if using the VEX IQ system.)
- Equipment: 6 SPIKE Prime Hubs (1 for each team member or group)
Get Access to Lab ZYXW Materials
Email preimers@tcea.org for access to the full set of Lab ZYXW robotics challenge documents, including:
- Main planning document
- Slide decks
- Hint cards with build and programming examples
- Photos and videos
- Engineering Design Process Journal
- 3D printable files for custom parts
Give Credit Where Credit is Due!
The creation of “Escape from Laboratory ZYXW” was inspired by several key influences. James Floyd Kelly’s “The Mayan Adventure” served as a foundational inspiration, demonstrating how storytelling and robotics challenges could be seamlessly integrated.
A big shout-out to Jacob Luevano, LEGO Education Certified Teacher Trainer, whose TCEA 2024 robotics session sparked a circuit board of inspiration in my CPU. His workshop idea was the catalyst that set this whole adventure in motion.
And oh, the adventures I’ve had with my robotics compadre, Kathy Holberg! During our time teaching together at Bastrop ISD, we embarked on countless adventures in guiding fifth and sixth grade students through the maze of coding to powering up teachers with new skill. We’ve been on a non-stop journey of robotic discovery, which goes all the way back – all the way to the days of the LEGO RCX!
Are You Up for the Challenge?
“Escape from Laboratory ZYXW” is your key to unlocking a world of excitement and learning! As a robotics educator, I’ve seen firsthand how robotics challenges electrify students’ minds and supercharge their problem-solving skills.
Picture this: teams racing against the clock, minds whirring faster than robot motors, collaborating to crack codes and engineer solutions. It’s more than a lesson – it’s an adventure that will have them talking (and thinking) long after the bell rings.
So, are you ready to revolutionize your robotics teaching? Grab these materials, fire up LEGO SPIKE Prime or VEX IQ, and watch your students transform into innovative problem-solvers. Let’s code the future and engineer some serious fun!
Go bot or go home!
Peggy


