Given how much you work online recording screencasts and presentations, you may have a need for video conversion tools. A web search often will pull up expensive video editors and converters, but who wants to pay for that on a teacher’s income? In this blog entry, you will get a chance to explore my favorite video converters. You will also get access to an infographic and a video tutorial.
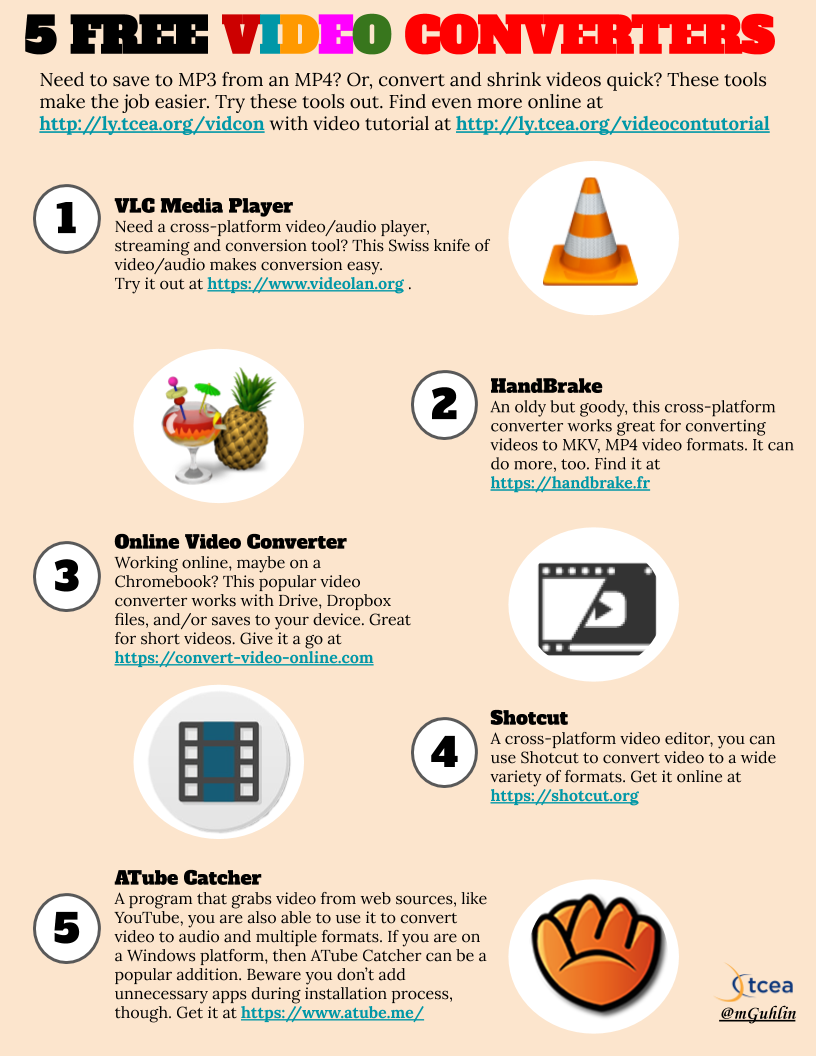
View the PDF with clickable links or get a copy of the infographic for your own use.
Tool #1: VLC Media Player
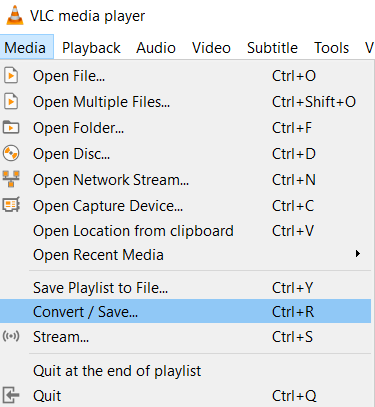
Underestimated and forgotten, VLC Media Player offers many powerful features in the world of video converters. If you could only pick one tool to keep from this list, it should be the one. It works on all computer platforms (e.g. Mac/Windows), as well as on Android. Its feature set is quite comprehensive, but you don’t need to know everything. Let’s say that VLC Media Player supports most video and audio codecs available, making it a multimedia Swiss Army knife.
Tool #2: HandBrake
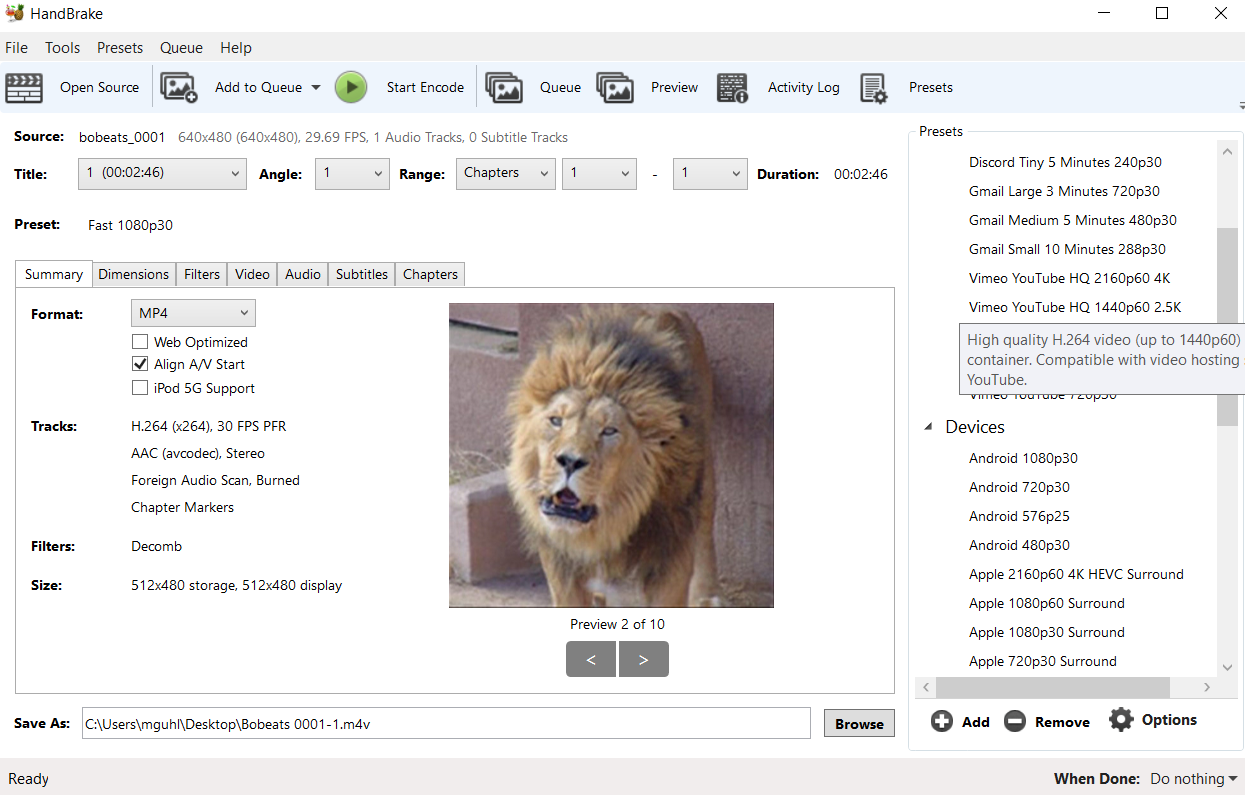
An oldy but goody, HandBrake offers a rich feature set. Not only can you convert videos from any format, but you can convert to a multitude of device-specific settings. This means that, if your video is intended to play on a Playstation or FireTV, HandBrake has the optimal settings you can use. HandBrake works on Windows, Mac, and Linux.
One powerful aspect of HandBrake is how it can shrink videos. When you record a screencast, then save it on your computer, it’s possible to end up with video file sizes.
In the example below, you can see that the original video appears as 384 megabytes. After running that video through HandBrake, the TargetVideo appears as approximately 23 megabytes.
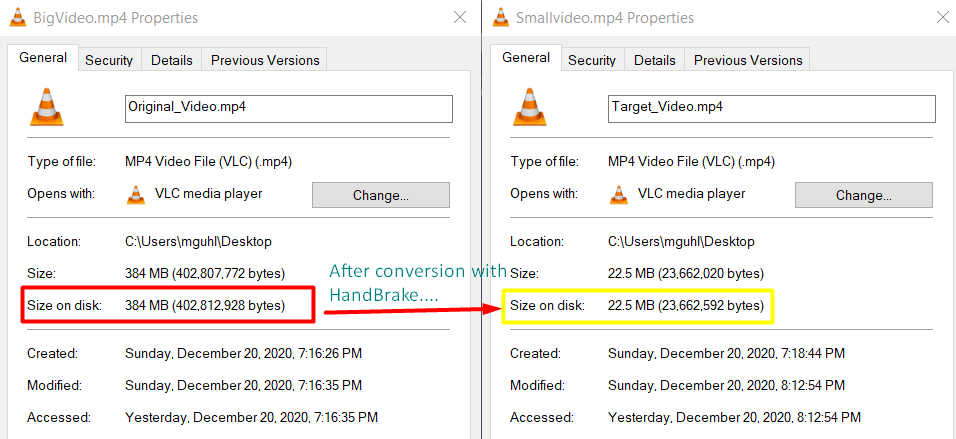
This is a significant size savings, especially if you’re uploading them to the Canvas LMS or some other storage space (e.g. Google Drive) where saving space is important. You would think you would see a loss in video quality, but that’s not the case. Although displayed in two separate video players, you can see the video quality for the Original Video and the Target Video is not noticeable:
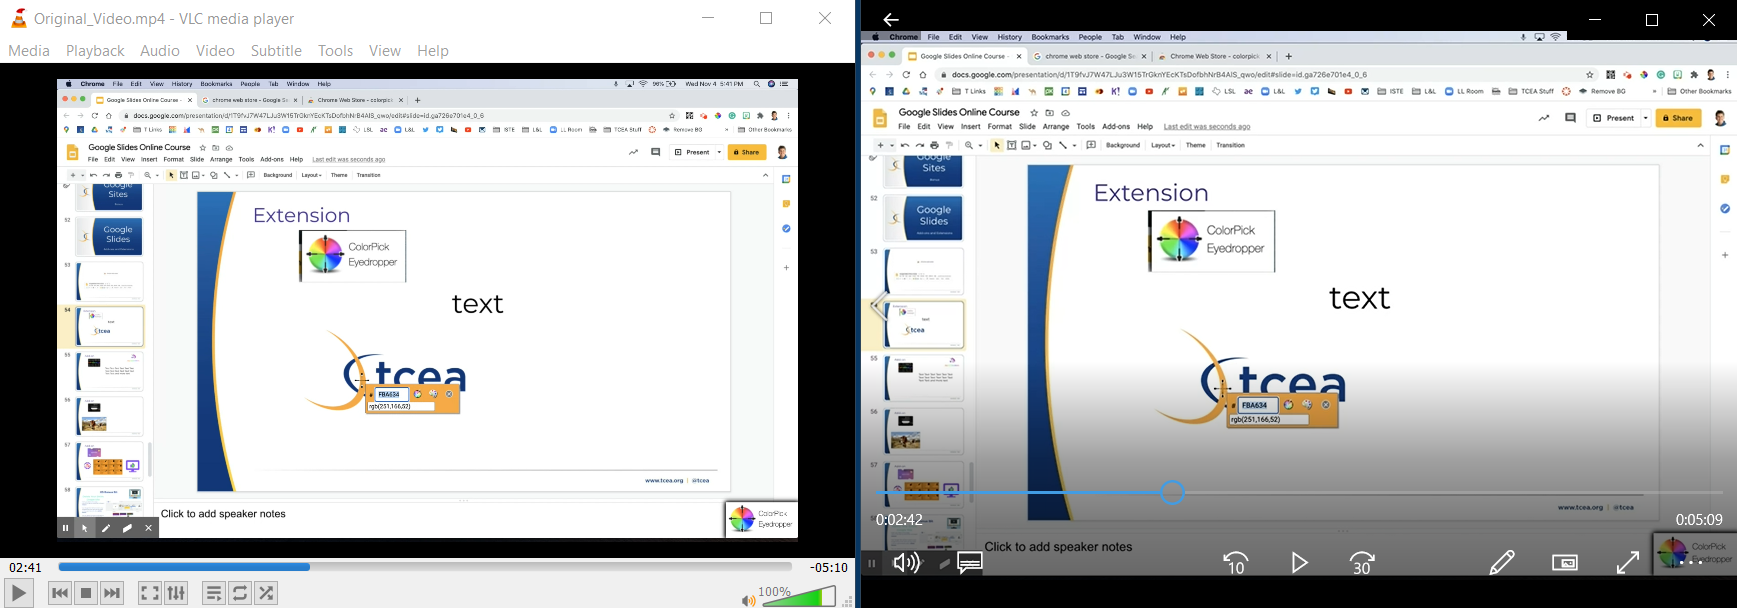
From this, you may take away a simple bit of advice: “Use HandBrake to shrink your videos without loss of quality.”
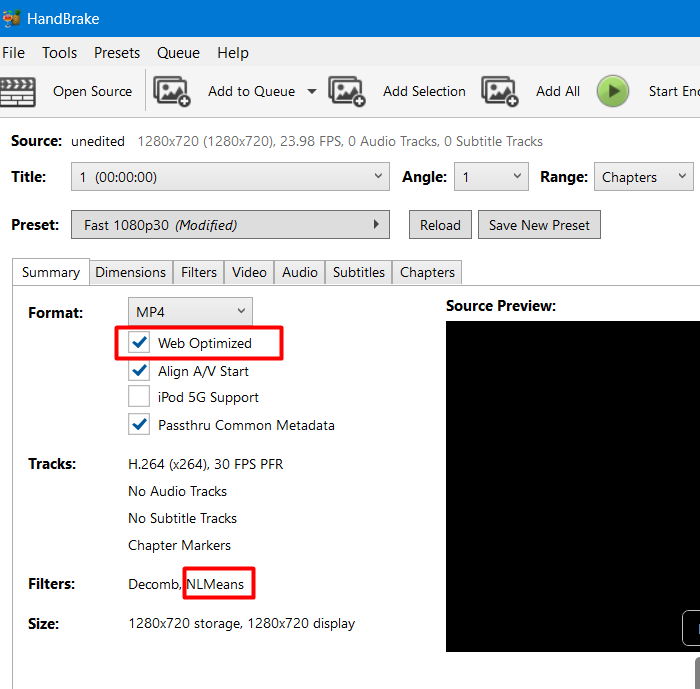
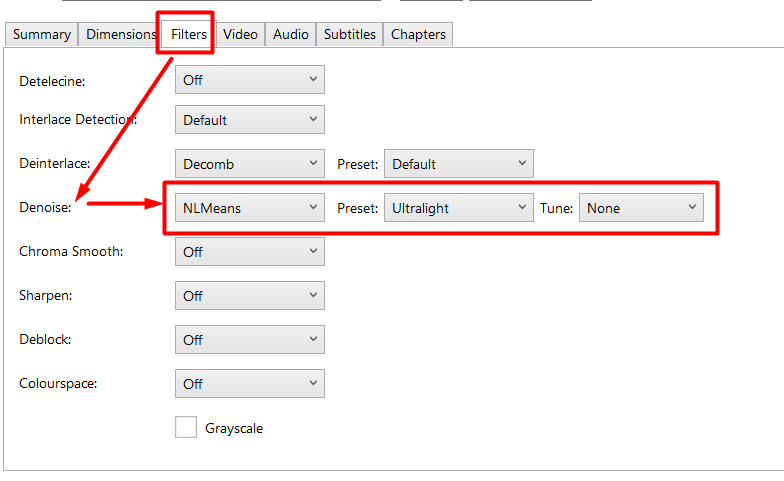
Wondering about what settings to use on Handbrake? Here are two that get me great savings with minimal impact to quality:
Tool #3: Online Video Converter
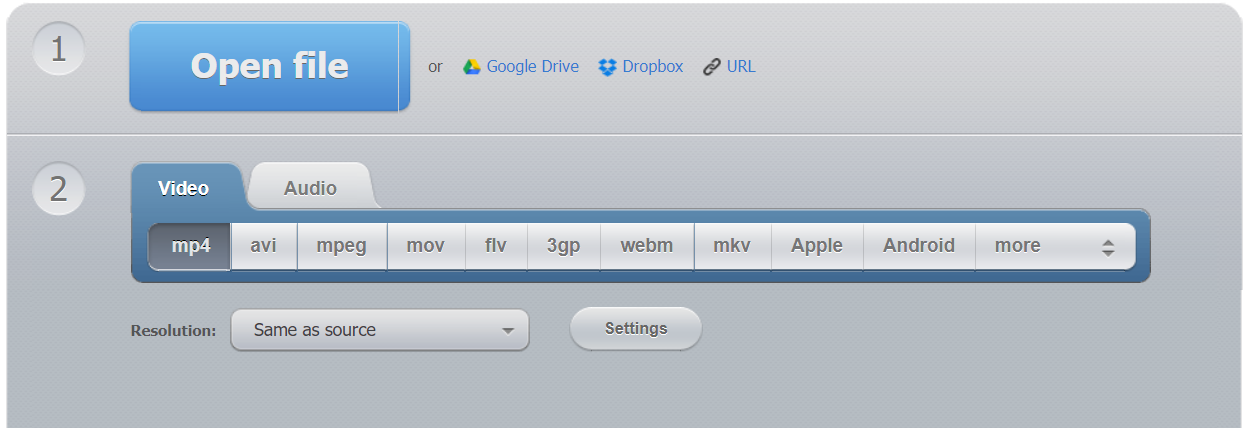
This is a popular video converter that works in your browser. Not only can you convert from and to popular video and audio formatted files on your computer, you can select them from Google Drive or Dropbox. This makes it the perfect tool for short videos on Chromebooks in the classroom.
Tool #4: Shotcut
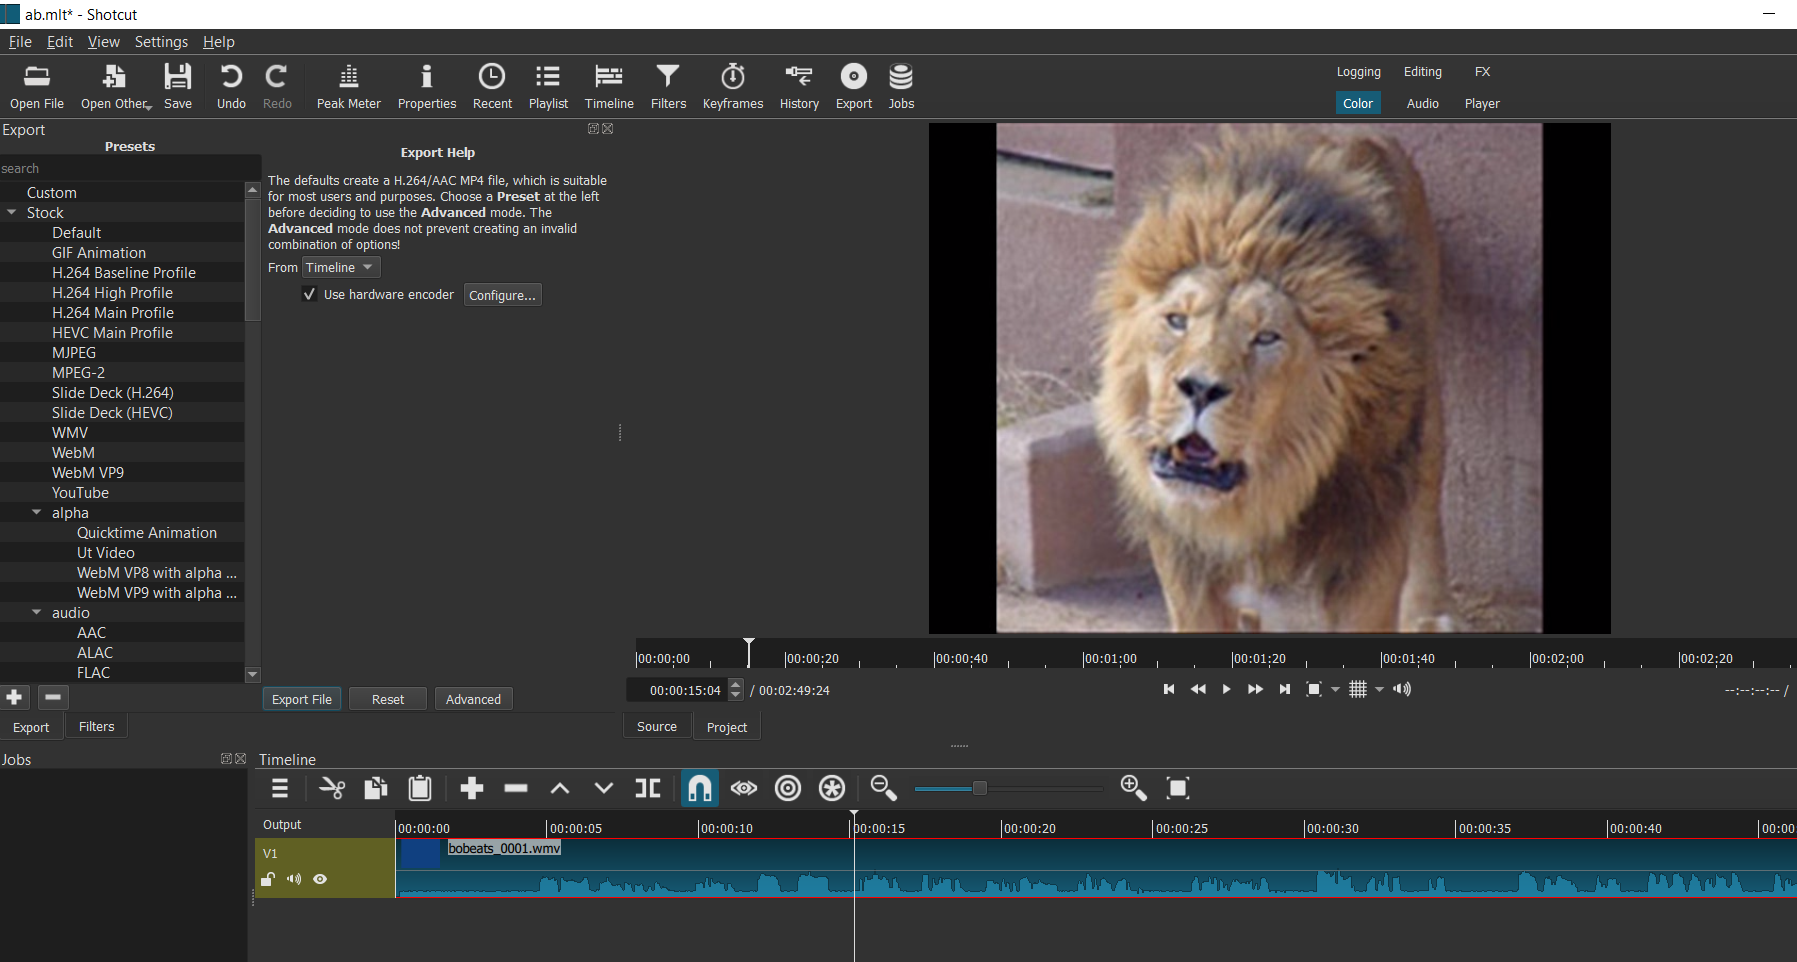
In the spotlight as a powerful, no-cost video editor that works on Mac, Windows, and GNU/Linux computers, Shotcut also converts. You can convert to many different video and audio formats with Shotcut. Although its powerful interface may put you off at first, take your time and learn how you can do so much more with Shotcut.
Tool #5: ATube Catcher
The bad boy in this toolkit, ATube Catcher makes grabbing videos from online sources easy. Not only that, you can use this Windows-only program to clip/trim, as well as convert videos to audio or any variety of video formats. All without watermarks.
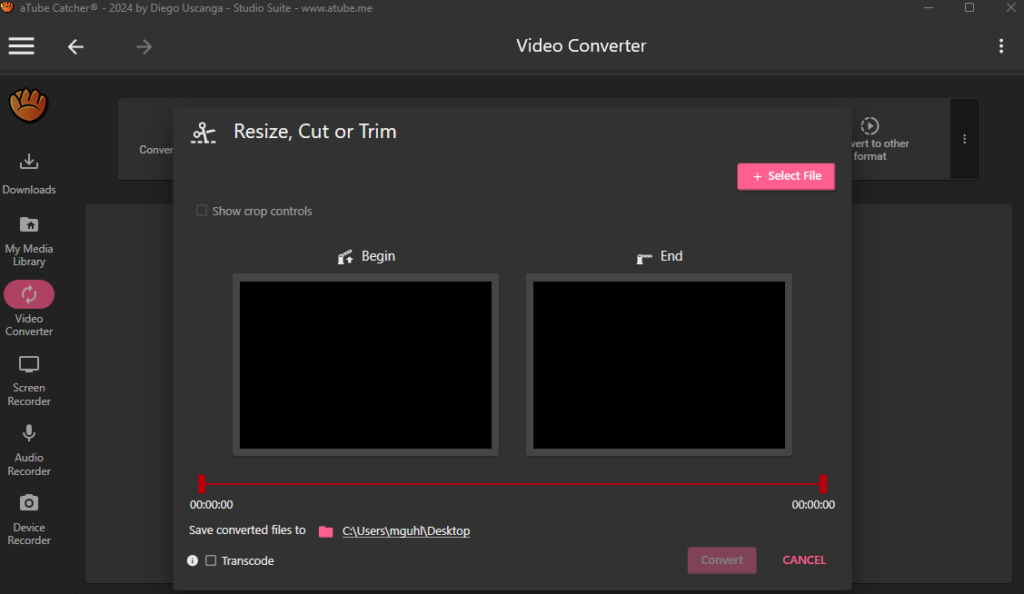
Like HandBrake, you can convert videos to fit a wide variety of devices. ATube Catcher also comes with screen and audio recorders, making it a one-stop shop for these services on Windows computers.
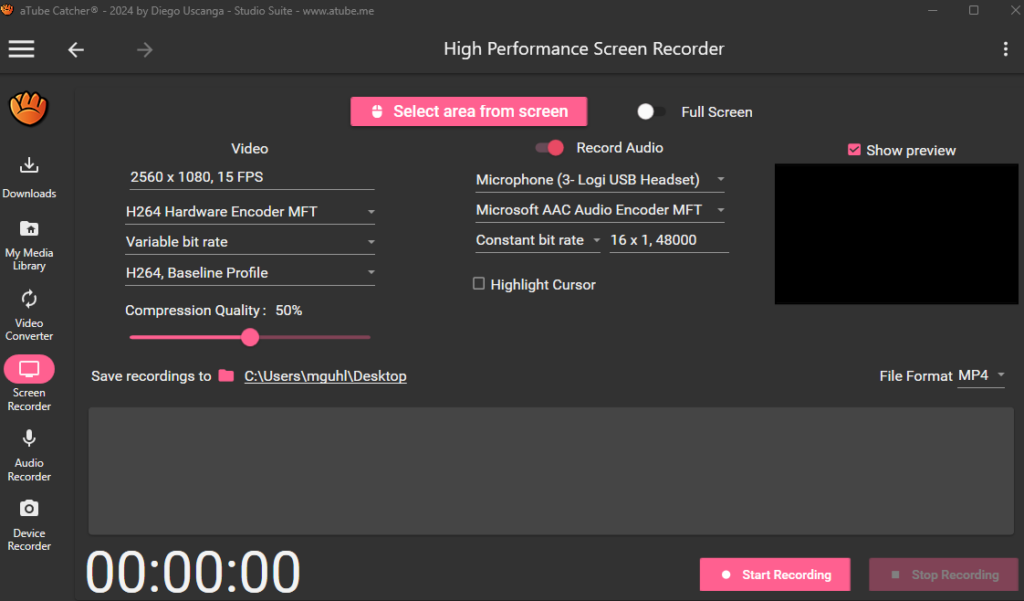
This collection of tools is quite impressive, including its ability to convert video to MP3 audio format (as well as a plethora of other video formats WITHOUT watermarks of any kind). Be careful, though, when you install ATube Catcher. You will want to decline its enticements to install additional software. While not malware, the software offered may be more than you want (e.g. McAfee’s antivirus software). So pay attention during the install.
Video Tutorial
This twenty-minute video tutorial walks you through each of the tools listed above. Feel free to skip ahead to your favorite tool. I convert some fifteen- to twenty-year-old digital stories from WMV and MOV formats to MP4 and MP3 using each set of tools.
View video via Dropbox
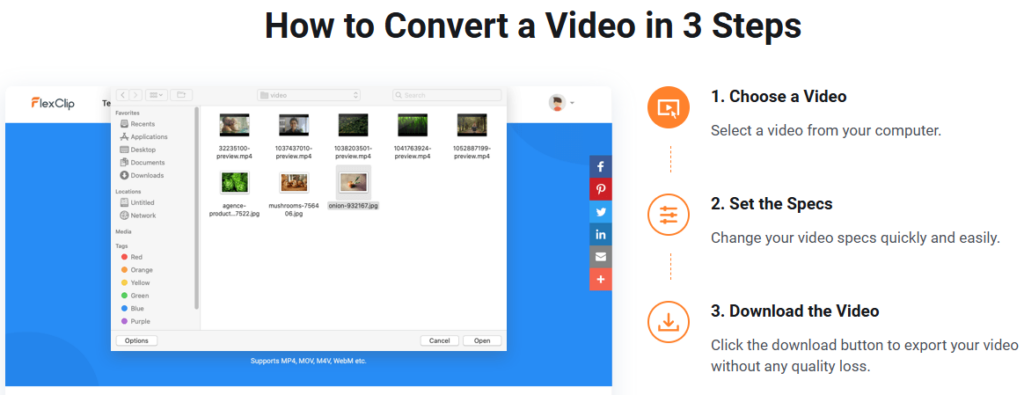
Bonus: FlexClip Free Video Converter
From the makers of FlexClip:
FlexClip Video Converter is an intuitive online tool that allows users to effortlessly convert videos into various formats without any hassle. With a user-friendly interface, it supports a wide range of file types, ensuring compatibility for all your video needs.
Whether you’re looking to convert videos for social media, presentations, or personal use, FlexClip Video Converter makes the process quick and efficient, all while maintaining high-quality output. Plus, being free to use, it’s an excellent choice for anyone needing a reliable video conversion solution.
Feature Image Source
Photo by Matthew Kwong on Unsplash




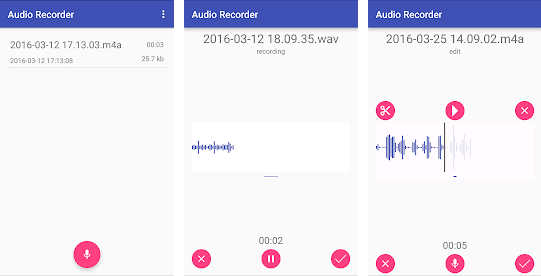



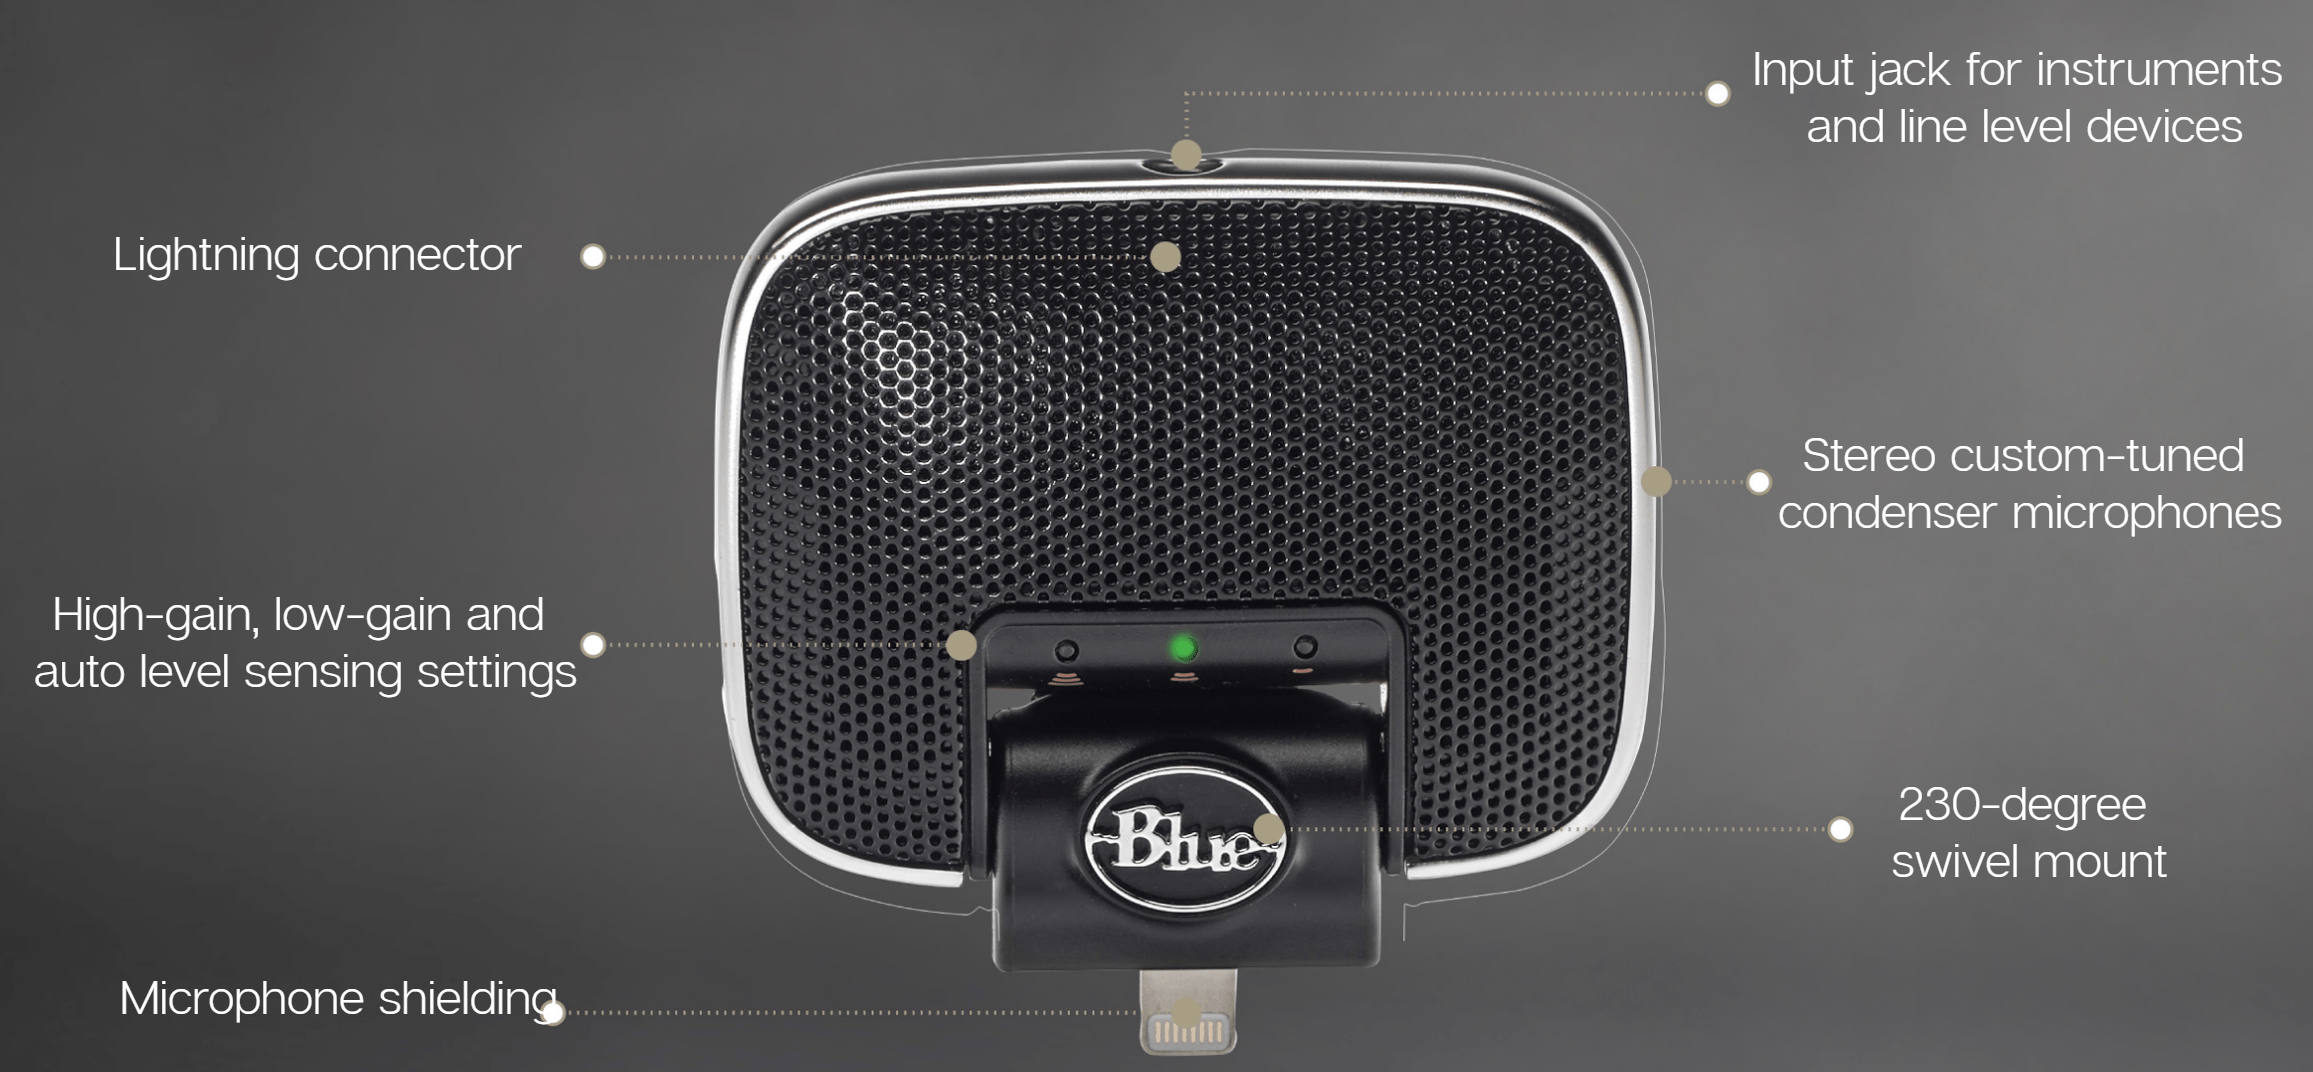 What is a problem that stumps amateurs like me? The answer is recording at a distance. When you’re standing next to someone, it’s not a big deal to get great audio. When you’re five to six feet away, however, then things start to get a bit tougher. Here are two great mics that can help you capture better audio.
 offers solid audio recording. This is what I carry around with me for interviews. It also comes with