Regardless of what grade you teach, science processing skills are critical for all students to master. Though the focus of the content may change by grade level, these processing skills can continue to be developed and refined. For this post, we’ll focus on how to support the processing skills of observation and inferencing using Flip, as well as give you some resources for finding photos and videos that you can use in you grids and topics.
 What Is Flip?
If you don’t already use Flip in your classroom, you are missing out on a great and engaging way of having students interact with you, each other, and the content. This free video response tool by Microsoft encourages students to verbalize and think aloud. I remember being in the classroom and wanting to hear from each student, but not having time to, so only a few were able to answer aloud. With Flip, all students get a chance to answer. Reluctant students have the opportunity to listen to their classmates prior to recording. This opportunity allows them to self-correct any misconceptions based on the knowledge and application their peers have shared, as well as become more confident in the information they provide. Additionally, students (especially those struggling in the content area) have the ability to review other students’ responses as often as needed, thereby reinforcing the learning and better integrating proper use of the academic vocabulary of your subject. So if you are new to Flip and need some basics to get started, then consider checking out the Educator’s Toolkit to help you get up and running.
Observational Skills in Science
 Students begin learning observational skills in science starting in kindergarten. Though the skill is not as robust or refined as what a high school student may demonstrate, there is still great value in having them engage in observing the world around them to start taking notice of how things work. Observation is a foundational science skill that leads to communication, classification, measurement, inferencing, and predictions.
 In Flip, create a grid for observations. Each topic in this grid will show a photo or video that the student is to observe and describe. Depending on the level of skill, you can require students to use previously learned vocabulary in their responses. If you want students to use words from a given word bank that you have developed for them, create the document and add it as a topic attachment to the topic. You can reference this word bank in multiple topics by adding the link to each topic. If you have a rubric to guide the students in their work, add the rubric as another topic attachment; for younger students, you may need to record a video showing the rubric while you are reading it aloud.
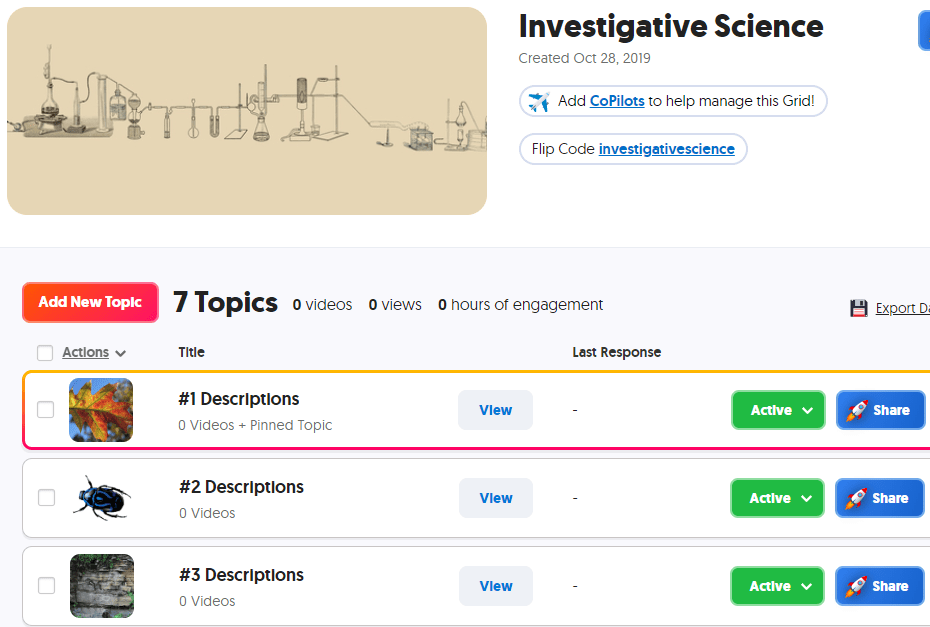
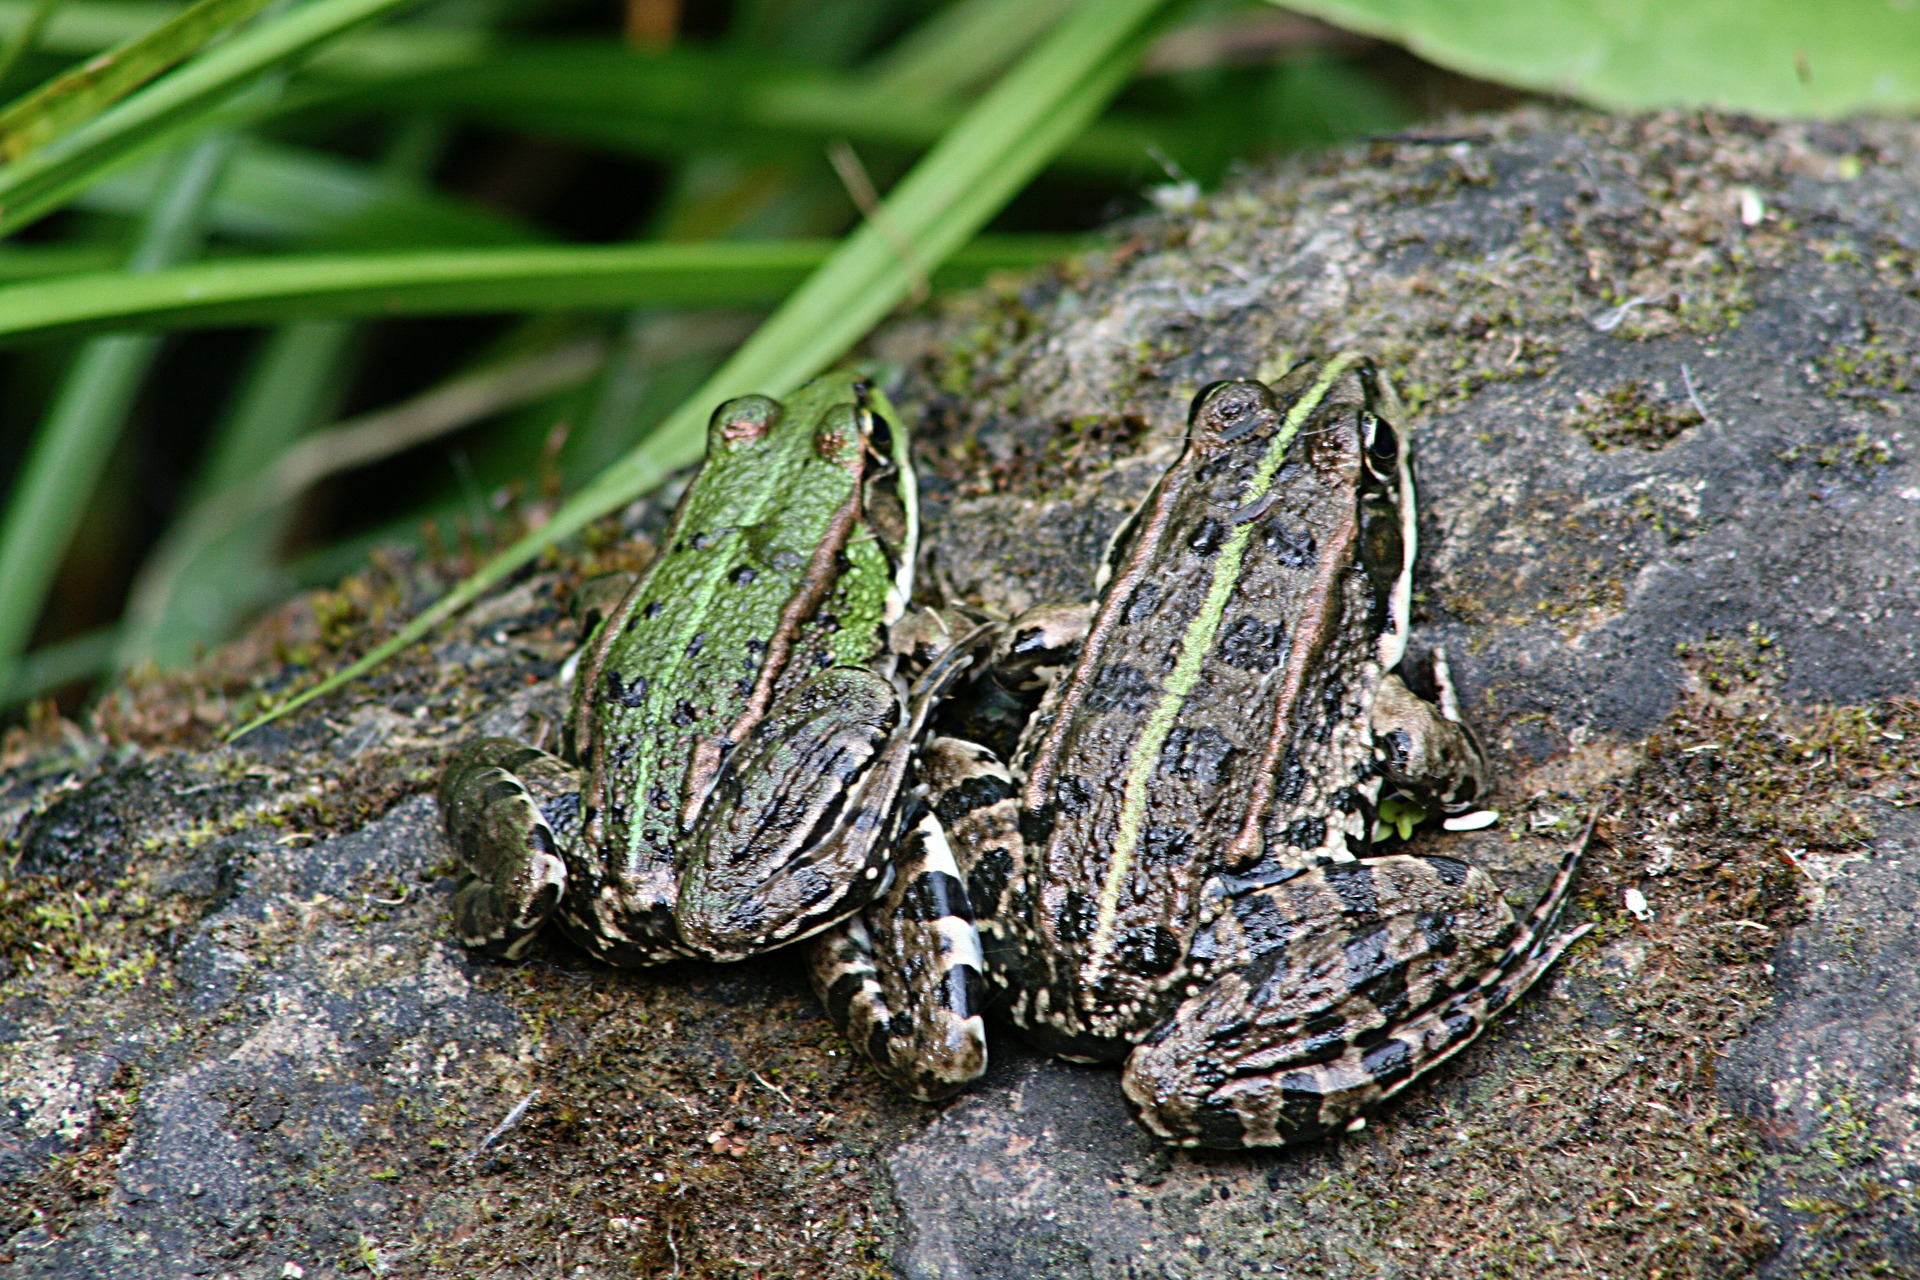 Go to https://flip.com/investigativescience to see an example of a grid in which each topic – click on the drop down of the topic title (e.g.: #1 Description, #2 Description, etc.) – has a photo or video that the student is expected to describe. Examples I have provided are intended to be general in nature so they can fit a variety of grade levels. The topics you create for your students should be specific to the grade level standards they are expected to master. To streamline the production of the topics, consider using a standardized set of directions (such as “Assuming the role of a scientist, describe the object/material using at least three descriptive terms. Be sure to use complete sentences.”). If you do this, you will be able to duplicate the topic and change out the focus (photo or video) that the students will work with.
NOTE: You will need to log in to this grid using your Microsoft or Google account if you want to record an answer to one of the topics. You can, however, see all the topics without logging in.
Reinforcing Inferencing Skills
Inferencing is a skill that students typically have trouble with regardless of their grade level. This skill requires them to pay close attention to details and then draw conclusions based on what they see. Students may be noticing several characteristics of the object in the photo/video and then piecing those bits of information to infer what the item is. Though this is a critical reading skill, it is also a skill that is foundational to being a good scientist.
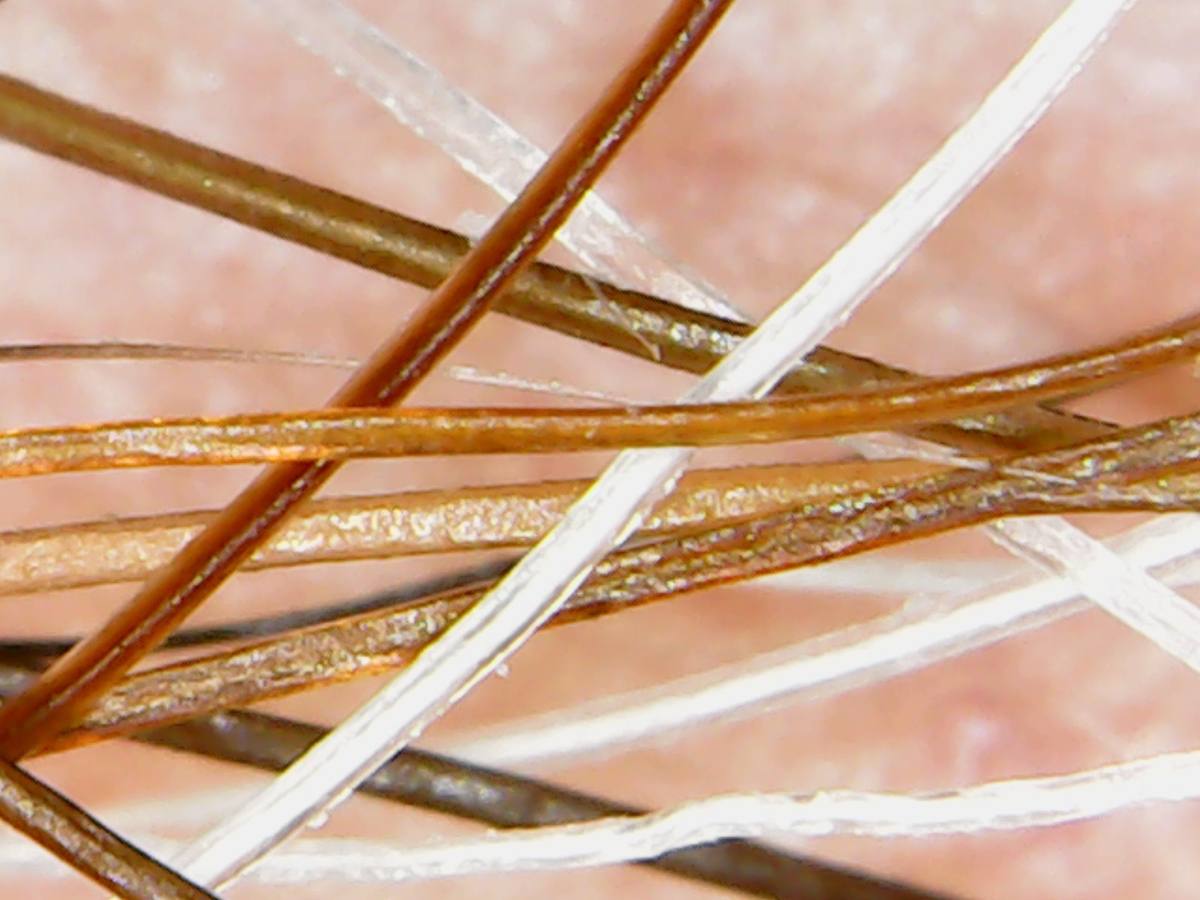 Begin by creating a grid to hold your inferencing topics. As done above, create a standard set of instructions for your students. You can go to ,https://flip.com/whatcoulditbe to participate in an example that I created for you. The samples that I gave are meant more for you than for students. Topic number 5 is a video while all the others are photos for you to observe closely.
NOTE: You will need to log in to this grid using your Microsoft or Google account if you want to record an answer to one of the topics. You can, however, see all the topics without logging in.
Finding Photos and Videos
![]() Pixabay -(https://pixabay.com) This site hosts copyright free photos, illustrations, and videos. Under the Pixabay license, you are able to use at your discretion without asking permission or giving credit (thought giving credit to the creator is appreciated). If you are using Pixabay images in an online format, you do need to download them to your server as hotlinking (linking to the images directly on Pixabay’s servers) is allowed. If you would like share to photos and/or videos that you have created on Pixabay’s platform, visit their Image Quality Guidelines page for details.
Pixabay -(https://pixabay.com) This site hosts copyright free photos, illustrations, and videos. Under the Pixabay license, you are able to use at your discretion without asking permission or giving credit (thought giving credit to the creator is appreciated). If you are using Pixabay images in an online format, you do need to download them to your server as hotlinking (linking to the images directly on Pixabay’s servers) is allowed. If you would like share to photos and/or videos that you have created on Pixabay’s platform, visit their Image Quality Guidelines page for details.
Pexels (https://www.pexels.com) Another great site that provides photos and videos that are free to use, attribution is not required (but appreciated), and you can modify them as desired. Similar to Pixabay, you can become a contributor to submit photos and videos that you create to Pexels – just go to their License page and scroll down to the bottom to get started.
Unsplash (https://unsplash.com/) – This is another good site for free photos.
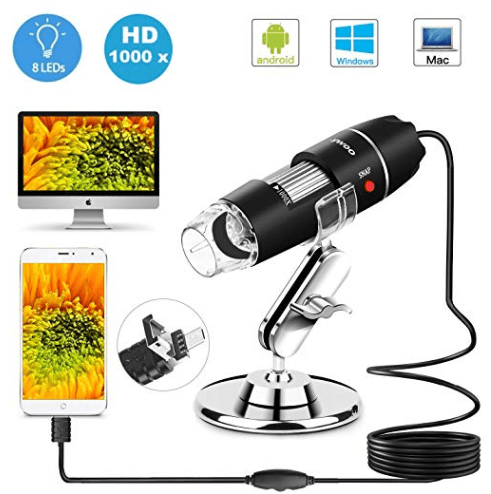 USB Microscope – Consider purchasing a USB microscope that you can connect to your device in order to take photos and videos of actual materials in your classroom…or on fieldtrips! Read the details carefully as some microscopes will work with some devices but not all…such as Android phones/tables, PC computers, and Mac computers but not iPhones or iPads. If you need a microscope that connects with your iPhone or iPad, be sure that it explicitly states that it connects. Likewise if you are wanting to connect the microscope to a Chromebook. If it is not clearly stated, look for a link in which you can ask the seller or locate that microscope on another seller’s website to see what information they provide.
For the https://flip.com/whatcoulditbe topics, we used a digital USB microscope purchased from Amaazon for $19.98. It didn’t have the best directions on connecting with a laptop, but I was able to get it to work with a little bit of effort. You will probably [hopefully] find that more expensive USB microscopes will have better directions…though I’m sure this is not always the case. This one was purchased because it was cheap and could be used with teachers in training. This microscope could be used with lower elementary, but the focusing may take a bit to get exact; older kids will have no problems. This microscope will take photos and videos. Though this isn’t an endorsement for this microscope, I would advise you to explore and decide on which microscope might be the best for your needs and purchase one to test out; if it works as intended and with ease, you can then confidently purchase additional ones if you need a set for your classroom/lab.
How Do You Use Flip in Science?
How do you use Flip in your science teaching? Share with us as we would love to hear about it. Here are the answers to the inferencing Flip referenced above (1. rose petal; 2. beard hair; 3. a Puffs Plus Lotion tissue; 4. stamens and pistils of a rose; 5. scroll wheel of a mouse; 6. college ruled notebook paper; and, 7. the end of a USB cable).

