

Canva has a lot of features that make it an easy choice as your go-to tool for creating and sharing professional development in digestible newsletters and on-the-go bits. We’ll get into the features for you to try in just a moment, and then I’ll share some critical bonus tips to keep in mind. These will come in handy if you want to share PD with peers who have crazy schedules but want to enhance their students’ learning experiences.
Three Canva Features to Try
1. Brand Kit
Canva has a ton of features to help you with a newsletter. Before using Canva, consider setting up your Brand Kit. This will allow you to predetermine the colors, logo, and default fonts that are used in your newsletters and graphics. Having the brand kit established will help your items look cohesive and unified as you continue to create and share meaningful content with your peers. For the brand kit, you will need the Pro or Educator account, which is free with verification for educators! Here is more information about setting up your brand kit to simplify the design process.
2. Templates and Magic Design
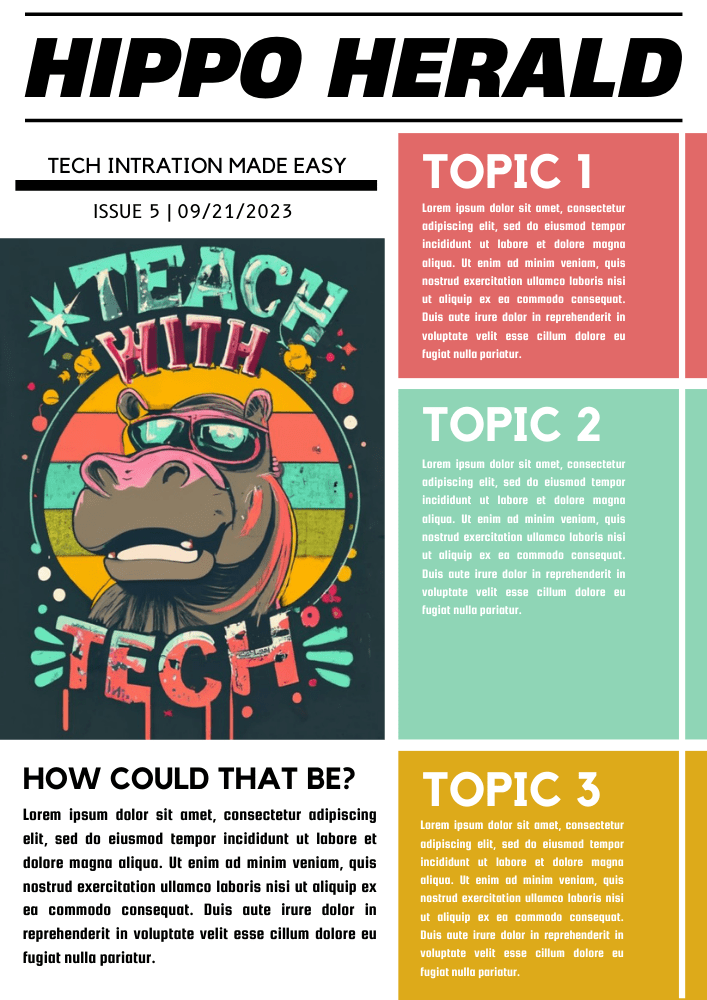
One of the main features is to make use of their templates. Begin by clicking on “Templates” on the left-hand navigation menu. Then, in the search box at the top of the window search “newsletter school” and hit Enter. You can use Magic Design to generate a newsletter template using an image you created or have already downloaded. Once you upload the image, it will pull together several newsletters for you to choose from that you can tweak to your liking. Once you get the base Canva newsletter design completed, you can easily duplicate it each time and use it for each issue of your newsletter. Here is a template of the one that I created as if I were in Hutto ISD, a neighboring school district to me.
3. Magic Write
If you need help writing content for your newsletter, then consider making use of Magic Write, Canva’s own generative AI tool, to aid the process. To access Magic Write, open a design in Canva and add a text box or click on the text box you’d like to edit. In the text edit menu, you can choose Magic Write. Briefly describe what you want, and then click the Generate button. This can help you write informative but concise information to include in your newsletter. These can be step-by-step instructions, a motivational thought, ideas on a particular educational topic, or even icebreaker questions for teachers to use in their classroom.
Bonus Tips for Making Newsletters
Tip 1: Use Clear and Engaging Headlines
When creating tools for PD or making newsletters, use headlines that your peers can quickly scan, read, and relate to. Instead of being cute or clever, lean towards being more straightforward. When thinking about what topics to include, consider frequent subjects that come up in the teachers’ lounge. Also, consider touching base with the principal, lead teachers, and counselor for ideas. Then, start each graphic or newsletter with a clear and engaging headline to draw them in.
Tip 2: Amp Up the Visual Appeal
Marketers know that we pay attention to visuals before we even read the associated text. Use this to your advantage by using graphics and visuals that signify the topic in your newsletters. You can easily use Canva’s Text to Image tool to generate images that may be more specific than what you can find in their library. You can also upload images from other tools into Canva to create graphics, but be sure to note the licensing, as you may not have the rights to edit or use certain images.
For example, a newer AI tool that seems to be making a splash for creating amazing images is Ideogram.ai. It’s free to use and is probably the best AI graphic tool to add text to an image. Though not perfect, it does amazingly well. Because this is a publicly accessible tool, be aware that some of the images that other creators have generated may not be appropriate for students. Here are a few images I generated with the tool. When using Ideogram, consider finding an image that has the look you want and use its prompt, but tweak it to better fit how you want the design to look.
 |  |  |  |
Tip 3: Provide a Feedback Mechanism
Encourage your readers to provide feedback, ask questions, or suggest topics for future newsletters. If they are implementing an idea that you share or have a sample student product photo to share, provide a digital wall or board where they can be a part of the conversation to continue learning and sharing. Padlet works well as an easy tool that doesn’t require a learning curve for your teachers. If using Padlet, consider using the wall layout with sections, since you can set up several distinct columns to which your teachers can add their input accordingly, making it organized for you and all the readers to find things quickly.
Whether you share professional development tips and ideas on a weekly or monthly basis, you are sure to find that Canva can help make your communications much easier and view and read. If you already share a newsletter of such with your teachers, drop us a link to one of the editions and share with our readers. Also, if you find that you have a different tool to put together your newsletter, let us know the name of the tool you love and why it is your go-to newsletter tool.
Featured Image: Screenshot by Emily Horn of Newsletter Templates in Canva, https://www.canva.com/templates