

Wish you had an easy way to manage parent communications? Then you should consider using Google Sheets to get the job done. In the TCEA Community, someone asked the following:
Hi group! Some time back I saw a presentation where they used an extension to connect the response on a Google Form to a Google Doc. So the situation is I have a profile doc on a student, and the Google Form is used to document parent contacts, and every time it is submitted it gets added to the student’s profile doc as an entry with all the information of the contact. If anyone knows the extension used to do this please let me know, or if you know of something similar.
This seemed like a straightforward challenge. To solve it, you can take several approaches. You could rely on Autocrat, but that may be overkill. Instead, use Google Workspace tools like Google Sheets, Forms, and Docs to create a communications log that is always up to date. Let’s go through the steps to accomplish this.
Step 1 – Create the Google Form
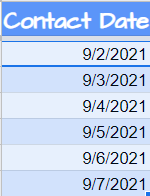
Your first step involves creating a Google Form. I like to group my forms, response sheets, and supporting documents in a folder together. You can see what that looks like in the image below:
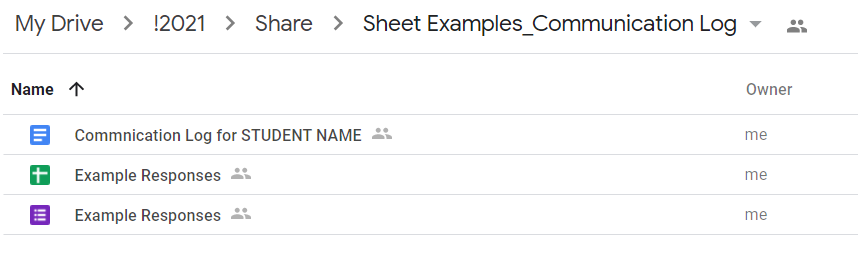
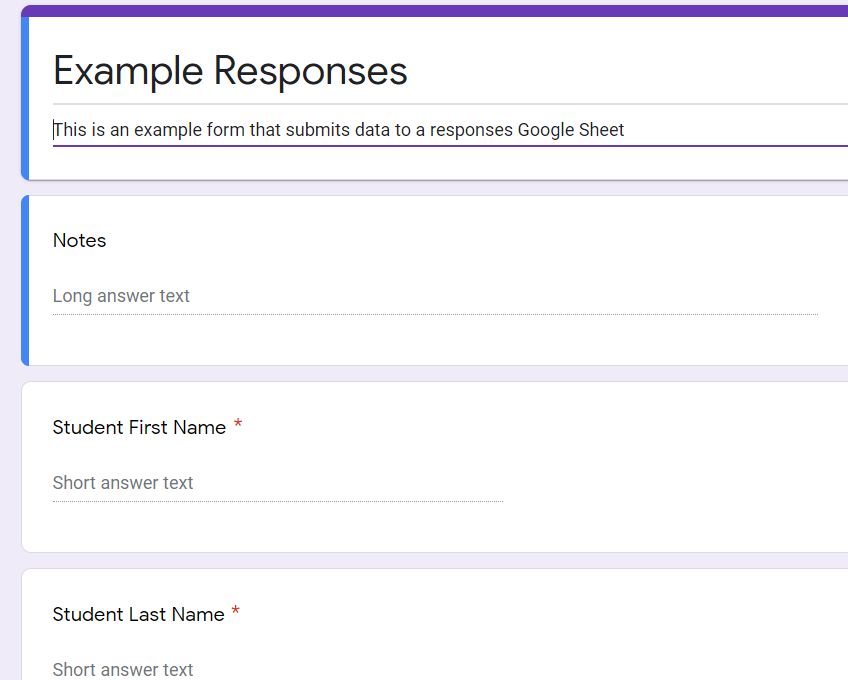
By grouping these connected files in a Google Drive folder, I can find them later when I need to customize them. Now, when making the Google Form, you can set it up any way you want to reflect your needs. As you can see from my form, I added only a few fields. In retrospect, I would change the field name from “Parent” to “Guardian.” I would also add fields for more than one guardian. You decide how many fields of data you want to capture since you are the one filling it out in the future.
Step 2 – Create and Customize the Google Sheet
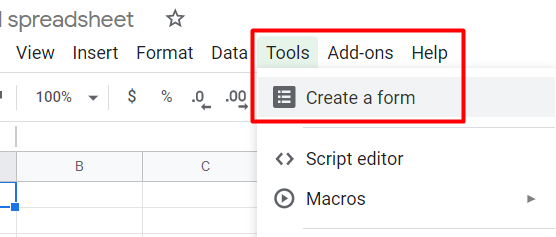
Did you know that you can start with a Google Sheet, then create the Form? This ensures that your Google Sheet and Form connect to one another. When you create a new spreadsheet, you will see the option under Tools, as shown below.
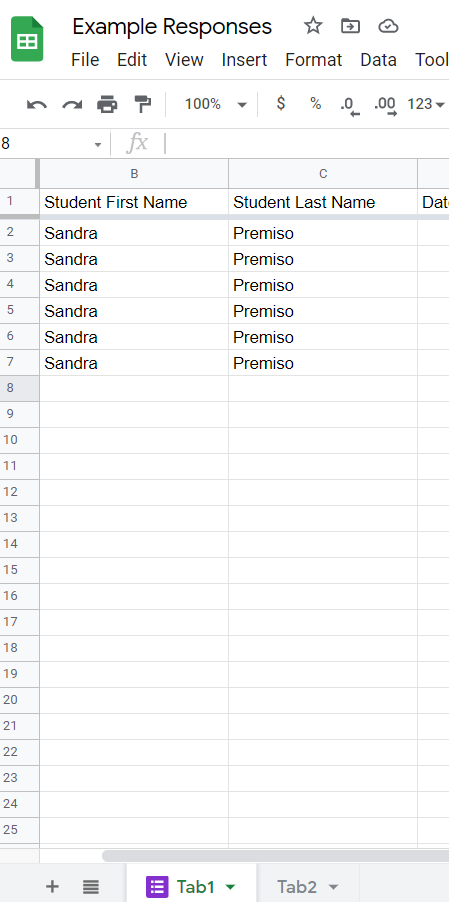
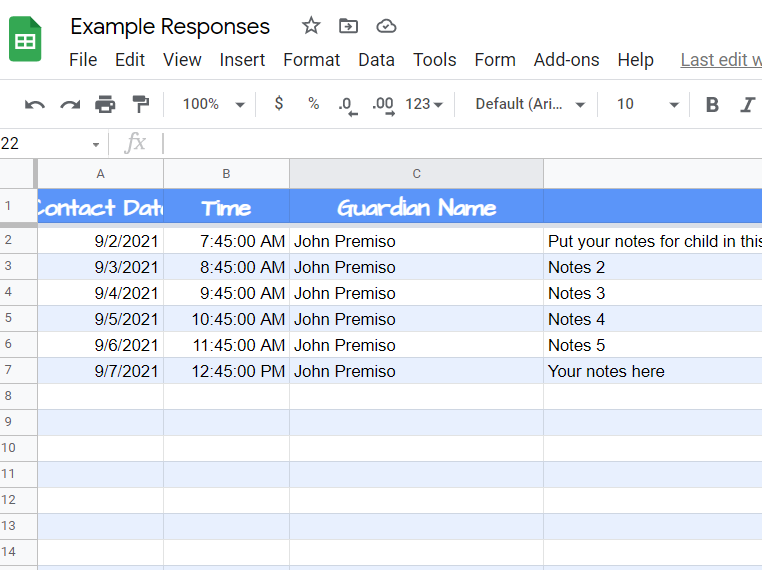
One of the things I like to do right away is rename the “Form Responses 1” tab to something I like. You can do that without messing up the connection between the Sheet and its Form. In this example, I renamed the “Form Response 1” to “Tab1.”
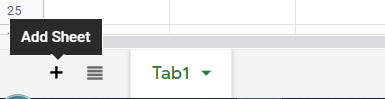
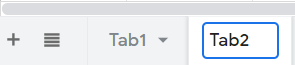
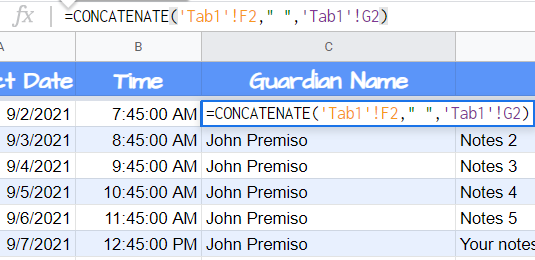
Now, our goal is to create a formatted set of data that looks a little nicer than the raw data dump from the form. To do that, make another tab and name it “Tab2.”
Now that you have a second tab, you will want to reflect the data that you want from Tab 1. I use the “Alternating Colors” option under the FORMAT menu choice. Then I adjust the font, size, and more. This gives it a custom look. Format it the way you want.
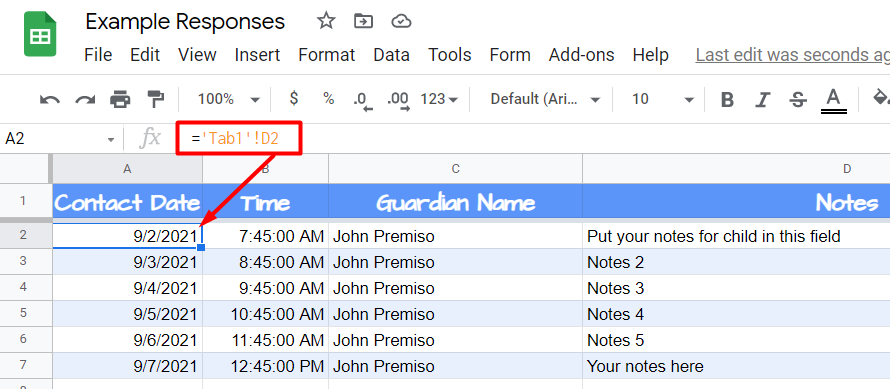
Once you have the data in Tab2 formatted the way you want it, you’re ready to pull the data in from Tab1. To do that, I use the “=” symbol, then point that formula to Tab1 where the data appears:
Once I have the first row of data in place, I fill down. This will pull in any data that appears in later cells when the Google Form is submitted.
And now I have data in Tab2 that reflects what is in Tab1, but formatted with alternating colors. Even better, I can use other functions such as Concatenate to combine data (e.g. FirstName and LastName):
The next step enables us to put Tab2 information into a Google Doc.
Step 3 – Create and Customize Google Doc
Create your custom Google Doc. You can see I’ve made it a simple Communications Log. After adding some static information at the top of the Google Doc, I went back to Tab2 in the Google Sheet. Then, I highlighted the cells I wanted to appear in the Google Doc.
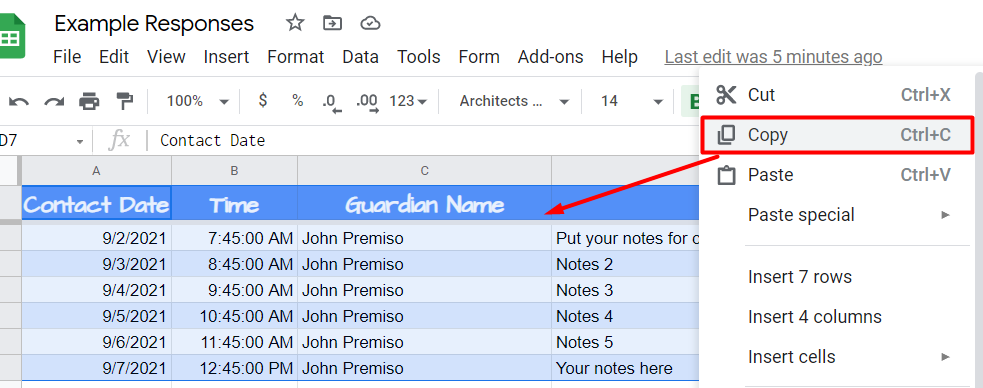
After that, I pasted the copied cells into the Google Doc. As you can see below, you will want to select the “Link to spreadsheet” option:
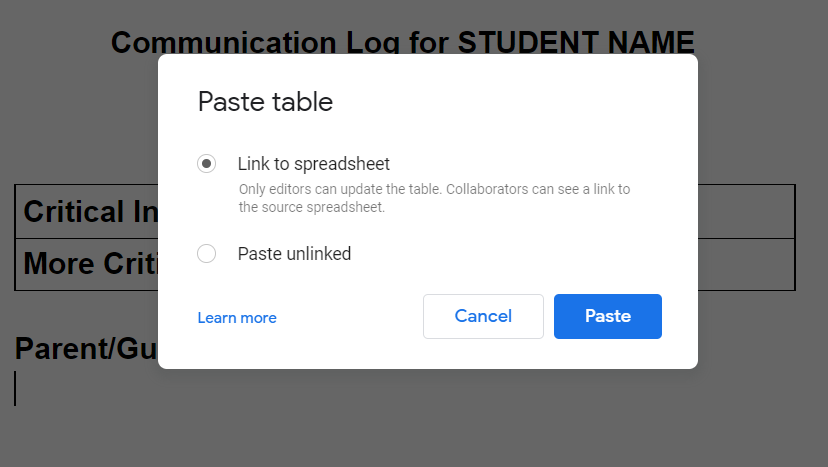
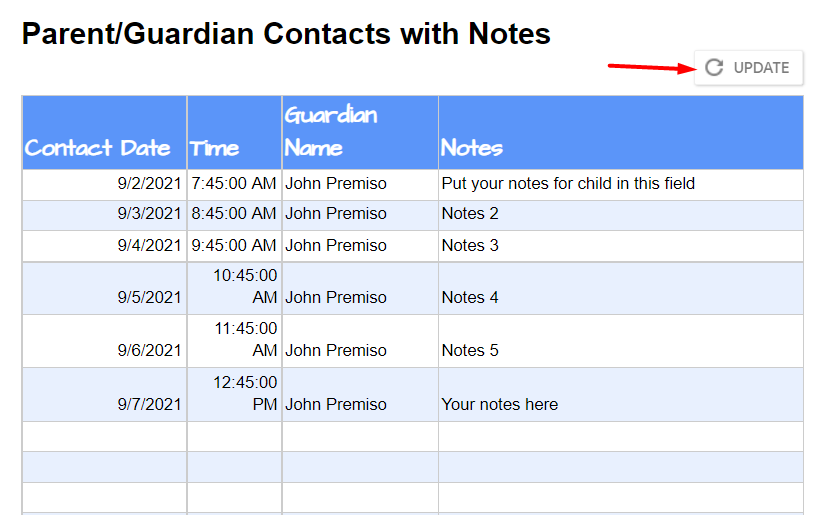
Whenever new data comes in, you will see the UPDATE button appear in the Google Doc. This means you can click on UPDATE to reflect new data in your Google Doc, keeping your communications log current.
Other Possible Communications Solutions
Need to have someone walk you through it in video format? I found a few videos that do that; please see them below.
If this solution is not exactly what you need, try other Sheet add-ons such as AutoCrat or Doc Appender. And let me know how this communications log process works for you.