Dear TCEA Responds:
Does someone have a document they share with students and staff that are leaving the district in regards to their Google accounts? I’m looking for something that explains how to transfer ownership (whether through sharing or Google Takeout). Thanks in advance!
-Ron
Dear Ron:
Getting ready to move on, but not sure how to take all that Google Drive goodness with you? Maybe you want to move those emails out. Stay tuned since this blog entry will cover tips and techniques for getting your work data, email, and stored files into a personal Google account. Let’s start with the hardest item first, Gmail.
Ridding Yourself of Detritus
The first thing you need to do is ensure you aren’t grabbing confidential, student data, or sensitive information. These are bits and bytes you do not want subject to open records requests. Make sure to delete those items with personally identifiable information (PII) about staff or students. Did you subscribe to JC Penny’s or Macy’s sales with your work email account? Get rid of those messages. Maybe your Google Drive is full of content shared with you? Time to clean that up.
Clearing Your Inbox and Archived Mail
Next, you will need to run some searches and remove emails with attachments (use the has:attachments search to find those). Get rid of unwanted calendar invites (search: “Invitation:” or “Updated Invitation” or “Canceled”). Eliminate any shared document invitations, too. Search on “drive-shares-noreply@google.com” to find and then delete them. Are you a member of any Google Groups? Do you really need all those emails? Throw those out. Remove your labels and message filters. You can do that one by one on the left-hand side of the screen or go into Settings to remove them in bulk.
One last tip for essential emails: Create a folder/label with all the messages you want to keep. Taking these steps ensures you have eliminated all the detritus.
Tips for Emptying Your Google Drive
This next tip requires you to be ruthless. Over time, your Google Drive has gathered a lot of junk. What you need to do is decide what is worth keeping and what needs to be done away with (think “Does it bring me joy?”. Create three folders you can drag-and-drop content into. Here are the three folders:
- Keep folder. This folder is where you house all your worthwhile content that you want to save.
- My Shared Items folder. This is for items that you have created, but others depend on. This includes Google Forms and the Sheets where responses are saved. If there is something you need to keep (a select form or response sheet), make a copy of it and then drag it over to the Keep folder.
- Other folder. Put anything you don’t want to keep in this folder.
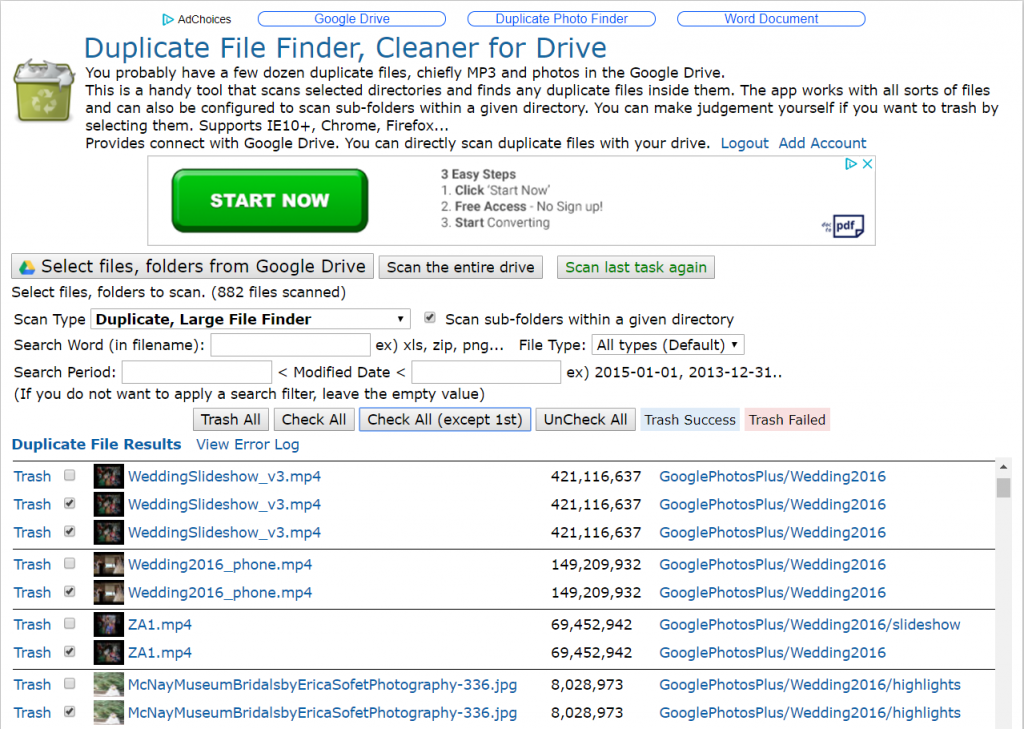
Now that you are done, you have several options to get backups of your G Suite data, including your email and Google Drive. One easy way to clean it out before sorting is to use the Google Drive Cleaner. It will go through your Drive and remove any duplicate files you may have. Read more about this process.
Preparation’s Over, Work Begins
Now that you have your essential emails and files in Drive, and little else, you are ready to back them up. The old Google Takeout makes it easy to save all your Google content as files you can save on your computer or a USB external flash drive. The main benefit is that it lets you get copies of much more than Drive and Gmail. You can get Google Photos, Google Sites, Blogger posts, etc.
While it works well, you are going to need a program like MS Office 365 to open the files. You may want to rely on a free, open source solution (FOSS) solution like LibreOffice, OpenOffice, or NeoOffice. All of these work on Windows, Mac, or GNU/Linux operating systems, but not Chromebook.
Recommendation: Use Google Takeout Transfer on any device with a web browser to back up your email and Google Drive from G Suite EDU to your personal Google email and Drive.
If you need a solution for Chromebooks, give Google Takeout Transfer a try. If it’s not been locked up as an option, you can use this easy option. It copies all the email and files you own. When you set this up, you will be able to copy content from your school account to a personal Gmail account. Before you see the screen below, you will be asked to verify your personal Gmail account. Make sure that you have sufficient space to house all your school content.
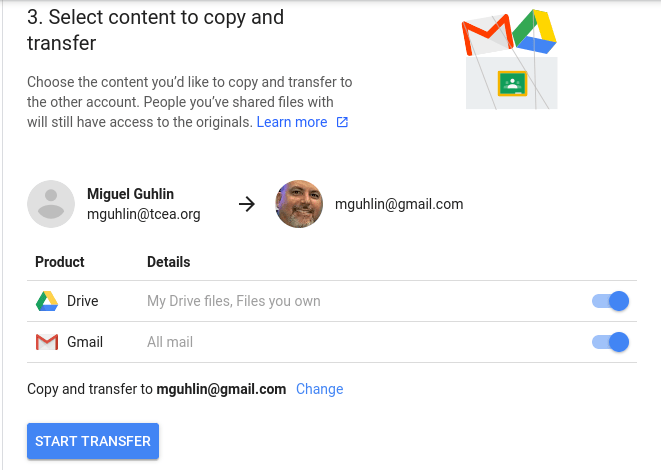
Once you have started the copy, you will get an email letting you know the process will take a week or so.
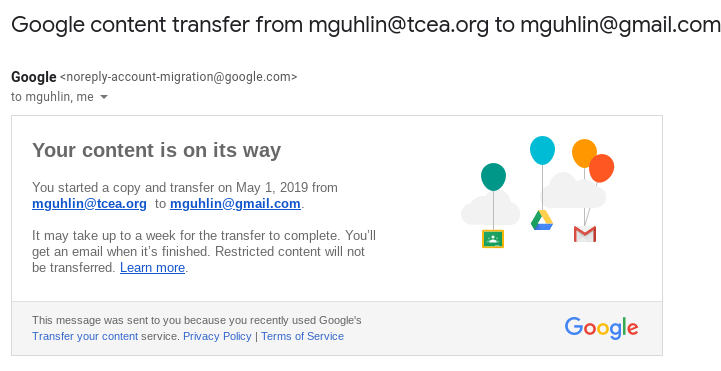
Google creates in your email folders/labels a special folder with the date and time. The folder name is “Moved.” Don’t worry, the original copy remains in your school inbox. After the content arrives in your inbox, you will see a new folder or label like the one shown below:
![]()
You will see a copy of your email in the box. Once you have the emails in your inbox, you can move them to whatever other folder or label you want them to be in (e.g. “School”). Since you can run this process daily, you can clean out your inbox with the same frequency.
For Google Drive, you will see something similar. Depending on the quantity and type of files, the process can take longer. An approach you can use instead of Google Takeout to copy files from school/work G Suite Drive to personal Google Drive is Copy Folder for Google Drive. This is a web-based script that makes it easy to copy Drive content from G Suite EDU to your personal Google Drive. Use Joseph Wood’s tutorial for Copy Folder to get started.
Move That G Suite Data
Using Google Takeout’s Transfer option, you can copy email and Drive content from work to your personal account. You can use additional web-based scripts to clean out your Drive or Copy Folders from one drive to another. Need more on the subject? Try this Google Help page.

