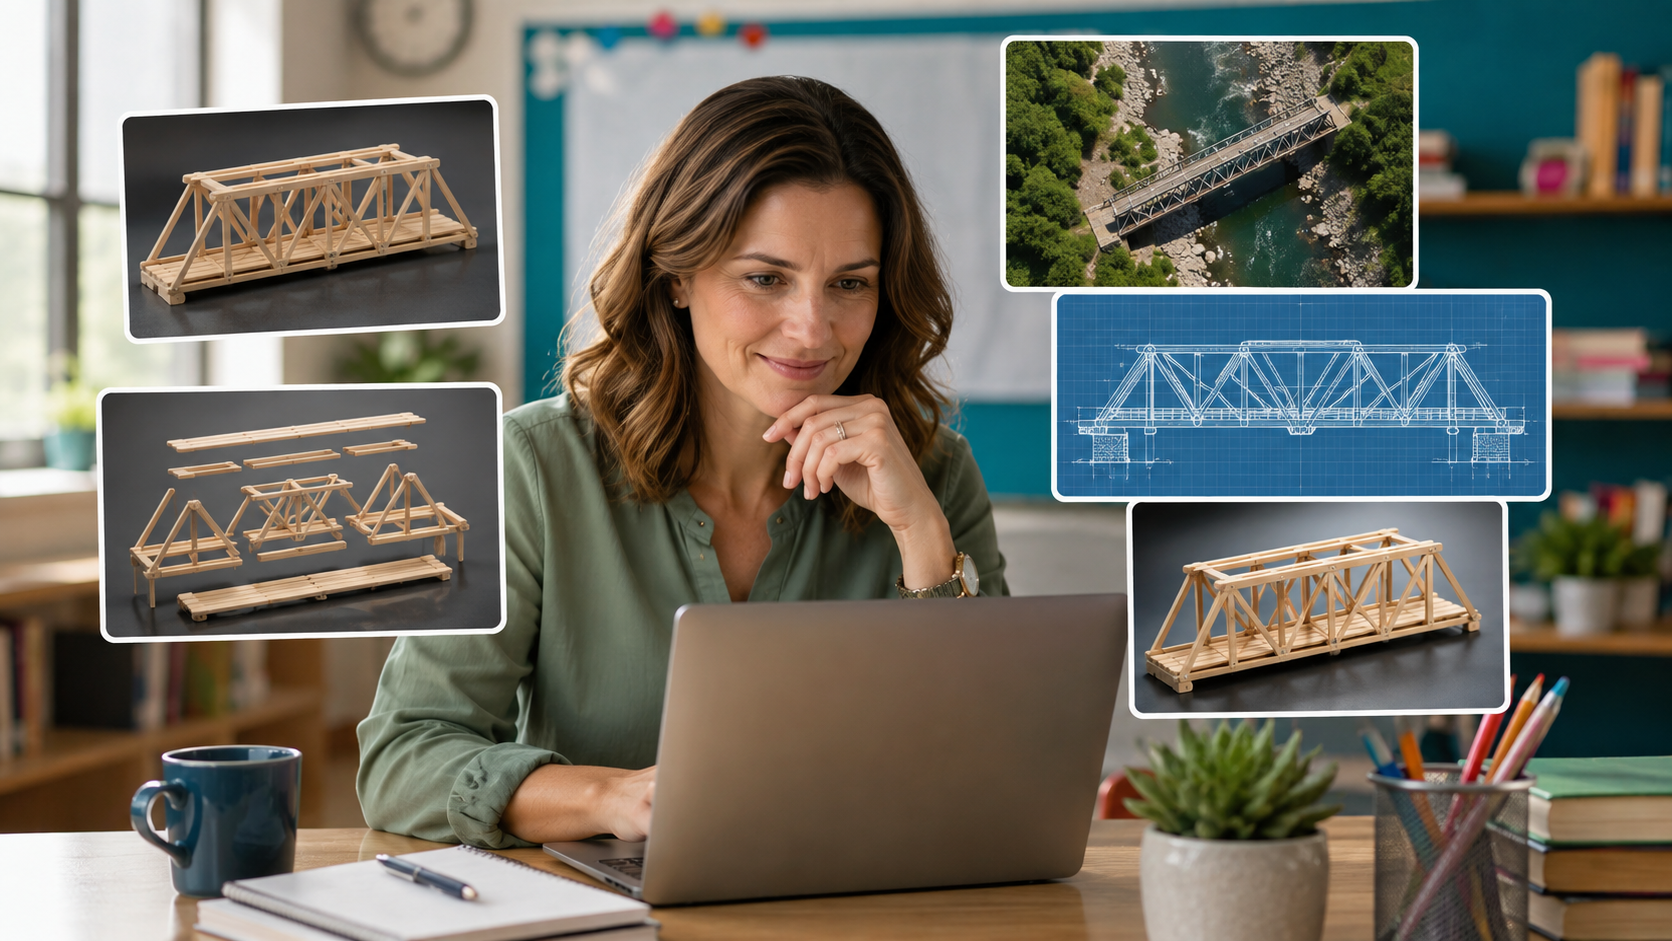
If you have spent any time on social media lately, you have probably seen a flood of posts claiming to reveal “secret ChatGPT codes” for transforming photos. These artificial intelligence image shortcuts can look like hidden features, but before you try any of them, it helps to know what they actually are. They are shorthand prompts that ChatGPT interprets as plain-language instructions. Typing /droneview works because ChatGPT reads it and understands you want an aerial shot, the same way it would if you typed out the full request. That means you are not limited to the exact wording other people use online. You can adjust, combine, or rewrite these prompts to fit your own classroom content.
That distinction matters for how you use them. These are community-discovered shortcuts, not documented, permanent features, so results can vary from one image to the next, and a code that works well today might behave differently after a future update.
It also means these are not locked to one tool. Because a code like /droneview is just plain language in disguise, it is worth trying the same code in Gemini to see how it interprets the same request. The wording that works well in one tool may need small adjustments in another, but the underlying idea travels.
Also, on terminology, “codes” is the term that’s spread across social media, but it’s not accurate, and it’s not what any of these are formally called anywhere, since none of this is an official ChatGPT feature. They’re more accurately described as shorthand prompts or prompt shortcuts.
The List, Organized by What Each Code Does
Here is a table with a sampling, categorized so you can scan for what fits your content area, even if you only try a handful.
|
Making structures visible
|
Placing objects in a new setting
|
|
Changing perspective
|
Restoring and clarifying
|
|
Historical and thematic settings
|
Style transforms
|
Four to Try This Week
These four codes give you a hands-on look at how the shortcuts actually work: /explodeview, /hdreal, /droneview, and /blueprint. Each example below pairs the original image with the result after the shortcut was applied, so you can see exactly what changed. Try these four first, then explore the full list above for other codes that fit your own content area.
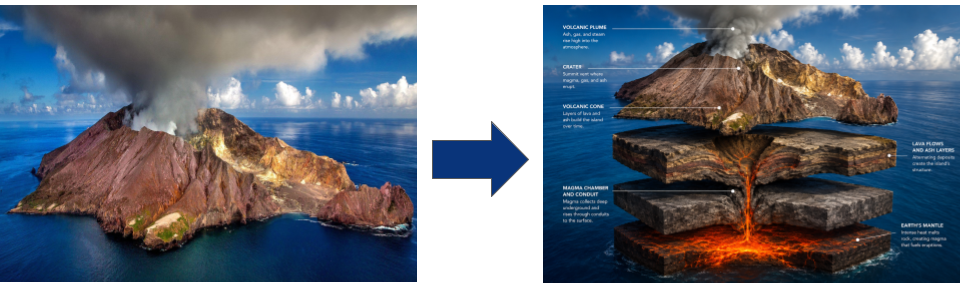
Science: /explodeview
A seventh-grade science teacher wanted students to see the individual parts of a simple machine without disassembling the real thing in class. Uploading a photo of the machine and typing /explodeview separated the components into a labeled-looking layered view, giving students a clearer mental model of how the parts fit together before they built their own. Here is a photo from Pixabay by Julius Silver of a volcano in New Zealand.
History: /hdreal
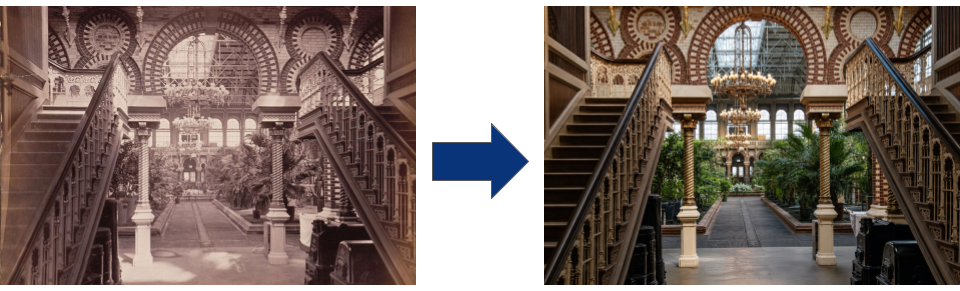
A history teacher had a primary-source photograph that was too blurry for students to examine closely. Running it through /hdreal sharpened the details enough for students to notice things in the image they had missed before, which led to a stronger class discussion about what the photo actually showed. Here is a photo from the Library of Congress titled: “Machinery building interior from the north gallery, Centennial Exposition,” photographed by the Centennial Photographic Co. in 1876. The code not only helped make the details easier to see but also added color.
Geography: /droneview
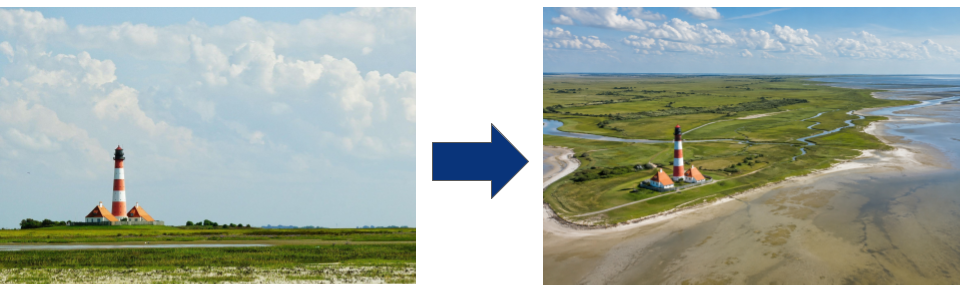
A geography teacher used a standard ground-level landscape photo and applied /droneview to give students an aerial perspective of the same location. Seeing the terrain from above helped students connect the flat map they had been studying to what that landform actually looks like in three dimensions. Below is an example photo by Makabera from Pixabay. Be aware that the new view may not be accurate to the location though it might be sufficient for instructional/visual purposes.
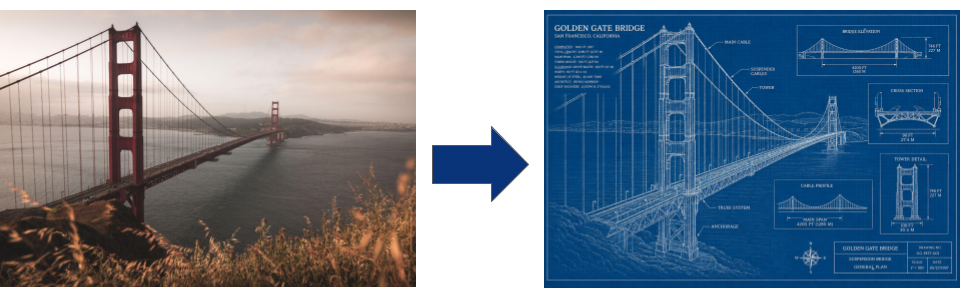
Math: /blueprint
A math teacher applied /blueprint to a photo of a geometric structure to turn it into a clean technical rendering with visible lines and angles. The blueprint style made it easier for students to identify shapes, angles, and measurements embedded in a real-world object, connecting an abstract geometry unit to something they could see. Here is a sample using a photo of the Golden Gate bridge. Preview any text that may be added to the image for accuracy before sharing with students.
What to Know Before You Try These
A few things are worth knowing before you build a lesson around this. Image generation is available on paid ChatGPT plans and, in more limited amounts, on the free tier, so access is not identical for every teacher trying this. These codes also are not official, documented features, which means results can vary in quality, and a code that works well on one image may not work as cleanly on another. Treat this as a tool worth testing on a low-stakes image before you build it into a lesson plan. If you have access to Gemini as well, try the same code there. Since the shortcut is just an instruction rather than a built-in feature, comparing how two different AI models interpret the same request is a quick way to see which one gives you the clearer classroom result.
Copy the 60 codes and explore what the four shown and the additional ones can do to transform images for your learning activities. This is far from every code circulating online, but it covers the ones with the clearest classroom applications.
Try This in Your Next Planning Period
You do not need to try all four this week. Pick the one that matches a lesson you already have coming up, upload a relevant image, and see whether the result clarifies the concept better than the original image did. If it works, you have a new way to make an abstract idea more concrete. If it does not, you have lost five minutes, not a class period.