I’ve served many times as both a panelist and a panel organizer in my career. Over that time, I’ve come up with certain tips that can ensure you have a well-organized, engaging panel conversation, and I’m excite to share them with you now.
A Few Words Before Beginning
Every panel is different. I’ve had panels with panelists who agree with each other. In others, the participants engage in a bit of parallel play, like toddlers. Each showcases what unique aspect of a topic they have to offer, but there’s seldom a mix. Shifting your panel from a bunch of experts sharing to a team can be challenging. It may even be impossible in the time you have.
The key is breaking past the ice of strangers sitting next to each other. You have to encourage relationships between panelists. This warmth and interactivity shifts your panel’s stilted utterances to a chat. The first tip, then, is to engage your panel before the date and time of the discussion. Build that connection before the day of the panel. Otherwise, your panelists will be in competition with each other. Who’s contribution is the best? Will one presentation outshine the others?
But how do you begin building that relationship between panelists?
Tip #1 – Collaborate on Planning
One approach that works well is to invite the panelists to collaborate on planning the event. You can set up a Google Doc or OneNote notebook and provide all of them with access to it. The key is a common space you can work in together to plan what the panel will include. Several things I like to make sure to have in my planning documents appear below:
- Welcome. Be sure to outline the goals of the panel and what you hope to get done. This needs to be open-ended. I like to phrase my welcome as an invitation that gives panelists permission to share. When panelists get invited to take part, they interpret their part in a narrow way and may see it as a sliver of one aspect of a topic. You need to “bust that open” so they feel comfortable sharing anything relevant. They are a panelist because of the connections and ideas they have, so you want those shared.
- Logistics. This is something you need to have, so get it out of the way early. Address who, what, when, and where. Make sure to include any relevant websites. You may also want to include technical support suggestions (e.g. headset with microphone). If technical requirements are many, you can make technical support its own component of the document.
- Panel Questions. Invite participants to contribute what questions they would like to respond to. This gives them ownership over the questions. It also allows them to showcase their expertise and helps them differentiate each other’s contributions. One fear panelists have is that someone on the panel is going to “scoop” them, sharing their exact same idea or tip. By having them come up with questions, you can include even more questions, and perhaps ones that you as the moderator would not have thought of. But always be sure to provide the questions to your panel so they can think ahead about them. The goal of a panel is to get expert testimony, not interrogate or put a panelist on the spot. This is not a courtroom drama; you are the panel moderator, not the district attorney.
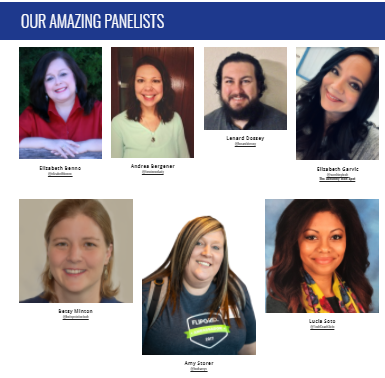
- About the Panel. Since my plan is to create a website featuring the panelists, I include a short bio and twitter/email address for each one. A headshot image is also requested. I like to organize them on a Google Sites, although others prefer a slide deck program. I don’t recommend spending a lot of time on the About the Panelists part during the panel. Refer people to where they can find out more about the panelists on their own.
Some more items appear in the Google Doc planning. I cover those below in the tips listed area. Those include the panel schedule, tweetmeet schedule, resources, and chat transcript.
Tip #2 – Schedule Event and Tweets
When creating schedules, you may want to divide them up into several parts. For example, I like to create a rough outline of the event schedule. That becomes a timeline to keep us all moving forward. I also create a Twitter schedule. Let’s discuss the event schedule first.
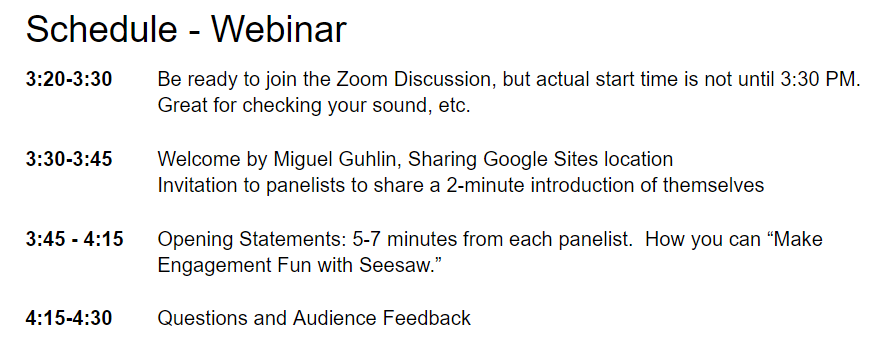
Your Event Timeline
With an event schedule, you create blocks of time people can move around in. Ten-to-fifteen-minute blocks work well to organize the time. In the first chunk of time, I like to let the panelists introduce themselves. Invite each to speak for no more than two each (and less is even better!).
After introductions are complete and I have responded, I invite opening statements. Some panel moderators combine the introductions and opening statements. My preference is small chunks of speech interspersed with audience participation. Having a timeline makes directing the flow of conversation easier than negotiating time in the moment.
Your TweetMeet
An exciting component of a panel presentation is how hyperconnected everyone is. You can take advantage of that through the use of a custom type of Twitter chat called a Tweetmeet. This type of chat allows you to escape the immediacy of a live twitter chat. Of course, creating a unique hashtag is a necessity to track those tweets.
Need some amazing tips?
In a Tweetmeet, you use a tool like Hootsuite or Tweetdeck (free) to schedule text and images to appear as a tweet. You can pose questions and invite panelists to respond. Each person schedules their own tweets. In this way, tweets appear at key moments during the panel discussion. The tweets are both independent of the panel discussion, but related to the content.
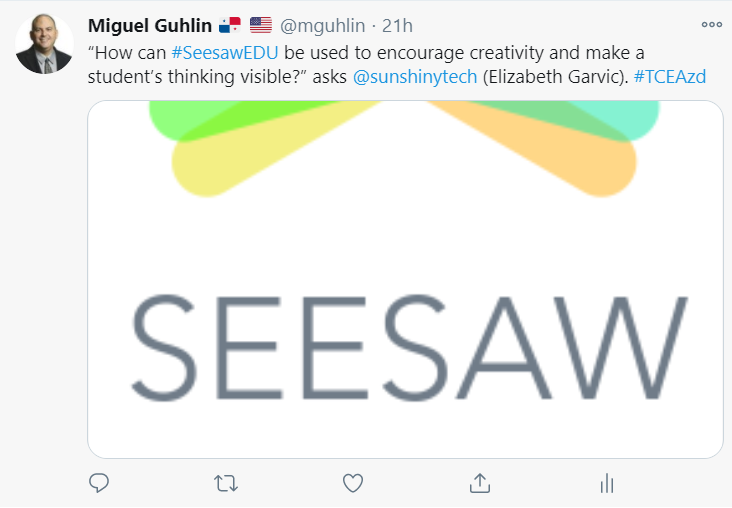
Organize tweets into three categories: PRIOR, DURING, and AFTER. In PRIOR, I schedule advertising tweets. These introduce the panel, either one by one or all together. Given time, I’m able to share insightful quotes from the panelists. Be sure to include pictures and panel registration information. I schedule one to three tweets a day.

To assist panelists, I create a table and account for every minute of the panel presentation. I put in some of my tweets, dividing the time into topics. Then, I invite panelists to post a response to the topic with the hashtag. In this way, a conversation happens via social media. It amplifies the panel conversation topics, creating a sense of expectation. You can learn about how to archive the tweets using either Wakelet or Twitter Archiving Google Sheets (TAGS) to get the job done.
Tip #3 – Gather Resources
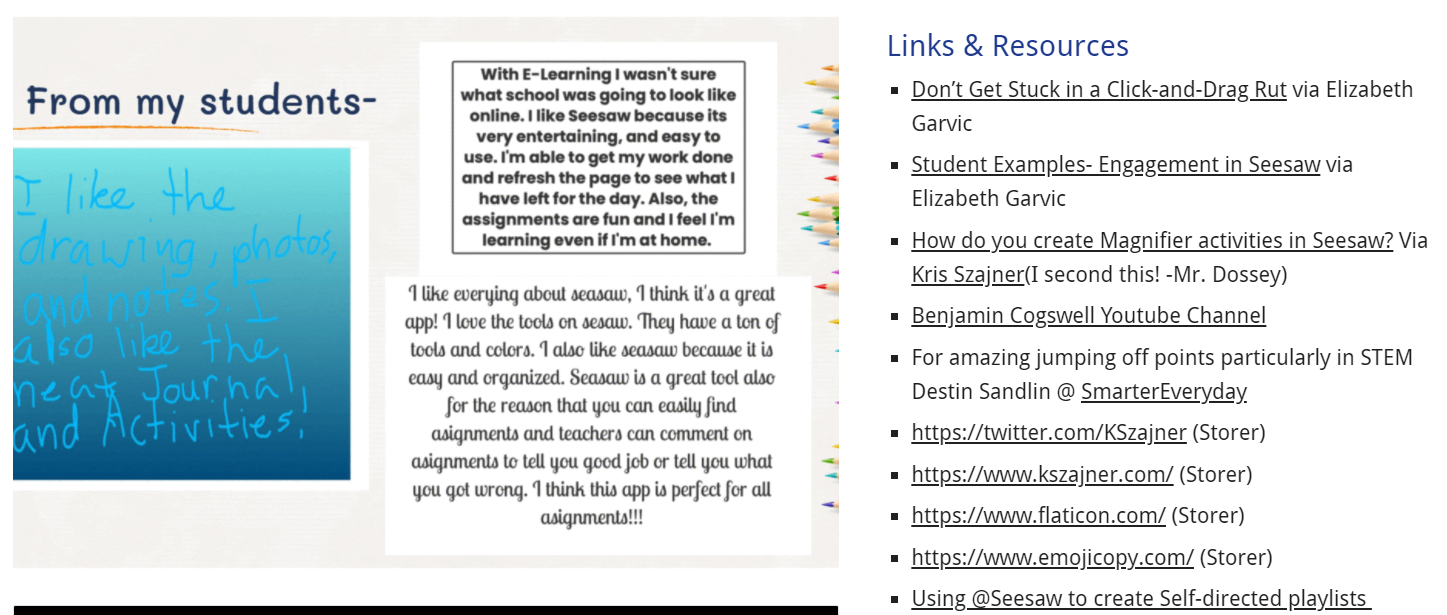
One significant challenge faced is gathering relevant resources during a panel discussion. Ask your panelists to put anything they would like to share in a Wakelet or a slide deck to ease sharing. In advance of the panel discussion, ask them for any resources they would like to share with the audience.
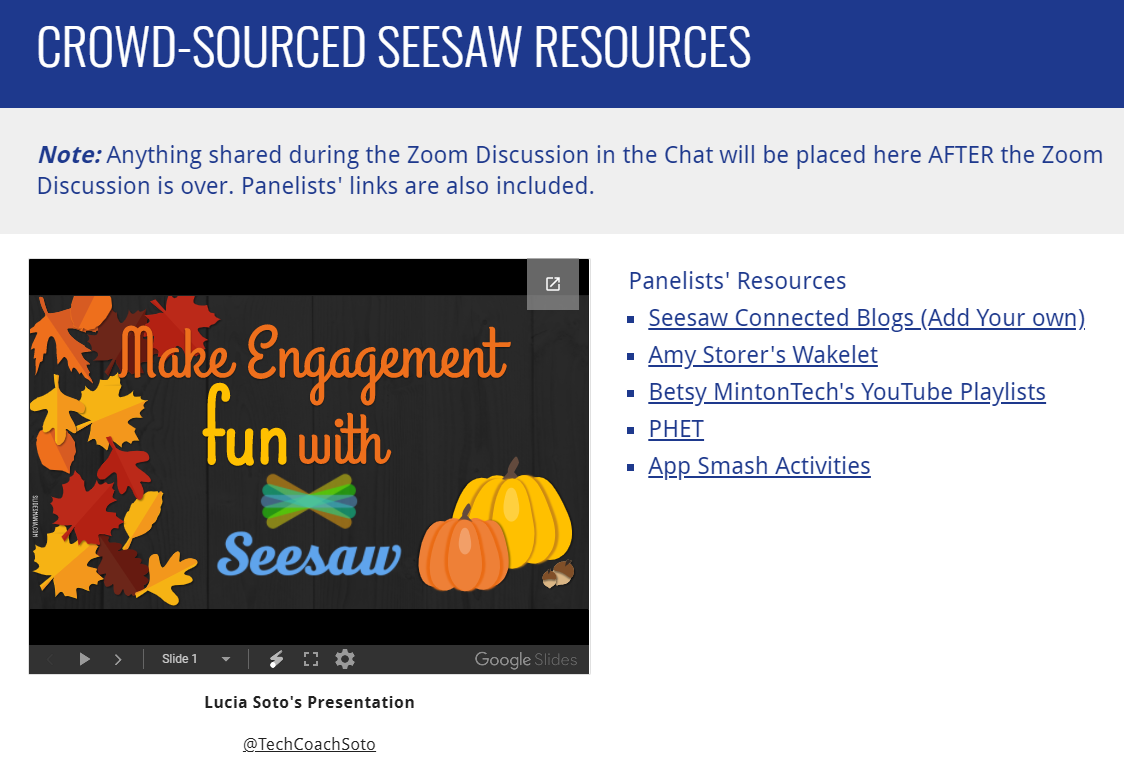
Example of a Google Sites resources page for a panel
Compile those resources and put them on a website (e.g. Google Sites or OneNote). Share that resource link with participants up front. This prevents pointless questions like, “Will that be shared anywhere so we can get it?”
Tip #4 – Optimize Panel Density
What I like to do is pack the panel so that there are diverse viewpoints. Each panelist brings their own unique perspective. Reconciling those viewpoints can be fun. How do you know how many people to have on a panel? Here’s one way to optimize panel density.
If you have panelists who know each other, less is better. These panelists will interact and their conversation will make time go by quick. If you have panelists who are strangers to each other, then more is better. For the latter group, each can share their insight and then you move on to the next. In this way, time passes with each panelist sharing their unique perspective.
Packed panels are great when it’s about content knowledge. Less packed panels allows relationships between ideas to shine. Choose the panel density that spotlights your topic.
Tip #5 – Engage Chat Participants
It’s important to remember that participants in panels may lurk. Make lurkers feel comfortable and share resources with them. Amplify the voices of participants who speak up. For those who offer commentary or resources of their own, call them out by name. Credit them for what they have contributed. Don’t be afraid in a Zoom or Meet discussion to give them the microphone as time allows.
Move It, Move It: Keep Them Active
A few parting thoughts. In an online panel, it’s important to remember the power of movement. A body that moves keeps the brain awake. TCEA member Lisa Monthie (Twitter:@lisamonthie, Waco ISD) recommends you keep these points in mind:
- Cue your panelist before calling on them.
- Praise participants for desired behaviors. For example, “Thank you, Jerry, for having your camera on.” Or, consider, “Thank you Lenard, for posting that in the chat.”
- Have participants move and act out responses. This can include asking participants and panelists to hold up fingers, point to your eyes or ears. These small movements engage everyone.
Two final tips she suggests include allowing more time for responses and using sentence starters. The sentence starters make feedback fun, lessening the fear of participants.

