

Looking for easy ways to make animated GIFs with Google Drawings? You’ve come to the right place. In this short blog entry, we’ll walk through the steps of creating an animated GIF using G Suite for Education’s Drawings, the revision history feature, and a free website tool known as Gifmaker.me. There are many ways to make animated GIFs. You can find out about alternative ways in my previous blog entry, Animated GIFs: Education in Motion.
Why Make Animated GIFs?
One of the four strategies of Reciprocal Teaching involves summarizing text. Imagine how much fun and engaging it could be for students as they create animated GIFs of key concepts found in a video or text. Becoming transliterate media creators can only benefit students and modeling a simple strategy can help them make connections between various media modes. It serves to make thinking visible when they share their creations. Let’s explore a simple way to create animated GIFs on a Chromebook. This approach will work on any Windows or Mac device as well.
Animated GIF Tools
You can see a wealth of tools in my previous blog entry. In this blog entry, let’s review the three tools that make animated GIF creation possible.
- Google Drawings: This is a drawing tool that is simple to use, yet sophisticated in its range of potential uses.
- Revision History: G Suite for Education documents, such as Drawings, Slides, and Docs now support the ability to name different versions of the revision history.
- Gifmaker.me: This is a free website (does not require an account) that makes it easy and fast to combine images into an animated GIF.
Steps to Follow: Creating Images
1) Open Google Drawings: In this step, you open Google Drawings and create your first image or “slide” in your animated GIF sequence. Encourage students to map out their images. They can use a paper storyboard or an outline. This will eliminate the need for revisions.
2) Create your first image: In this step, you are going to create your first image. Here’s my first image in my example:
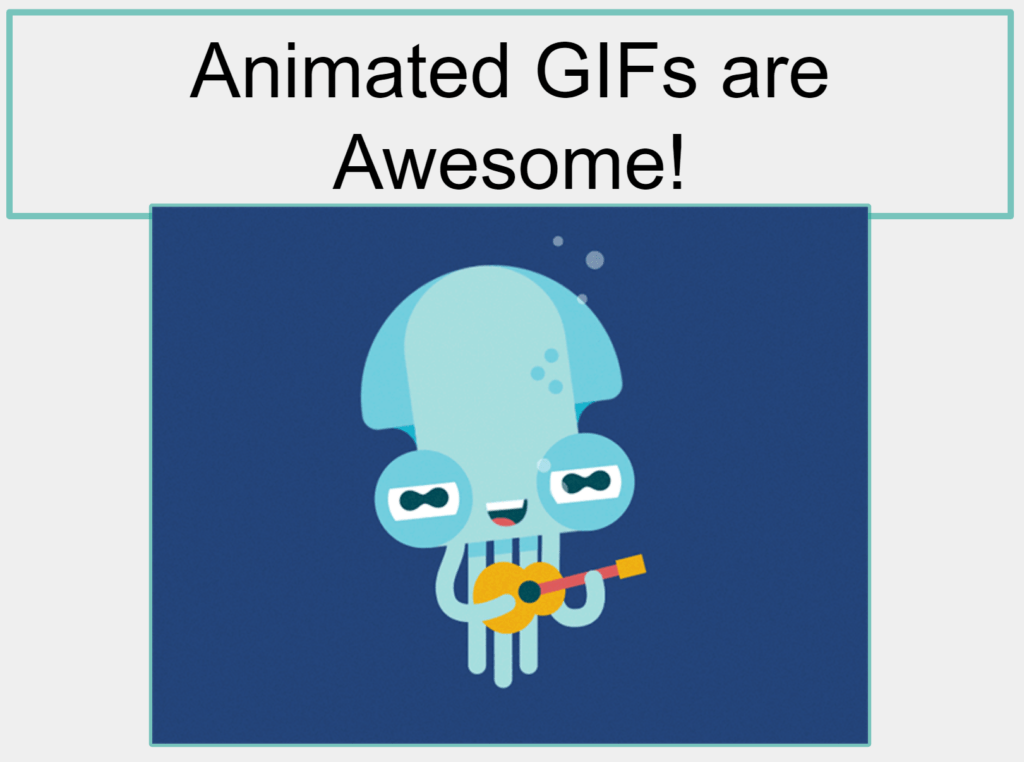
Make any adjustments to this image, which we will consider to be “Slide One” or the first in a sequence of images in our animated GIF. Be sure to export this image. Adjust the filename to be “slide1.png.” This naming scheme helps you keep track of which image is first in your animation sequence.
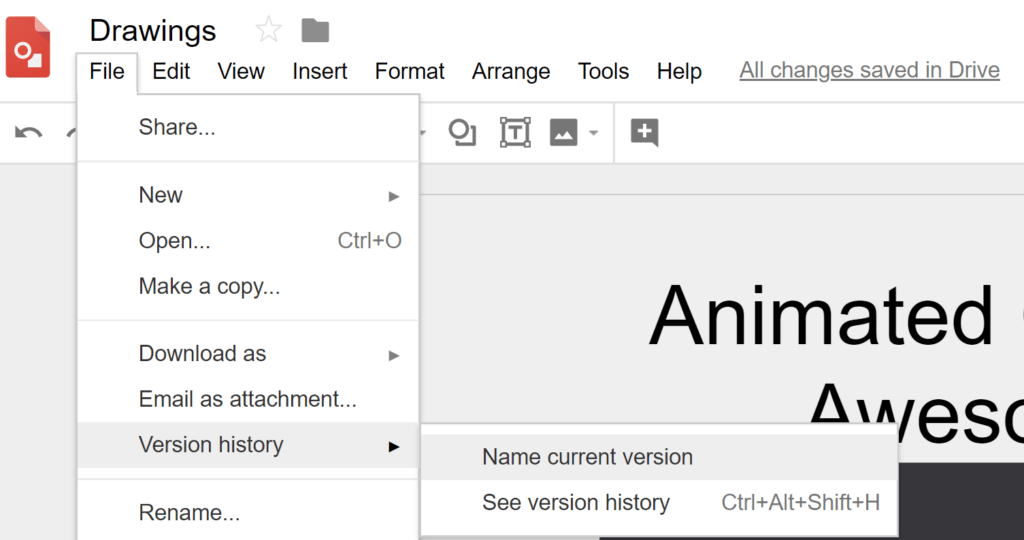
3) Give that image its own name in revision history:
We’re going to name this image. As you can see from the screenshot below, I have made several slides, naming each along the way.
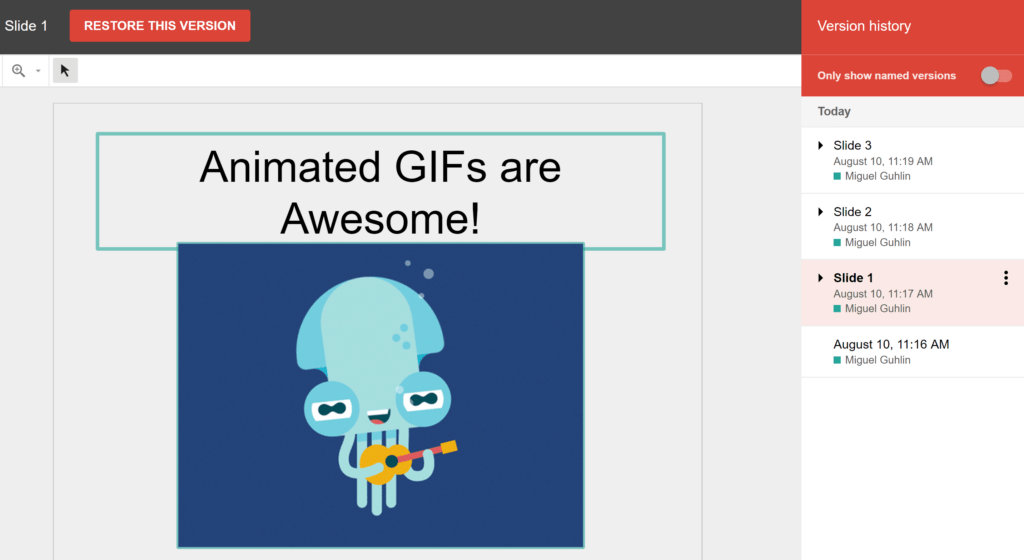
Once you have created the image as you want it, File–>Export the image as you like. Assign the latest version a name in Revision History. The main benefit of this step is to make it possible for you to jump to your desired image version. You are able to adjust each version to your satisfaction.
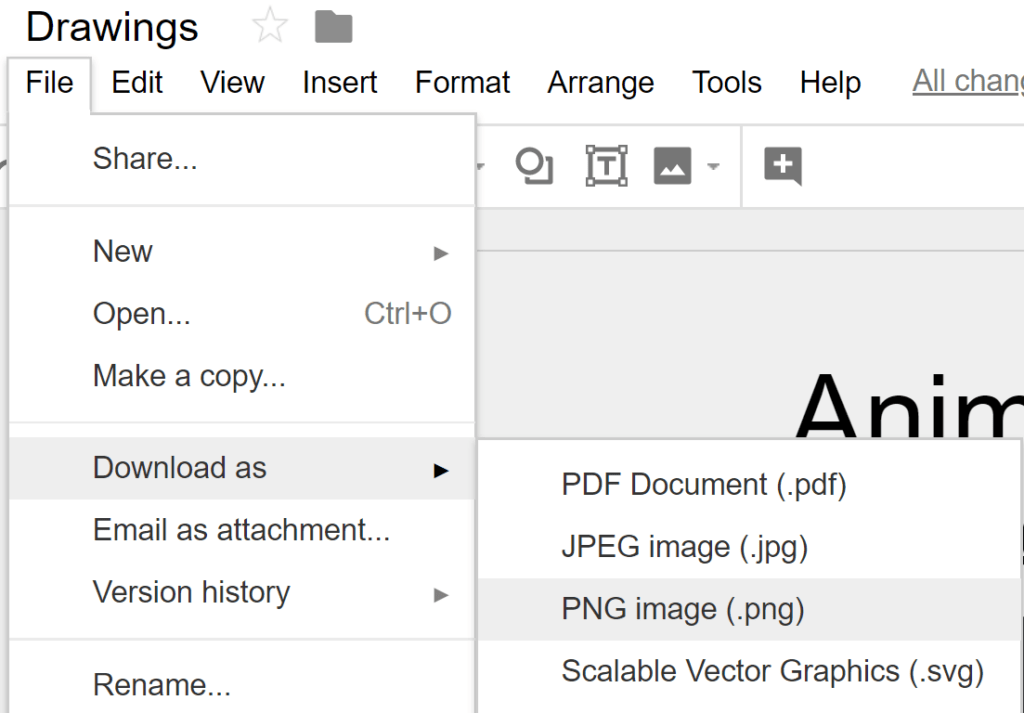
4) Save each image version: Be sure to save each version of the image. Do that with the File->Download as… [PNG] command:
6) Repeat steps 2-4. You can repeat these steps as needed. Be sure to save each image and assign it a name in revision history (e.g. Slide 1, Slide 2, Slide 3).
Steps to Follow: Making the Animated GIF
7) Drop images into Gifmaker.me to animate them.
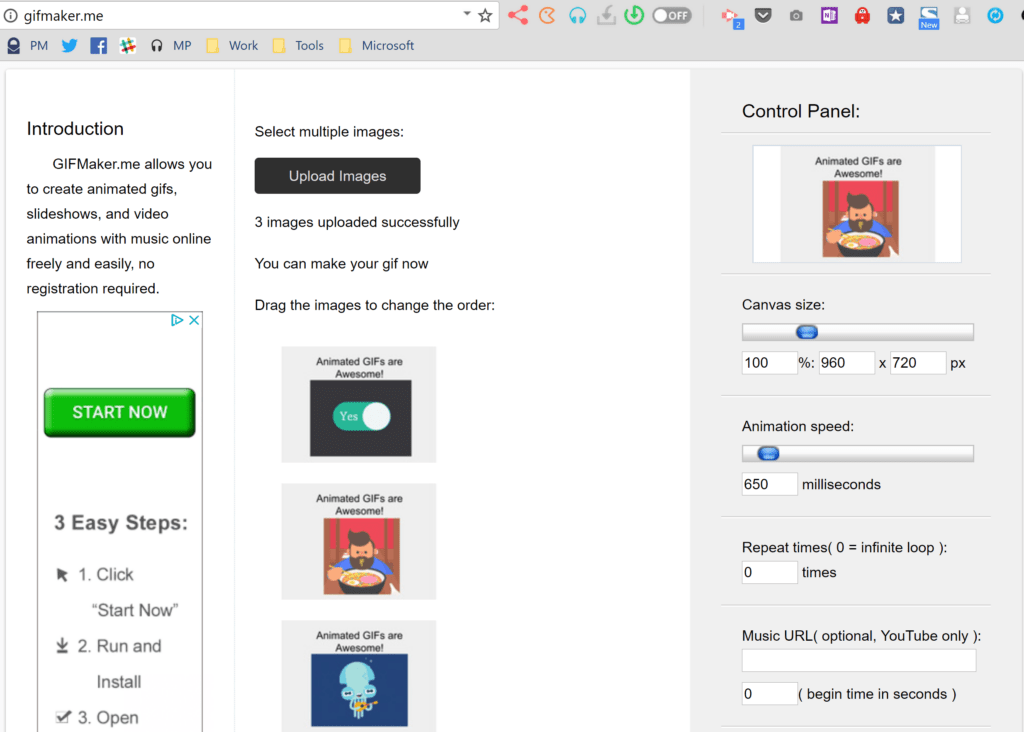
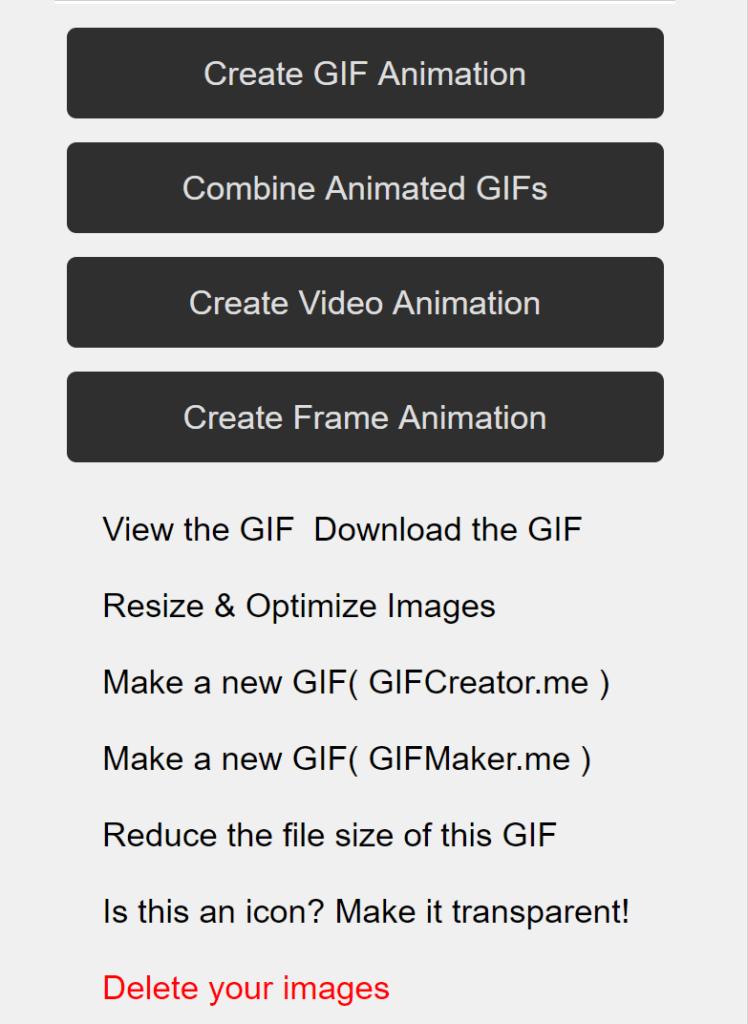
You can make adjustments to the speed of your animated GIF. If you scroll down on the Gifmaker.me website, you will see additional options, as shown below. One of these options lets you get the GIF and save it to your computer (“Download the GIF”).
Wasn’t that easy?
One Final Tip
Google Drawings may export a blurry image. To avoid that, magnify the picture and use a screenshot tool. On Windows 10, I prefer PicPick (Windows 10 app) . Chrome browser users will enjoy Fireshot (Chrome extension) . This will ensure you get the level of image quality you want.