Do you create Google Docs? Since many around me often rely on Google Docs, I have found myself creating an unbelievable number of word processing documents in Google. Although much of what I do in Google Docs is run of the mill, some actions come as a surprise to others. Please allow me to share five Google Docs hacks that you may find useful. These quick hacks can transform your experience, as well as that of collaborators, into a positive one.
Hack #1 – Enable Headers in Google Docs
Google Docs, great for short documents, features more amazing tricks for longer documents. One of them worth using, no matter the length of your document, is headers. Headers serve as titles for various sections of your document. Rather than using boldface and enlarging the size of text to emphasize it, use headers. Once you have designated a section title as a header, you can customize it with any font or add bold, italics, or underlining to it. My advice? Keep it simple and use the built in header style.
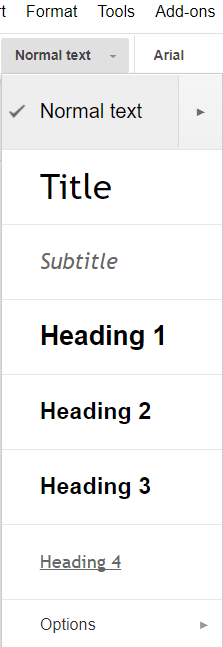
Using headers allows you to create layers of content, just as you might in an outline. It also empowers you to take two other actions: Table of Contents and Document Outline creation. Let’s look at those next.
Hack #2 – Table of Contents
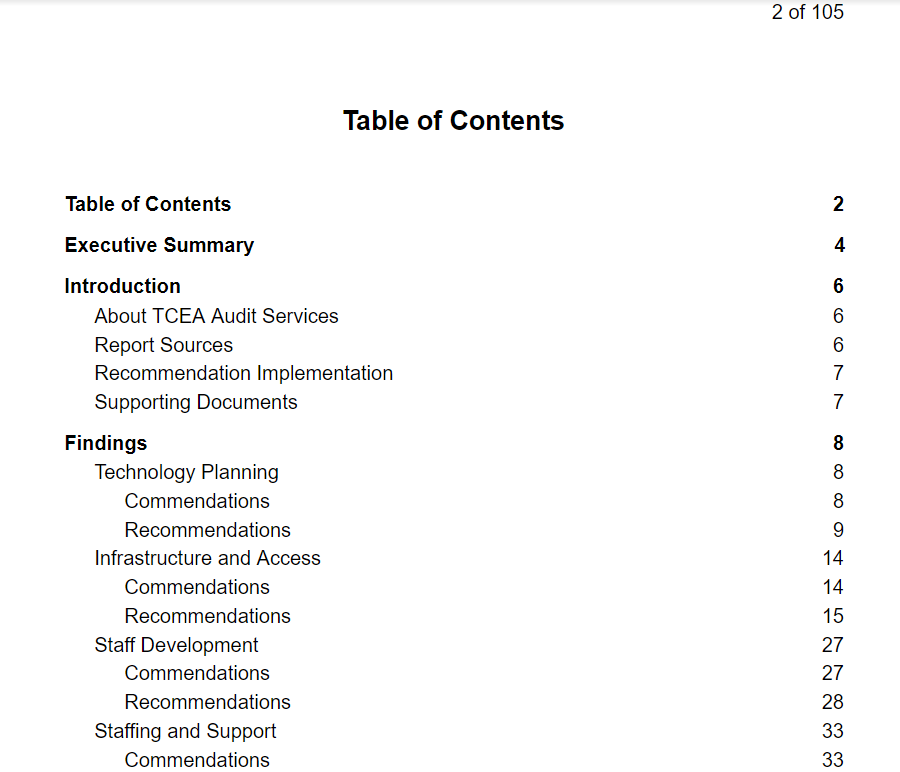
Add a table of contents to facilitate navigation in your document. The table of contents with page numbers works great for print and online documents. You may not know it, but every time you format text as a heading, you create an entry in the table of contents. The table of contents can include a simple list of headers that appear, or can align each header to a particular page number. This is handy once you have added a header/footer with page number and page count. I add the latter to get the “Page 73 of 200” look.
Did You Know? TCEA provides Audit Services for school districts and organizations. We’ll help you grow your educational technology program, providing insights into technology planning, infrastructure, staff development and technical support. Learn More.
You can refresh your table of contents as you work on it, providing collaborators with a quick way to view what sections of content appear on what page.
Want to see this in Google? Check out the source files for the hacks shown below.
Hack #3 – Document Outline
Adding headers to your document sections can be a real help for navigation. You may not know about the Document Outline feature. This is handy when you are working within a large document (like a campus handbook) or even a short one. You can navigate the document without having to jump back to the table of contents.
You can turn on document outline via the “View” drop down menu, as shown below:
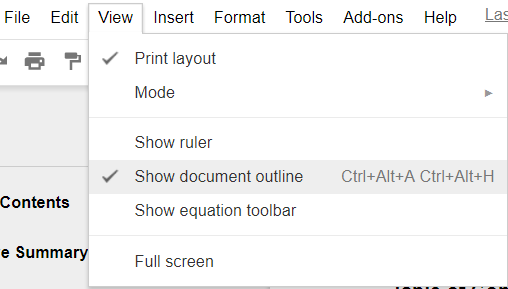
The list of headers appears as a sidebar. Note that “Header 1” shows up in bold, while “Header 2” appears indented below “Header 1.”
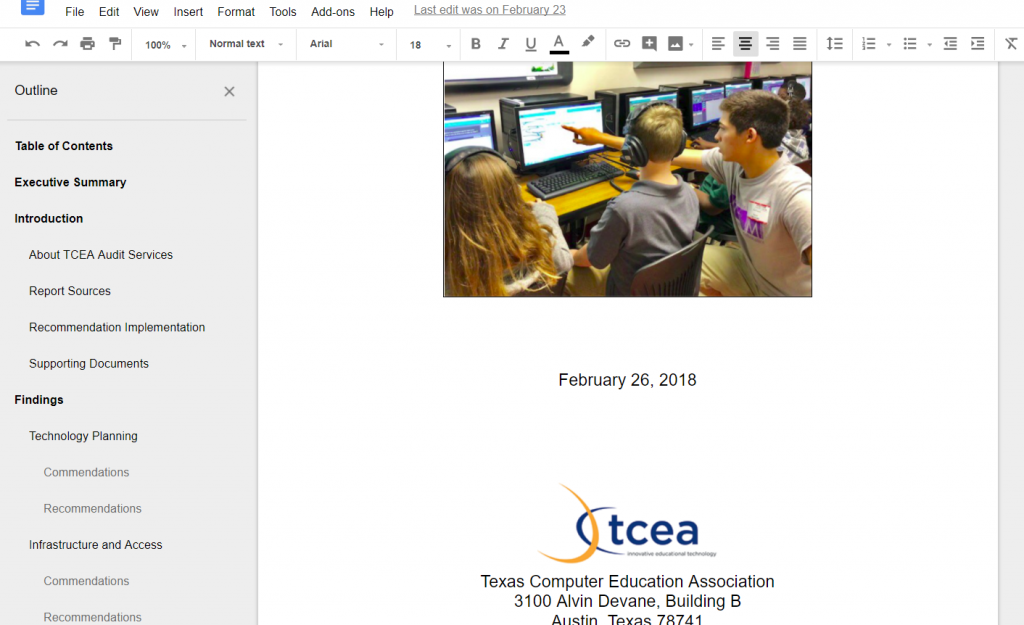
Note the document outline shown to the left of the Google Doc. Use it to navigate your document.
Hack #4 – Insert Chart
Ever wish you could insert a graph or chart that gets auto-updated when you change the data? If so, you can do that with Google Sheets and Google Docs. First, create your Google Sheet and the appropriate chart. Here’s an example:
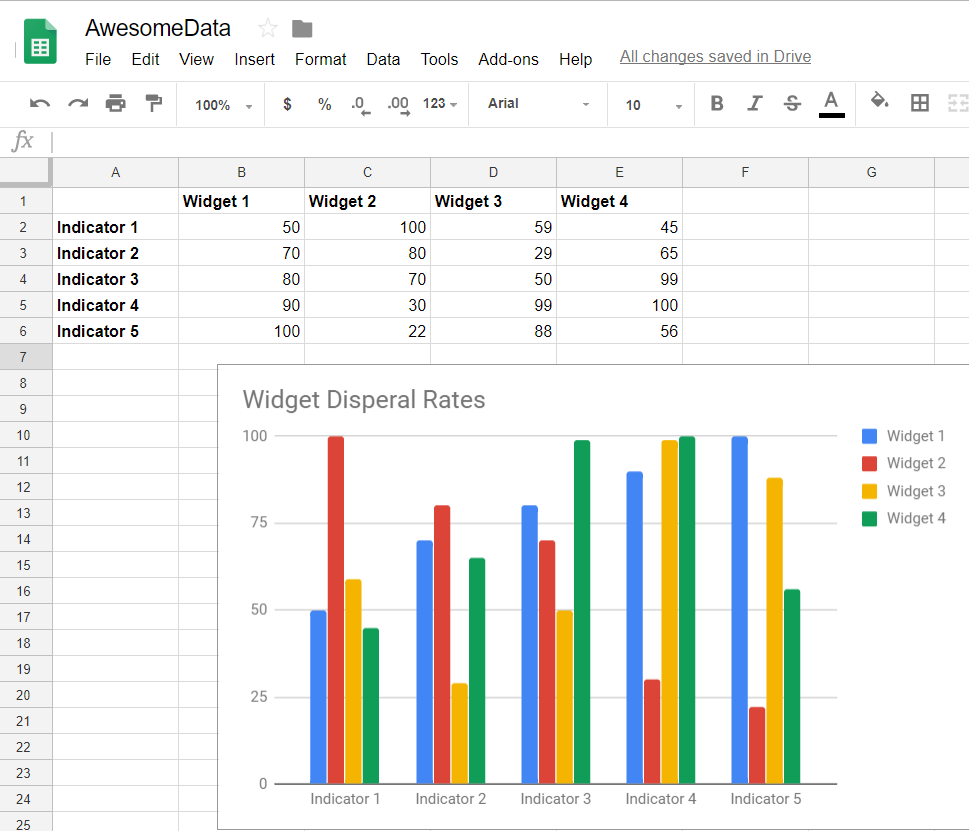
Now, while I want the graph to appear in a Google Doc, I do not want the original data to appear. To insert only the chart, switch to your Google Doc and then the Insert drop-down menu. Select Chart, then From Sheets, as shown below.
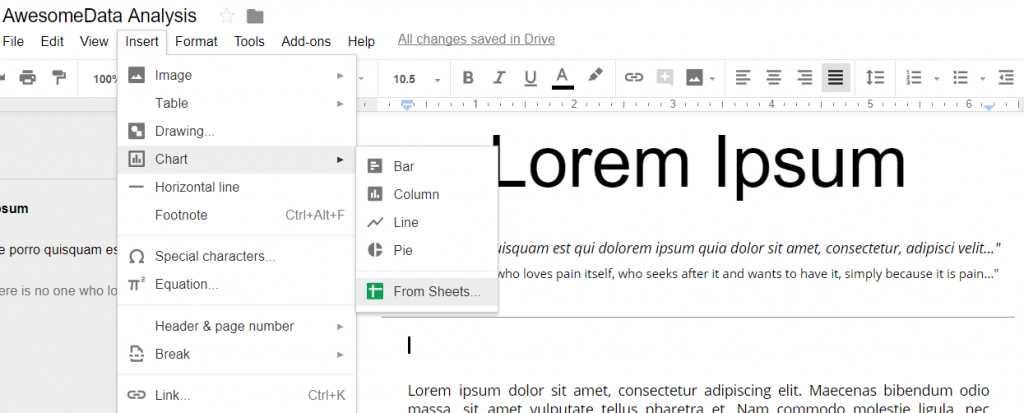
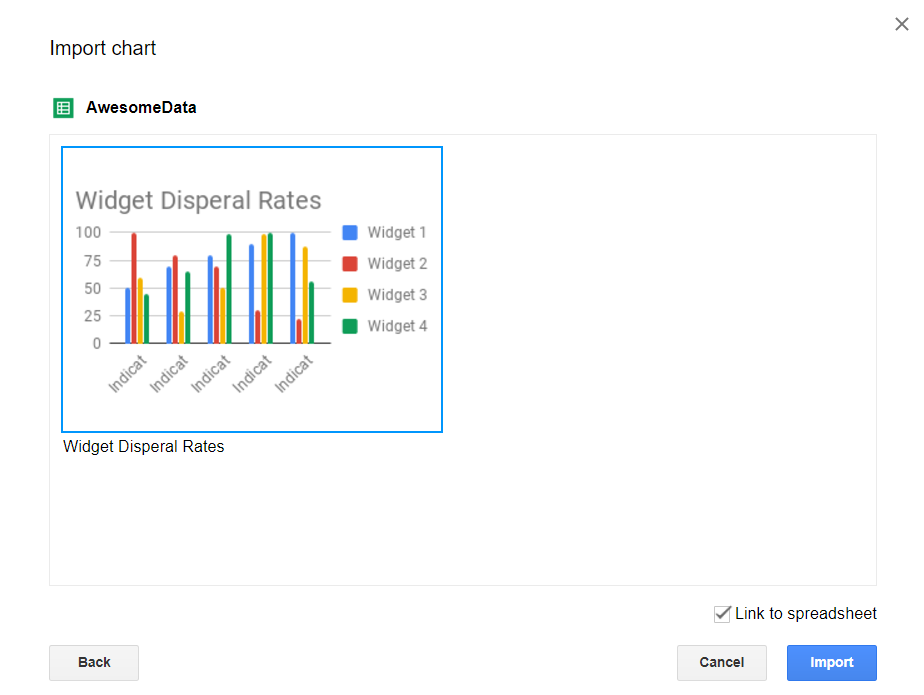
You will have the opportunity to choose the chart you want from the Google Sheets documents that pop up. Here are two screenshots that illustrate that selection process:
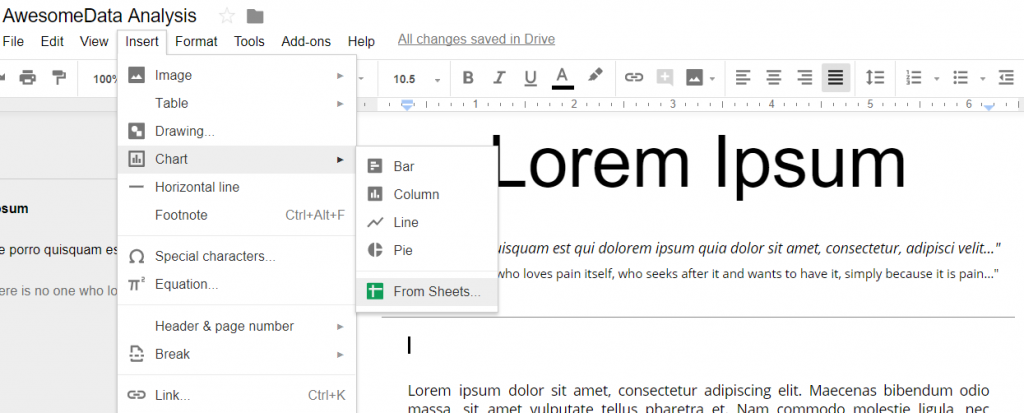
The chart selection process (only one chart is showing in this example since I created only one chart in the sheet) is simple. Choose to link to spreadsheet. This will enable changes to the spreadsheet to be reflected in the inserted chart.
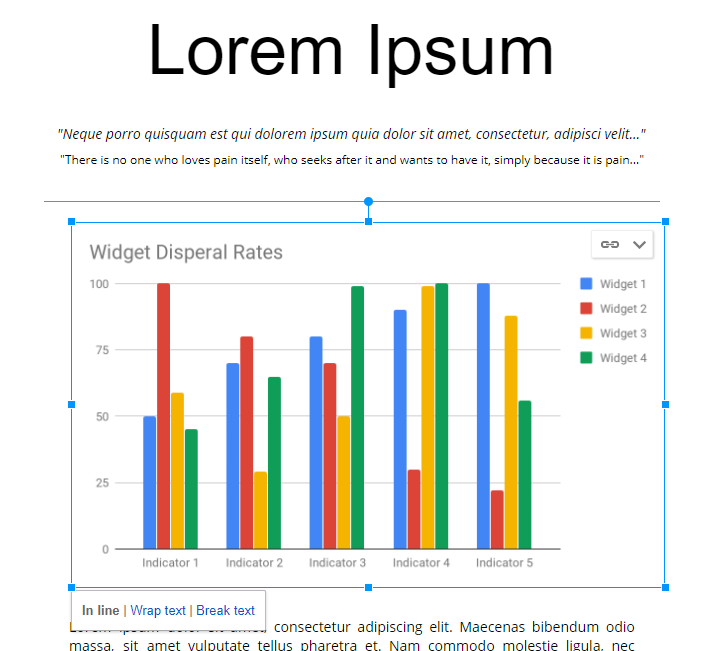
Below, you can see the completed insertion of the chart. Note that these are two separate documents, a Google Sheet with the spreadsheet/chart and the Google Doc the chart was inserted into.
Did You Know? You can use the free Lorem Ipsum generation website to create “filler content” for your documents.
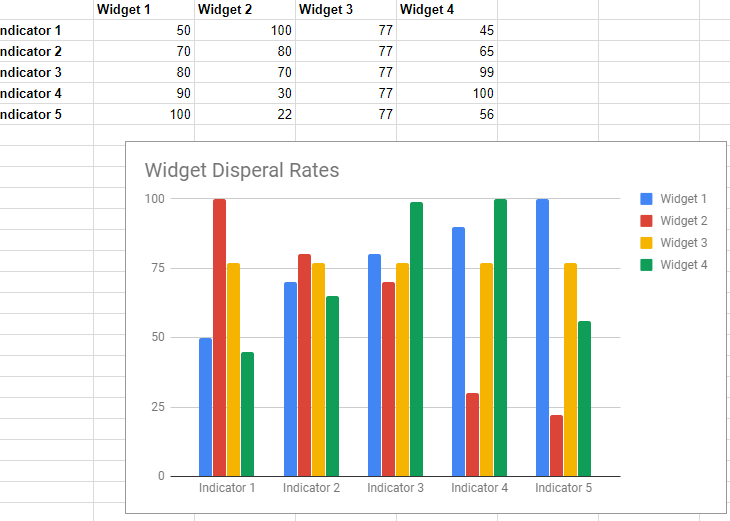
Once you’ve inserted the graph, try updating the data in the spreadsheet. For example, you can see the yellow bar graph (Widget 3) for all indicators varies. I’m going to adjust the values in the spreadsheet to all be the same (“77”). This gives Widget 3 a uniform look in the chart.
When I switch back to the Google Doc, I update the embedded chart with a quick click of the Update button that appears in the top right corner of the graph:
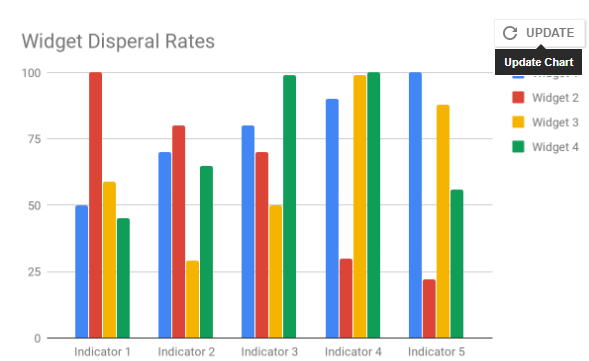
This will result in an updated graph, as shown below:
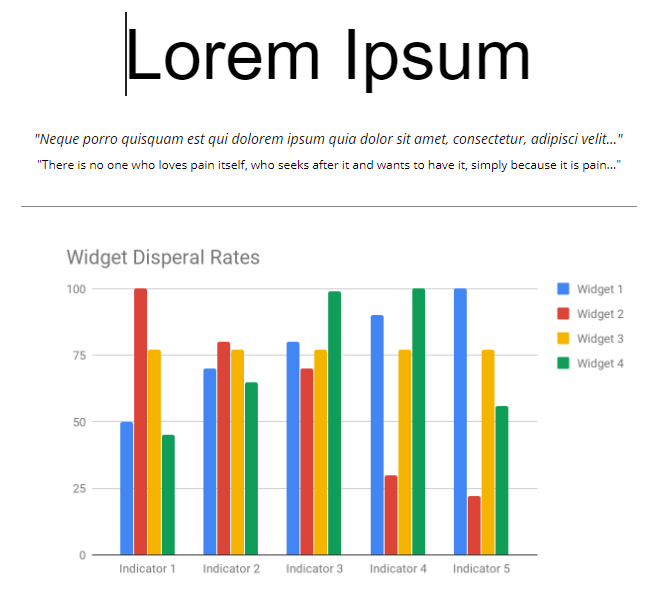
Give it a try for a quick way to insert “live” graphs into your Google Docs or Slides.
Hack #5 – Insert YouTube Video
While you may know how to insert videos into Google Slides, what about inserting videos into Google Docs? If you take a look at the INSERT menu, you won’t find an easy way to insert videos. Neither Google Drive nor YouTube-hosted videos are supported. So how do you get around this? Here’s a workaround I often use.
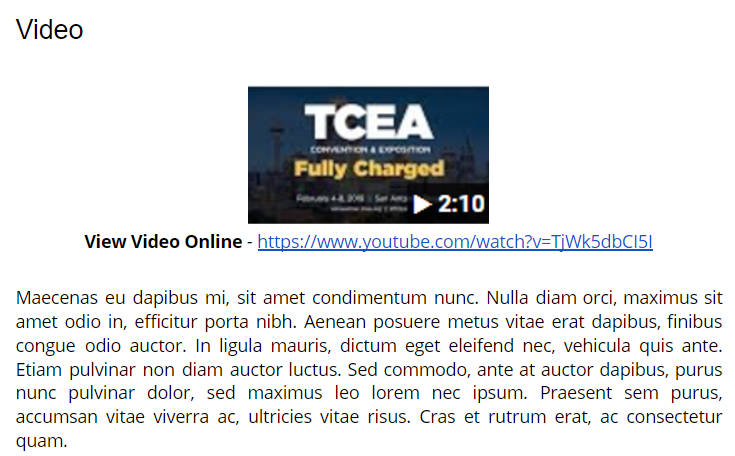
Workaround: Snap a picture of the video you want to insert, then link the image itself. This will “trick” users to click the picture to play or view the video. Here’s an example (See Google Doc version | Get Your Own Copy):
Five Google Docs Hacks
That’s it! There are a lot of other things you can do in Google Docs, but these are a few I use every day. What are your favorite Google Docs hacks?

