

Need to share videos into Google Classroom or Seesaw? You’re not the only teacher who needs to put a quick tutorial video together for students. Here are some strategies that other educators recommend around the topics of video storage, sharing and creation tools and tips, as well as how to share videos in Seesaw and Google Classroom.
Storing Videos in the Cloud
With both Google Classroom and Seesaw, you can share links to existing videos. This means that you can make a video using any tool you want and then post it anywhere. That anywhere can be YouTube, Google Drive, Microsoft OneDrive, or wherever. One thing you need to be careful with is ensuring that the video is viewable by anyone with a link. This is an option when you put the video in a cloud storage space.
Did you know you might have almost unlimited storage in the cloud? Both G Suite EDU and Microsoft OneDrive offer unlimited (or almost) storage.
A New Player? Loom Pro for Free
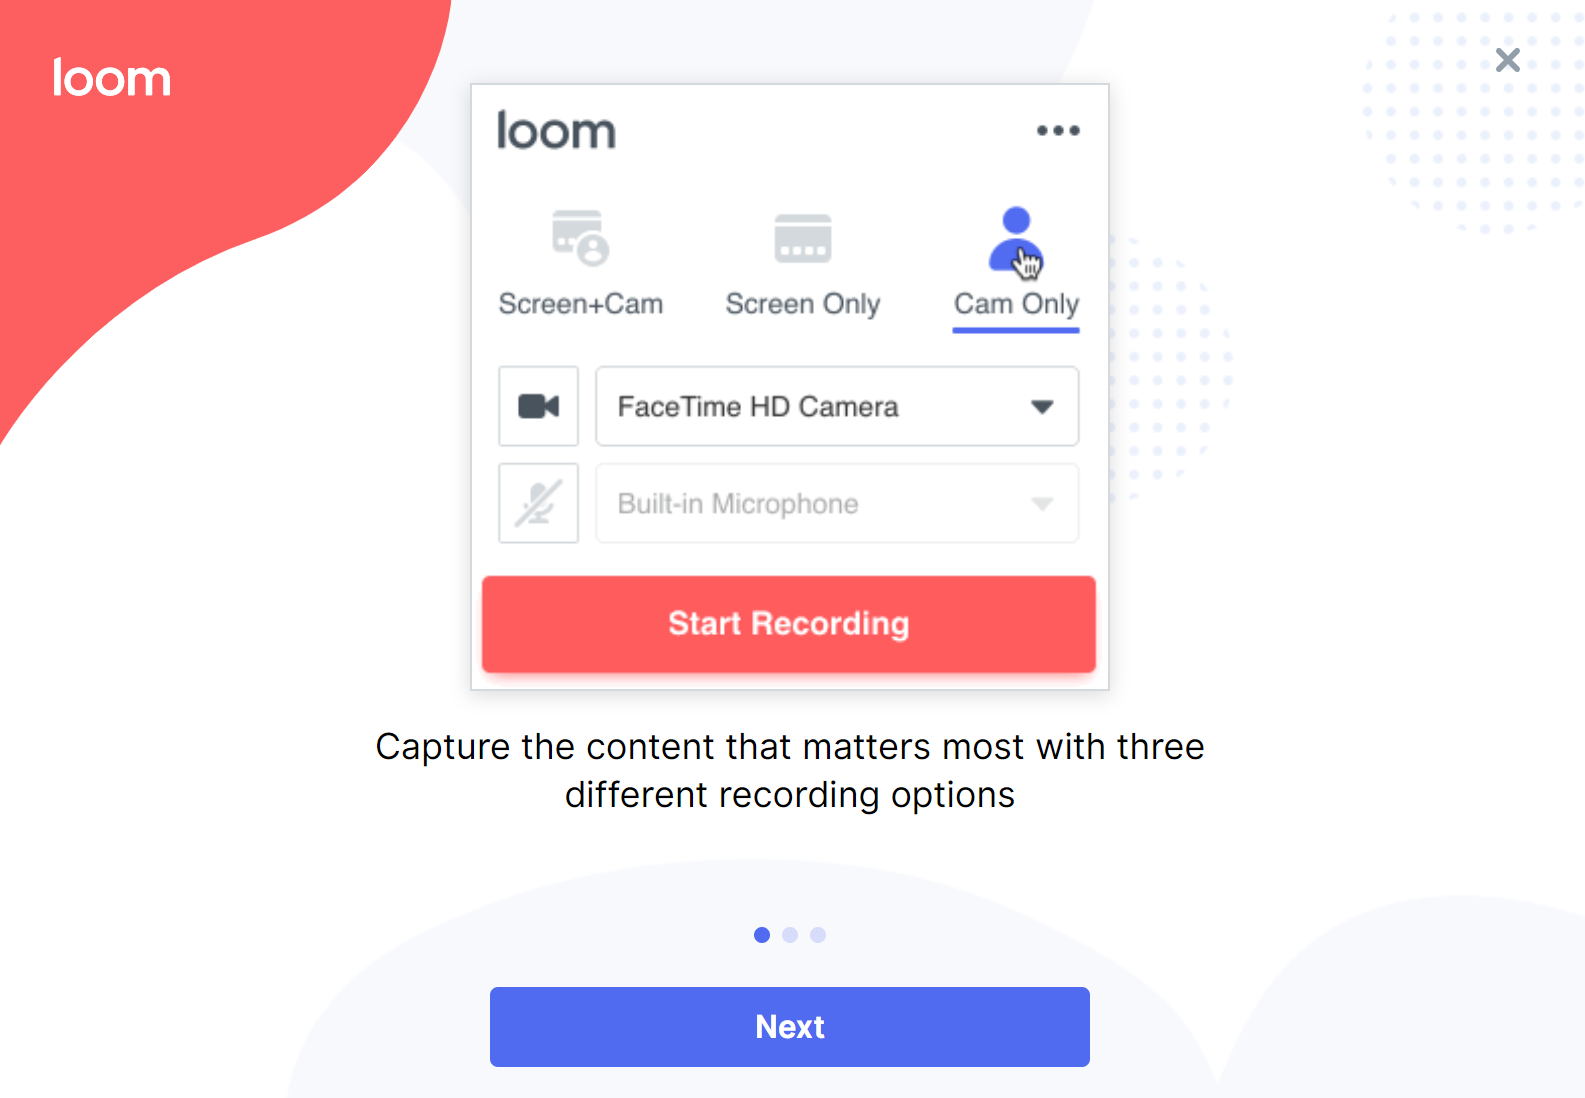
“Looms is my choice as a best option,” says TCEA board member, John Bimmerle. He goes on to point out that it is “super quick.” Loom Pro, which has gone free for teachers, is also open to students at K-16 education institutions. Loom Pro comes with a desktop version and Chrome extension. Learn more about their COVID-19 Loom Pro free offer via their announcement. My experience? It lagged a bit in rendering the video on their website. After 10 minutes, I uninstalled Loom and opted for another tool. Let’s hope they improve and/or demand eases up.
Wait, Wait, There’s ONE MORE Newcomer!
Flipgrid announced on April 1, 2020 that they are adding screen recording to their amazing product. It’s a free, no-cost offering. Watch their announcement video via this Tweet (or see the unauthorized MP4 video I made of it):
We hear you @JessHallal, @TechisforGirls, @mrR_tjmscience + @buddyxo! Today we're excited to announce…
Screen Recording in @Flipgrid 🤯
We can't wait to see how you and your learners share your world with this supercharged upgrade 🚀 pic.twitter.com/6VSolNdfFb
— Flip (@MicrosoftFlip) April 1, 2020
The possibilities with Flipgrid screenrecording option are endless. You can now organize your screencasts, such as of your desktop and apps, into grids and allow others to contribute. What’s more, you can export those screencasts as MP4 video files to place on YouTube. What’s amazing is how easy it is to screen recording using Flipgrid. And, all of this is FREE and available at no cost to educators. It also allows you to start and stop video recording, which is an amazing feature.
Did You Know?
Sign up for one of our Google Certified Educator certifications. You’ll learn about more than Google Meet, as well as earn 12 CPE hours per course. Use these courses to get Google Educator certified. Find out more online.
Video Creation Tools
If you’re still looking for a good tool for video sharing, here’s a quick run down of other digital tools you can use to creating teaching videos.
- Screencast-o-Matic. Screencast-O-Matic is a fantastic tool that will let you record from their site. You can record up to 15 minutes, and it allows for webcam picture recording. Save your videos in .mp4, .flv, or .avi video format or you can upload them straight to YouTube.
- Screencastify. Screencastify is a Chrome extension that allows you to record, edit, annotate, store, and share video screen captures. Record a specific tab, or your whole desktop, at the click of a button. The free Lite version normally limits recording time to five minutes per video and has a watermark. Due to COVID-19, as of this writing, you can get premium version for free for 60 days. You may also want to look at some of their free e-learning resources. They are also announcing a new feature for students to use Screencastify. Find out more at Screencastify Submit. Watch a video intro.
- Nimbus Screencapture/Screen recording. Nimbus is a Chrome extension for capturing web pages, either part of one or the whole browser window. You can also edit your screenshots and screen record your desktop or a particular tab.
- Zoom. Available at no charge and in wide usage as a result of COVID-19, many people don’t know they can use it to record and share their screens. Using Zoom Basic, you can record webinars that feature picture in picture, play music as you share your screen, and save a video recording to your computer. Many videos you will create will be no more than five to 30 minutes, which fall into the free version of Zoom time limits. Of course, those time limits have been waived for educators during COVID-19.
Popular Screencasting Tools
Those are some of my favorite browser-based screen recording tools. There are also free screen recording tools that you can install on Windows. Of course, Mac users can rely on QuickTime, which offers free recordings. If you need to edit videos, Shotcut is a great editor for Windows, Mac, and GNU/Linux computers.
A Personal Recommendation
People often ask, “What do you use?” Until lately, I have relied on Screencastify. With its $29 price tag for one year, it’s worth the investment. While I still use Screencastify when on a Chromebook, on Windows 10 and Mac I recommend another tool, Open Broadcaster Software (OBS). I can’t tell you how amazed I was at the flexibility, versatility, and speed of this free (and no-cost), open source tool. Gamers (e.g. esports) use OBS to stream their game-play to various streaming services (e.g. Facebook LIVE, Twitch, Periscope). You can use it to record your content, too.
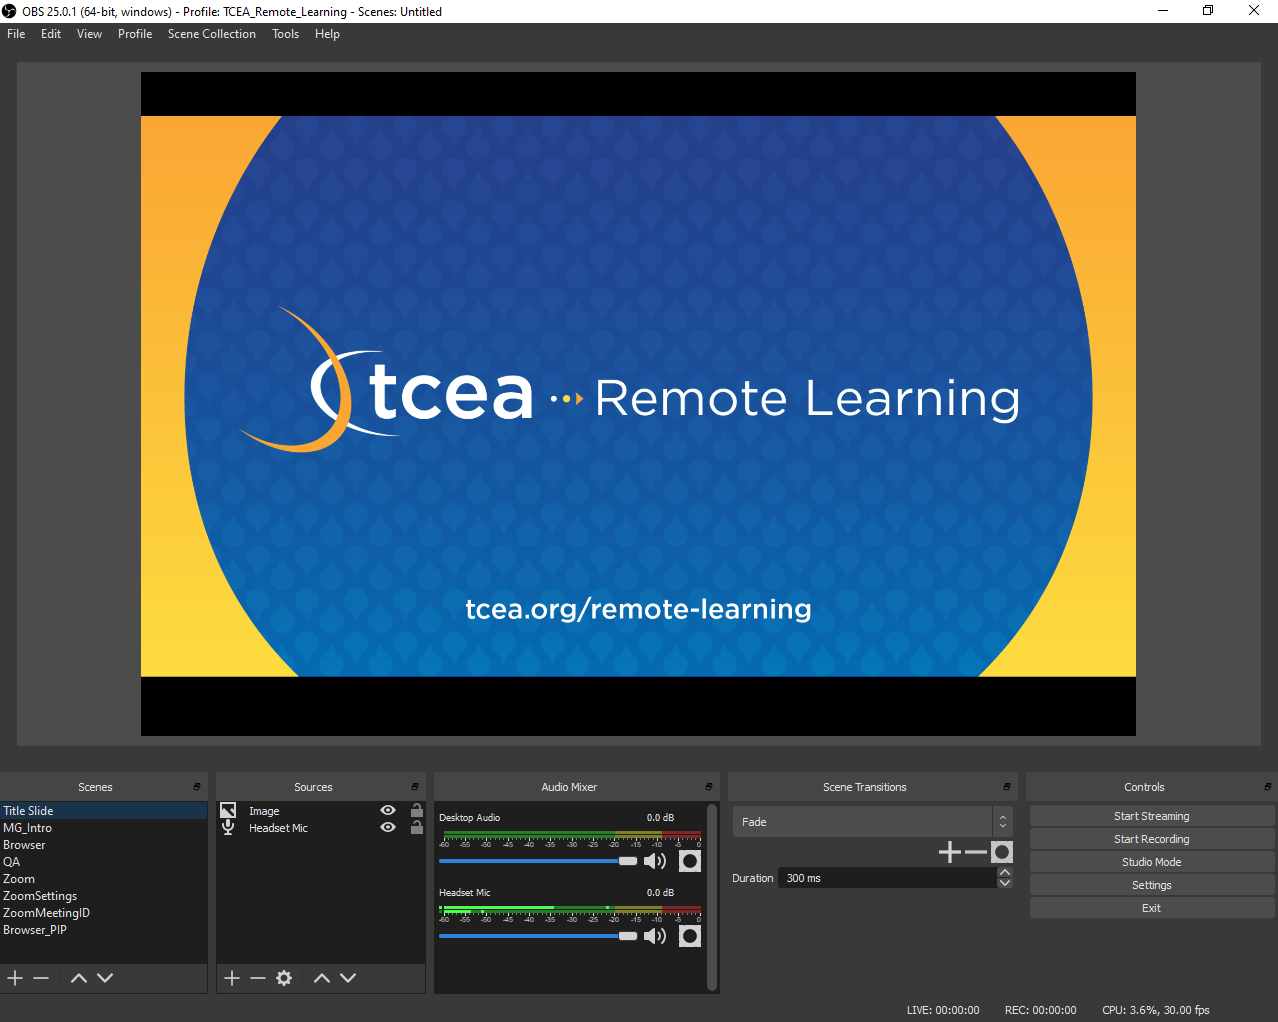
Look hard? It’s not as bad as you think. Here’s what OBS looks like when I’m using it to record videos for TCEA Remote Learning.
Highlight Tool: Open Broadcaster Software (OBS)
Instead of recording your desktop, OBS allows you to record anything your computer does (see sidebar image for a list). While not for the faint of heart, OBS continues to get easier to use every day. If you have to record video, it makes switching between different scenes and input sources (e.g. audio, video, webcam, browsers, and apps) easy.
Intended as a streaming solution, you can use it to record and save video to MKV or MP4 format. I am truly astonished how fast it is once set up. However, the setup can be confusing, and so I encourage you to read my upcoming guide on recording videos with OBS. In the meantime, be sure to read the the OBS Studio Quickstart guide.
Even More Video Sharing Tools
Looking for other powerful tools to use? Here are a few.
- Flipgrid.com – Flipgrid is a free, fun, and easy way to have a video chat. It is a great tool to get student feedback while incorporating student voice. There is an iOS and Android app.
- VideoNot.es. Have students use this Google Drive app with their Google account. That will allow them to take notes while they watch a video that you assign. Notes work as video markers. Click the notes, and you leapfrog to the matching spot in the video.
- Vialogues. Vialogues allows you to create conversations that revolve around a video.
- EdPuzzle. This is the premier tool for adding content to an existing video. It makes it easy to use what you need from any video. You can insert audio notes or record over a video with your voice. You can even add questions at any point in the video and track your students’ understanding.
- Educannon (Playposit). This is a great way to annotate existing YouTube videos for students to watch at home.

Some Quick Tips for Video Recordings
Here are some quick tips for video recording you may want to keep in mind:
1) Storyboard your content first, then create a video about your lesson. All the tools are free to get started.
2) Keep videos short, two to three minutes or five to 10 minutes max (shorter is better). You can always create more videos. Think “bite-sized chunks” that students can nibble on their way to/from school, sitting somewhere waiting for an adult to do something, or during the gap in a basketball game on television or in person.
3) Plan for reflective, online classroom activities. Use tools like Quizziz, Kahoot, and GetKnowt to create some online assessments.
Recording Video on the Go
Need tools for recording videos on the go? You can use your smartphone and an app to get the job done. Need some solutions for Android? How about iOS?
Sharing Videos in Seesaw
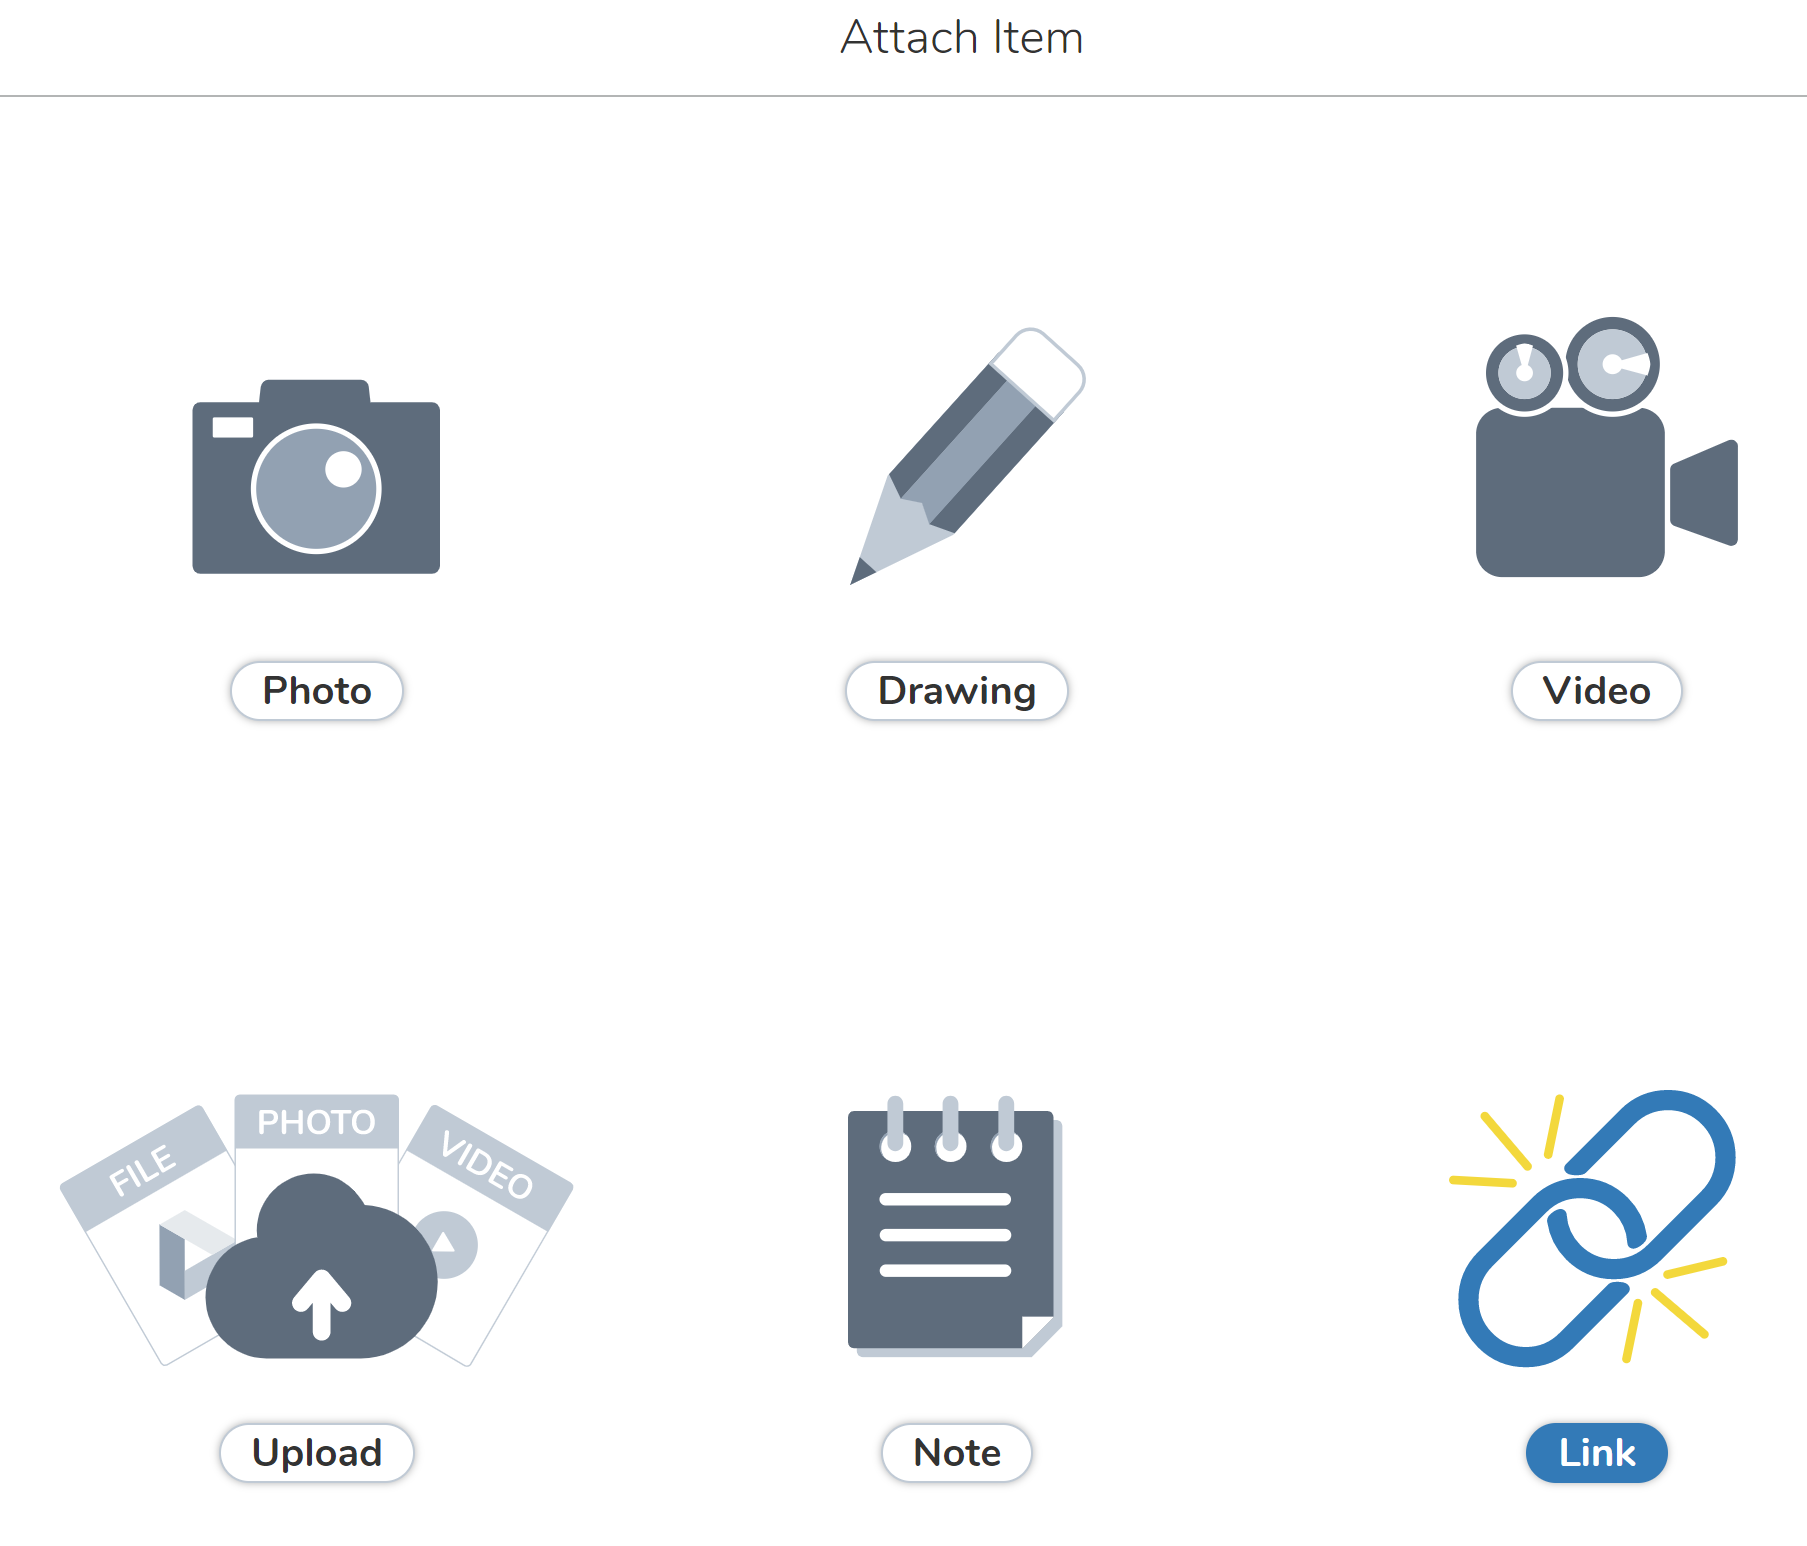
Sharing content in Seesaw has never been easier. The steps involve creating an announcement and adding an attachment. Then you select the type of attachment you want (a link). Afterwards, paste the link to your “shared with anyone” video resource. For a visual overview, check out this animated GIF that walks you through the process. Remember, you can have a copy of that video saved anywhere so long as it is “shared with anyone link.”
If you want to share a message straight to the camera, you can record video directly into Seesaw using your device’s camera. Instead of choosing LINK in the Add Attachment window, choose VIDEO, as shown in the picture below:
Sharing Videos: Google Classroom
Google Classroom makes it easy to share content by posting it into its stream or to YouTube. If it’s an instructional video, you can then add questions with EdPuzzle. Dropping your videos into Google Drive, then sharing a public link is easy. Drop the link to the video in the Google Classroom stream. You may like Eric Curts’ video series on Google Classroom.
Final Thoughts
Still not sure what’s the best tool for the job? Let’s review the options below:
- Flipgrid user? Need an easy to use tool, then Flipgrid screen recording is so easy. You can save your screencasts as MP4 videos on your computer. Flipgrid works via your browser, making it the perfect tool on mobile devices. This is also an amazing feature for students to use.
- Screencastify? If you are a Chromebook users, or want to use a simple, powerful tool, then Screencastify will make the job easier. As a veteran Screencastify user, it’s one of my favorite tools. They are also announcing a new feature for students to use Screencastify. Find out more at Screencastify Submit.
- OBS Project? Not afraid of a little complexity? OBS offers a free, no-cost screen recording tool that works on your Windows or Mac computer. It’s super-fast since it’s running on your computer.
- Mobile user? Try XRecorder to screencast your Android screen, YouCut – Video Editor & Video Maker, No Watermark to blend pictures and video with light editing. On iOS?
Need a video editor? Use the free, open source Shotcut for Windows, Mac, and GNU/Linux. Or if you need a browser-based web editor, WeVideo may be your only option (check here for more info).
1 comment
I have used Flipgrid in a lot of my Pd this summer so I think I would add that to my classroom routine maybe