Earlier in 2018, I had the opportunity to take colored pencils, colored markers, and crayola crayons to the Region 4 Digital Learning Conference. What fun it was to show off a tool that Dr. Bruce Ellis had introduced me to. Panoform turns any student (or adult) into a 3D virtual reality designer. In this blog entry, we’ll explore it. All you need are crayons and paper with grids on it.
Introducing Panoform
Able to work with any device (it’s a website), Panoform empowers you to draw/color a design on paper with grids on it. Your design, when placed online, is transformed into a 3D virtual reality space. You can even place 3D-friendly photos/images in it to simulate the 3D effect. Teachers can also create their own Panoform channel. For example, view or share your creations in tcea3D.panoform.com.
Panoform Example
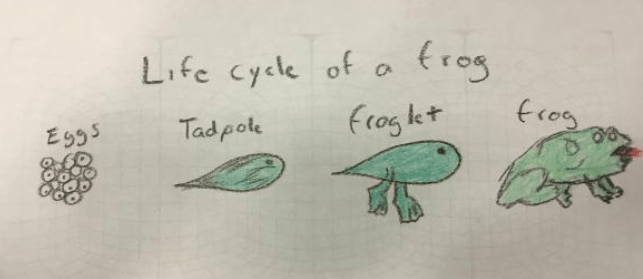
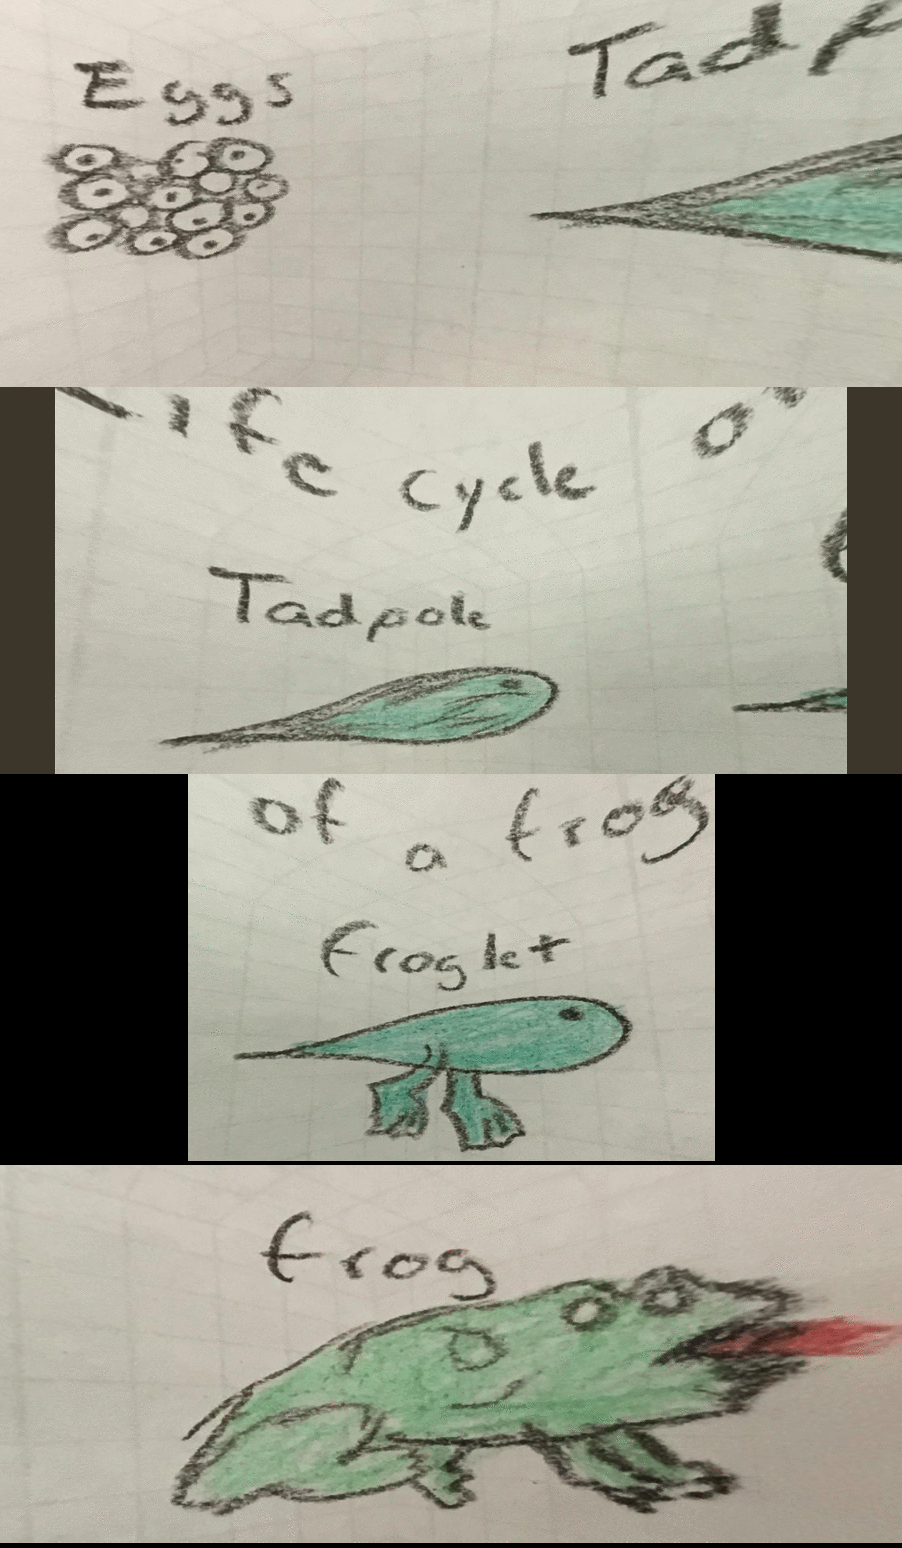
Take a look at how this picture of the life cycle of a frog is transformed from a paper drawing to a 3D virtual reality space:

Simple paper design created by Alan, a DLC session participant
The drawing is converted into a virtual room that students can explore:

What may be not be evident is that images appear on 3D virtual reality walls
Before we review how to accomplish this magic with crayons and the Panoform website, let’s see how some of the teachers in my workshop session responded.
Classroom Applications
A wide range of educators reached for crayons, colored pencils, or colored markers to begin drawing on grid paper. I took a moment to interview them for a short voxercast. Here is what each had to say, approaching Panoform’s use in the classroom from their content area perspective.
- Math: “I could use Panoform in the classroom to coordinate grid practice in math. Explore cartoon illustrations of process cycles, such as the states of matter and water cycles in science,” said Teresa (Eagle Springs ES, Humble ISD) at the Region 4 Digital Learning Conference.
- Science: “You can use Panoform to help students visualize a plant cell in 3D,” says Ashley Cleaver (Aldine ISD).
- Language Arts: “Use Panoform to teach sequencing. Students can make the drawing, then write about it. Other students can see it and learn how sequencing works,” said Alan. (See Life Cycle of a Frog above.)
- Art: “This could help students experience their art in a new way,” said Grace.
- Cross-Curricular: “This can be incorporated into any class,” said Brenda Quintanilla.
- Video-game Design: “I can see students using this in my video game design class to setup the frames. Instead of storyboarding on paper, they can tell the story,” Denise.
No matter what the grade level, Panoform can be used. One second grade teacher said, “My second graders study peacemakers. They could draw their favorite peacemaker on one side and draw favorite attributes on the other.” While the teacher spoke of “one side” and the other, Panoform takes those sides, making them into 3D virtual reality walls.
How Panoform Works
The process takes longer to explain than it does to put in action. Here’s the process:
- Save a grid you can use to your computer.
- Print it out on regular sized paper.
- Draw/Color your design.
- Take a picture of your design.
- Go to the Panaform Tool website.
- Upload/Put the picture of your design online.
- View Your Picture on the Panaform website via a Google Cardboard headset to get the VR view.
This process works whether you are on a Chromebook, Windows/Mac computer, Android, or iOS device.
Wallpaper Your 3D Virtual Reality Room
Ready to see this process in action? Visit the Intro to Panoform website created for sharing. It features videos that walk you through the process and instructions, as well as a place you can share academic pictures.

