

Dear TCEA Responds:
How can I take photos of my students and easily display them on my Google Site with the least amount of touches? What’s the best or easiest workflow?
-Catarina
Dear Catarina:
Thank you for the opportunity to share two of my favorite tools, Google Drive and the new Google Sites. Combining these two makes it easy to share images with others, even from your mobile device. Let’s explore the unique aspects of each tool before combining them.
Here’s the process we are going to use to take advantage of these two tools.
Three-Step Process to Share Images
The process is quite simple and will become familiar to you in time.
- Snap pictures. Use your preferred device (e.g. smartphone, tablet, digital camera) to capture images.
- Put photos in Drive. Use the Google Drive app on the smartphone/tablet to save pictures to a photo folder in Google Drive. If you are using a digital camera, put the pictures in your Google Drive folder.
- Publish your Drive photos. In Google Sites, you can insert a folder (e.g. Photo Gallery) as a grid rather than a list.
Let’s go through the steps.
#1 – Snap Pictures
Snap some photos of a school event. If you are using a smartphone or tablet, you can load the Google Drive app on your device. Then follow instructions in Step #2. If you are using a digital camera, copy the image files to your computer and then put them in Drive via the web interface.
Let’s take a quick look at how to put photos in Google Drive via the Drive app. Use one of the links below to get the app for your device.


#2 – Put the Photos in Drive
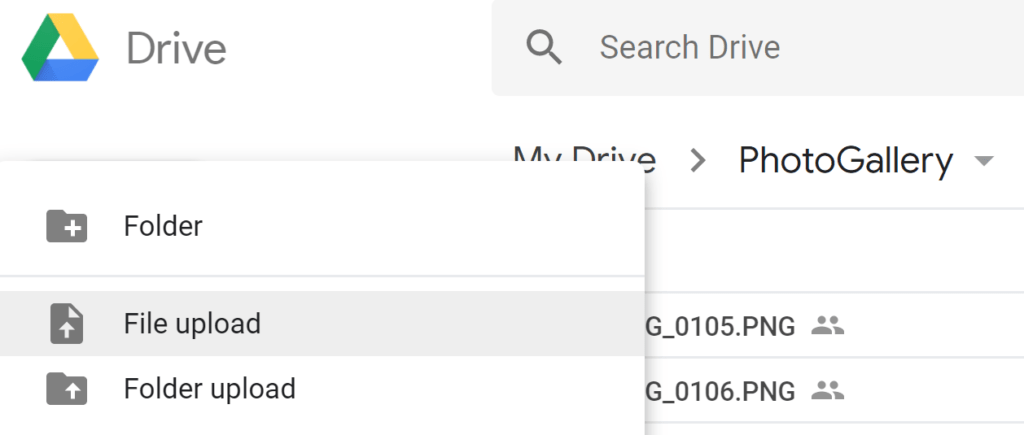
Here’s what this looks like on an iPad, but the process is similar on Android. When you open the Google Drive app on your computer, you will be able to open a folder in Drive. You can create a new folder or navigate to the folder you want (e.g. PhotoGallery in this example).
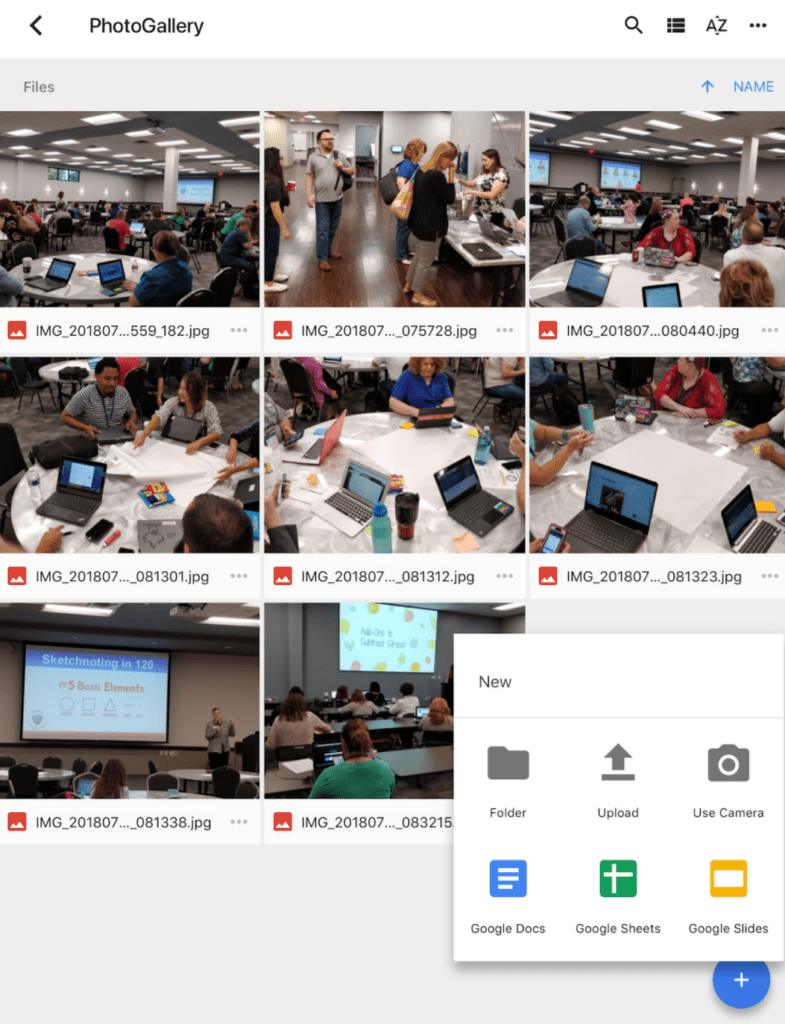
If you select the plus symbol, you are able to save pictures/videos from your devices image gallery (e.g. Camera Roll or Gallery). It will look like this:
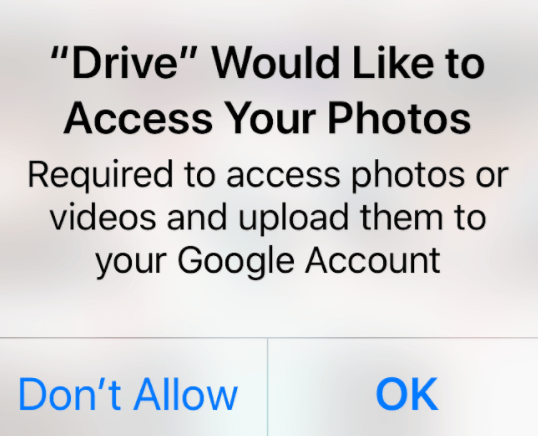
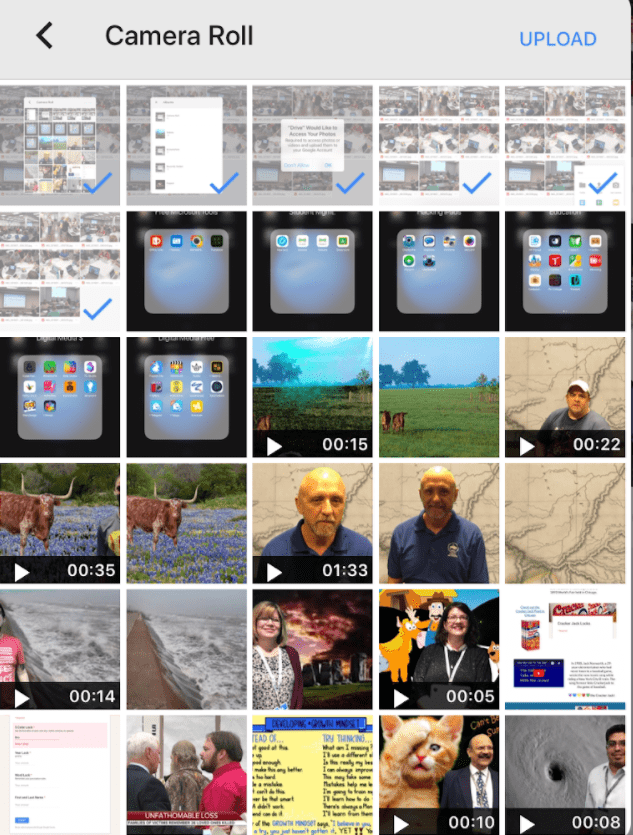
Select the UPLOAD button shown. This will, if it is your first time using Google Drive, require you to grant permission to access your device’s photo gallery. Once that is done, you can select multiple images.
Select the photos you want to put in Google Drive, as shown in the image below:
Once the pictures have been placed in the Google Drive folder you specified, you can view the photos on Google Drive:

Now that the images are in your Google Drive, we’re ready to move to the next step.
#3 – Publish Your Drive Photos
To display the photos in your Google Drive folder (e.g. PhotoGallery, the name of the folder in this example), you will need to create a new Google Sites. The new Google Sites make it easy to insert and display the contents of a Google Drive folder.
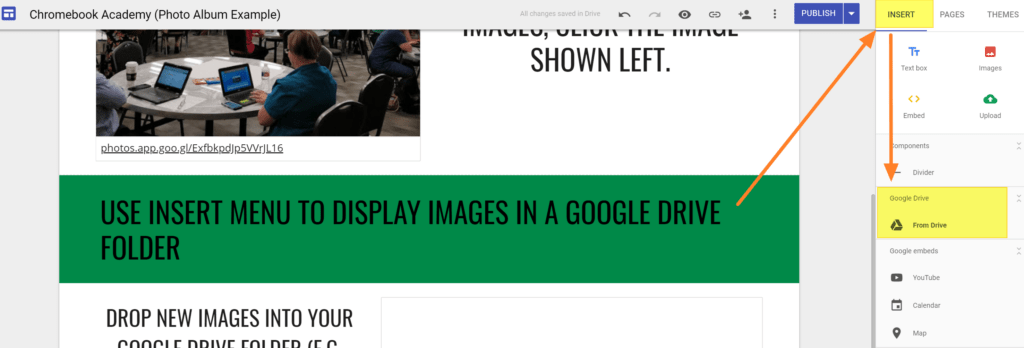
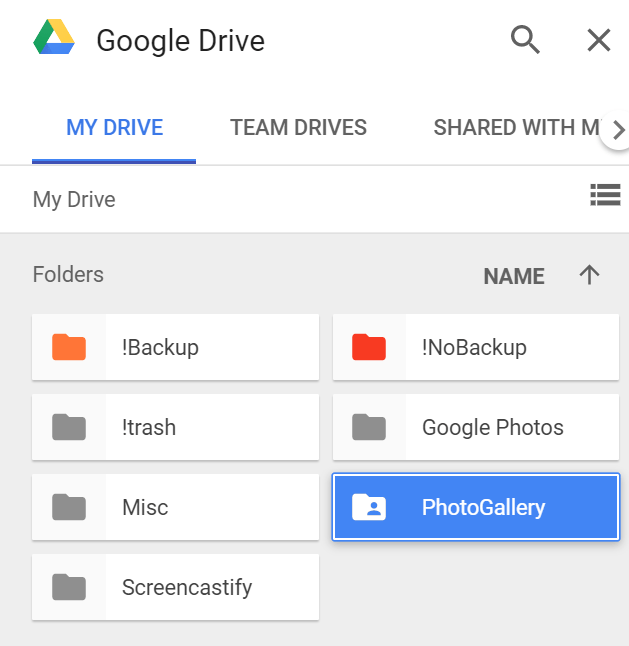
When you insert a Google Drive folder (e.g. PhotoGallery), you will get a list of folders in your Google Drive. Select the PhotoGallery folder (or whatever you called it):
Once done, you will see a list of files appear in your Google Sites page.
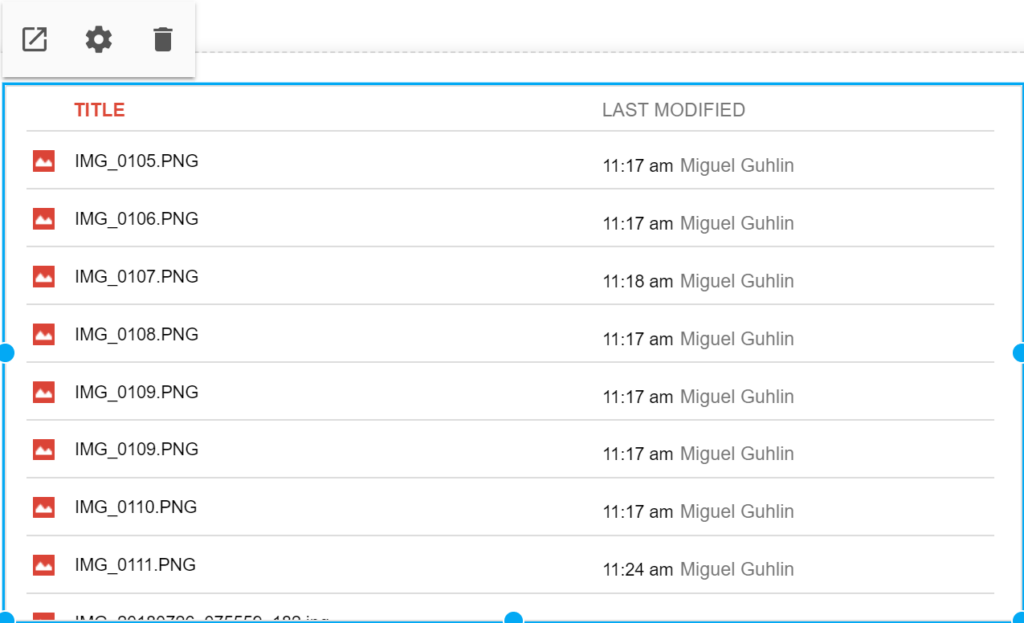
This is not very appealing. Click on the Settings button (upper left hand corner, center button resembling a gear) to switch the view to grid view.
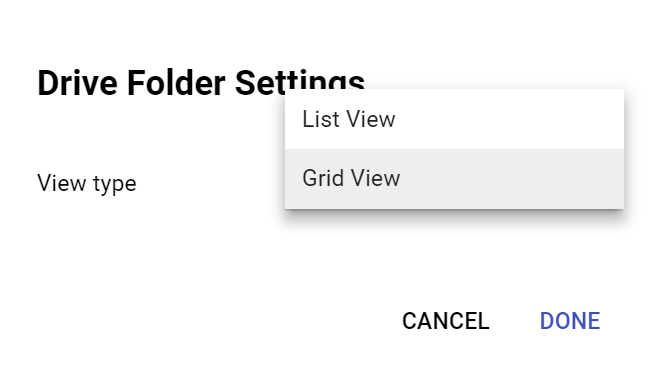
Once you switch the view to “Grid View,” select Done. The results will be more appropriate for photos. Here’s what it looks like:
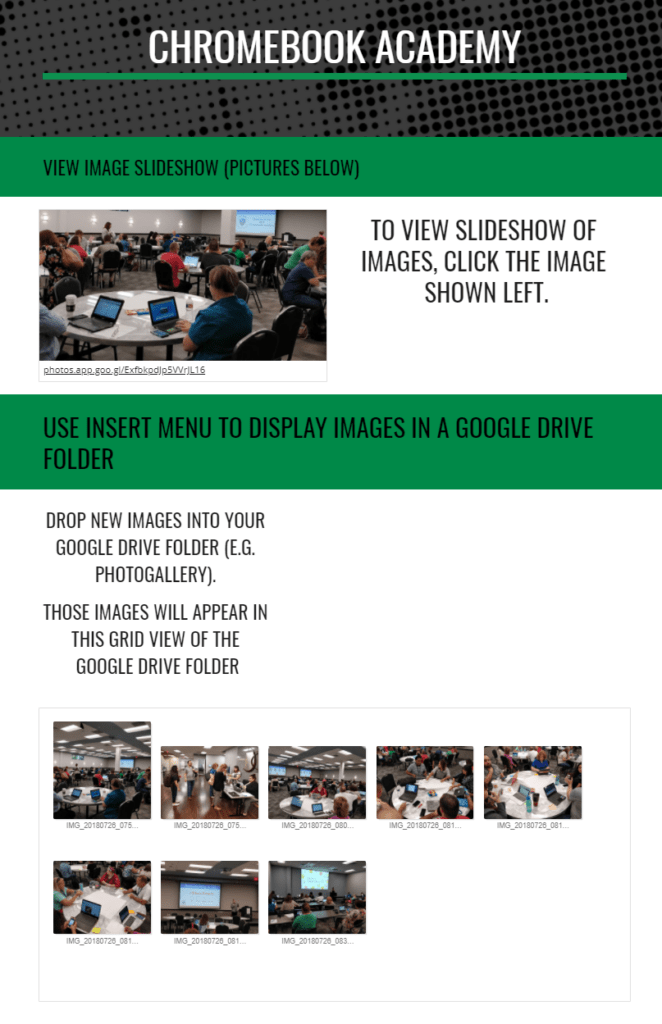
When you add new pictures to your Google Drive folder where you house photos, new pictures will automatically show up in your Google Sites page. Have a lot of pictures? You can enlarge the photo grid by resizing it (use the convenient handles in each corner of the embedded folder). You can even make the photo grid smaller. A scroll bar will appear to facilitate end users viewing photos. At any point, they can click and open the folder in Google Drive with view rights only.
TCEA Responds: Sharing School Photos
That’s all there is to sharing photos. If you share your Google Drive folder where you are storing the photos with others, they can also add photos from their devices.