My motto for making is Makers Gonna Make. But what happens if you have no space available to let students (and teachers) make? The good news is, makerspaces come in all different shapes and sizes. A makerspace can be a:
- Spare classroom
- Rolling cart
- Corner of the library
- Or no space at all
If you are a 1:1 campus or have access to computers, you can certainly have your students make. The projects below are perfect for a making experience which doesn’t need a physical space or storage for projects.
Google Slides Collaboration

Screenshot by author
I was inspired by Kasey Bell and her Collaborative Magnetic Poetry with Google Drawings for this first making project. How about using Google Slides and objects instead of Google Drawings and words? So the first holiday collaboration I created was Pumpkin Building for the TCEA Lunch and Learn in October 2015. Every slide had a pumpkin and everyone was able to decorate their Jack o’ Lantern with various eyes, noses, and mouths. I have gone a little crazy, so please check out other holiday themes here.
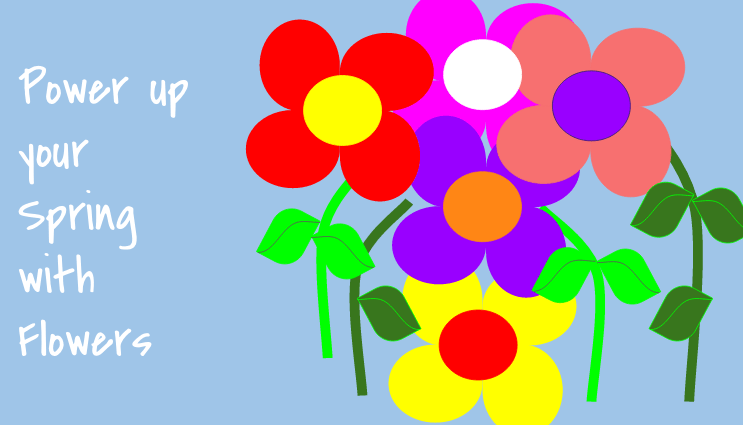
But it is now spring, so power up your students’ creativity with flowers. This is a great introduction to the drawing tools and a lesson in digital citizenship: respecting the digital work of others in a collaborative project. I would certainly have students explore the curve and scribble tool for their own flower designs. Make a copy here.
Breakout EDU
Breakout EDU is a very hot trend these days. It is an immersive games platform for learners of all ages. In Breakout EDU games, players work collaboratively to solve a series of critical thinking puzzles in order to open a locked box. Each Breakout EDU starter kit can be used to play hundreds of games. For more information on this platform, check out their site or this blog.
However, it is the splinter faction called Digital Breakout EDU that I want to draw your attention to for this making activity. Digital Breakout EDU has the same game principles as the original game with the wooden box and locks, but there is no physical component other than an Internet-connected device (preferably a laptop, Chromebook, or desktop computer.)
So let’s get back to making. I would have my students work through a few digital breakouts from this site and then I would have them MAKE their own digital breakouts. Try the TCEA Digital Breakout I created for my Campus Technology Specialist certification participants. We had a fabulous time completing it, and this is a great way to dip your toes into the breakout pond.
If you need a hint, contact me at preimers@tcea.org.
Pixel Art by Eric Curts
My definition of “pixel art” is using a spreadsheet to color. All one needs to do is resize the rows and columns into small blocks and then use your paint bucket to fill in each cell. However, this process is very time consuming. But hold on; the wonderful Eric Curts has designed a ready-made template for this that uses conditional formatting.

Screenshot by author
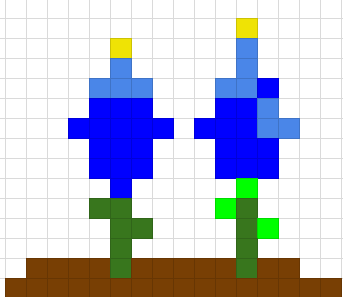
This simply means that when you type a letter and press return/enter, the square will turn a color. I press a “k” and the cell turns green or I press a “p” and it turns purple. Eric has provided a free, 20-color pixel art template to get you started. Check out my bluebonnet pixel art masterpiece. =0)
Make a copy of the template
Eric’s full explanation of Pixel Art
Eric’s YouTube video on Pixel Art (start at 32:12)
Stop Motion Animation with Google Slides by Joy Kidd
Last May, I attended a session delivered by Joy Kidd, a science teacher from Prosper ISD. She uses Google Slides to create stop-motion-effect presentations without the use of a camera. This is such a cool and easy creation tool. The big takeaway (besides the resource of how-to directions, a stop-motion example, and curriculum connections) I heard her say:
- Students try to one-up each other on how many slides it takes to create their presentation. “My deck is 125 slides.” Another student responds, “Well my deck has 181.”
- Her colleagues do not want her to teach this technique, because the kids constantly work on this project in their other classes.
The 5 Easy Steps to Create a Stop-Motion-Effect Presentation
- Make a slide
- Duplicate the slide
- Make a change
- Duplicate new slide
- Make a change (you know rinse, repeat, rinse, repeat…)
Joy’s presentation is very through and will get you up and running in no time. I have one thing to add: use a hot-air balloon lifting off from the ground and rising up into the clouds for a demo.
Hopefully one of these ideas will get you and your students on the path to making. If you want a more concrete hands-on approach to making, I suggest a day at an upcoming TCEA Makers professional development session. Not only will you experience making with like-minded folks, but getting started, budgeting, assessment, and best practices will be covered. Check out the upcoming maker days at TCEA Headquarters in Austin and ISTE in June in San Antonio.
Featured image designed by TCEA

