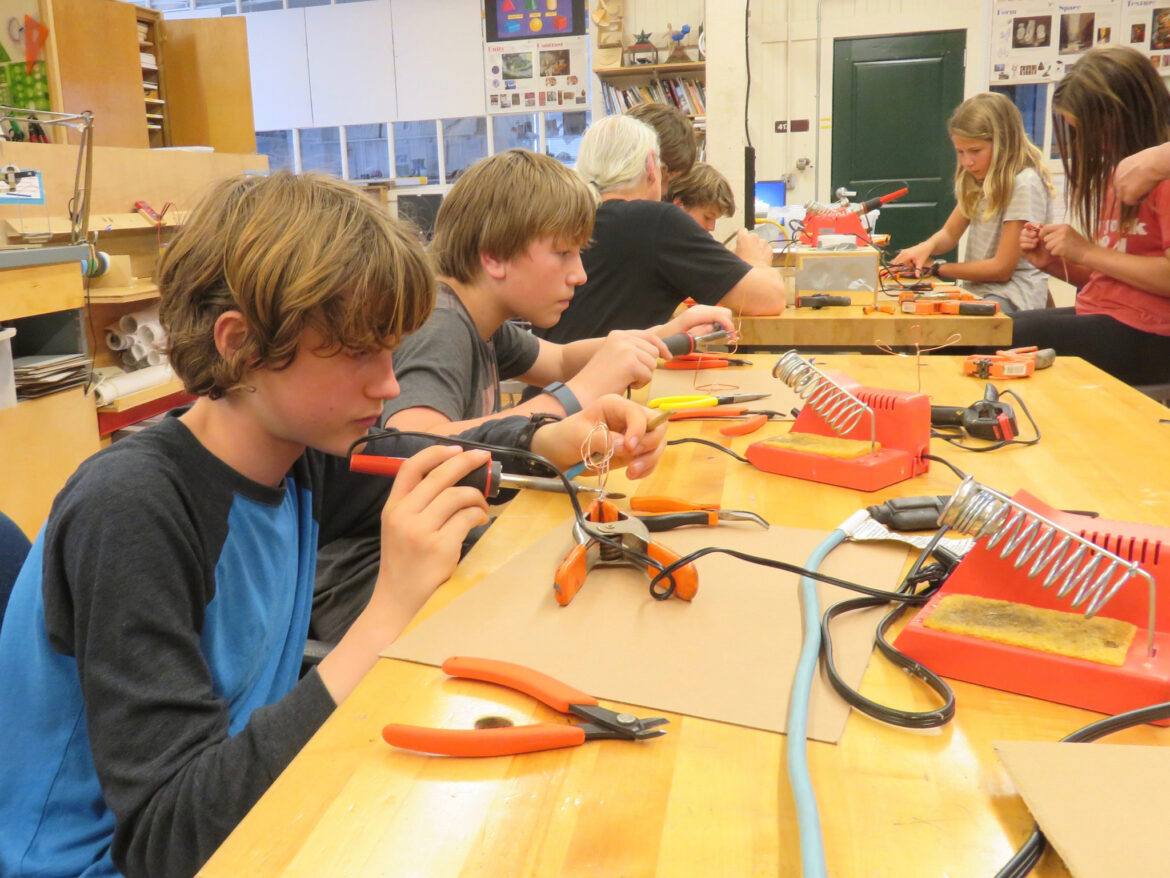
When I’m talking with teachers, they often share with me that working with the science and math part of the STEM classroom is easy. It is integrating the technology and engineering parts that can cause the most confusion. While it can seem a daunting task, bringing technology and engineering into the classroom can be pretty simple when using the seven-step engineering process for math and science problems.
The Engineering Process
Follow these seven steps to help your students think like engineers. Want to see what a STEM lesson looks like? Click here to download this free STEM Challenge teacher packet.
Step 1: Define the Problem
As a teacher, we typically think of the problem as the standard(s) we are trying to meet. While that is a great starting point, STEM is all about integrating real-world problems into the science and math classroom. Let’s say your standard covers “elapsed time” or “form and function.” Now let’s get creative! The problem students can solve for in math may be, “How much elapsed time passes in one class, lunch, and your entire school day?” For our science standard, we may ask, “Can we create prosthetics that help marine animals swim normally after they have lost a limb?”
Step 2: Do Your Research
Now that the problem has been defined, we can begin researching. This is a great time to use technology! Students can use the internet to begin looking more closely at the problem they are trying to solve. In the STEM Challenge download, we used a controlled research method, which means we lead students to the website that we want them to research. Open research, or having students use Google or scientific journals, may also be used during this step of the process.
Step 3: Develop a Solution
Now that students have defined the problem and researched available information, they can begin to develop a solution to the problem. It is important to note that in this step of the process, students should be articulating what they think will work. Collaboration fits in perfectly during this stage. Students can easily work together in Google Docs to share ideas and write out steps to how they can solve the problem.
Step 4: Design a Solution
In this phase, I encourage you to keep your students offline. This is where brainstorming and failing forward should be encouraged. Students should sketch, draw, build, craft, and create in order to test their solution. Think of this stage as the “hands-on” portion of the project. As students work through the solutions on paper or with models, they can go back and alter their solution.
Step 5: Build a Prototype
Now students are ready to design their solution. What software can your students use to create a final product? Going back to our original examples, Google Sheets or Microsoft Excel can be used for students to create a daily schedule. You can even teach them to use the calculation tools to help them determine elapsed time throughout the day.
In our science example, we used a combination of tools. TinkerCAD is used to create the prosthetic piece for the animal. The 3D model is downloaded into the 3D printer, where it is printed as a real, working part.
Step 6: Test It
Now that the prototype is complete, student engineers must test it! A variety of methods can be used to test the final product: formative assessment, peer assessment, or self-assessment. To test the elapsed time schedule, students may answer a few questions on a Google Form. You may also have students test each other’s prototypes. Whatever testing method is used, be sure to give students the opportunity to return to their work and figure out how to fix any mistakes.
Step 7: Evaluate Your Solutions
The final step is to have students evaluate their solution. This is a perfect opportunity to reflect and have them articulate what they did well and how they would do things differently in the future.
It may seem strange at first, but once you create your first STEM project, you will be surprised at how easy it is to transform your classroom into a STEM classroom! Remember to download the free STEM Challenge lesson and use this template to guide and build your next STEM project.
This is a guest blog by Rachel Schell. Rachel is the Technology Coordinator at Arch Ford Education Service Cooperative. She holds two master’s degrees and has more than 10 years of experience as an instructional designer and instructor. Her passion is to help every teacher become the hero in his or her classroom. Follow Rachel and the entire Arch Ford community on Twitter @ArchFordESC for insights, tips, and techniques on using technology and integrating STEM into the classroom. Have questions? You can reach her by phone or email: rachel.schell@archford.org or 501-328-3565.

