How many teachers are now getting ready to throw their computers across the room? Although we have access to graphic user interface (GUI) editors, they’re not enough. In this blog entry, you’ll learn how to do some simple HTML editing that will save your sanity. These tricks will work in learning management systems (LMSs) like Canvas and Schoology. What’s more, they will make it possible for you to create button menus for your students to use. There’s even a video tutorial at the end. Ready to get started?
Meet the Problem
You can “hear” the howls of frustration from teachers trying to bend the LMS GUI editors to their will. Failure is a given since they often don’t know realize that the HTML editors in those LMSs are light weight. If you want to get some real editing done, you’re going to need an HTML editor. These editors are available and you can be successful without spending a lot of time.
Consider this teacher who is experiencing trouble in the Canvas LMS:
Please, somebody, before I throw my laptop against the wall….why can’t I adjust table row height or width in the content editor? I’ve even tried doing it with HTML code and nothing changes. However, if I add a row or column, the whole thing goes haywire. I’m at the end of what little wit I have.
Table row height or width are easy to adjust…when you’re using the right editor. Before we explore the solution, let’s dig into Canvas and Schoology a bit more.
Did You Know?
TCEA offers an online, self-paced class each for both Canvas and Schoology learning management systems. Sign up now and find out what you’ve been missing. Learn more online.
A Look at the Canvas LMS GUI Editor
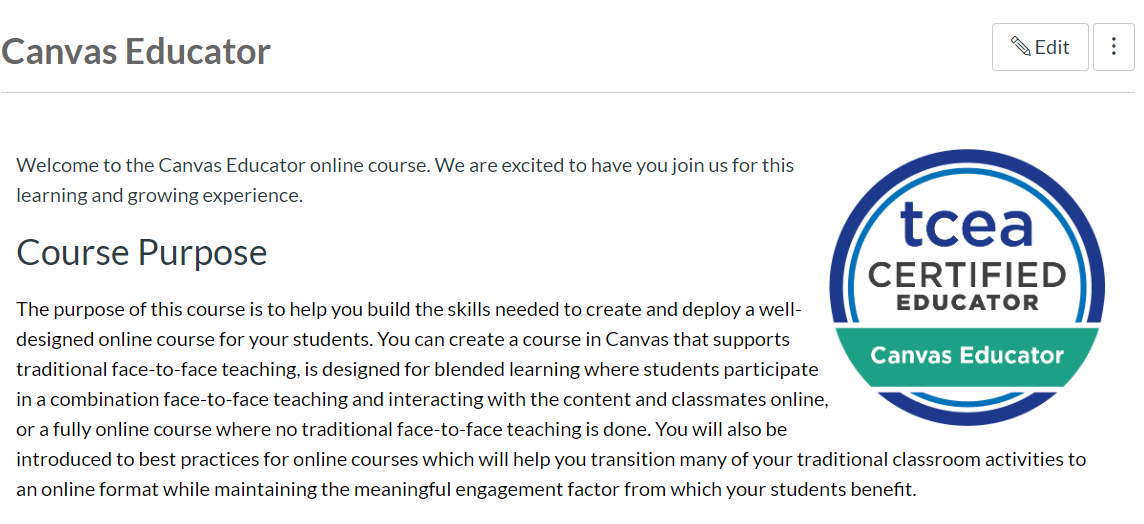
When you look at the Canvas LMS editor, you’re going to see something that looks like a word processor:

As wonderful as that editor looks, it’s not enough if you want to edit HTML code and have it work. Step back for a moment and look for that EDIT button in the top right hand corner:
Once you have found it, click on it. You’ll get the full edit window:
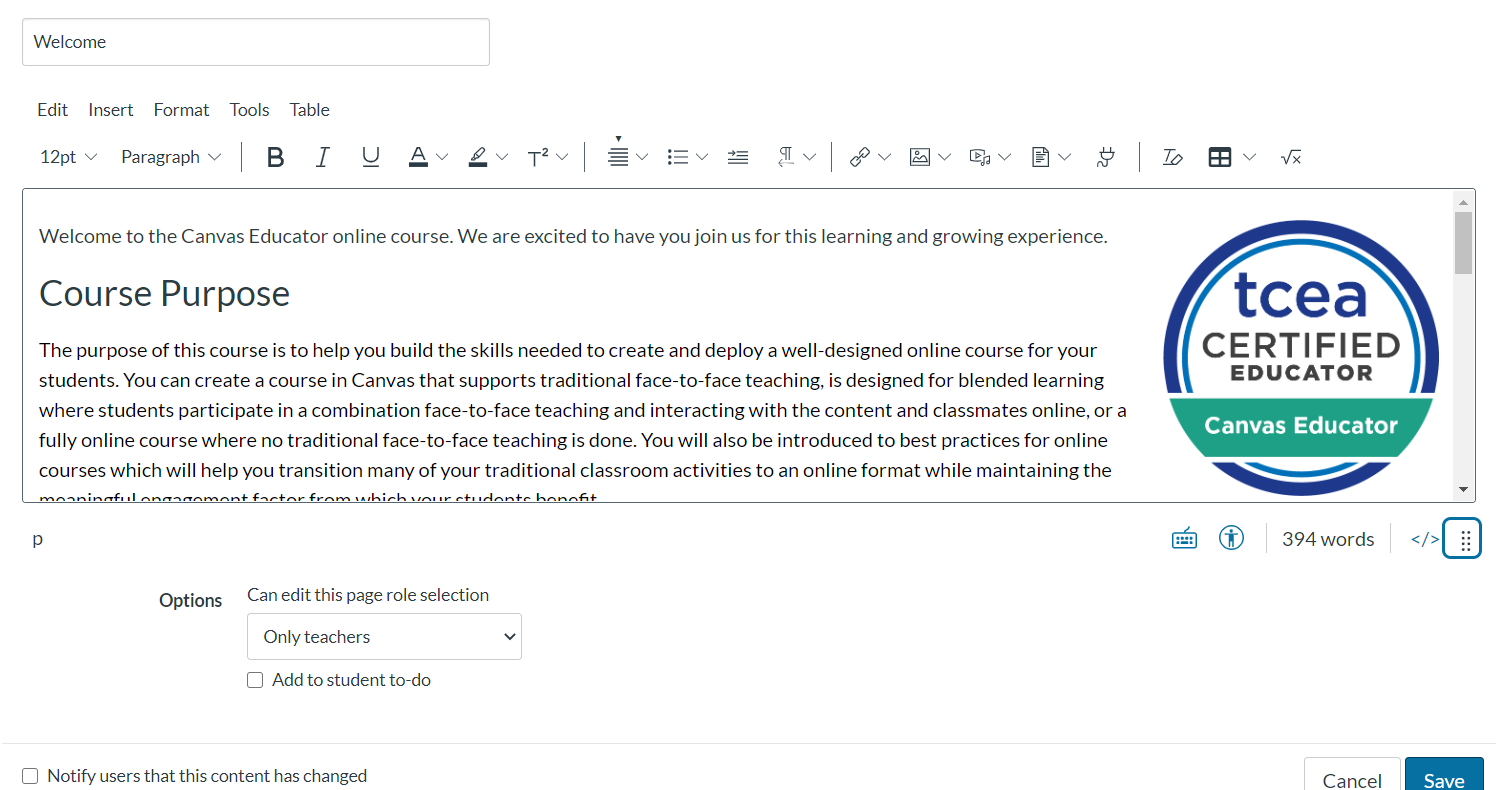
What you may notice is that at the bottom right hand corner of the page, there is an icon that looks like four dots on top of each in two-dot rows. When you click on this, you will be able to edit HTML, as shown below:
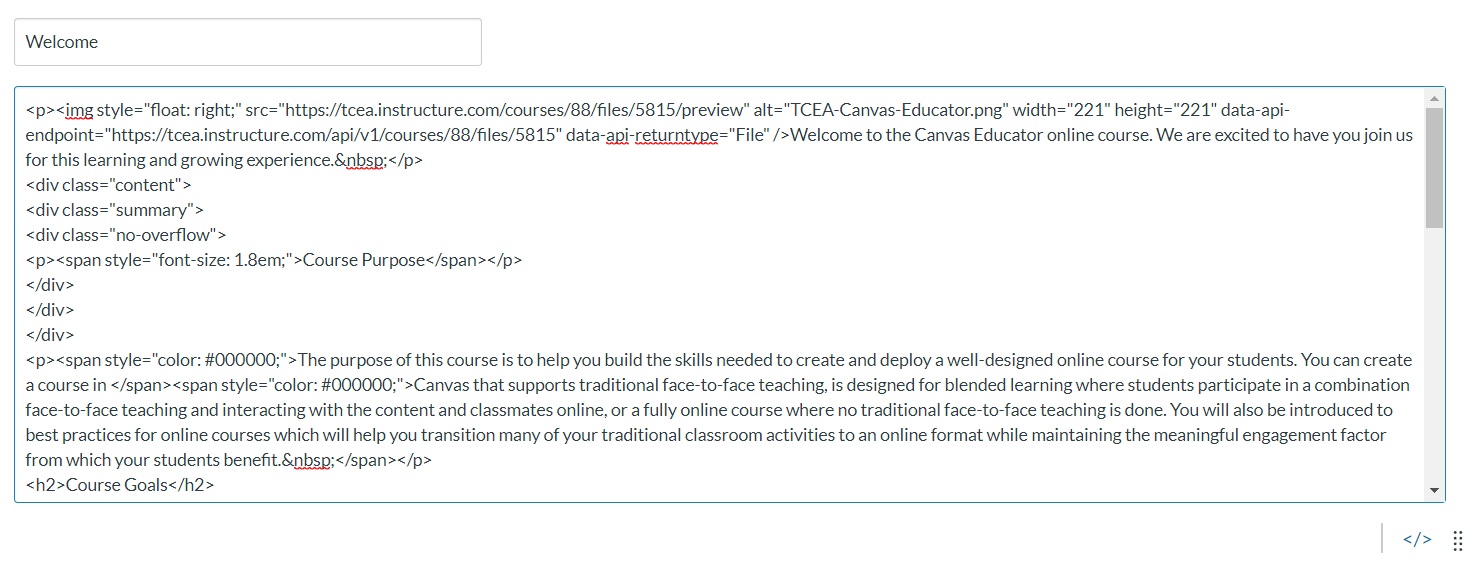
Unfortunately, there’s not much help here. It’s only you and the HTML code. Let’s say you wanted to add a clickable button menu for your students to click on. What could you do?
Did You Know?
Sign up for the Remote Learning Tools self-paced course. You’ll pick up a variety of tools that make flipped classroom, hybrid/remote learning easier.
Creating a Button Menu
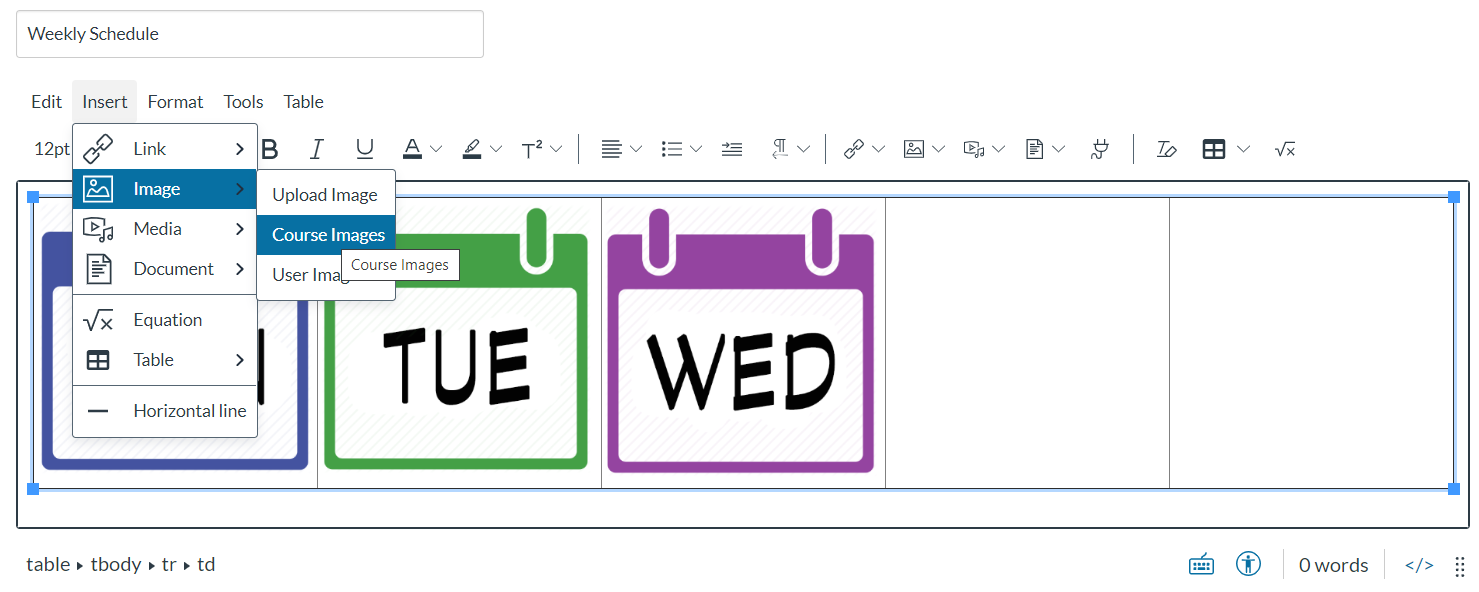
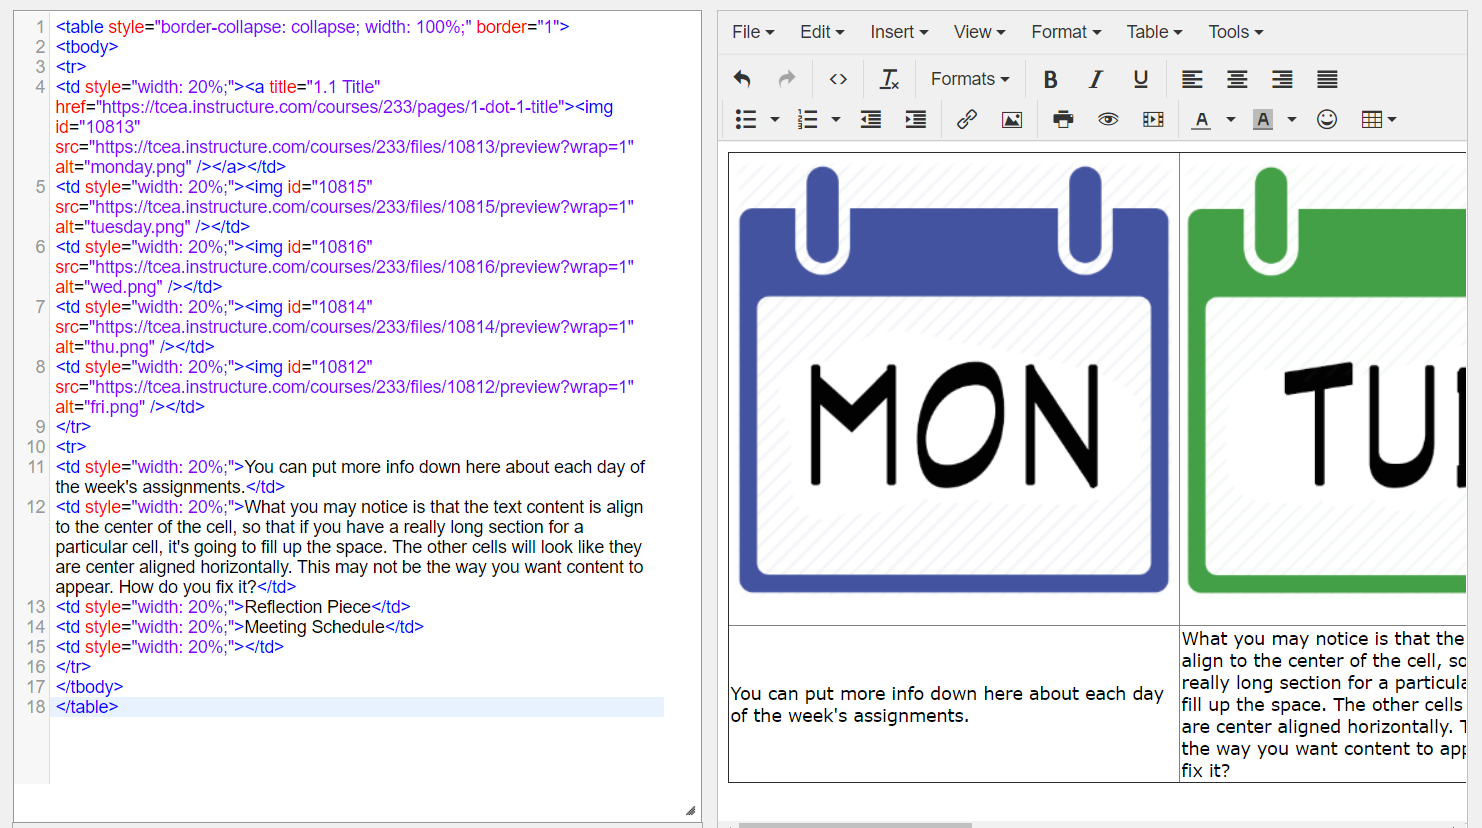
To create your button menu, you can begin the journey with the GUI editor Canvas LMS provides you. You can insert the the days of the week into your table cells. It will look something like this:
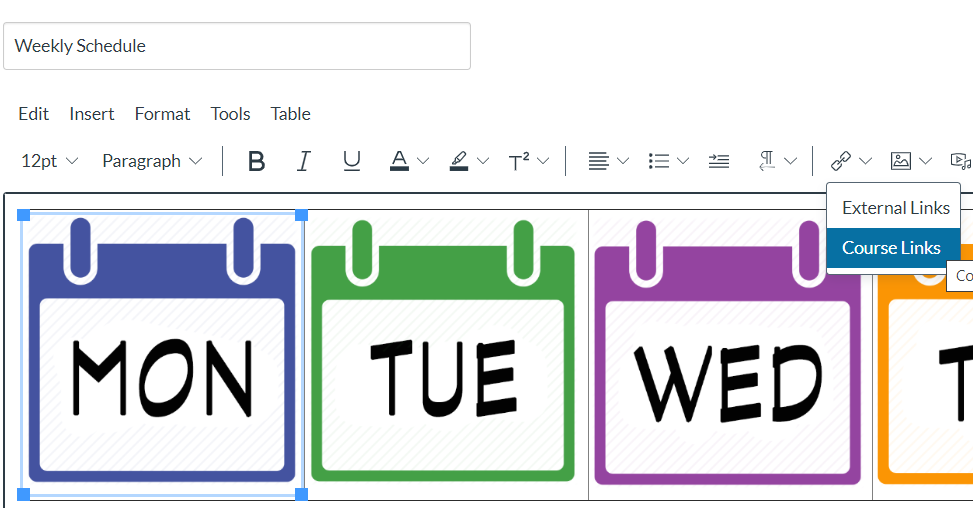
After inserting all your images, you can link them to other pages in your course:
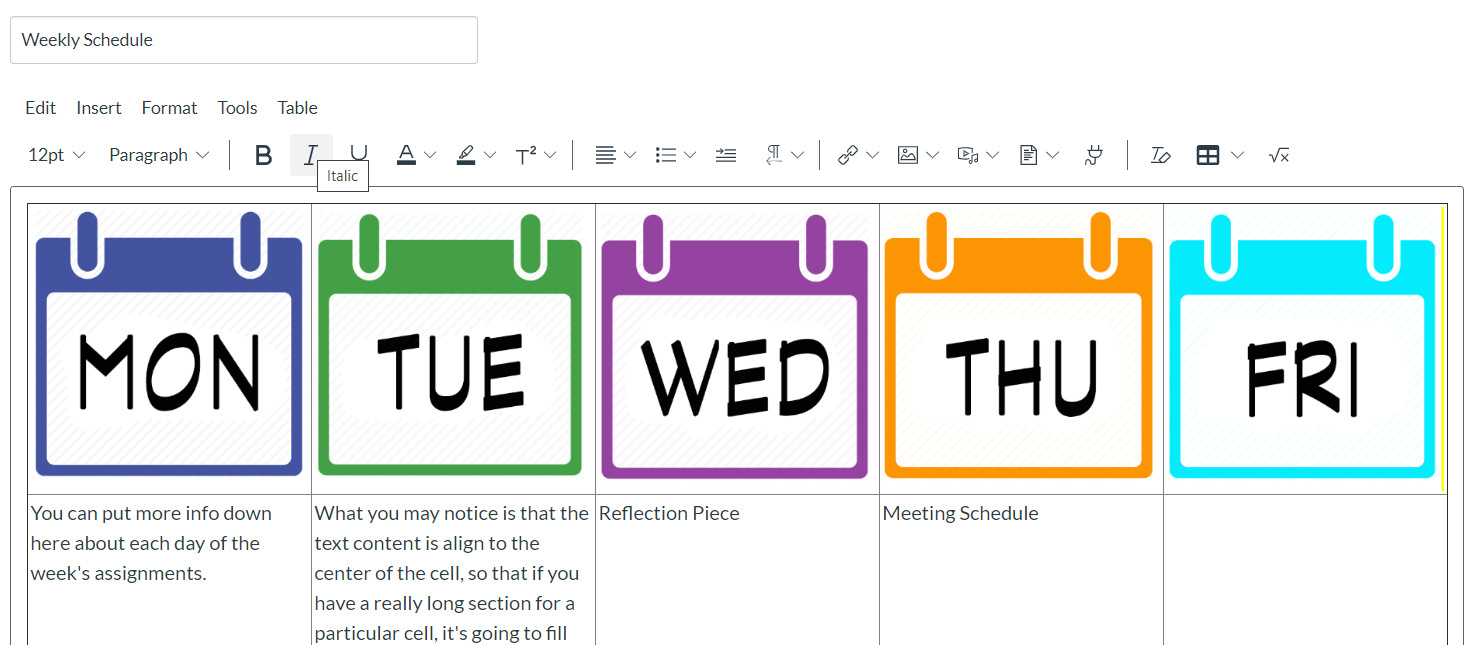
When you vary the length of the text from cell to cell, you’re going to see that everything is center aligned. This may not be the way you want content to appear:
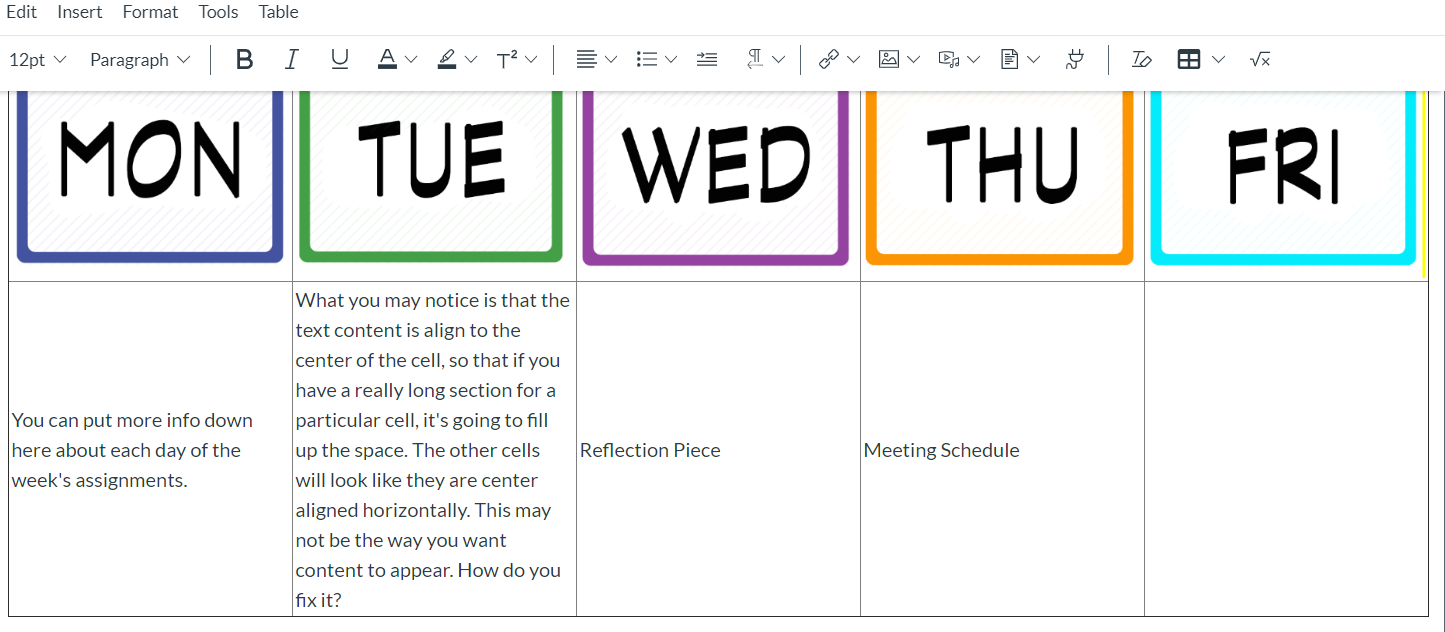
How do you adjust the vertical alignment for content in each of the cells? While you can adjust horizontal alignment (Center, Left, Right), finding how to adjust vertical alignment in Canvas may be a bit difficult. I cover exactly how in the video tutorial at the bottom of this blog entry.
You’ll have to use a different solution. But, what?
Introducing HTML 5 Editor
One free, web-based tool you can use is the HTML 5 Editor, although there are several similar tools you can use. Here’s a quick list of a few you can try:
Try each out and see which one is your preference. They are all quite similar and give you that split view. On one side, you’ll find a “rich text editor” and on the other, HTML code. Editing one side will change the other. This can be great when you don’t know how to adjust the code.
For now, I’m going with the HTML 5 Editor. Let’s get started.
Canvas LMS’ Rich Text and HTML Editors
To begin, I copied the HTML code from Canvas and pasted it into the left side of the editor. This is what I get:
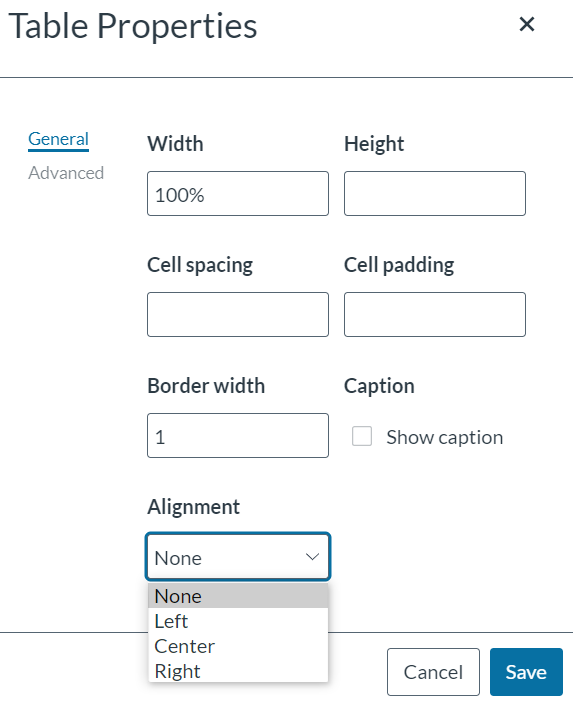
If I click in the cell I want to adjust the vertical alignment for, then go to Table->Cell Properties, I can make alignment changes:
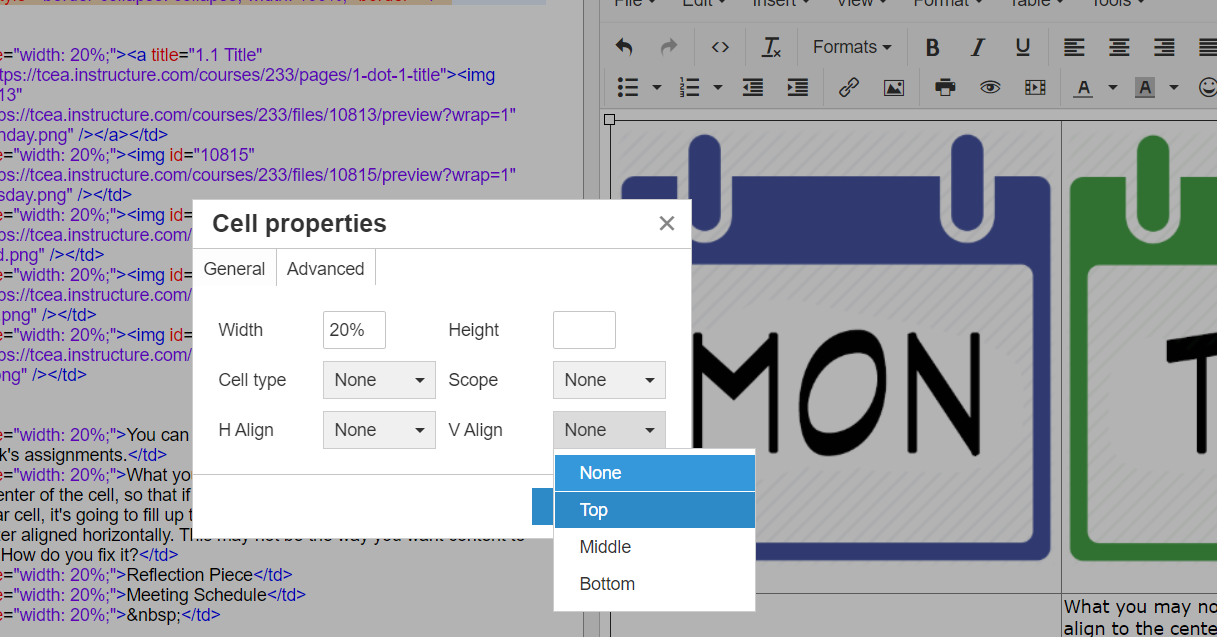
In this way, I can change the vertical alignment to TOP. This moves the text for the cell to the top of the cell. I can also make the table borders set to zero. This has the effect of making the borders invisible.
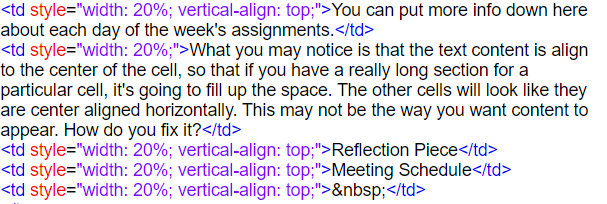
This changes the code to reflect vertical alignment. You can see the difference below:
Before:

After:
Here’s what it looks like in Canvas LMS HTML code editor:
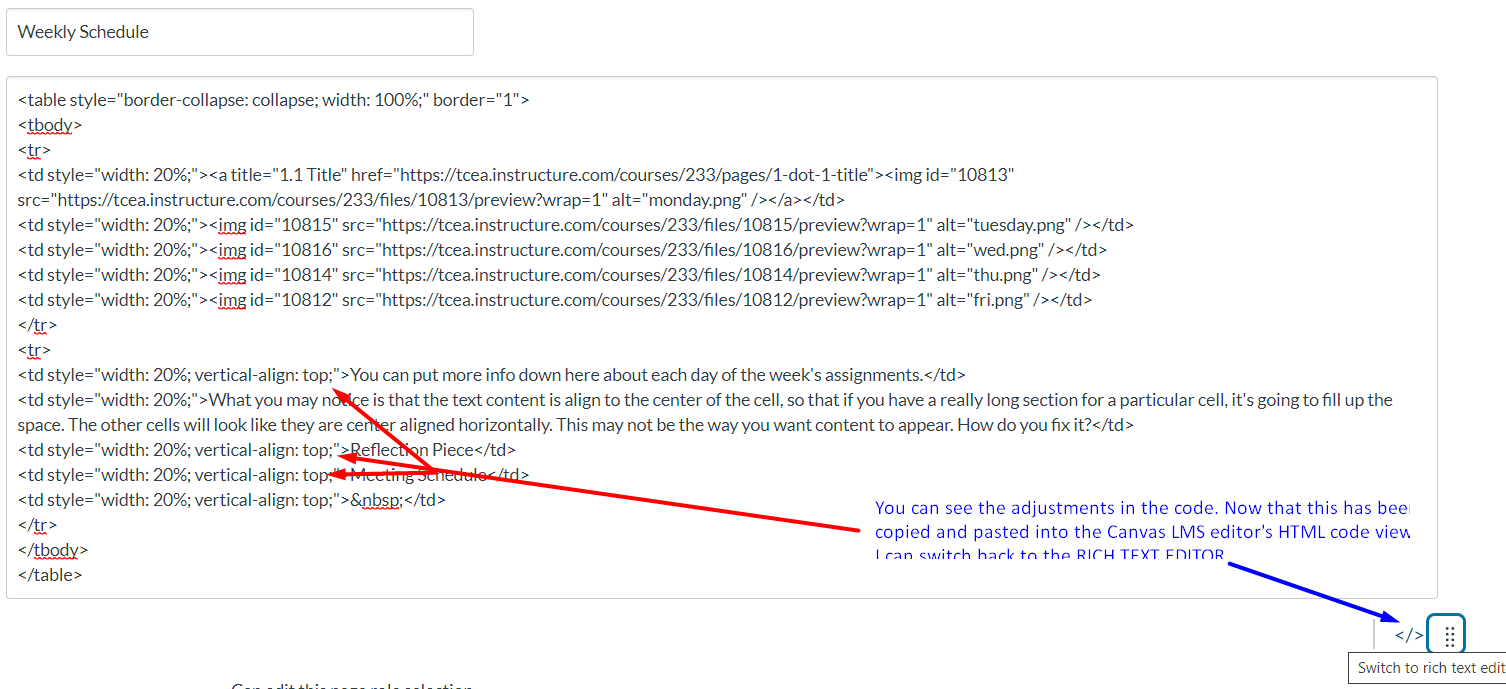
And this is what it looks like when you switch to Rich Text Editor:
As you can see in the image above, the text in each cell has a vertical alignment to the top of the cell. At this point, I can work with the Canvas Rich Text Editor and make adjustments I want. If need be, I can always switch to HTML view and copy the code. Then I can paste the code into my web-based HTML editor to make changes. When I’m done in the HTML 5 Editor, I can copy and then paste it back into Canvas. It’s easier than it sounds.
In Schoology, No One Can Hear You Scream
This is not an uncommon problem in Schoology, too. You may want to make adjustments, but not know how. As you can see below, Schoology is about as helpful as Canvas:
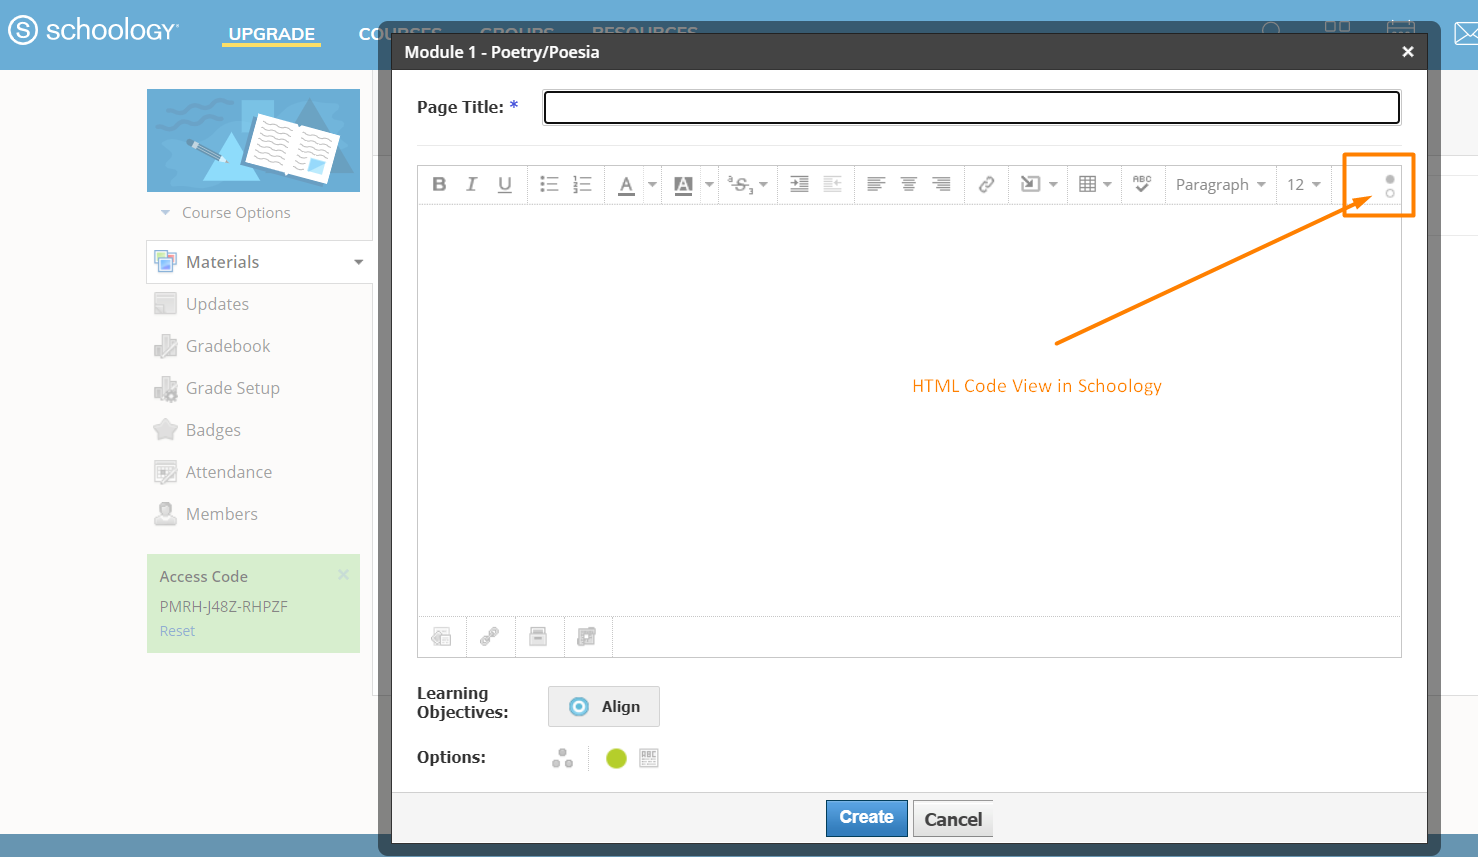
You can copy the code (and I’m going to simply reuse the code I edited earlier), and paste it into the HTML code view:
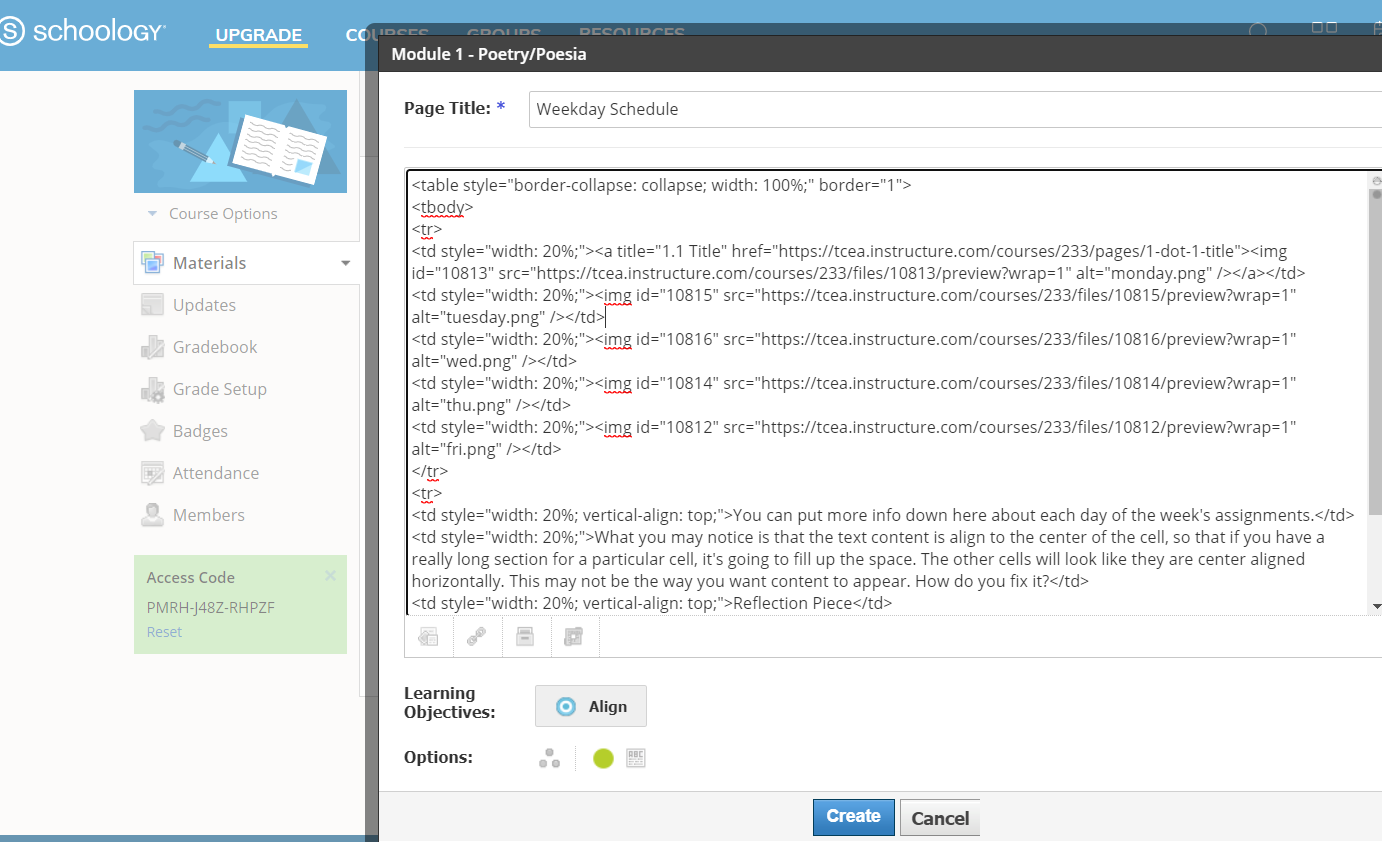
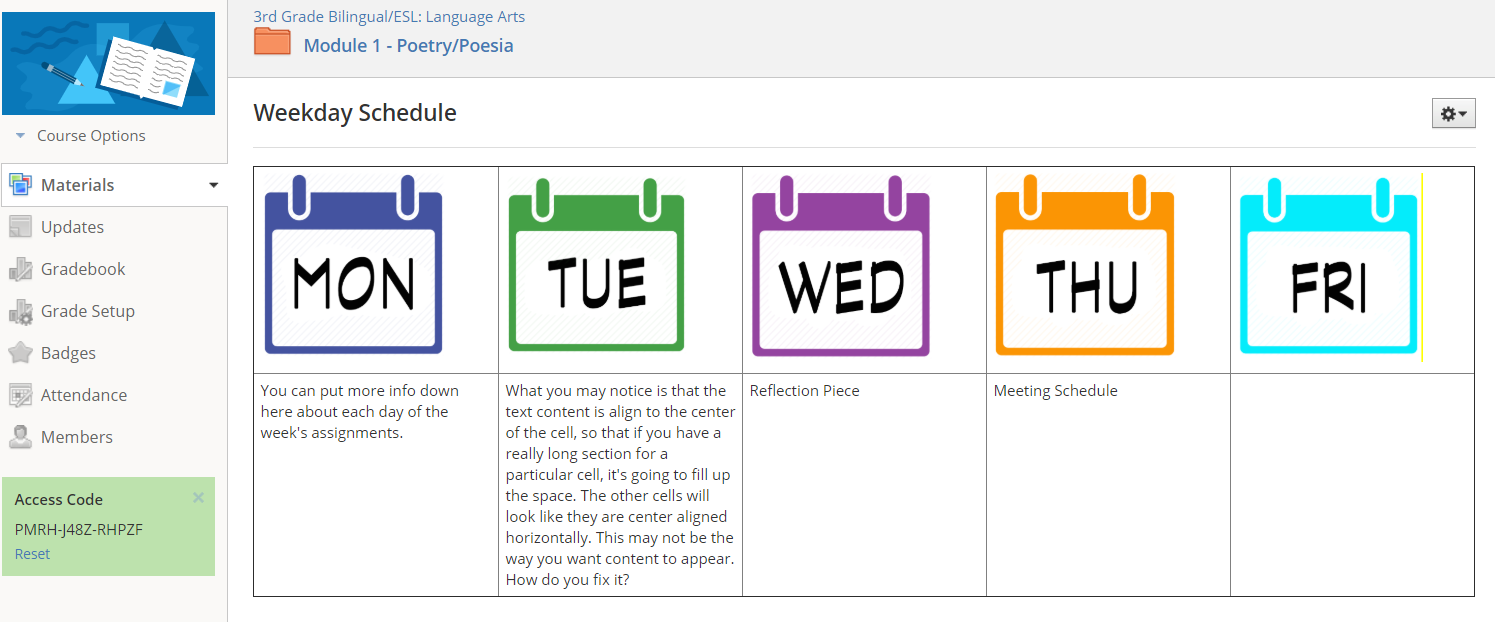
When I switch back from code view to the rich text editor, it looks exactly as intended:

Oh, wait, it’s not exactly looking the way I want. In this case, the images are too large. I’ll need to adjust those. I can eyeball them and adjust one by one. Or I can go into the code and customize the height and width for each.

A small change in the code for each image, as shown above, and I now have thumbnail images that look fine. Each one of them is clickable and takes me to a different page of content:
Quick Video Overview
Here are two videos that summarize the blog entry. In the first video, I share how to use an HTML editor to create a custom table with button menus that are linked to specific pages in the LMS. In the second video, I shared how to create a menu of choices.
Video #1: HTML Editor
Video #2: Button Menus
Canvas for Littles
What? You thought those were terrible videos? Ok, I have another video series you may enjoy. Have you heard of the Canvas for Littles video series? Check it out:
And, That’s All, Folks!
Please, don’t pull your hair out or fling your computer across the room. Editing HTML code in Canvas or Schoology can be a pain. But if you rely on free HTML editors available online, it’s a breeze. Give it a shot!