

There are occasions when you can use what you’ve learned and what you know to be impactful. It’s an important part of learning for students and educators alike. Recently, one of these moments happened when our Special Education Department reached out to the Technology Department to see if it would be possible to 3D print some Play-Doh stampers. In all honesty, the first thing I thought was, “Oh, great. Another opportunity to print toys.” But after digging deeper, this was not at all the case.
What to Teach in 3D Printing Class
To preface the story, it is important to note that I was teaching an after school 3D printing class called Just Print 3D. In this class, my students ranged from 3rd grade to 8th grade, and we were using an inexpensive FDM (Fused Deposition Modeling) printer, which is a gantry-style, open-source 3D printer (around $150 each). The purpose of the class is to allow students a real-world view of what they are likely to come across if they purchase their own printer.
Students learn about types of filaments (PLA, PETG, ABS, TPU, etc.) and their potential design usage. We also teach how to use the physical printer– everything from loading and unloading the filament, preheating the bed and nozzle based on the type of filament and its specs, to manually leveling the print bed using a complicated calibration tool (a single piece of paper). There is a focus on the design element of 3D printing using free resources such as Tinkercad. We go through the various tools and techniques and learn to accomplish some basic and complex 3D design operations. Additionally, we cover the last mile of how to get the designs from Tinkercad to the printer. Why am I mentioning this? I was unknowingly about to hit the jackpot with this stamper project.
3D Printing Knowledge in Action
My students were about to have the opportunity to apply their knowledge of 3D printing to make an impact in a very real way. For the Play-Doh stamper project, let me tell you– what we were actually printing was not a toy at all. It was a tool, and an educational tool at that: braille Play-Doh stampers. You might be asking, “Braille letter stampers? What are those?” It’s one letter of the braille alphabet situated on top of a stamper.
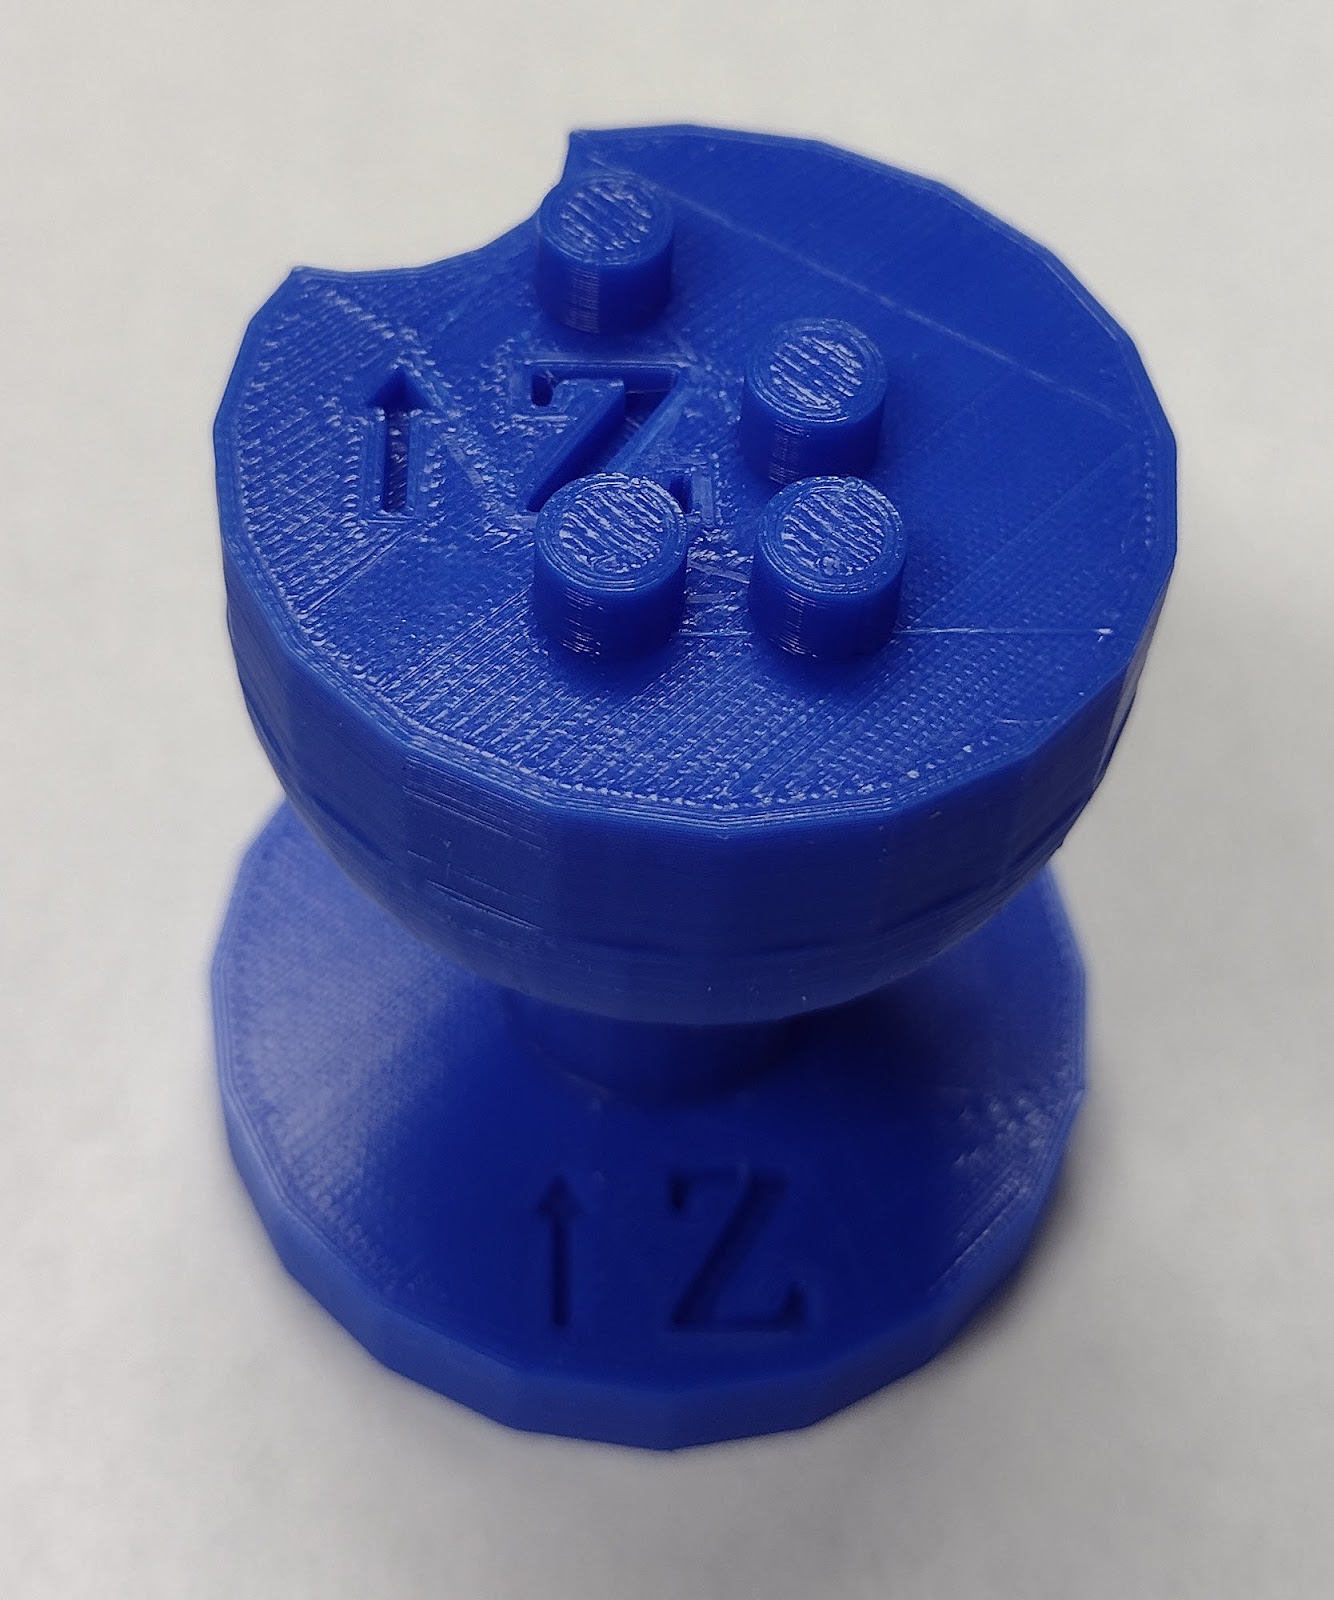

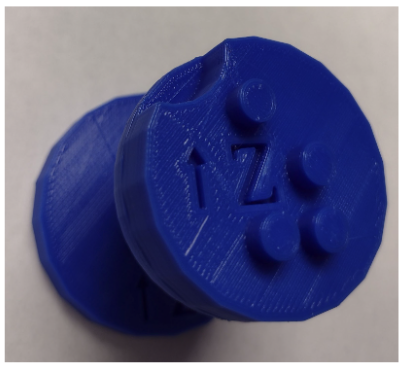
A student who is blind or visually impaired may use the stamper to feel the braille representation of the letter. Pressing the stamper into Play-Doh creates an impression of the braille letter equivalent, in this case, the letter Z.
You can imagine the potential of using these not just to learn the braille alphabet but also for spelling out words, etc. Let’s not forget playing with Play-Doh. How fun is that? Talk about learning engagement! Now you see why my response changed to excitement when I realized the usefulness and impactfulness of this project. I took this opportunity to turn this into a project for my 3D class, and we used the various stages of the design process mentioned earlier to get this project done. The coach in me took over and hyped up the kids and parents as to the impactfulness this project would have on classmates and others. How can we use what we are learning, have learned, and know to make this happen?
The Process of 3D Printing the Braille Stampers
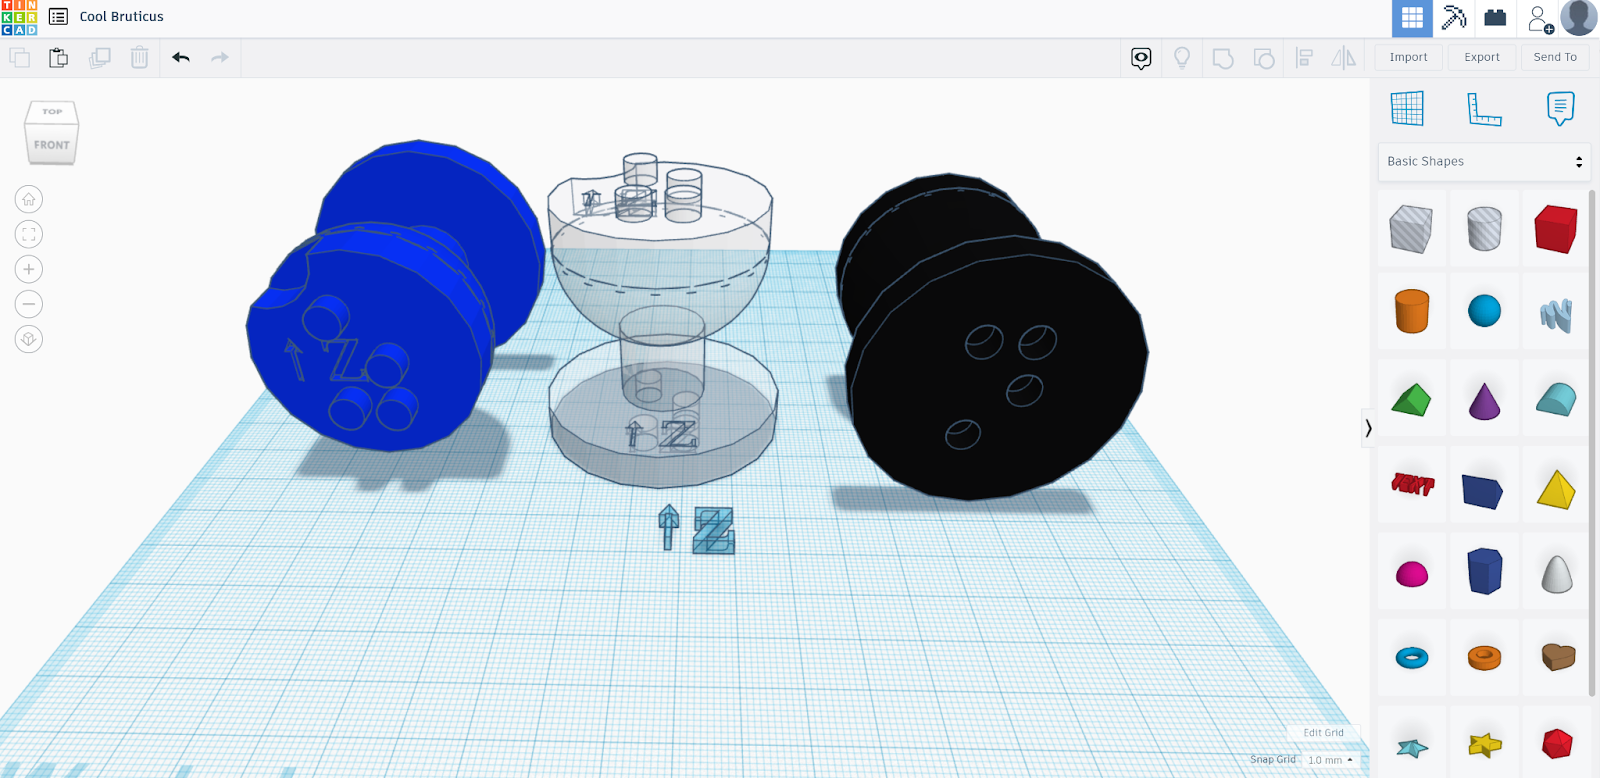
The Special Education Department already had the STL (stereolithography) files designed by ActiveAcessEdu. But one of the big issues? My students did not know braille. We used this as a problem-solving challenge and decided to label each braille stamper with the corresponding written letter. We also placed a position arrow to easily orient the stamper. To move forward with this design, we had to do what is called “remixing.” Remixing is when you take someone else’s design and change it up to meet your needs. The kids used what they had learned in Tinkercad to accomplish this.
A brief outline of tools and design elements the students had to accomplish:
- Export and import the ActiveAccessEdu STL files into our Tinkercad project.
- Use a text tool to create the letter.
- Use a box and triangle tool to build an arrow and use a combine tool to group the shapes.
- Use a hollow tool to make the letter and arrow a negative space (cut out tool).
- Position the letter and arrow on the upper and lower areas of the stamper using the duplicate tool, and raise and lower controls of the object to set the correct level.
- Use the combine/group tool to group all the selected objects so they will appear as one. This also cut out our letter and arrow from the solid stamper since they are negative space.
- Design Problem: How can this be recreated for the rest of the letters and with consistent letter and arrow placement?
- Ungroup the previous stamper.
- Use the alignment tool to center the next braille letter stamper over the previous one. Remove the previous stamper’s main body and leave the letter and arrow negative space once alignment is achieved.
- Select the letter negative space and change the properties of the letter so it reflects the current braille stamper.
- Group and make a copy.
- Repeat the previous design steps again for the entire alphabet.
Once it was all said and done, we added a little twist. We printed the stampers based on our school colors which are blue, white (and sometimes black depending on athletic uniforms). The consonants were printed in black and the vowels in blue. We did the opposite for a second set. Each student had two sets, one for home and one for school.
In Conclusion
This is where the rubber hit the road for me. I am not a degreed teacher, this is why my students call me Coach Punch. But coaches and teachers have similar jobs trying to accomplish the same result– putting learning into action and showing it’s application to life. In this case, I was able to show students how they could use what they know to help others and get some enjoyment along the way. For me, this is one of those personally gratifying moments. There’s nothing like seeing something I taught the kids come to fruition. This was a special session for me, and this project is still having an impact. I hope it will have an impact in your district as well.